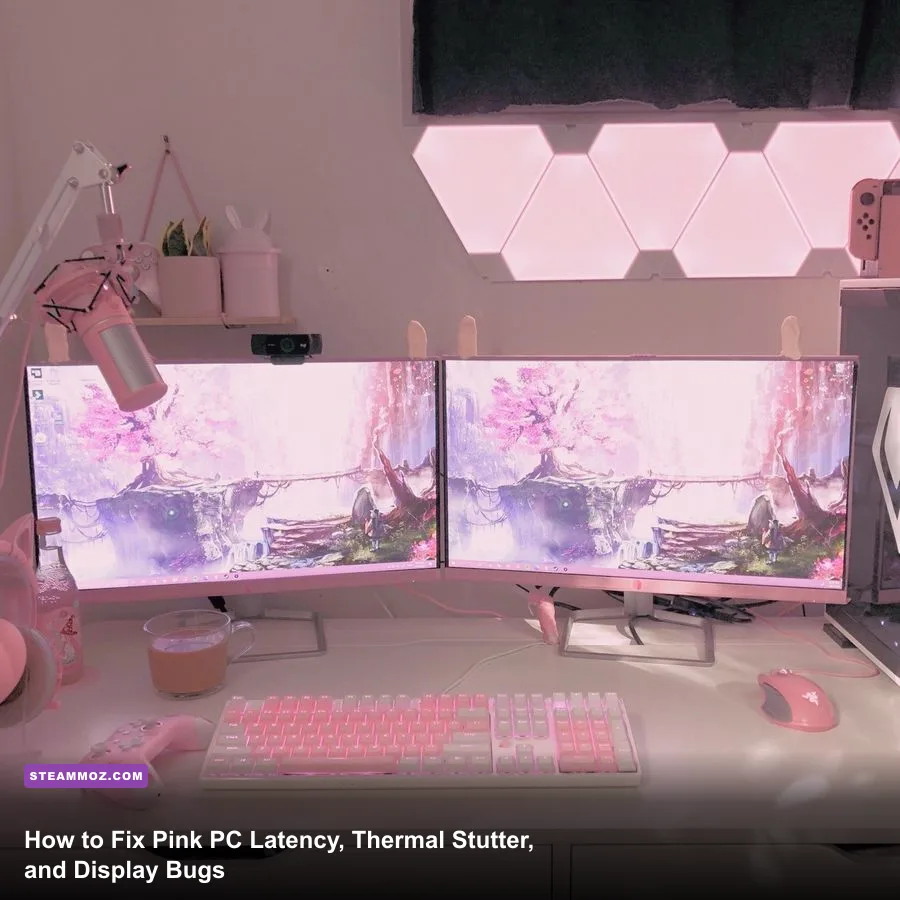
Fixing latency, micro-stutters, and visual bugs on a Pink PC comes down to eliminating background software conflicts, resolving case airflow restrictions, and overriding corrupted display handshakes. Most performance dips on aesthetic pink prebuilts and custom rigs aren't caused by weak silicon; they stem from competing RGB telemetry suites spiking DPC latency, solid front panels choking GPU boost clocks, and HDMI/DisplayPort handshakes defaulting to compressed YCbCr color spaces that cause input lag and magenta screen tints. By pruning conflicting utility drivers, locking BIOS fan and PCIe riser settings, and calibrating your GPU control panel to Full Dynamic RGB, you can transform a sluggish pastel build into a razor-sharp, low-latency battlestation.
Tackling DPC Latency: Eliminating RGB Bloatware and Audio Stutters
If you're noticing erratic micro-stutters, sudden frame hitching, or robotic audio crackles during firefights, your rig is likely suffering from Deferred Procedure Call (DPC) latency spikes. Aesthetic pink builds are notorious for this issue because users frequently run three or four separate proprietary lighting apps simultaneously. Syncing a pastel pink hue across a Corsair cooler, Razer Quartz mouse, Lian Li Strimer cables, and an ASUS motherboard often means running iCUE, Razer Synapse, L-Connect, and Armoury Crate all at once. These programs constantly poll hardware sensors through low-level ring-0 kernel drivers, interrupting your CPU's primary render queue hundreds of times per second.
To pinpoint the exact driver causing your stutter, download Resplendence LatencyMon. Close your web browser, hit the green start button, and launch a demanding title for five minutes. If LatencyMon flags drivers like nvlddmkm.sys (graphics), ndis.sys (network), or generic kernel interrupt handlers exceeding 1000 microseconds (1.0 ms), background bloatware is stalling your processor. You don't need five separate background utilities eating CPU cycles; consolidate your lighting control using the open-source OpenRGB official project page or SignalRGB, which manage addressable headers through a single unified service. If you've been battling persistent system stalls, check our guide on diagnosing PC crashes and frame drops to isolate rogue background services cleanly.
Next, clean up residual peripheral telemetry. In Razer Synapse, disable 'Data Tracking' and opt out of telemetry prompts. In Corsair iCUE, navigate to Settings and turn off in-game integration hooks unless a specific title requires them. These simple software trims immediately reduce total DPC routine latency down to sub-500 microsecond levels, creating buttery-smooth frame delivery without sacrificing your aesthetic lighting theme.
Thermal Throttling in Pink Cases: Unlocking Airflow and Fan Curves
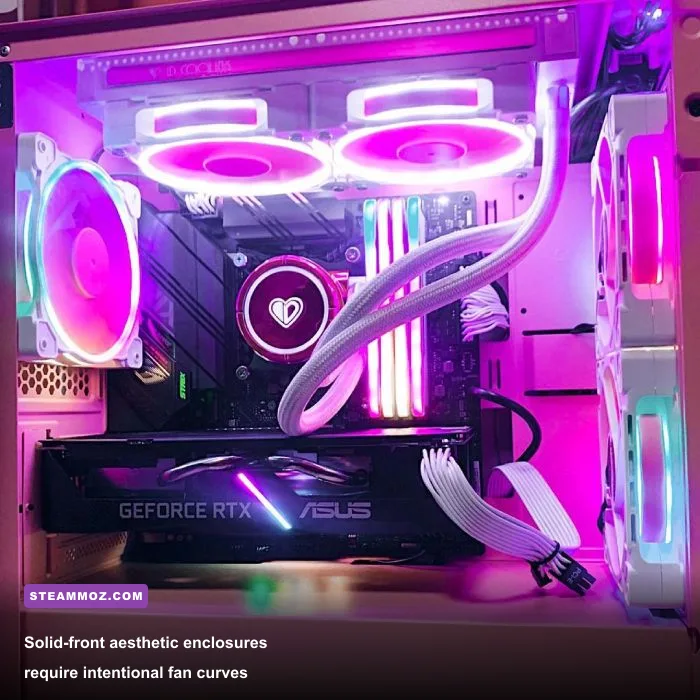
Aesthetic cases like the Vetroo M03, Apevia Prodigy Pink, DarkFlash DLM21, and InWin pink variants often prioritize clean, solid pastel panels over unrestricted ventilation. While these cases look gorgeous on your desk, restrictive front tempered glass or solid metal shrouds starve intake fans. Modern graphics cards equipped with NVIDIA GPU Boost or AMD Precision Boost scale their clock frequencies aggressively based on thermal thresholds. The moment your GPU core creeps past 65°C, the card drops 15 to 30 MHz per thermal tier; push past 82°C, and severe throttling kicks in, slashing your FPS by 20% or more to prevent thermal runaways.
To restore performance without tearing down your build, you need to adjust BIOS fan curves and establish positive static air pressure. Most pink chassis include pre-installed 3-pin sleeve-bearing fans set to flat, quiet curves that cannot overcome tight ventilation gaps. Swap critical intake fans for high-static-pressure fans, or enter your motherboard BIOS and configure custom PWM curves. Set your front intake fans to scale up aggressively to 70% speed when the CPU reaches 60°C, and 85% speed at 72°C. This forces cool outside air through slim side slots and keeps your VRMs and graphics card supplied with fresh air.
| Hardware Component / Issue | Observed Symptom | Tuning Fix | Realized Performance Impact |
|---|---|---|---|
| Solid Case Front Glass | GPU core temps reaching 84°C+ | Offset side intake fans; set aggressive PWM curve | Drops core temp by 7-10°C; prevents clock drops |
| Choked Radiator Exhaust | Liquid coolant saturation / pump wine | Reposition AIO radiator to top exhaust | Stabilizes CPU package temperatures under load |
| GPU Sag on Pink Bracket | Uneven thermal pad contact on VRAM | Install an adjustable anti-sag pillar support | Prevents hotspot delta spikes over 15°C |
| Over-Aggressive RGB Fan Hub | SATA power rail voltage drop | Reroute lighting hub to dedicated PSU cable line | Eliminates erratic motherboard fan throttling |
| Dust Mesh Filter Choke | Restricted airflow to lower GPU intake | Clean magnetic mesh; orient fans for static pressure | Improves overall chassis ambient intake by ~25% |
Under-volting your GPU using MSI Afterburner is another game-changing tactic for airflow-limited pink cases. By flattening the frequency-voltage curve—for instance, capping an RTX 3070 or 4070 at 1950 MHz at 925 mV instead of letting it spike to 1050 mV—you can shave 50 to 80 watts of heat output off the board while retaining 98% of stock gaming performance. Cooler thermals translate directly into sustained boost clocks, eliminating sudden frame drops during prolonged gaming marathons.
Display Settings and the Infamous Pink Screen Color Space Bug
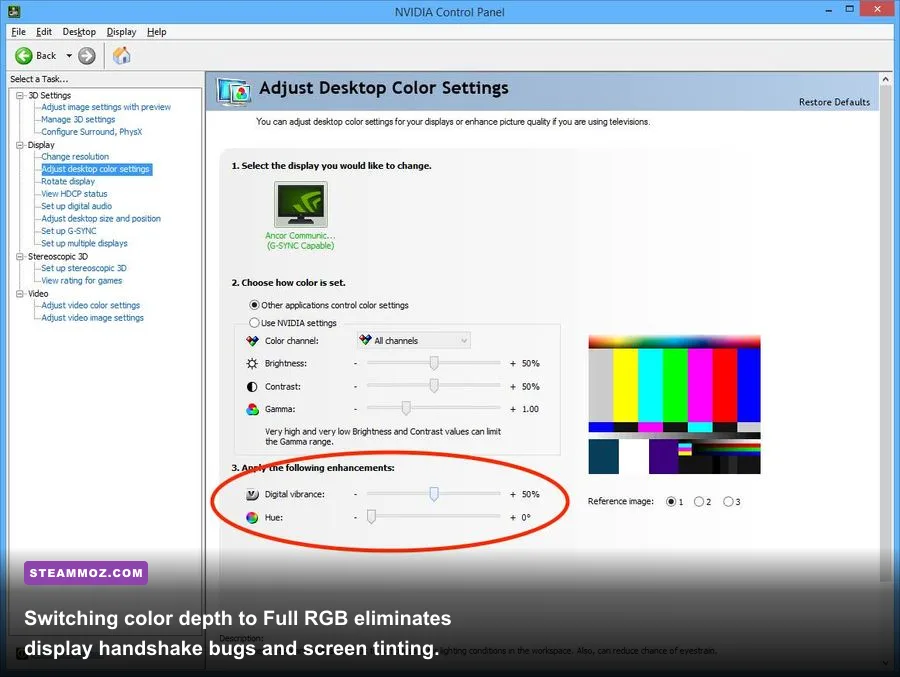
Few issues cause more panic than the dreaded "Pink Screen of Death" or an unwanted magenta tint washing over your monitor. While gamers often assume their graphics card VRAM has died, this glitch is almost always a digital handshake failure between your GPU driver and monitor firmware over HDMI or DisplayPort connections. When changing refresh rates or launching full-screen exclusive games, Windows sometimes misidentifies the display's color space capability, dropping the signal from Full RGB (0-255) to compressed YCbCr4:2:2 or YCbCr4:2:0. This mismatch corrupts the color matrix, resulting in a distinct pink or purple haze across the entire image alongside noticeable display processing latency.
Resolving this requires an explicit configuration override inside your GPU control suite. If you run NVIDIA hardware, right-click your desktop, open NVIDIA Control Panel, and navigate to Display > Change Resolution. Scroll past the standard resolution pickers down to step 3: 'Apply the following settings'. Select 'Use NVIDIA color settings'. Set the Desktop Color Depth to 32-bit, Output Color Depth to 8 bpc (or 10 bpc if your panel supports native 10-bit), Output Color Format to RGB, and Output Dynamic Range to Full. Never leave this on 'Limited', which clips color values below 16 and above 235, wrecking contrast and elevating panel latency.
AMD Radeon owners can achieve the same result inside AMD Software: Adrenalin Edition under Gaming > Display. Locate 'Pixel Format' and switch it from YCbCr to RGB 4:4:4 Pixel Format PC Standard (Full RGB). If you run multiple monitors or notice frame jitter during dynamic rendering shifts, review our walkthrough on optimizing graphic fidelity and display frame pacing. If a sudden pink tint persists after updating graphics drivers, a faulty DisplayPort cable or corrupted EDID data in Windows is usually the culprit; consult official Microsoft Windows Support for steps to reinstall generic PnP monitor drivers.
Windows 11 and GPU Driver Optimization for Sub-Millisecond Response
Cutting down system latency requires fine-tuning the pipeline between your operating system and graphics hardware. Windows 11 includes several modern gaming features that improve performance when tuned correctly, but introduce noticeable input lag when misconfigured. Start by verifying Hardware-Accelerated GPU Scheduling (HAGS). Head to Settings > System > Display > Graphics > Default Graphics Settings and toggle 'Hardware-Accelerated GPU Scheduling' to On. This feature passes video memory management directly to the GPU's dedicated processor, trimming CPU render overhead and enabling cutting-edge frame generation technologies.
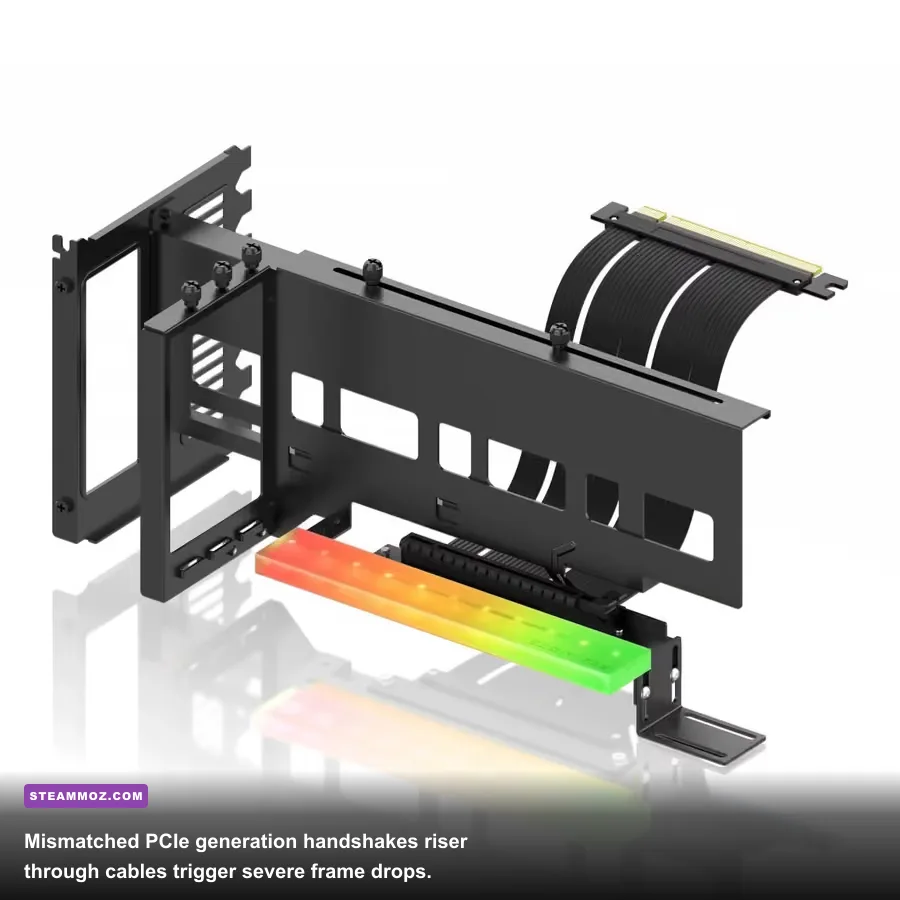
Pay close attention to vertical GPU mount setups. Many pink showcase chassis use vertical graphics card brackets connected via flexible PCIe riser cables. If you plug a modern PCIe 4.0 or 5.0 graphics card into a motherboard slot set to 'Auto', but your pink chassis uses an older PCIe 3.0 riser cable, the system will repeatedly fail link training handshakes. This mismatch causes severe micro-stutters, spontaneous driver crashes, and bus transmission errors. To permanently fix this: enter your motherboard BIOS, open the Advanced PCIe Subsystem configuration, and manually lock your primary PEG slot to Gen 3 (or Gen 4 if you have a validated Gen 4 cable) rather than leaving it on Auto. For more troubleshooting steps on PCIe link instability, check out our breakdown on resolving system-level stutter and crashes.
Don't overlook Windows Power Management either. In Windows Control Panel, open Power Options and select Balanced or High Performance. If you are on an AMD Ryzen processor, stick with the standard Balanced profile to let the AMD chipset driver manage core parking and boost transitions. Finally, disable 'USB Selective Suspend' under advanced power settings; this prevents Windows from idling USB root hubs, which often causes sudden 500 ms input cutouts on wireless mouse and keyboard dongles mid-match.
Optimizing In-Game Settings: Frame Pacing, Reflex, and Graphics Profiles
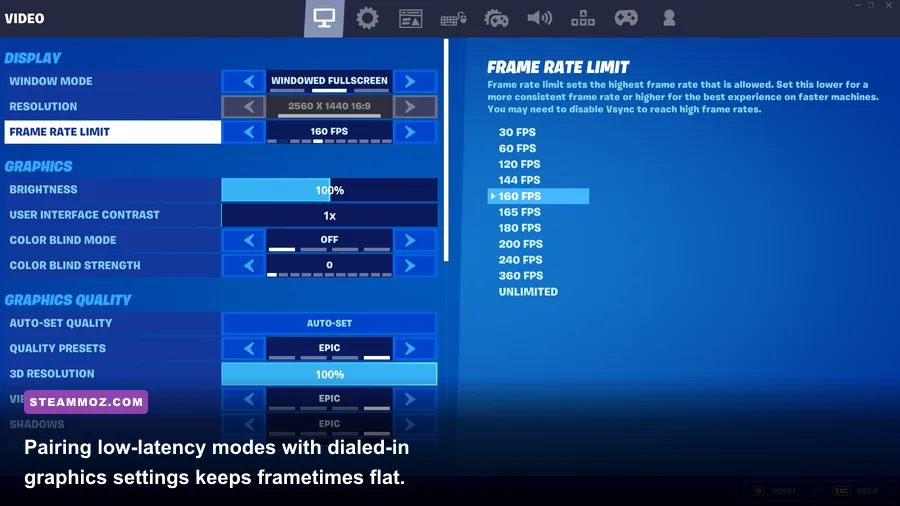
High average frame rates mean very little if your frametimes bounce around like a heart monitor. Erratic frametimes create perceived input lag and jerky visuals. In fast-paced shooters and competitive games, the goal is rock-solid frame pacing paired with the lowest possible render queue latency. Modern titles feature built-in tools like NVIDIA Reflex technology and AMD Anti-Lag 2 designed specifically to prevent the CPU from running too far ahead of the GPU.
To build a bulletproof low-latency profile, follow the proven sync trinity: enable G-Sync or FreeSync on your monitor, turn V-Sync ON in the NVIDIA Control Panel or AMD Software (never inside the game's internal menu), and cap your frame rate approximately 3 to 4 frames below your monitor's maximum refresh rate. If you play on a 144 Hz display, cap your framerate at 141 FPS; if you run a 240 Hz panel, cap it at 236 FPS. This setup guarantees that your display never enters traditional V-Sync buffer queuing, eliminating screen tearing while keeping input lag virtually identical to uncapped gaming.
| Setting / Feature | Optimal Value | Impact on Input Latency | Performance & Visual Trade-off |
|---|---|---|---|
| NVIDIA Reflex Low Latency | On + Boost | Reduces render queue lag by 20-40% | Slightly increases GPU idle clocks; negligible power draw |
| In-Game Vertical Sync | Off | Prevents 1-3 frames of buffer lag | Handled externally by driver G-Sync limiter |
| Max Frame Rate Limiter | Refresh Rate minus 3 FPS | Prevents tearing & buffer overflows | Ensures G-Sync/FreeSync active window never drops |
| Volumetric Clouds / Fog | Medium / Low | Recovers 12-18% frame rate | Imperceptible visual difference during active motion |
| Shadow Quality Resolution | High (avoid Ultra) | Cuts GPU memory bandwidth strain | Eliminates sharp shadow hitching during rapid turns |
| Low Latency Mode (Driver) | Ultra (if no Reflex) | Limits prerendered frames to 1 | Smooths frame delivery on titles without Reflex |
When tweaking graphical settings, prioritize visual clarity over heavy post-processing effects. Features like Motion Blur, Depth of Field, and Film Grain add visual noise, tax compute shaders, and make target acquisition harder. Dropping Volumetric Lighting from Ultra to Medium often delivers an instant 15% boost to minimum 1% low frame rates without degrading world detail. For deeper setting breakdowns across hardware-demanding titles, check out our guides covering in-depth settings for maximum FPS and remedying persistent frame drops.
Peripheral Latency: Polling Rates, Wireless Interference, and Hub Clutter
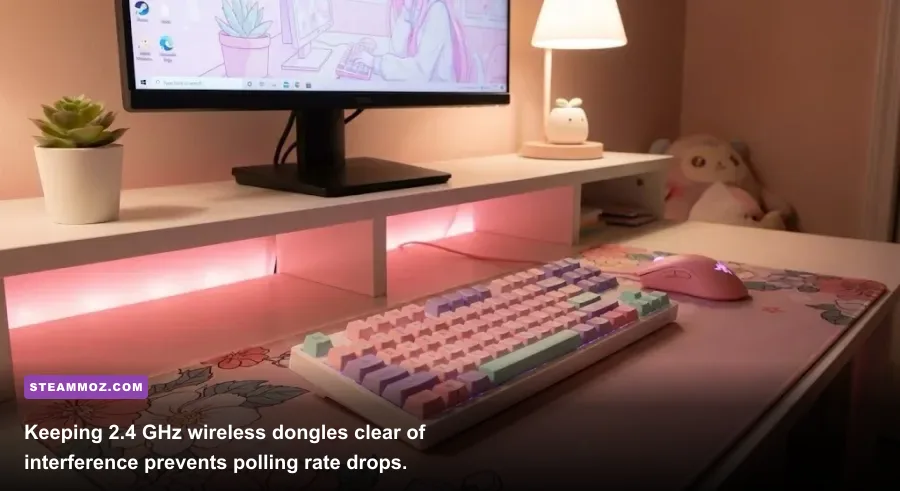
Pink battlestations frequently feature color-matched wireless gear, such as the Razer Viper Ultimate Quartz, Logitech G735 Aurora headset, or custom mechanical keyboards. While wireless gaming hardware has reached parity with wired connections, aesthetic desk layouts often introduce hidden latency bottlenecks. The most common mistake is plugging 2.4 GHz wireless receivers directly into rear motherboard I/O ports right next to active USB 3.0 cables or external hard drives. Unshielded USB 3.0 ports emit wideband radio frequency interference across the 2.4 GHz to 2.5 GHz spectrum, causing packet drops, skipped mouse inputs, and erratic sensor stuttering.
Always use the included USB extender cable and dock that came with your mouse. Place the wireless receiver within 8 to 12 inches of your mousepad, completely isolated from high-bandwidth cables and Wi-Fi antennas. If your keyboard and mouse support multi-device Bluetooth, never use Bluetooth for gaming. Bluetooth protocols typically cap polling rates at a sluggish 125 Hz to 133 Hz (yielding 8 ms of input lag), whereas dedicated 2.4 GHz wireless transceivers hit 1000 Hz, updating position data every single millisecond.
Be cautious with ultra-high polling rates like 4000 Hz or 8000 Hz on older or mid-range CPUs. Jumping from 1000 Hz to 8000 Hz increases CPU interrupt overhead exponentially. In titles running on older game engines, an 8K mouse sweep can drop your in-game frame rate from 200 FPS down to 40 FPS in a fraction of a second. Stick with a rock-solid 1000 Hz polling rate for the sweet spot between sub-millisecond response times and reliable CPU frametime stability.
By clearing background software bloat, fine-tuning your airflow and fan profiles, locking in Full RGB display settings, and organizing your wireless peripherals, you remove the bottlenecks that hold aesthetic builds back. Your Pink PC will deliver the crisp response times, high frame rates, and visual fidelity you built it for.