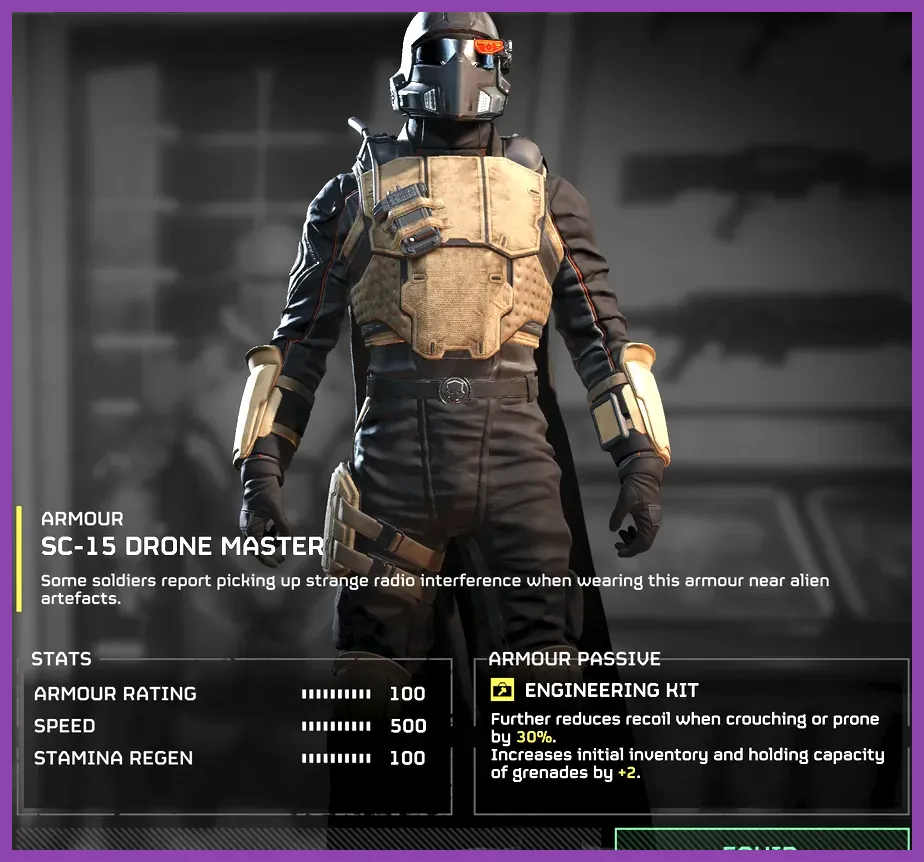
The single best class setup for solo players in Helldivers 2 is the Recon Scout Infiltrator, built around Light Armor featuring the Scout passive (such as the SC-30 Trailblazer), paired with the SH-32 Shield Generator Pack, the LAS-16 Sickle primary, and the LAS-99 Quasar Cannon or AC-8 Autocannon. Because Arrowhead Game Studios did not implement rigid character classes, your class identity relies entirely on armor passives, primary weapons, and stratagem synergies. The Scout build grants lone players maximum sprint speed, reduced enemy detection range, and map-wide radar scanning, enabling you to bypass endless Bug Breaches and Automaton Dropships while completing secondary objectives on Suicide Mission (Difficulty 7) through Helldive (Difficulty 9) completely solo.
The Definitive Solo Class: The Recon Scout Infiltrator
When dropping onto Terminid or Automaton planets without squad support, open direct firefights are a death sentence. The Recon Scout Infiltrator class archetype prioritizes evasion, high movement speed, and objective destruction over static defense. Playing solo requires avoiding unnecessary skirmishes, as enemy patrols scale rapidly and call reinforcements the moment you draw line-of-sight.
By equipping Light Armor with a base speed of 550 and a stamina recovery rate of 125, you outrun fast Terminid Hunters and Automaton Berserkers with ease. The Scout class archetype focuses on completing main objectives, destroying outposts using high-explosive stratagems, gathering Super Samples, and extracting before patrol density becomes unmanageable. If you enjoy precise positioning and optimization in games like high-performance titles or stealth-action games, mastering this solo class transforms Helldivers 2 into a deeply tactical experience.
Core Attributes of the Solo Scout Build
- Armor Rating: 50 (Light Armor)
- Speed Rating: 550
- Stamina Regeneration: 125
- Primary Passive: Scout (Reduces detection radius by 30%, radar pings on map markers every 2 seconds)
- Playstyle: Guerilla warfare, fast objective clearing, hit-and-run tactics
Essential Armor Passives for Solo Helldivers

Selecting the right body armor is the foundational choice of your solo class build. In multiplayer matches, heavy armor allows players to absorb stray fire while teammates draw aggro. In solo play, mobility is your primary defensive stat.
1. SC-30 Trailblazer Scout (Light Armor)
The gold standard for solo Helldivers. The Scout passive drops enemy detection range by 30%, allowing you to crouch within meters of Automaton guards or Terminid patrols without triggering an alert. Additionally, placing a marker on your minimap generates radar pulses every 2.0 seconds, revealing hidden enemy patrols in a 150-meter radius around the pin. Check official details via the Steam Store page for Helldivers 2 for base armor drop rotations.
2. CE-07 Demolition Specialist (Engineering Kit)
If you prefer a slightly more offensive solo class, the Engineering Kit passive increases your throwable grenade capacity by +2 (for a total of 6 grenades) and reduces weapon recoil by 30% when crouching or prone. Extra grenades allow you to clear large Bug Nests and Automaton Medium Outposts without spending high-cooldown orbital stratagems.
3. B-01 Tactical (Extra Padding)
For players who find Light Armor too forgiving of fatal mistimed dodges, medium armors with Extra Padding provide a 150 armor rating while maintaining medium sprint stamina. However, the loss of the Scout radar pulse makes map navigation considerably more risky.
Best Solo Primary and Secondary Weapon Loadouts

Ammo management is a major hurdle for solo players. Dying far from your initial drop point means losing access to dropped support weapons and supply drops. Therefore, infinite-ammo and versatile utility weapons dominate the solo meta.
Primary Weapon Options
- LAS-16 Sickle: An energy-based assault rifle with zero recoil and near-infinite ammunition if heat is managed correctly. Excellent for clearing small bugs (Pouncers, Hunters) and Automaton Raiders without wasting supply packs.
- SG-225 Breaker: Ideal for immediate point-blank crowd control when surrounded by Stalkers. It delivers high burst DPS to clear pressing threats before disengaging.
- JAR-5 Dominator: Offers high medium-armor penetration and heavy stagger against Automaton Devastators and Terminid Brood Commanders. Requires precise aiming due to heavy weapon handling.
Secondary & Throwable Loadout
The P-113 Grenade Pistol is mandatory for high-tier solo runs. It shoots explosive rounds capable of destroying Bug Holes and Automaton Fabricators from long range, saving your primary grenades for combat emergencies. Pair this with G-23 Stun Grenades to freeze aggressive Chargers, Automaton Hulks, or dangerous elite packs, granting you a 4-second window to drop a heavy stratagem or escape.
Top-Tier Stratagems for Lone Wolf Missions
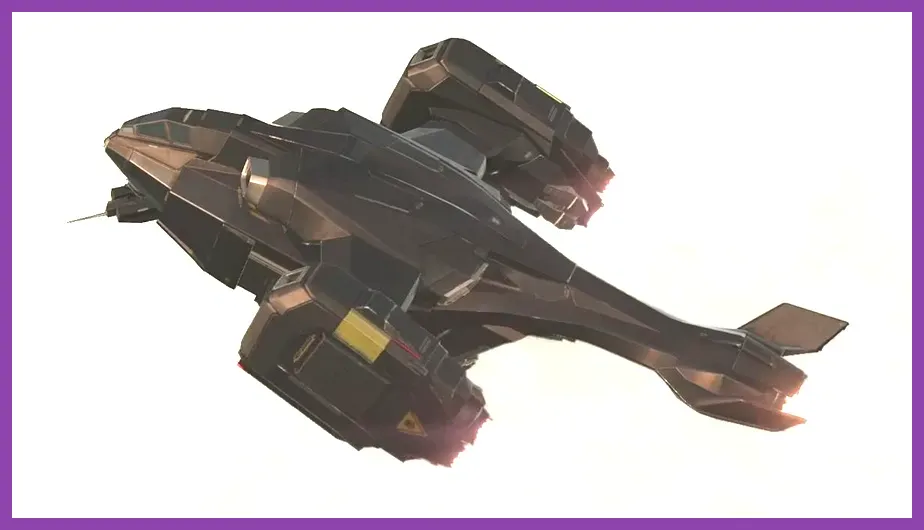
Your four stratagem slots replace the firepower of three missing teammates. You need a mix of direct heavy armor killers, fast wave-clear, and self-preservation tools.
| Stratagem | Type | Primary Solo Function |
|---|---|---|
| SH-32 Shield Generator Pack | Backpack | Absorbs slow-inducing acid, prevents flinch from ranged fire, blocks one-hit melee attacks. |
| LAS-99 Quasar Cannon | Support Weapon | Infinite ammo, heavy anti-tank damage against Chargers, Bile Titans, and Hulks. |
| Eagle Airstrike | Offensive Stratagem | Wipes out medium outposts, destroys fabricators/nests, fast 15-second re-arm cycle. |
| Orbital Railcannon Strike | Offensive Stratagem | Instant targeting fire-and-forget burst against surprise elite targets. |
If you face heavy Automaton forces on icy environments, swapping the Quasar Cannon for the AC-8 Autocannon is highly effective. The Autocannon snipes Bot Fabricator vents from 200 meters away, closes vents instantly, and stagger-locks Heavy Devastators. Compare performance optimization tips for high-density encounters in our guide on graphics settings adjustments.
Step-by-Step Solo Combat Tactics and Objective Rotation
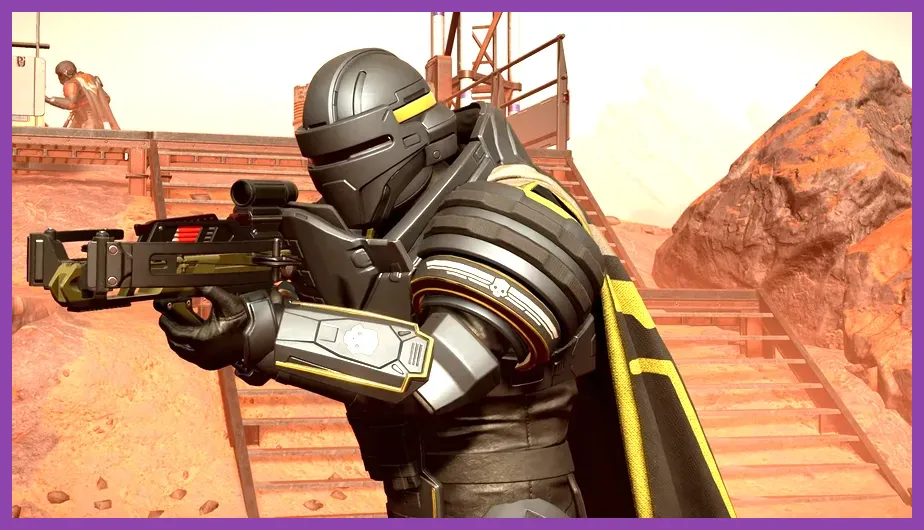
To complete Helldive difficulty solo consistently, follow a strict combat flow that minimizes fight duration and maximizes objective completion speed.
Step 1: Radar Ping Navigation
Before moving to a main objective or POI (Point of Interest), open your minimap and drop markers across your planned path. Watch for red dots pulsing on your radar. Route around large red clusters to avoid triggering combat encounters entirely.
Step 2: Stealth Approach & Outpost Erasure
Approach objectives from high ground. Crouch or crawl prone using Scout armor to get within throwing distance (approx. 45 meters). Throw an Eagle Airstrike directly into the center of the enemy outpost to clear static guards and destroy structures simultaneously. For fast-paced traversal strategies similar to open-world games, review our tutorial on fast movement techniques.
Step 3: Immediate Disengagement
If an enemy calls a Bug Breach or Dropship alert (indicated by red flares or orange smoke), do not stand and fight. Complete your immediate interaction button press, break line-of-sight around terrain features, throw a G-23 Stun Grenade behind you, and sprint perpendicular to the enemy pathing. Enemies will attack your last known position while you circle back from another angle.
Step 4: Silent Extraction Protocol
Call the extraction shuttle at the end of the mission, then immediately run 50 meters away from the beacon pad. Hide in prone inside heavy flora or behind rock cover with your Scout armor equipped. As long as you do not fire your weapon, incoming patrols will wander past the pad without spotting you, allowing Pelican-1 to land safely.
Alternative Solo Class Archetypes: Heavy Demolitionist and Medic
While the Recon Scout is the undisputed meta for high-difficulty solo runs, two alternative class loadouts offer distinct playstyles for different mission types:
The Heavy Demolitionist
Built using CE-35 Trench Engineer armor, the M-105 Stalwart or Grenade Launcher, and the B-1 Supply Pack. This class abandons stealth in favor of overwhelming explosive suppressive fire. It excels at lower-difficulty sample farming (Difficulties 4-6) where enemy health pools allow for aggressive face-to-face combat. Refer to detailed build crafting principles in our build loadout analysis guide.
The Combat Medic Survivalist
Utilizes CM-09 Break-out armor with the Med-Kit passive, which increases your Stim capacity to 6 and extends Stim invulnerability effects by +2.0 seconds. Combined with the Experimental Infusion booster, using a Stim grants near-godmode speed and damage reduction, allowing solo players to brute-force objective terminals while taking direct heavy fire. Check official mechanical breakdowns on the Helldivers Wiki or dive into co-op multiplayer team setups to see how these builds transition back into squad play.
By mastering line-of-sight mechanics, deploying the Scout Infiltrator loadout, and prioritizing objective speed over kill counts, solo Helldivers can comfortably complete max-difficulty drops and secure Super Samples without relying on squad mates.