If your MSI gaming desktop or laptop is hitching through firefights, dropping below 60 FPS on high-tier hardware, or crashing straight to your desktop without an error code, the problem rarely comes down to raw hardware horsepower. MSI builds—from sleek Katana, Pulse, and Raider laptops to prebuilt Aegis, Codex, and Trident towers—pack serious silicon, but they ship with notorious background bloatware, aggressive thermal limiters, and mismatched hybrid graphics routing that actively wreck your 1% low frame times. When you hit a stutter in an intense firefight, it is usually a rogue audio service injecting into your rendering pipeline, or your CPU throttling clock speeds down to bare minimums to survive a thermal spike.
Getting your rig to run butter-smooth doesn't require a factory reset or expensive upgrades. By stripping out conflicting telemetry hooks, taking direct control of your hardware MUX switch, optimizing cooling curves, and locking down your system power limits, you can stabilize frame pacing and reclaim lost frame rates across every demanding title in your library.
Tame MSI Center and Purge Bloatware Causing Frame Time Spikes
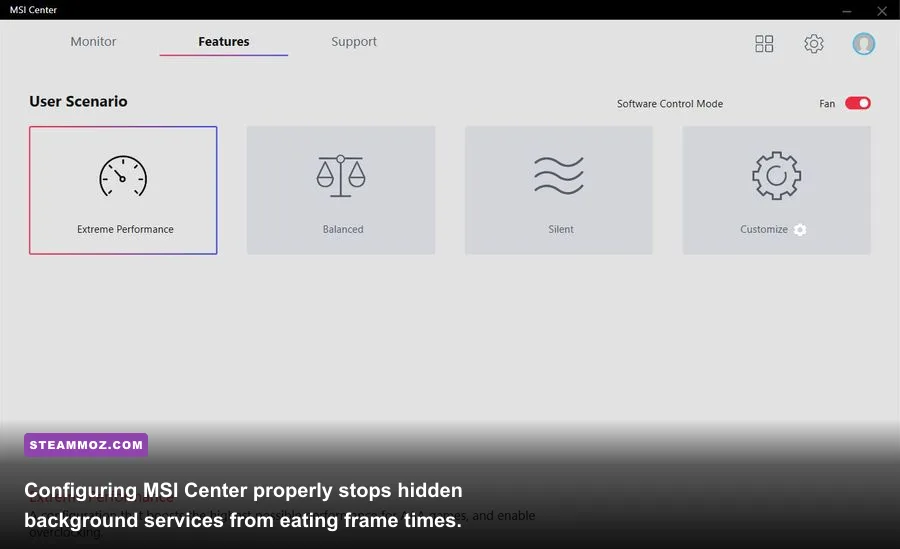
The single biggest culprit behind erratic frame drops on MSI machines is MSI Center (or Dragon Center on slightly older rigs). While it looks like a handy dashboard for hardware monitoring and RGB lights, its sub-modules run persistent background telemetry tasks that constantly poll your CPU and GPU sensors. Worse, MSI systems bundle third-party software like Nahimic Audio and Norton Antivirus that inject active DLL hooks directly into your game's DirectX and Vulkan graphics pipelines. When anti-cheat software or game engines clash with these hooks, the result is instant stuttering or sudden crash-to-desktop events, a headache familiar to anyone working through PC fixes that stop crashes and rescue your FPS in volatile game engines.
Nahimic Audio is notorious for this. Its background process (NahimicService.exe) attempts to apply real-time virtual surround sound processing to your game's audio channels. Open your Windows Run dialog (Win + R), type services.msc, hit Enter, scroll down to Nahimic Service, right-click it, select Properties, set the Startup Type to Disabled, and click Stop. Restart your PC, and you will immediately notice cleaner frame times in titles sensitive to audio-thread bottlenecks.
Next, launch MSI Center and open the Feature Sets tab. Uninstall every module you do not actively use. Modules like Ambient Link, Sound Tune, and Game Highlights constantly scan display buffers and system audio streams, robbing your CPU of precious cycles. Keep only User Scenario. Inside User Scenario, do not leave your system on "Smart Auto" or "Balanced." Switch to Extreme Performance. Click the gear icon beside Extreme Performance and raise your fan profiles to prevent the aggressive downclocking thresholds built into the default factory curve. If you want zero software bloatware, you can uninstall MSI Center completely via the official MSI Support uninstaller tool and control your GPU clocks and fan curves using the battle-tested, lightweight standalone MSI Afterburner utility instead.
Eliminate MUX Switch Latency and Optimize Hybrid GPU Routing
If you game on an MSI laptop (such as the Stealth, Crosshair, Vector, or Raider series), there is a high probability your dedicated Nvidia GeForce RTX or AMD Radeon GPU is not connected directly to your laptop screen. By default, MSI laptops run in MSHybrid Mode (Nvidia Optimus). In this configuration, your powerful dedicated GPU renders the 3D frame, but it must pass that frame through your CPU's integrated graphics chip (Intel Iris Xe / AMD Radeon 780M) before it reaches the panel. That extra detour creates an input latency penalty, introduces micro-stutters, and slices your average frame rate by 10% to 25% depending on how CPU-bound the title is.
To fix this, you need to engage the hardware MUX switch to lock your display pipeline to Discrete Graphics Mode. You can do this right inside MSI Center or straight through the BIOS:
- Through MSI Center: Open the app, navigate to General Settings, find GPU Switch, toggle it from MSHybrid to Discrete Graphics Mode, and reboot your laptop when prompted.
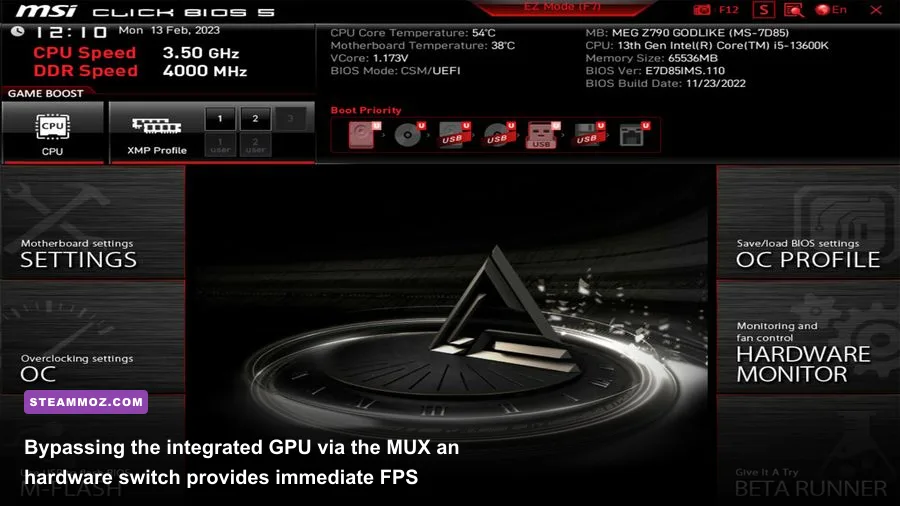
- Through BIOS: Power down your machine, turn it on, and immediately tap Delete repeatedly to enter Click BIOS 5. Navigate to the Advanced tab, locate Display Mode or Graphics Device, change the setting from Dynamic / MSHybrid to Discrete GPU, press F10 to save, and exit.
Once your laptop restarts in pure discrete mode, your Nvidia or AMD GPU connects directly to the internal display. You bypass the memory bandwidth choke of the integrated graphics chip entirely, granting an instant boost to both average frame rates and vital 1% low metrics, much like fine-tuning graphics scaling in our Far Cry 6 settings guide for max FPS.
| Display Routing Mode | Average FPS Delta | 1% Low Consistency | Input Latency Impact | Battery Life Trade-Off |
|---|---|---|---|---|
| MSHybrid (Optimus Default) | Baseline (-10% to -25%) | Frequent frame time spikes | +8ms to +15ms display delay | Maximum (4 to 7 hours) |
| Discrete Graphics Mode (MUX) | +12% to +28% Higher | Rock-solid frame pacing | Near-zero routing delay | Low (1.5 to 2.5 hours) |
| Direct External Monitor (via DP) | +15% to +30% Higher | Ultra-smooth frame pacing | Direct hardware latency | Wall power recommended |
Aggressive Thermal Throttling: Fan Curves and Undervolting
MSI hardware is tuned to run aggressively up to the absolute limits of its thermal envelope. Intel Core i7 and i9 processors inside MSI Katana or Raider chassis often spike to 95°C or even 100°C within seconds of launching a modern Unreal Engine 5 or Frostbite title. When the CPU reaches its PL1 (Power Limit 1) or thermal junction threshold, the internal motherboard VRM forces the clock multiplier down, dropping clock speeds from 4.9GHz all the way to 1.8GHz or lower in a fraction of a second. This severe power throttle manifests on your screen as a sudden, brutal one-second freeze or constant frame rate dips down to 15 FPS.
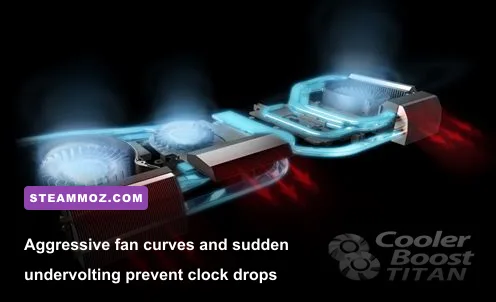
To stop this thermal rollercoaster, you need to implement active heat dissipation before your hardware hits critical limits. On MSI laptops, make use of the physical Cooler Boost toggle (often mapped to Fn + F7 or inside the MSI Center User Scenario dashboard). Cooler Boost spins both CPU and GPU centrifugal fans up to 100% capacity (roughly 5500 to 6000 RPM). While the fan noise is noticeable, the rapid airflow drops die temperatures by 6°C to 10°C, keeping your components beneath the catastrophic throttling ceiling.
For advanced players looking for whisper-quiet performance without thermal throttling, undervolting is your best weapon. MSI motherboards offer an incredible hidden advantage: the unlocked Advanced BIOS. To access it on an MSI laptop, reboot, hit Delete to enter BIOS, and simultaneously press the magic key combination: Right Ctrl + Right Shift + Left Alt + F2. This unlocks hidden engineering menus. Navigate to the Overclocking Performance Menu, enable Overclocking Feature, set Core Voltage Offset Prefix to [-] (Negative), and input a safe core offset between 50 and 70 millivolts (-0.050V to -0.070V). This minor voltage reduction drops running temperatures by up to 8°C under heavy loads without sacrificing a single megahertz of core frequency.
If you are gaming on an MSI desktop tower (like an Infinite or Aegis), inspect your CPU cooler pump speeds in the BIOS hardware monitor. Ensure your AIO pump is set to run at 100% Full Speed continuously, rather than ramping up and down along a delayed thermal curve that lets heat build up during sudden cutscenes or dense in-game asset loads.
Clean Driver Installations and Windows Power Plan Tuning
Overwriting display drivers through automated updater software leaves behind corrupt shader caches, registry keys, and broken display profiles that trigger random game crashes. If a game crashes to desktop during loading screens or high-stress combat, your graphics driver stack is likely fragmented. You need to wipe the slate clean using Display Driver Uninstaller (DDU), available directly via Guru3D's official portal.
Download the latest WHQL driver package from Nvidia's official driver hub. Reboot your PC into Windows Safe Mode (hold Shift while clicking Restart > Troubleshoot > Advanced Options > Startup Settings > Restart > press 4). Open DDU, select your GPU device type, and click Clean and restart. Once Windows boots back into normal mode, run the Nvidia installer, choose Custom (Advanced), and uncheck GeForce Experience if you do not actively use shadowplay recording—this prevents background telemetry services from competing with your game's rendering pipeline. Similar driver refreshes are crucial for stopping erratic crashes, as highlighted in our guide for resolving low FPS and desktop crashes.
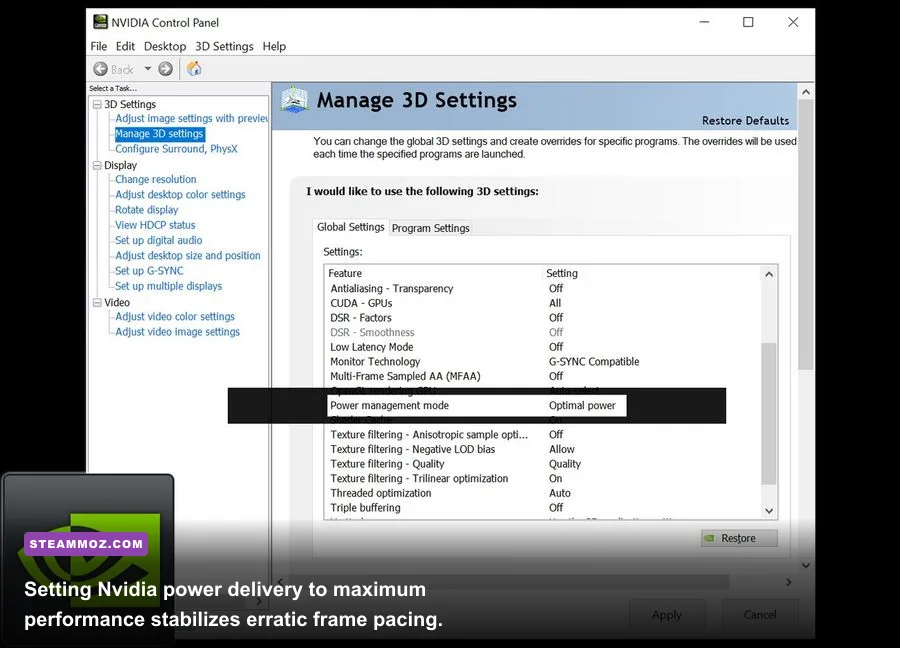
Next, recalibrate Windows 11 power delivery and system security settings that actively degrade gaming frame times. Windows 11 ships with Virtualization-Based Security (VBS) and Core Isolation (Memory Integrity) enabled by default. While great for enterprise workstations, VBS constantly virtualizes memory calls, which drains CPU gaming throughput by up to 10% on prebuilt gaming rigs. Open the Windows Start menu, search for Core Isolation, and toggle Memory Integrity to Off. Afterward, configure your Nvidia Control Panel and Windows power settings according to the proven performance tuning matrix below.
| Tuning Setting | Default MSI Configuration | Pro-Tuned Value | Performance & Frame Time Impact |
|---|---|---|---|
| Windows Power Plan | Balanced (MSI Profile) | High Performance / Ultimate | Eliminates core parking delay and clock drops |
| Core Isolation (VBS) | Enabled | Disabled (Restart Required) | Recovers 5% to 10% CPU gaming throughput |
| Nvidia Power Management | Normal (Power Saving) | Prefer Maximum Performance | Prevents GPU clock downthrottling mid-session |
| Nvidia Shader Cache Size | Driver Default (4 GB) | 10 GB to 100 GB | Stops stutter when loading new visual shaders |
| Low Latency Mode | Off | On (or Ultra with G-Sync) | Reduces render queue latency on CPU bound games |
Fine-tuning these operating system parameters removes system hesitation during frantic moments in title after title, keeping pace even on budget setups where players strive for higher FPS on modest gaming hardware.
Stabilize Memory Profiles, Virtual Memory, and DirectX Shaders
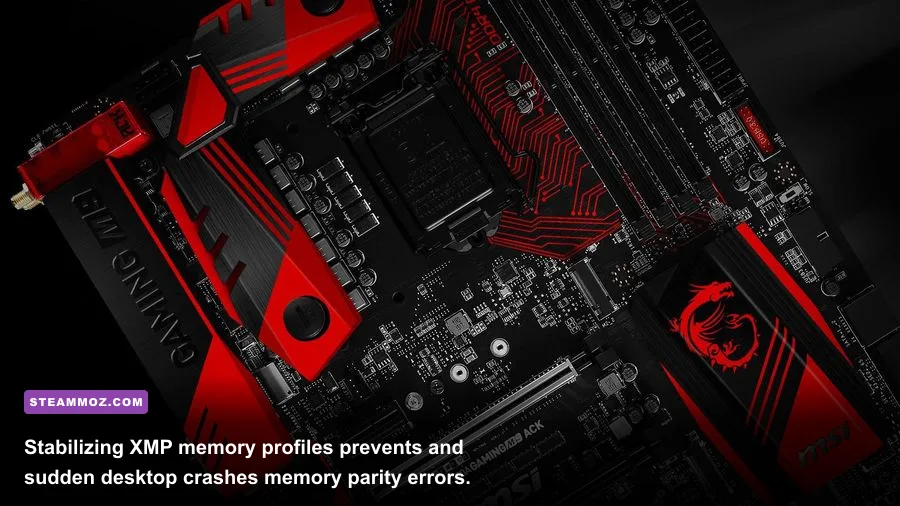
When games crash directly to desktop with memory reference errors (such as 0xC0000005: Access Violation) or trigger blue screen crashes (IRQL_NOT_LESS_OR_EQUAL), your system memory subsystem is failing under high bandwidth loads. Prebuilt MSI desktops and motherboards feature high-speed DDR4 and DDR5 RAM kits running on Intel XMP (Extreme Memory Profile) or AMD EXPO. However, factory BIOS versions often apply slightly loose memory controller voltages (VDD2 and VDDQ) that cause memory parity drops during prolonged gaming sessions.
Restart your machine, tap Delete to enter Click BIOS 5, and confirm your memory profile is running stable. If your memory is rated for 6000MHz or 5600MHz and frequently crashes under Unreal Engine games, toggle XMP Profile 1 off and test the game at JEDEC base speeds (such as 4800MHz). If the crashing vanishes, update your MSI motherboard BIOS to the latest version via the M-Flash utility in BIOS. MSI frequently releases BIOS updates containing critical Intel Microcode and AMD AGESA updates that stabilize memory training profiles and voltage stability.
Another overlooked crash trigger is an unmanaged Windows Virtual Memory Pagefile. If you have 16GB or 32GB of RAM and have disabled your pagefile—or left it completely to Windows automation—demanding games will crash when they run out of contiguous physical memory space, a hazard common when handling modern releases described in our PC specs and hardware demand breakdown. Set a manual system pagefile on your fastest NVMe SSD:
- Press
Win + Pause/Breakor open System Properties > Advanced system settings. - Under the Advanced tab, click Settings in the Performance section, then go to the Advanced tab.
- Click Change under Virtual Memory.
- Uncheck Automatically manage paging file size for all drives.
- Select your primary NVMe SSD (C:), choose Custom size, set Initial size to
16384MB (16 GB), and set Maximum size to32768MB (32 GB). - Click Set, then OK, and reboot your PC.
Finally, clear out corrupted DirectX shader caches that accumulate after frequent driver updates or patch cycles. Head to Windows Disk Cleanup (search for cleanmgr in the Start menu), select your C: drive, check DirectX Shader Cache, and click OK. The next time you boot your games, they will cleanly recompile their shader libraries directly onto your storage drive. You might encounter a brief moment of loading on the initial launch, but this completely eliminates the persistent micro-hitches and random engine crashes that plague unoptimized installations, mirroring the fixes we recommend for stopping crashes and steadying FPS in demanding action games.
By clearing out intrusive audio services, locking your display directly to your discrete GPU, commanding your cooling profiles, and establishing clean driver and memory foundations, your MSI gaming PC will run the way it was engineered to run: lightning-fast, ultra-responsive, and rock-solid under any gaming load you throw at it.