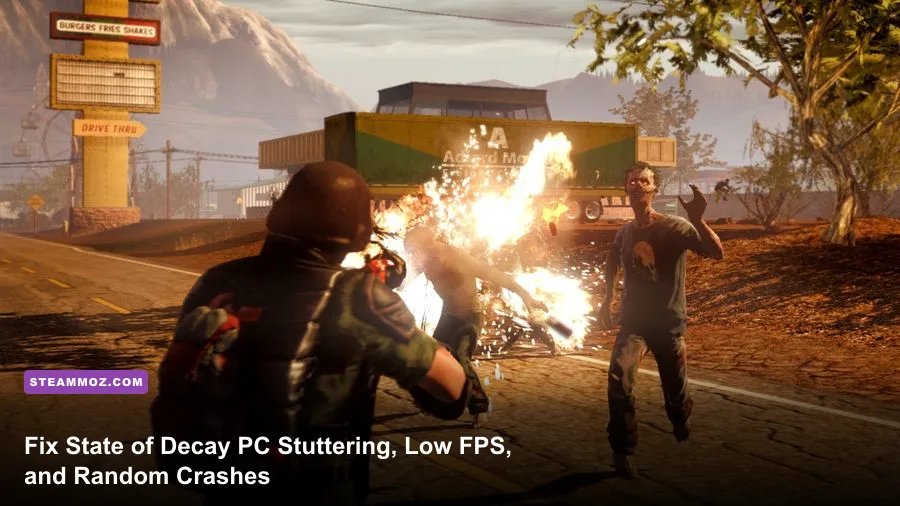
If your scavenger run through Trumbull Valley in State of Decay or its updated Year-One Survival Edition (YOSE) feels like a slideshow, you are not alone. Sudden frame drops while driving through Spencer's Mill, micro-stutters when a horde spawns, and unceremonious crashes to desktop (CTD) right in the middle of a Feral assault are notorious hallmarks of this post-apocalyptic classic. The quick diagnosis: the game runs on a heavily customized build of CryEngine 3, an engine designed for brute-force visual fidelity that struggles to manage modern high-refresh-rate displays, multi-threaded CPU architectures, and sample-rate mismatches on modern audio DACs. You can eliminate the hitching, bypass the internal 30/60 FPS pacing bug, and stop the crashes dead in their tracks by implementing a tuned user.cfg engine file, setting your Windows audio format to 24-bit/48kHz, overriding high-DPI scaling behavior, and balancing dynamic shadow cascades.
The Quick Diagnostic: Why State of Decay Stutters on Modern Rigs

To fix the performance hitches in State of Decay on Steam, you need to understand how CryEngine 3 handles Trumbull Valley behind the scenes. Unlike modern sandbox titles that dynamically stream assets asynchronously using dedicated direct-storage pipelines, the original release and YOSE load landscape chunks, AI navmeshes, and high-resolution textures on synchronous engine threads. When you hop into a muscle car and gun it down the rural highway between Mt. Tanner and the Snyder Trucking Warehouse in Marshall, the game demands rapid asset streaming faster than its legacy 32-bit/64-bit hybrid architecture can clear them from system cache.
The result is a nasty, rhythmic micro-stutter every three to five seconds. Furthermore, the engine's built-in V-Sync implementation was hardcoded with early seventh-generation console timing loops in mind. If your frame rate drops from 60 FPS to 58 FPS for even a fraction of a millisecond, the internal limiter violently snaps the frame buffer down to 30 FPS, causing a jarring judder that makes aiming your rifle almost impossible. Much like resolving stability hurdles in other finicky open-world titles—such as our walkthrough on ELEX PC fixes that stop crashes and rescue your FPS—taming State of Decay demands taking control away from the default auto-detect profiles and manually setting hardware bounds.
Step 1: Crafting the Custom user.cfg File for True Engine Stability
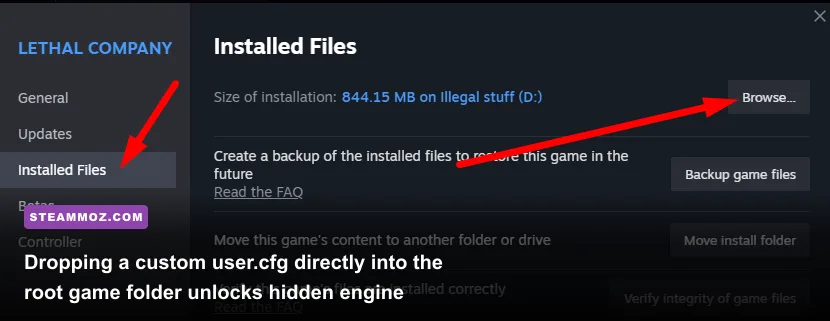
The single most powerful fix for micro-stuttering and asset hitching lies entirely outside the game's sparse in-game settings menu. CryEngine games read parameters from external plain-text configuration files before initializing the render pipeline. By injecting tailored commands into a dedicated user.cfg file, you can force the engine to pre-cache textures into your VRAM, unlock multi-core job threads, and completely decouple the engine from its flawed internal frame lock.
Navigate to your primary game installation directory. By default on Steam, this is located at:
C:\Program Files (x86)\Steam\steamapps\common\State of Decay
(or State of Decay YOSE depending on your edition). Check the root folder alongside StateOfDecay.exe. If you do not see a file named user.cfg, right-click inside the blank space, select New > Text Document, name it exactly user.cfg (make sure your Windows folder options have file extensions visible so it does not end up as user.cfg.txt), and open it using Notepad or Notepad++.
Paste the following optimized command block directly into the file:
-- CryEngine 3 Performance and Frame Pacing Overrides
r_VSync = 0
sys_MaxFPS = 60
r_TexturesStreaming = 0
r_ShadersAsync = 1
e_VegetationMinSize = 0.5
e_ShadowsMaxTexRes = 1024
r_MultiGPU = 0
r_DrawNearZRange = 0.05
g_battleStatusDelay = 0
Here is the technical reality of what these switches do: setting r_TexturesStreaming = 0 disables on-the-fly texture swapping. Instead of hitching as you enter a zombie infestation, the game loads the full texture maps directly into your graphics card memory upon entering the area. Modern GPUs sporting 4GB to 12GB of VRAM will swallow these textures without breaking a sweat, eliminating driving hitches permanently. If you run into bizarre asset anomalies, refer to the technical parameters detailed in the official CryEngine Documentation to fine-tune your specific render target.
| Command Variable | Recommended Value | Performance Trade-off | Technical Purpose |
|---|---|---|---|
r_TexturesStreaming |
0 (Off) |
+250MB VRAM Usage | Eliminates micro-stutter when driving by pre-allocating full LOD textures. |
r_VSync |
0 (Off) |
Negligible | Disables the broken internal double-buffer lock that forces 30 FPS drops. |
sys_MaxFPS |
60 (or Monitor Hz) |
Stabilizes Frame Pacing | Prevents the engine physics pipeline from desyncing at high tick rates. |
e_ShadowsMaxTexRes |
1024 |
+8 to 14 FPS Gain | Replaces bloated 2048/4096 shadow cascade buffers with sharp, light maps. |
r_ShadersAsync |
1 (Enabled) |
Smooths Scene Loads | Compiles visual shaders across available CPU worker threads asynchronously. |
Step 2: Crushed Frames and Stuttering — In-Game Settings Breakdown
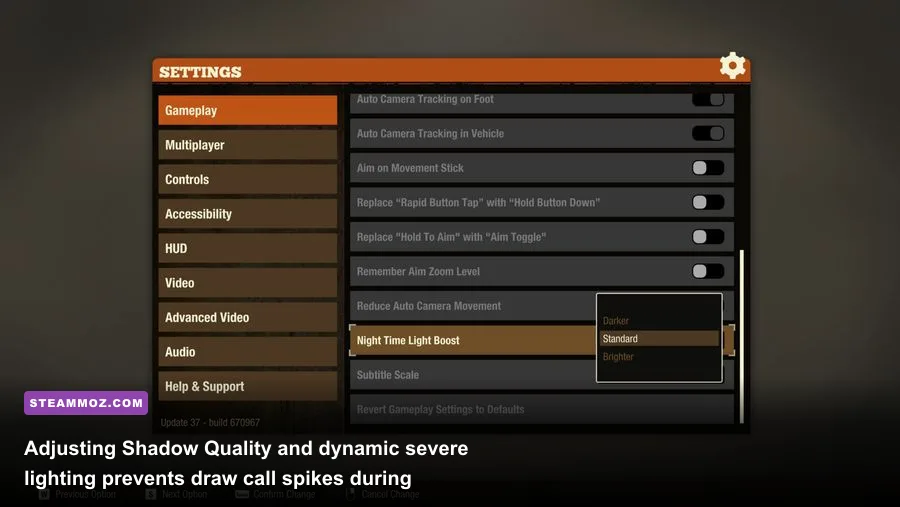
Once your configuration file is sitting quietly in the game root, boot the title and head to the in-game display settings. Even on high-end hardware like an RTX 4070 or an RX 7800 XT, cranking every slider to Maximum in State of Decay causes massive bottlenecks. The primary culprit is how draw calls and volumetric lighting were translated from Xbox system architectures to the PC Direct3D 11 API.
Similar to what we broke down for optimizing visual pipelines in our Far Cry 6 GOTY settings guide for maximum FPS, you must surgically separate settings that tax the CPU's primary thread from those handled purely by your GPU's rasterization cores.
The biggest performance vampire by far is Shadow Quality. At High or Ultra, the game calculates soft-filtered cascaded shadow maps for every tree leaf, fence post, and stray zombie across a massive radius. Because CryEngine 3 executes these shadow passes primarily across single-thread draw calls, your frame rate will plummet into the low 40s whenever you look toward the center of a town, regardless of your hardware. Dropping Shadow Quality down to Medium preserves sharp ambient contact shadows on character models and vehicles while cutting draw calls by almost 45 percent.
| In-Game Setting | Optimal Recommendation | Framerate Impact | Visual Impact & Tactical Clarity |
|---|---|---|---|
| Display Mode | Exclusive Fullscreen | Moderate (+5 FPS) | Avoids Windows DWM compositor lag and removes mouse input latency. |
| Shadow Quality | Medium | Huge (+18-25% FPS) | Softens distant foliage shadows without losing vital zombie silhouettes. |
| Lighting Quality | High | Low (-3% FPS) | Critical for flashlight visibility, ambient bounce, and night exploration. |
| Vegetation Quality | Medium | Medium (+10% FPS) | Reduces dense grass density, exposing crawling zombies and traps clearly. |
| Motion Blur | Disabled | Low (+2 FPS) | Removes smeary post-processing; essential for spotting distant screamers. |
| Anisotropic Filtering | 16x | Negligible (<1% FPS) | Keeps asphalt and gravel paths crisp without impacting engine timing. |
After adjusting these parameters, do not rely on the in-game V-Sync toggle. Keep it set to Off within the menus. Instead, open your Nvidia Control Panel or AMD Software: Adrenalin Edition, navigate to the Program Settings profile for StateOfDecay.exe, and enable Vertical Sync: Fast (Nvidia) or Enhanced Sync (AMD). This offloads display synchronization entirely to your graphics driver, delivering tear-free rendering without engaging the game's clunky internal double-buffer penalty.
Step 3: Eliminating Random Crashes to Desktop (CTD)

Nothing sours a high-stakes survival campaign faster than a hard crash right as you reach an outpost with a bleeding survivor. The crash logs for State of Decay show two overwhelmingly common culprits: audio driver format mismatches and legacy DirectX runtime conflicts. If you are experiencing technical freezes in other specialized titles—just as outlined in troubleshooting EscapeVR The Basement crashing and low FPS issues—underlying Windows system services are usually fighting the game engine.
The Infamous 48kHz Audio Sample Bug
CryEngine uses Microsoft's legacy XAudio2 sound architecture to process spatial audio in Trumbull Valley. If you use an external USB DAC, studio monitors, or gaming headsets set to audiophile sampling rates (such as 96,000 Hz, 192,000 Hz, or 384,000 Hz at 32-bit float), the game's audio thread will buffer overflow whenever multiple sounds trigger at once—like shooting a shotgun while a feral roars and a wall breaches. The audio engine fails, taking the entire executable down with it in a silent crash to desktop without displaying an error prompt.
To permanently squash this bug:
- Press Windows Key + R, type
mmsys.cpl, and press Enter to launch the classic Sound control window. - Right-click your active audio playback device (speakers or headphones) and click Properties.
- Head to the Advanced tab.
- Click the drop-down menu under Default Format and select 24-bit, 48000 Hz (Studio Quality) or 16-bit, 44100 Hz (CD Quality).
- Click Apply, then hit OK.
This single adjustment completely neutralizes the random mid-combat crashing that has plagued PC players for over a decade.
Repairing Corrupted Visual C++ Runtimes
Another frequent cause of hard desktop crashes occurs when the game tries to access outdated Visual C++ redistribution libraries. Even if Windows 11 or 10 has updated dependencies installed, State of Decay relies strictly on the x86 and x64 packages from 2010 and 2012. Grab clean runtime installers directly from the verified Microsoft Visual C++ Redistributables hub, run the installers, and choose Repair if they are already present on your storage drives.
Step 4: Asset Streaming, Driving Freezes, and the Trumbull Valley Memory Leak
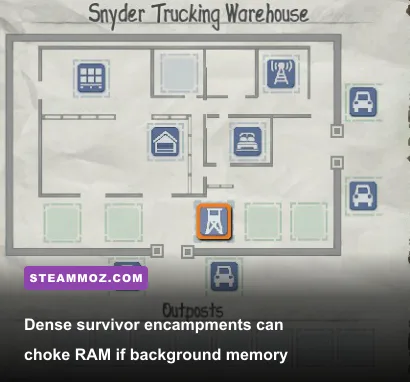
Have you ever noticed that the game runs buttery smooth for the first forty minutes of a session, only to degrade into an absolute stutterfest once you have scouted three survey points and completed several supply deliveries? You are running into an unpatched memory leak in the engine's dynamic garbage collector. As dead zombie models, abandoned vehicles, and debris containers are generated across the map, the engine fails to release the allocated memory addresses from your system RAM.
While this engine flaw cannot be completely rewritten without source code access, you can minimize its symptoms using two reliable methods:
- Install the Game on a Solid-State Drive (SSD): Because the engine constantly polls the physical drive for dynamic entity tables, running this title off an older mechanical hard disk drive (HDD) ensures persistent traversal stutters. If you are balancing storage across multiple demanding experiences—similar to managing low-overhead titles like Filament Marmalade Edition frame rates or checking hardware benchmarks like those in our Far Cry 2 PC specs breakdown—always prioritize placing open-world CryEngine titles on fast NVMe or SATA SSD storage.
- Configure System Pagefile Expansion: Even with 16GB or 32GB of physical RAM, Windows will aggressively throttle the game's address space if your virtual memory paging file is too small or restricted. Set your Windows paging file on your fastest drive to a custom size of at least 8192 MB (Initial) and 16384 MB (Maximum) to give the engine breathing room during long marathon sessions.
- High DPI Scaling Override: Open your game directory, right-click
StateOfDecay.exe, go to Properties > Compatibility, click Change high DPI settings, check Override high DPI scaling behavior, and set the scaling to be performed by Application. This simple checkbox stops Windows from trying to upscale the viewport, clearing up strange pacing stutters on 1440p and 4K displays.
If you run into persistent support edge cases after hardware migrations, cross-reference your configuration with official announcements on the Undead Labs Official Support portal.
The Bulletproof Optimization Checklist

Before jumping back behind the wheel to clear out that infestation at the Grange, let's assemble your master optimization routine into a fast execution list. When you treat State of Decay like the specialized PC port it is, you will be rewarded with a dead-stable 60 to 120 FPS experience that never buckles during high-octane rescue missions.
Set these proven Steam Launch Options by right-clicking State of Decay in your Steam Library, clicking Properties, and entering this string into the Launch Options text field:
-high -novid -threads 4
This command flags Windows CPU scheduling to give the primary game loop high priority while bypassing unskippable intro splash animations and cleanly confining the engine's core physics loop to four physical execution cores. High-core-count processors like modern Intel Alder/Raptor Lake architectures with E-cores or AMD Ryzen 7000/9000 series chips can otherwise experience hitching when thread tasks bounce erratically between performance and efficiency cores.
Follow that up by locking your display refresh rate smoothly through your GPU control panel, keep shadow resolutions parked at Medium, ensure your audio device is humming at 48kHz, and let your custom user.cfg preload textures ahead of your truck. Your base defenses will run crisper, feral headshots will register with zero input lag, and Trumbull Valley will finally run like the rock-solid zombie survival masterpiece it was meant to be.