
If you want to level quickly and build a healthy gold reserve in ENIGMA, stop wandering between activities and run a tight three-part loop: clear the nearest repeatable enemy circuit, finish every objective that overlaps that route, then sell only low-value loot before resetting. Spend your first upgrades on consistent damage and stamina recovery, not expensive gear, and you can reach the next meaningful power spike roughly twice as fast as a player who follows the story blindly.
That sounds simple, but ENIGMA hides most of its efficiency behind travel time, respawn timing, and reward quality. A fight that pays 80 experience and 22 gold is not automatically better than one paying 55 experience and 18 gold. If the first encounter takes 20 seconds and the second takes 50, the smaller reward wins. This guide focuses on experience per minute, gold per minute, and the point where a farming route stops being profitable.
Build the Fast Route Before You Grind
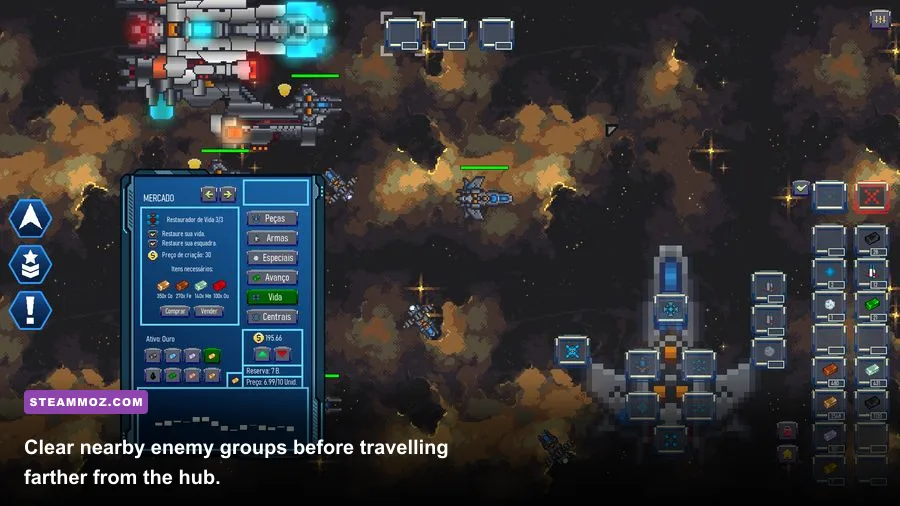
Your first priority is unlocking the main hub's basic vendors and movement options. Don't rush past the opening objectives just to farm the first enemies you see. The early tutorial encounters have poor gold efficiency, while the first open area becomes much better once the game allows you to accept overlapping contracts and return to the hub without manually backtracking.
Use the opening quests to secure your first weapon upgrade, then begin measuring each route by the time shown on your in-game clock. A useful early benchmark is 10 minutes per circuit. If a loop takes longer, remove detours, ignore isolated enemies, and sell between runs only when your inventory is close to full. Loading screens and long vendor menus quietly destroy your hourly income.
The strongest general route has four parts:
- Accept every available contract that targets the same enemy family or region.
- Clear grouped enemies first, because area damage improves both experience and survival.
- Collect weapons, armor, and high-value materials, but leave common low-price clutter when the inventory starts filling.
- Return to the hub after the final elite or objective chest, sell in one transaction, restock healing items, and repeat.
Experience is usually awarded for the kill rather than the damage dealt, so don't split enemies across the map. Pulling one group into another is often the difference between a clean 90-second fight and a messy four-minute exchange. It also lets cooldown-based abilities hit more targets per cast, which improves your real experience rate without requiring a higher level.
| Activity | Typical Time | Experience Efficiency | Gold Efficiency |
|---|---|---|---|
| Story-only objective | 8–15 minutes | Medium | Low to medium |
| Grouped enemy circuit | 6–10 minutes | High | Medium |
| Contract overlap route | 8–12 minutes | High | High |
| Elite-only farming | 4–8 minutes | Medium | High, if fast |
| Random exploration | 15–25 minutes | Low | Unstable |
For comparison, Steamoz's Death Howl farming guide makes the same important point: a route is only good when its reward survives the trip back to town.
🎮 ENIGMA:
Looking to experience this game? Grab your digital key directly on our store for $7.49.
View on Steammoz Store →The Best Early Combat Setup for Experience

ENIGMA rewards a compact, repeatable build more than a flashy one. Use a fast primary weapon with a reliable stagger or interruption option, then pair it with an area attack that can hit at least three targets. The exact item names and drop tables can shift between builds, but the priorities don't: attack speed, stamina recovery, cooldown reduction, and enough defensive power to survive one mistake.
Put your first five meaningful upgrade points into damage or the stat that directly scales your chosen weapon. After that, take stamina efficiency or cooldown recovery. A common mistake is investing evenly across every stat. That creates a character who can equip many things but kills slowly with all of them. A focused setup reaches the next damage threshold sooner, and that threshold matters more than a small increase to health.
Your basic combat rotation should look like this:
- Open with the ability that groups, slows, or interrupts enemies.
- Use your area attack while the pack is controlled.
- Finish weakened targets with fast basic attacks rather than spending another long cooldown.
- Save your defensive skill for the enemy telegraph, not the moment you begin losing health.
- Collect rewards only after the group is dead; stopping to loot during combat costs more time than it saves.
Against ordinary enemies, avoid heavy attacks unless they guarantee a stagger or kill. Their animation commitment reduces movement and leaves you open to a second attacker. Heavy attacks become worthwhile against elites, shielded enemies, or targets already trapped by a control effect. If you are taking damage during every rotation, your build is not ready for that route yet; return to the previous circuit and upgrade one offensive piece.
| Build Priority | Recommended Early Target | Why It Matters | When to Change |
|---|---|---|---|
| Primary damage | Highest available upgrade | Shortens every encounter | Only replace for a major scaling improvement |
| Stamina recovery | Second priority | Allows dodge and heavy-attack uptime | Drop slightly after reaching comfortable survival |
| Cooldown recovery | Third priority | Improves grouped-clear speed | Prioritize after area skills unlock |
| Health or defense | One sensible investment | Prevents failed runs and lost time | Increase when elites can kill you in two hits |
| Critical or rare scaling | Situational | Strong later, inconsistent early | Use once your base damage is stable |
Don't judge a weapon by its highest displayed number alone. A slow weapon that deals 30 percent more damage can still lose to a faster option if it misses, consumes too much stamina, or prevents you from clearing a group before the next attack cycle. Test the weapon over one full route, not inside the training area.
How to Farm Gold Without Wasting Valuable Loot
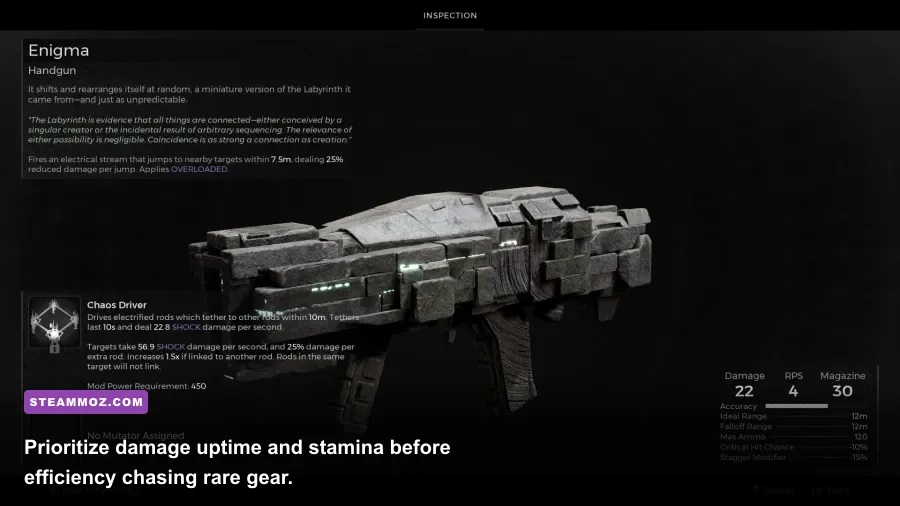
Gold farming in ENIGMA is mostly an inventory problem. Every run should have a selling plan before you leave the hub. Keep one backup weapon, one defensive alternative, and materials tied to upgrades you can afford within the next two or three levels. Everything else should be judged by sell value, rarity, and whether it improves your current build.
Sell duplicate weapons first, especially low-level items with no useful passive effect. Keep rare equipment until you compare its complete stat line with your current gear. The game's item value can make a common-looking upgrade worth more than an expensive piece that doesn't fit your scaling. Don't dismantle or sell crafting materials simply because they have a low immediate price; materials often become the hidden cost of your next damage upgrade.
The most reliable gold loop is a contract route with at least two objectives in the same zone. Contracts are better than random chests because they add guaranteed reward value to enemies you were already going to defeat. Chests and elite drops then become bonus income instead of the entire reason for the trip.
Use this rule when deciding whether to continue a run:
- Keep farming if your inventory fills before your healing supply becomes expensive.
- Return to town if you are using more consumables than the route pays for.
- Abandon an elite if it takes longer than two ordinary groups and drops no contract progress.
- Sell after reaching roughly 80 percent inventory capacity, not after every small encounter.
Gold is also best spent on permanent efficiency. A weapon upgrade that cuts 10 seconds from every fight will earn its cost back quickly. A decorative purchase or a barely stronger sidegrade won't. If you need a second opinion on how to evaluate gear rather than chase rarity, Steamoz's weapon tier-list approach is a useful comparison.
Elite Enemies, Respawns, and the Midgame Spike
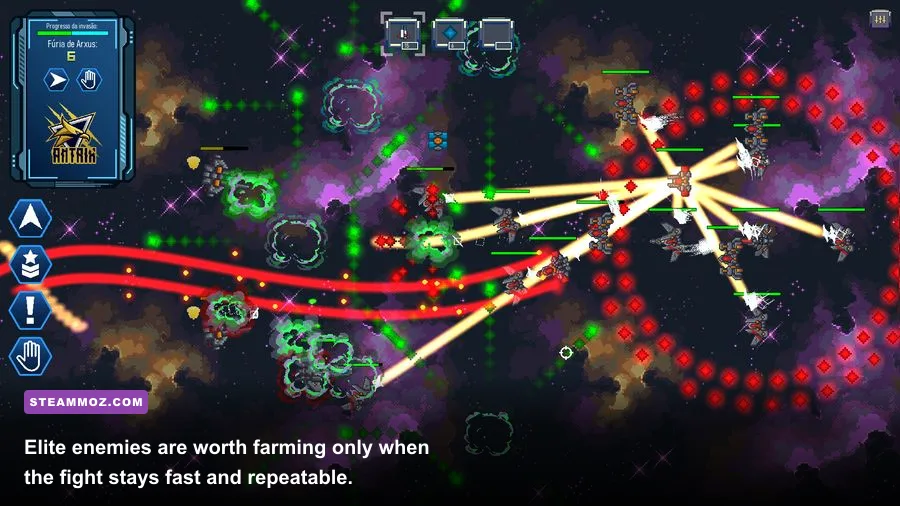
Elite farming becomes worthwhile once you can defeat the target without consuming your entire healing stock. The right benchmark is not the elite's reward in isolation; measure the complete loop, including the time needed to clear surrounding enemies and reach the vendor. An elite that pays 140 gold but takes five minutes is worse than three normal groups paying 70 gold each in the same period.
Read elite telegraphs instead of reacting to damage numbers. A long pause followed by a bright attack cue usually signals a committed strike that can be dodged or interrupted. Short shoulder movement and a quick step often indicate a close-range hit, so stay at the edge of your weapon's effective range and punish after the animation ends. Never spend your escape ability while the elite is recovering; save it for the attack you cannot safely sidestep.
For efficient resets, clear the elite, collect the guaranteed reward, and return through the shortest safe path. If the enemy does not respawn after a hub visit, advance the nearby contract or complete another objective instead of waiting. Idle time produces zero experience and zero gold. ENIGMA's most profitable players keep moving even when a route is temporarily unavailable.
| Enemy Type | Best Response | Farm Value | Stop Condition |
|---|---|---|---|
| Grouped basic enemies | Control into area damage | Best experience per minute | Groups spread too far apart |
| Armored enemy | Use heavy attack or armor break | Medium | Consumes more than one healing item |
| Ranged enemy | Close distance and interrupt | Medium to high | Terrain prevents fast engagement |
| Elite enemy | Bait telegraph, punish recovery | High gold potential | Fight exceeds four minutes |
Difficulty changes can alter the math. Higher difficulty may increase gold and experience, but a 25 percent reward bonus is worthless if enemies take twice as long to kill. Move up only when your current circuit feels effortless. If you are dying, missing cooldown windows, or returning to town constantly, the lower setting is probably producing more progress per hour.
Performance Settings for Longer Farming Sessions
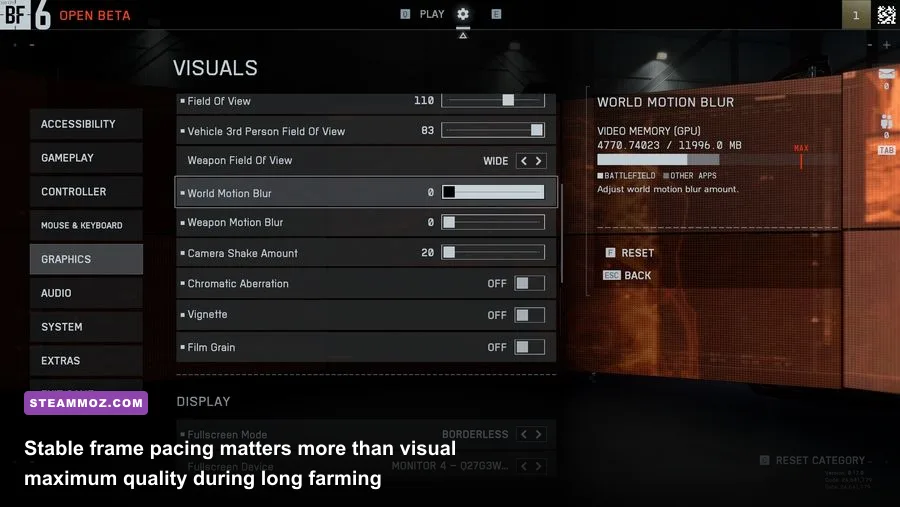
Farming exposes performance problems that a short story mission can hide. Stutters during a dodge or delayed enemy animations are not cosmetic issues; they directly create failed runs. Start with a stable frame rate, then raise visual quality one setting at a time. A locked 60 frames per second is usually more useful than an unstable 90 with hitching.
| Setting | Recommended Value | FPS Impact | Visual Note |
|---|---|---|---|
| Resolution scale | 100 percent, reduce to 90 if needed | High | Biggest performance lever |
| Shadow quality | Medium | Medium to high | Low saves frames with modest image loss |
| Effects quality | Medium or high | Medium | Lower it if area attacks cause stutter |
| View distance | Medium | Medium | Enough for route visibility |
| Motion blur | Off | Small | Improves target reading |
| Frame limit | 60 or monitor refresh rate | Stability gain | Prefer a stable cap over spikes |
Disable background overlays and close browser tabs before a long session. If ENIGMA begins stuttering after several runs, restart the game rather than assuming the route is causing it. Keep an eye on GPU temperature and memory usage, too. A performance drop that arrives after 30 minutes can make an otherwise excellent gold route look inefficient.
For broader PC troubleshooting, Steamoz's guides for poor PC performance and stuttering and crashes cover the same practical checks.
The 30-Minute ENIGMA Farming Plan
Use the first five minutes to accept every overlapping contract, restock only the consumables you actually use, and confirm that your weapon is repaired or upgraded. Spend the next 10 minutes clearing the grouped enemy circuit. Pull packs together, ignore dead-end rooms, and leave isolated targets unless they advance a contract.
From minutes 15 to 22, take the elite or objective chest if your health and cooldowns are ready. If not, repeat the fastest ordinary group instead. The elite is optional; lost runs are not. Finish by returning to the hub, selling duplicate gear, depositing materials, and checking whether the next weapon upgrade is affordable.
At the end of each half-hour block, record three numbers: levels gained, gold earned, and healing items spent. That simple log tells you whether the route is improving. If experience rises but gold falls, add contract objectives. If gold rises but levels stall, replace elite fights with grouped enemies. If both are low, your travel path or combat rotation needs work.
Don't copy a route forever. ENIGMA's best farm changes whenever a new weapon, ability, contract tier, or difficulty breakpoint alters your kill speed. The winning strategy is always the same, though: stack objectives, fight enemies in groups, sell intelligently, and measure the full loop. Once every encounter ends before your next cooldown cycle and your inventory fills predictably, you've found the game's real leveling engine.
For another perspective on route planning and hidden reward timing, check Steamoz's secret-location guide. Before a major patch, also verify ENIGMA's current Steam listing and patch notes, since reward values and respawn behavior are the numbers most likely to change.