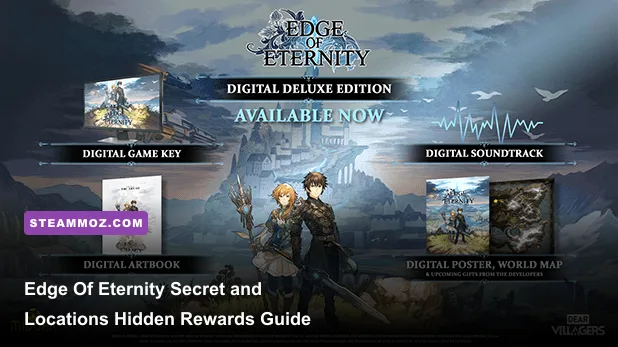
If you want every meaningful secret in Edge Of Eternity, focus on four things: off-road chests, hidden crystal nodes, optional NPC quests, and character-specific conversations. The Digital Deluxe Edition does not add an exclusive dungeon or a separate loot table; its main extras are digital goods such as the soundtrack and artbook. The locations below cover the hidden gameplay rewards worth hunting in the base game, while also explaining what the Deluxe upgrade actually changes.
That distinction matters. A lot of online checklist-style advice labels ordinary late-game loot as “Deluxe Edition content,” which sends players searching for a secret weapon that simply isn't there. Deluxe owners get presentation extras, not a secret combat zone. You can still collect every weapon, upgrade material, lore entry, and optional quest reward on the standard edition.
🎮 Get Edge Of Eternity - Digital Deluxe Edition
Ready to dive in? Grab your copy today for just $4.69.
Check OfferWhat the Digital Deluxe Edition Really Includes
The Deluxe upgrade is best treated as a companion package rather than a gameplay expansion. Before you start hunting, confirm the add-on is installed in Steam's DLC panel, then launch the game normally. There is no separate “Deluxe map” to select from the title screen, and no golden chest appears because you own the upgrade.
The official Steam page for Edge Of Eternity is the safest place to verify the current bundle contents. Midgar's official developer site is also useful for checking edition and update information. In practical terms, the Deluxe content is valuable for fans who want the game's music and artwork, while the hidden gameplay rewards in this guide are available to everyone.
| Content | Deluxe-exclusive? | How to access it | Gameplay impact |
|---|---|---|---|
| Digital soundtrack | Yes | Steam DLC or bundle extras | None |
| Digital artbook | Yes | Steam DLC or bundle extras | None |
| Hidden chests | No | Explore Heryon's regions | Gear, materials, consumables |
| Optional character quests | No | Speak with NPCs and party members | Experience, items, lore |
| Crystal nodes and crafting loot | No | Search paths away from objectives | Weapon and armor progression |

🎮 Edge Of Eternity - Digital Deluxe Edition
Looking to experience this game? Grab your digital key directly on our store for $4.69.
View on Steammoz Store →How to Read Heryon's Secret-Loot Layout
Most secrets aren't hidden behind elaborate puzzles. They are hidden by level geometry. If the quest marker points toward a gate, search the opposite side of the road first. Walk behind ruined walls, around the rear of buildings, and along the outside edge of cliffs. The camera can obscure interactable objects, so rotate it manually whenever a wall or large rock blocks your view.
Use a simple three-pass routine in every region. First, follow the main route until you reach a safe landmark. Second, sweep the perimeter clockwise, checking dead ends and narrow paths. Third, return to quest hubs and speak to every NPC whose dialogue has changed. This sounds slow, but it prevents the most common mistake: clearing a map before a side quest has actually spawned its reward.
Don't spend rare crystals the instant you find them. Crafting and upgrading are much more efficient when you compare the current weapon's embedded crystal slots with the replacement's base stats. A chest containing a slightly weaker weapon can still be valuable if it has better slots for your intended build. Daryon generally benefits from direct physical damage and survivability, while Selene gets more value from healing, support range, and magic-oriented crystal combinations.
Inel and the First Off-Road Chests
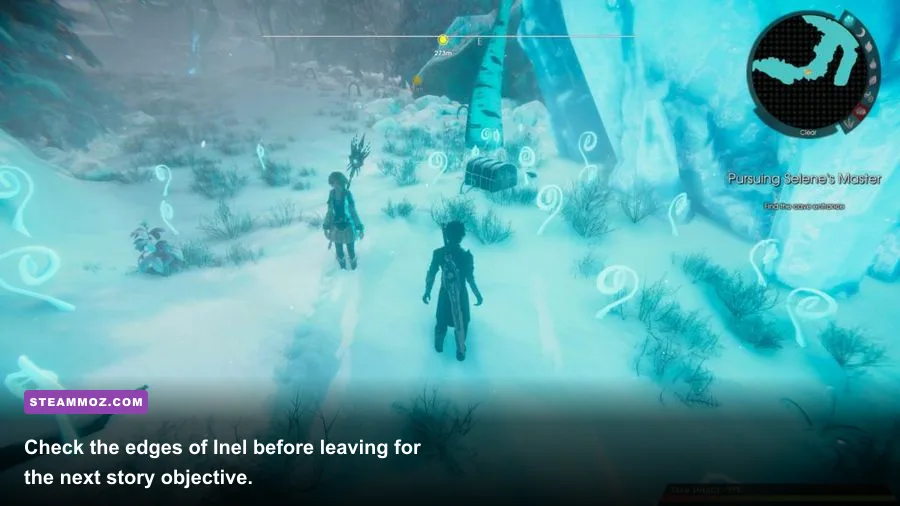
Inel is the region where the game teaches you to stop trusting the objective marker. After the opening route opens up, inspect the settlement perimeter before pushing deeper into the story. The first worthwhile secret is usually found by leaving the obvious road and checking the outer side of the nearby structures. Look for a chest tucked against a wall or low rock formation rather than searching in the middle of the path.
The second Inel sweep should follow the boundary of the accessible area. Search behind broken masonry and around elevated terrain where the camera points slightly downward. If you see a narrow strip of walkable ground that appears to lead nowhere, take it. These small loops often contain a chest or a crystal node, and they are easy to miss when you're sprinting between objectives.
Inel's best reward is not a single legendary item. The early equipment and materials accelerate the first weapon upgrade, which is more important than hoarding them. Equip new crystals before difficult encounters, but keep one spare healing or defense option available. Early enemies punish reckless positioning, and a modest defensive improvement can save more turns than a small damage increase.
Herelsor Ruins and the Hidden Side Routes
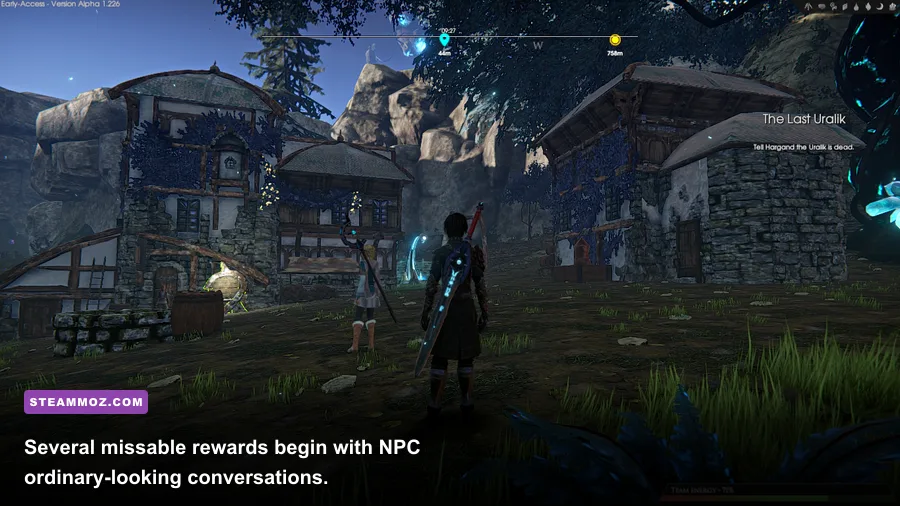
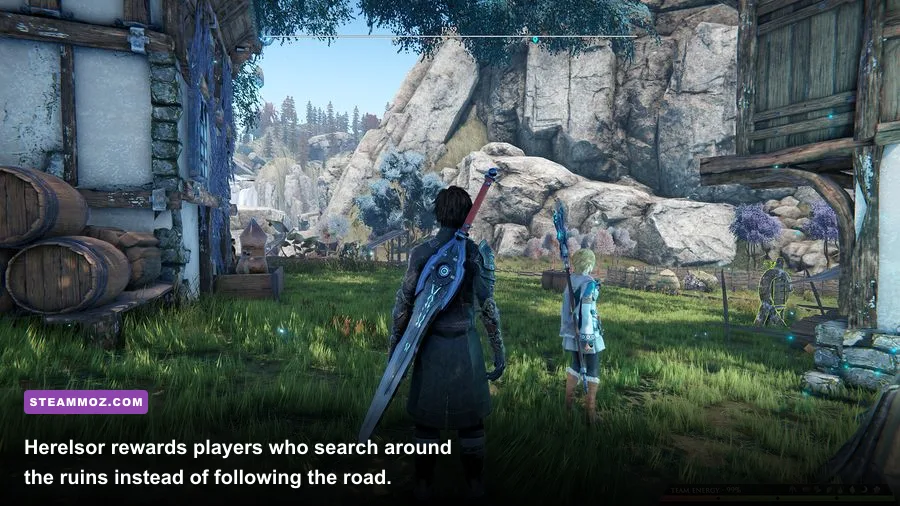
Herelsor is where secret hunting becomes much more rewarding. The ruins create overlapping routes, and several apparently decorative structures conceal walkable gaps. Start at the main approach and circle the ruins from the outside. Check every collapsed arch, courtyard corner, and staircase that seems to stop short of a destination.
When the story sends you into the ruins, don't rush straight to the objective marker. Search the first large chamber, then backtrack after the next door opens. Some paths only become reachable once a scripted encounter or story interaction changes the area. If a previously blocked route is now open, revisit it before continuing. This backtracking is especially worthwhile for players collecting lore and crafting materials.
Herelsor also rewards careful vertical scanning. Move the camera above waist height and look for ledges, bridges, and side platforms. The game's interaction prompt can appear late, particularly when the player character approaches an object at an angle. If a chest looks visible but refuses to activate, move sideways rather than forward; the usable interaction point is often on the front corner.
For combat, arrive with a balanced party instead of a glass-cannon setup. Herelsor's encounters can become awkward when enemies occupy several tiles and force your healer into a poor position. Use terrain to limit approach lanes, let Daryon hold the front, and keep Selene far enough away that she can heal without spending every turn repositioning.
Solna Plain Crystal Nodes and Buried Loot
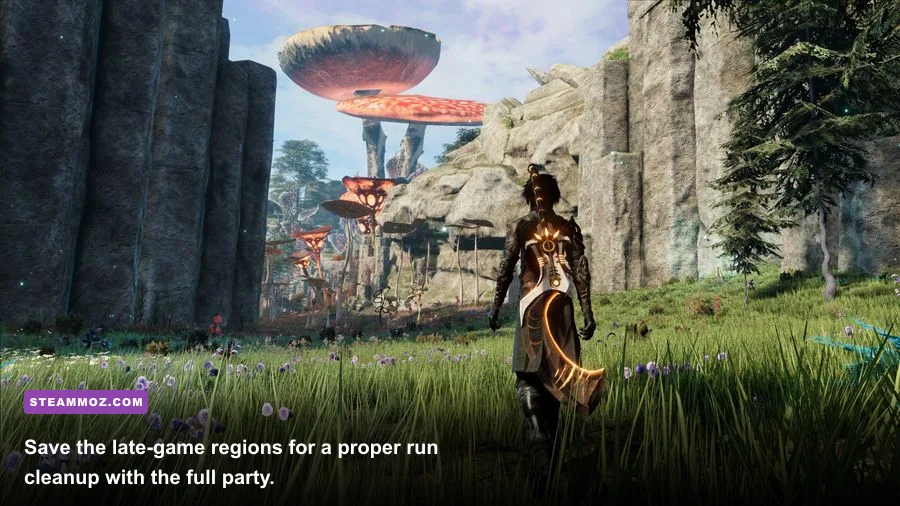
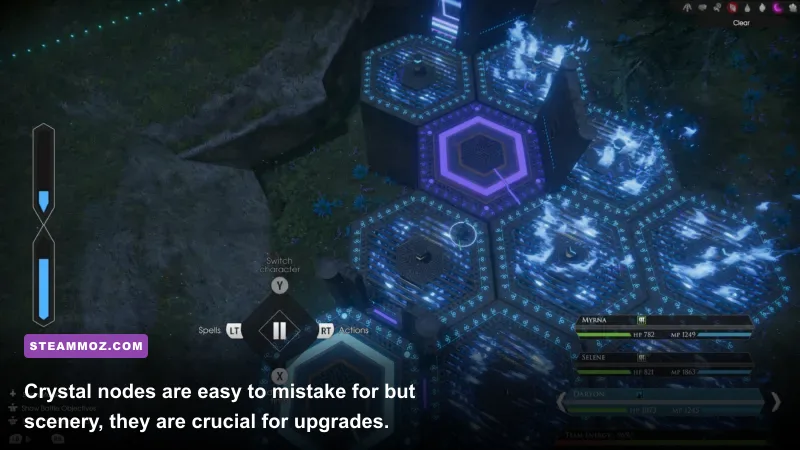
Solna Plain is the region where resource routing starts to matter. Crystal nodes blend into the landscape, especially when the camera is pulled back. Search near rock outcrops, along the edges of paths, and beside unusual patches of terrain. The most efficient route is a broad perimeter sweep followed by a straight-line pass through the center, not repeated wandering around the quest marker.
Mark every node mentally by using a fixed direction. For example, clear the western edge first, then move north, east, and south. Heryon's open spaces make it easy to revisit the same ground while believing you're exploring new territory. A consistent route keeps your inventory full without wasting time.
Crystal gathering is a hidden reward because it improves almost every later encounter. Prioritize crystals that reinforce the role a character already performs. Daryon wants reliable damage and enough defense to stay in melee. Selene wants support and survivability. Once more party members join, avoid giving every character the same offensive crystal type; spreading utility across the party makes status-heavy encounters much easier.
| Secret type | Best search method | Likely reward | Why it matters |
|---|---|---|---|
| Perimeter chest | Circle ruins and buildings | Gear, consumables, materials | Free progression before the next story fight |
| Crystal node | Scan rock edges and unusual ground | Crafting crystals | Improves weapon and armor specialization |
| Dead-end path | Follow every narrow branch | Chest or lore item | Often missed by objective-focused players |
| Changed NPC dialogue | Return after story events | Quest reward and experience | Can unlock optional content |
Jagholm NPCs and Missable Quest Rewards
Jagholm's secrets are social rather than geographical. Speak to the settlement's residents before leaving, then return after major story developments. NPC dialogue is not just decoration: some optional tasks and reward steps only become available after the party has advanced.
Use the camp and settlement as a reset point. Talk to party members first, then check merchants and ordinary townspeople. If a character repeats a line, move to the next NPC and come back after completing the current objective. The safest approach is to exhaust every available conversation before entering a new major region.
Party conversations are particularly important for Selene and Daryon. Their relationship and personal scenes add context, but they can also point you toward optional activities or explain why an apparently empty area matters. Don't assume a quest is broken because a reward doesn't appear immediately; some chains resolve only after you leave the area, complete a battle, or trigger the next story beat.
For a broader approach to conserving resources during long RPG campaigns, Steamoz's Laxius Force III survival tips and Bounty Train first-run guide cover the same kind of useful habit: finish your preparation loop before committing to the next dangerous objective.
Late-Game Cleanup in Tyr Caelum
Tyr Caelum is best treated as a final cleanup region. Bring the complete party, upgrade equipment, and make a manual save before starting a broad exploration sweep. Late-game secrets are less about finding one magical landmark and more about checking every branch around battle arenas, ruins, and story entrances.
Inspect the arena perimeter before triggering a major encounter. If the game gives you room to move around the battlefield, use that freedom. Chests and nodes can sit just outside the combat space, and they are much easier to collect before enemies activate. After a boss or scripted battle, revisit the arena because the route out may expose a previously inaccessible side path.
Don't sell unique-looking gear immediately. Compare its stat line, crystal slots, and upgrade potential with your current equipment. A weapon that looks weaker on paper may support a better crystal layout, while a high-damage replacement may leave a character too fragile for multi-wave encounters. Keep at least one flexible loadout for fights where resistance and positioning matter more than raw attack.
Combat Rewards You Can Miss by Rushing
Some of the best hidden value comes from how you approach battles rather than where you walk. Before an encounter begins, inspect the arena for explosive objects, elevation changes, blocked tiles, and narrow lanes. Edge Of Eternity's tactical combat rewards preparation, and winning cleanly can preserve consumables you would otherwise need to buy or craft.
Watch enemy telegraphs instead of trading damage blindly. When a strong enemy is preparing a large-area attack, move vulnerable characters out of the marked zone and use the remaining turns to apply a buff, reposition, or focus a weaker target. Daryon can occupy dangerous lanes while Selene operates from safety. The goal isn't to finish every battle in the fewest turns; it's to finish without burning the resources that make the next secret route possible.
After major fights, search the entire arena before interacting with the obvious exit or objective. This is one of the most reliable hidden-reward habits in the game. Players often assume the reward is the post-battle screen, while the real bonus is a chest or node sitting ten steps behind them.
A Complete Secret-Hunting Checklist
Use this checklist whenever you enter a new region. It prevents the two most painful forms of cleanup: discovering a missed chest after dozens of hours and realizing an NPC quest was never started.
- Save manually before entering the region or starting a major quest.
- Speak to every available NPC, including merchants and party members.
- Follow the story route until the first safe landmark, then stop.
- Circle the outside edge of buildings, ruins, cliffs, and battle arenas.
- Walk every dead-end branch instead of assuming it is decorative scenery.
- Scan for crystal nodes near rocks, unusual ground, and route boundaries.
- Open chests before triggering scripted battles when possible.
- After each major story event, return to settlements and repeat the NPC sweep.
- Compare weapons by stats and crystal slots before selling or dismantling anything.
- Keep one manual save from before important dialogue or irreversible story transitions.
That last save is worth emphasizing. Even when a reward isn't strictly missable, an earlier save can spare you a long backtrack. If you enjoy this kind of methodical route planning, Steamoz's Knightica starting-build guide and Ankora: Lost Days beginner guide offer similarly practical advice for building momentum without wasting early resources.
Best Order for a 100 Percent Reward Run
For the cleanest run, complete each region in three stages: story progress, perimeter exploration, and NPC cleanup. Don't attempt to fully clear the map before the game has opened its relevant routes, because some rewards are tied to story progression. Instead, advance until the area changes, then return for the second sweep.
| Run stage | What to do | What to avoid | Result |
|---|---|---|---|
| Arrival | Talk to NPCs and inspect merchants | Leaving immediately for the marker | Optional quests become visible |
| Story pass | Unlock routes and complete required battles | Spending every rare material | More of the map becomes accessible |
| Exploration pass | Circle boundaries and inspect dead ends | Assuming scenery is impassable | Chests, nodes, and lore are collected |
| Return pass | Revisit hubs after story events | Ignoring repeated NPC dialogue | Late quest steps and rewards unlock |
The biggest misconception around the Digital Deluxe Edition is that ownership changes this route. It doesn't. Deluxe players should follow exactly the same checklist as standard-edition players, then enjoy the soundtrack and artbook separately. The real advantage comes from knowing when to explore: search the edges, revisit settlements after story beats, and never leave a battle arena without checking behind you.
For official patch notes and edition details, keep an eye on the official Steam news feed and Midgar's announcements. Content updates can adjust balance or fix interaction bugs, but they don't turn the Deluxe package into a gameplay expansion. Follow the checklist above and you'll collect the meaningful hidden rewards without chasing a nonexistent Deluxe-only dungeon.