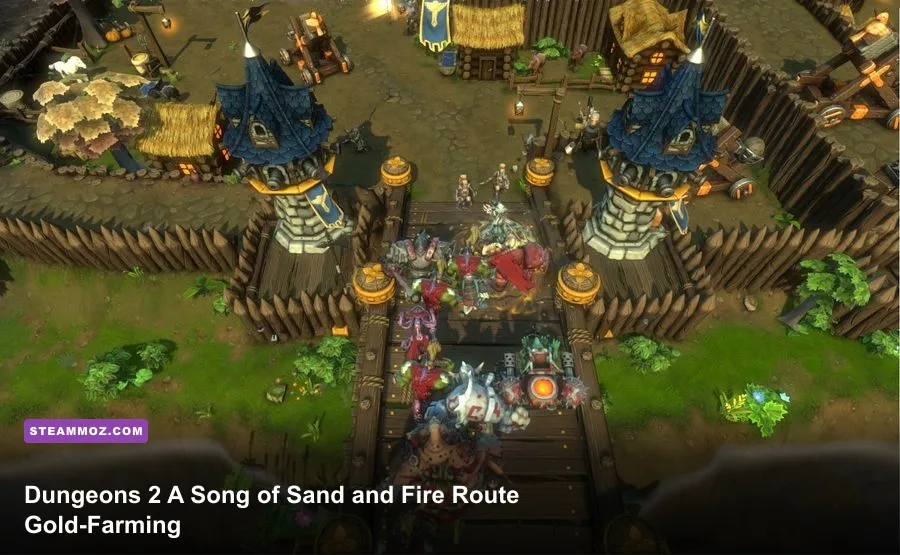
The fastest Dungeons 2 - A Song of Sand and Fire route is simple: secure the nearest gold, build a compact Treasury, train a small Horde core, and clear enemy camps only after your Dungeon Heart economy is stable. The campaign punishes players who dig in every direction or throw fresh units into every fight. Gold is your real tempo resource, experience comes from efficient combat rather than random wandering, and the best farms are short loops that let workers and soldiers return to duty quickly.
This guide focuses on repeatable campaign habits rather than a one-off lucky opening. It covers room order, mining priorities, unit experience, combat timing, defensive spending, and the mistakes that quietly wreck an otherwise strong run. For a broader look at build discipline in strategy games, Steamoz's Bounty Train beginner build guide makes a similar point: early structure beats flashy expansion.
Build the economy before chasing kills

Your first objective in A Song of Sand and Fire should be an uninterrupted gold pipeline. Pause as soon as the map opens, inspect the nearby underground area, and identify the shortest route from the Dungeon Heart to the first gold deposits. Digging a huge room is a trap. It creates walking time, exposes more walls to enemy attacks, and forces you to spend gold on rooms before your workers have produced enough to support them.
Start with a narrow access corridor and mine the closest gold pocket. Place the Treasury beside that route, not at the far end of a decorative hall. Your minions lose valuable time when they have to carry gold across the dungeon, and that lost time adds up during the opening minutes. Leave one tile of practical space around important rooms so doors, units, and workers don't jam each other during an attack.
The usual early order is Dungeon Heart access, Treasury, Lair, Hatchery, Training Room, and then Workshop. The Lair keeps your first troops available instead of constantly rebuilding them, while the Hatchery supports the food economy that makes the Horde sustainable. The Training Room is more important than an early second Treasury because experienced units survive longer and deal more damage, reducing the cost of replacing them.
| Priority | Room or action | Why it matters | Common mistake |
|---|---|---|---|
| 1 | Mine the nearest gold | Creates immediate spending power | Digging toward distant rooms first |
| 2 | Treasury | Shortens deposit and collection trips | Building a giant empty chamber |
| 3 | Lair and Hatchery | Keeps the first combat group active | Replacing units instead of sustaining them |
| 4 | Training Room | Converts time into stronger troops | Sending level-one units into elite camps |
| 5 | Workshop | Unlocks useful defensive and support options | Buying upgrades before the gold route works |
Don't spend your first surplus on cosmetic expansion or rooms that won't affect the next fight. A compact dungeon with a functioning Treasury beats a sprawling base with empty corridors. Once your first mine is nearly exhausted, extend the corridor to the next deposit, then consider a second Treasury only if the carry distance has become visibly inefficient.

🎮 Dungeons 2 - A Song of Sand and Fire
Looking to experience this game? Grab your digital key directly on our store for $0.99.
View on Steammoz Store →The best fast-leveling squad is small and repeatable

Fast leveling in Dungeons 2 is less about recruiting everything available and more about concentrating experience. Keep a core squad together so the same units receive combat exposure, healing time, and Training Room usage. A rotating mass of new recruits looks impressive, but it produces a weak front line and turns every skirmish into a gold drain.
For the Horde, build around a durable melee screen supported by ranged damage and utility. Orcs are the dependable front-line workers of the army: they can hold attention while your damage dealers finish targets. Goblins are useful when you need extra bodies and ranged pressure, but they should not be left exposed in front of tougher enemies. Trolls are valuable when the map gives you room for a sturdier push, though their slower movement makes them awkward for repeated hit-and-run farming.
The practical target is a compact group that can clear one camp, retreat, heal, and return without stopping your mine. Don't add a second wave until your first group can survive a full engagement. Every extra unit consumes food, occupies dungeon space, and increases the time needed to recover from mistakes. Leveling is fastest when your original veterans remain alive long enough to benefit from several fights.
| Role | Recommended choice | Leveling job | Gold-farming value |
|---|---|---|---|
| Front line | Orcs | Hold enemy attention and protect damage dealers | High; fewer replacement costs |
| Ranged pressure | Goblins | Focus exposed or weakened targets | High when positioned safely |
| Heavy support | Trolls | Absorb punishment during major pushes | Medium; slower farming loop |
| Dungeon utility | Workers and minions | Mine, haul, build, and repair | Essential; never sacrifice them casually |
Use the Dungeon Lord's abilities to start fights on your terms. Pull enemies toward a choke point instead of fighting in open ground, where your formation spreads and ranged units become vulnerable. Let the front line make contact first, then focus the weakest enemy until it falls. Switching targets constantly extends the fight and gives every opponent more time to attack.
After a battle, pull back before the last enemy dies if your formation is badly damaged. That sounds counterintuitive, but an incomplete camp is still better than losing a veteran unit. The strongest experience route is a series of safe clears, not one heroic wipe. Keep the Training Room operating while your squad heals, and avoid taking every unit away from the dungeon at once.
Use a gold loop instead of random exploration

The most reliable gold farm is a controlled loop: mine, escort, clear, return, heal, and repeat. Mark the nearest reachable gold deposits before opening unexplored passages. Then connect them to your base through one defensible corridor. This keeps workers close to the Treasury and gives your combat group a predictable patrol route.
When a gold pocket is exposed, don't immediately dig into every adjacent wall. First check whether the opening reveals a neutral camp, trap, or surface entrance. The campaign's map pressure makes careless excavation expensive. If the next room contains enemies, let your army arrive before workers continue digging. A worker caught beside an open breach is usually dead before you can react.
Treasure collection is also about timing. Allow your Treasury to accumulate enough gold for the next meaningful purchase, but don't sit on a completely full room while nearby deposits remain unmined. If the current Treasury is close to capacity, spend on the next economic or combat breakpoint, then resume mining. Idle gold is not helping you level.
A practical farming cycle
Step one: identify the nearest gold vein and build the shortest safe corridor. Step two: assign workers to mine while your initial units train. Step three: scout the corridor with the Dungeon Lord rather than exposing the whole army. Step four: clear only the camp blocking the next deposit. Step five: return damaged units to the Lair, refill the formation, and send workers forward again.
This cycle creates two kinds of momentum. Your workers earn gold while your soldiers gain experience, and neither group travels farther than necessary. If your route requires a long trip to the surface, use a forward room or defensive position near the objective, but don't turn every mining pocket into a permanent expansion. The best farm is the one that pays for itself quickly.
Keep a reserve for emergencies. Spending every coin on rooms can leave you unable to replace a key unit or respond to a raid. A useful rule is to finish one economic purchase, then save enough for a replacement wave and a defensive response before making another large expansion. That buffer is especially important when the campaign introduces stronger surface forces.
Pick fights that pay for themselves

Enemy camps are experience sources, but they are not automatically profitable. A camp is worth clearing when it blocks gold, protects a valuable route, or can be defeated without forcing a long recovery. If it sits off to the side and costs several units, leave it alone until your economy and squad are stronger.
Scout enemy groups with the Dungeon Lord and look for the unit that threatens your formation most. Ranged enemies should usually be your first focus because they continue dealing damage while your front line is occupied. Against melee-heavy groups, hold a doorway or narrow corridor and let the enemy approach one target at a time. Never allow your entire squad to surround a single weak enemy while a second group attacks from behind.
The Dungeon Lord is strongest as a control piece, not as a replacement for an army. Use him to attract attention, disrupt the opening seconds of a fight, and finish weakened targets. If his health drops quickly, disengage. Losing the Dungeon Lord or allowing the Dungeon Heart to become exposed can erase more gold than the camp ever contained.
| Enemy situation | Main danger | Counter strategy | Farm decision |
|---|---|---|---|
| Ranged group behind melee units | Constant back-line damage | Use a choke point and focus ranged targets | Clear if it blocks gold or a route |
| Large melee pack | Front line gets surrounded | Fight in a doorway and retreat in stages | Delay if the camp is optional |
| Mixed camp near a breach | Workers get caught during excavation | Stop mining, assemble the squad, then push | Usually worth clearing for access |
| Raid near the Dungeon Heart | Economy collapses while troops travel | Keep a reserve group or defensive choke | Defend first; farm later |
For more strategy-game survival habits, Steamoz's Defend the Rook tips and Crawls beginner build guide are useful comparisons. The shared lesson is brutally practical: preserving your core is usually worth more than squeezing out one extra kill.
Spend gold at the right progression breakpoints
Gold farming only matters if it converts into stronger production. In A Song of Sand and Fire, prioritize purchases that improve the next five minutes rather than upgrades that look powerful on paper but have no immediate role. A functioning Training Room, reliable food production, and a defensible Workshop often outperform a premature offensive room.
Use this progression as a flexible framework. The exact room cost can vary with the campaign state and map objectives, so treat the order as a priority list rather than a rigid build timer. If the map attacks early, move defensive spending forward. If a gold vein is unusually close, take advantage of it before following the standard room sequence.
| Stage | Gold priority | Army priority | What to avoid |
|---|---|---|---|
| Opening | Treasury and essential rooms | One compact Horde core | Wide excavation and decorative rooms |
| First expansion | Corridor to the next gold pocket | Training and safe camp clears | Splitting veterans into tiny groups |
| Mid-campaign | Workshop and route defenses | Upgrade the surviving core | Replacing experienced units casually |
| Late push | Reserve for reinforcements | Full assault group and support | Entering the final area broke and wounded |
Don't confuse a full Treasury with a healthy economy. Check whether workers are actively mining, whether the Hatchery is keeping your army supplied, and whether your units are spending more time walking than fighting. If the Treasury is full but production is idle, expand the mining route or invest in the bottleneck. If gold disappears immediately, stop recruiting and identify which room or replacement cost is consuming it.
Players who want to verify whether older PC strategy games run smoothly can also compare Steamoz's Earth Defense Force 5 PC guide and BioShock performance breakdown. Dungeons 2 is not especially demanding, but a stable frame rate still helps when you are dragging squads, selecting workers, and reacting to a sudden breach.
Protect the farm when the map turns hostile
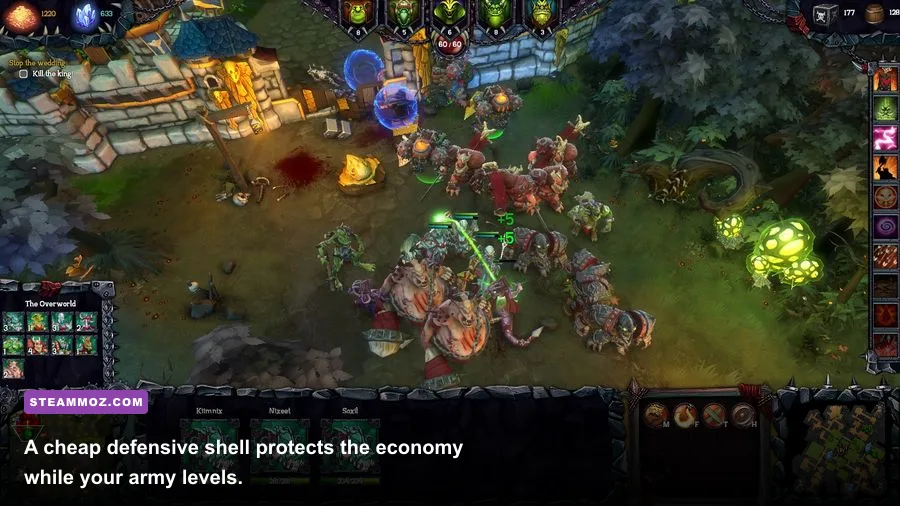
The moment your economy becomes visible to the enemy, stop treating the dungeon like an empty sandbox. Build a defensive shell around the Dungeon Heart and Treasury, keep the main corridor narrow, and avoid opening multiple entrances at once. You don't need an expensive fortress to protect a gold farm; you need a route that buys your army time to arrive.
Place defensive rooms and traps where enemy movement naturally compresses, especially around corners and doorways. A trap in a long empty hallway is easy to ignore, while a trap in the path to your workers can force enemies to take damage before reaching the economy. Don't bury the Dungeon Heart behind so many rooms that your own units need a long detour to defend it.
When a raid begins, recall miners first if the route is exposed, then gather your combat group at the nearest choke point. Avoid chasing a retreating enemy deep into unexplored terrain. The goal is to preserve gold production, not to win a pointless pursuit. Once the threat is gone, resume the farming loop and repair the route before expanding again.
Save before major pushes, especially before breaking into an unknown section or committing your veteran squad to a campaign objective. If a fight goes badly, reload and change the approach: move the front line earlier, focus ranged threats, or wait for another training cycle. That isn't playing cautiously for its own sake; it protects the experience investment that makes fast leveling work.
The cleanest A Song of Sand and Fire route
For a reliable run, open with the nearest gold vein, place a compact Treasury, and build only the rooms that sustain your first squad. Train a small Horde core while workers mine. Scout every breach before opening it, clear camps that block profitable deposits, and return to the Lair after each fight instead of dragging wounded units through the next encounter.
Once the first gold pocket is stable, extend one corridor toward the next deposit and add Workshop support only when your production can pay for it. Keep a reserve for replacements, protect the Dungeon Heart with a short defensive route, and never let optional battles interrupt the economy. Your veterans will level faster because they survive, your workers will earn more because they walk less, and every gold purchase will have a visible effect on the next objective.
That is the real trick behind fast leveling and gold farming in Dungeons 2 - A Song of Sand and Fire: don't chase speed directly. Build a loop that wastes nothing. Mine close, fight selectively, concentrate experience, and spend gold where it improves the next cycle. Once those four habits click, the campaign stops feeling like a scramble and starts feeling like a dungeon you actually control.
For official game information, check the Dungeons 2 Steam page, the Kalypso Media website, and the game's Dungeons 2 community wiki before planning a new campaign route.