
If you’re new to Crawl, start with the Fighter, prioritize reliable melee damage and survivability, and spend your early gold on upgrades that keep you active rather than flashy tools that only work in perfect rooms. The beginner-friendly plan is simple: take the Fighter into the first floors, learn to dash through danger, isolate one threat at a time, and save your strongest resource for the room’s monster wave or boss encounter.
That recommendation isn’t about making Crawl easy. Powerhoof’s local multiplayer dungeon crawler is deliberately built around betrayal, pressure, and sudden reversals. A defeated hero becomes a ghost, the other players spend accumulated XP to summon monsters, and the dungeon can turn from a quiet loot run into a full ambush in seconds. The best starting build therefore isn’t the one with the highest theoretical damage. It’s the one that gives you enough margin to understand why you died.
This guide focuses on the Fighter because it teaches the game’s core habits without hiding mistakes behind spell effects or complicated positioning. Once those habits click, the same principles transfer cleanly to the Wizard, Huntress, and Gearhead.
The Best First Character and Why It Works
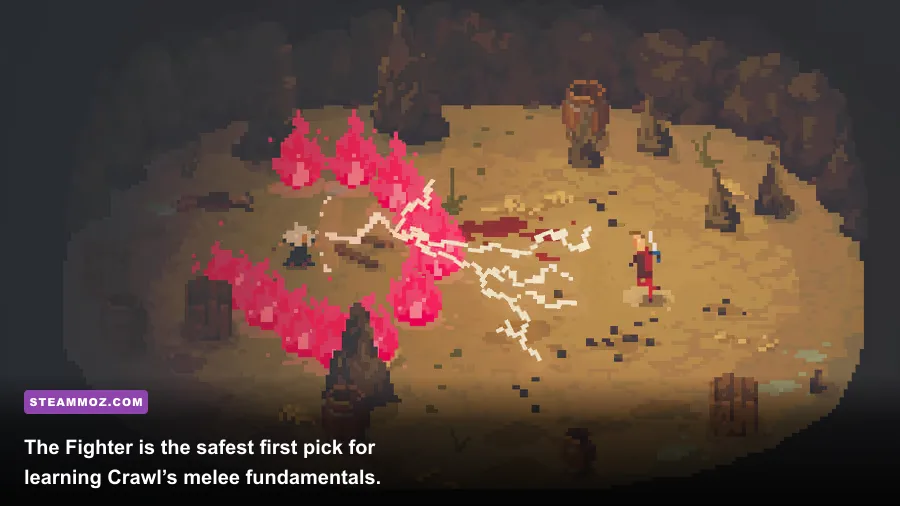
Pick the Fighter for your first serious run. The class has the clearest combat feedback in the game: your sword connects, enemies stagger, and mistakes usually come from a visible positioning error rather than an unseen cooldown interaction. That makes it ideal for learning room layouts, enemy telegraphs, and the dangerous moment when a monster player begins spending XP.
The Fighter’s job is not to stand in the middle of every room and mash attack. Your real job is to control the distance between yourself and the nearest threat. Attack once or twice, move away from the counterattack, then re-enter from an angle. The rhythm is deliberately closer to a compact action game than a traditional dungeon crawler.
Use the shield whenever the room becomes crowded. Blocking is most valuable against predictable frontal attacks, projectiles you can see coming, and monsters that have committed to a long animation. Don’t hold block while surrounded and assume you’re safe. Enemies can attack from multiple angles, and a player-controlled monster may wait until your guard is occupied before approaching from behind.
For your first build, think in three layers:
- Reliable damage: keep your basic sword attacks strong enough to stagger smaller enemies quickly.
- Mobility: treat your dash as a defensive escape, not merely a way to close distance.
- Survivability: improve health or defensive options once you can consistently reach later rooms.
That order matters. New players often buy damage first, then discover that one missed dodge removes the entire advantage. A modest damage upgrade that lets you defeat a basic enemy in fewer swings is useful; a greedy damage purchase that leaves you unable to survive a trap room is not.
| Build Element | Beginner Priority | Why It Matters | Common Mistake |
|---|---|---|---|
| Basic sword damage | High | Improves stagger pressure and shortens dangerous fights | Buying damage without learning attack range |
| Shield or guard utility | High | Buys time against frontal pressure and projectiles | Blocking while enemies surround you |
| Dash or movement | High | Escapes telegraphed attacks and resets spacing | Spending it offensively every time |
| Health or armor | Medium-high | Creates room for one recoverable mistake | Ignoring defense until late floors |
| Special attack | Medium | Helps clear dense waves when timed correctly | Using it on a single weak enemy |
Before playing, check the official Crawl Steam page for the current game version and controller information. Balance and input behavior can change between updates, and a controller with a reliable analog stick makes diagonal movement much easier to manage.

🎮 Crawl
Looking to experience this game? Grab your digital key directly on our store for $4.94.
View on Steammoz Store →Fighter Stat and Upgrade Priorities
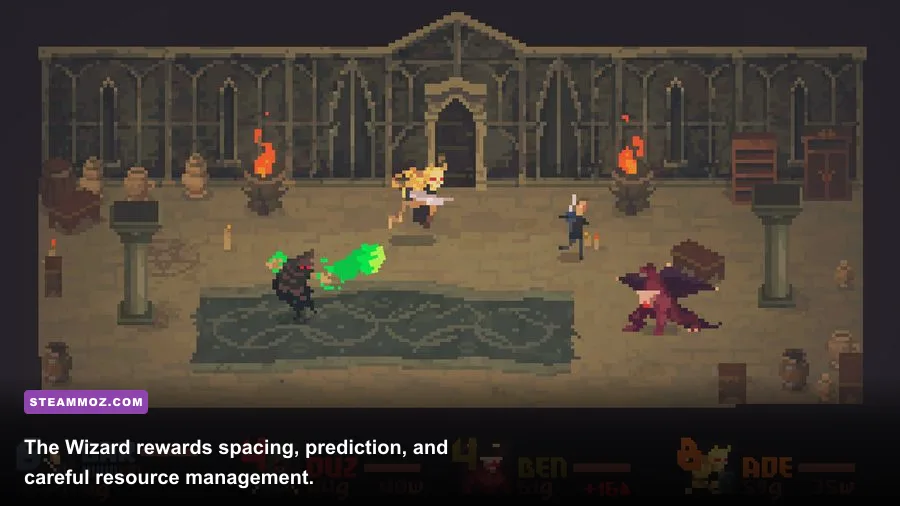
Crawl doesn’t present character development like a conventional RPG with a giant passive-skill tree. Your build is shaped by the upgrades and equipment you choose between rooms, plus the way you spend gold and respond to the dungeon’s current threats. That makes priority decisions more important than memorizing a fixed shopping list.
Use this purchase order during a normal beginner run:
- Buy the first meaningful weapon upgrade. Your basic attack is the tool you use most often, so this purchase improves almost every encounter.
- Secure a defensive option. Choose health, armor, or shield utility if the next floor has already exposed a weakness in your play.
- Improve movement or cooldown access. Mobility is especially valuable when monster players can corner you with summons.
- Add burst damage. Special attacks become stronger when you already have a reliable neutral game.
There’s one important exception: if you’re repeatedly dying to a specific damage type or room hazard, counter that problem immediately. A theoretical damage curve means nothing if you lose half your health before reaching the room’s exit. Crawl rewards adaptation more than rigid build orders.
Gold should also be treated as a tempo resource. Spending everything as soon as a shop appears can leave you unable to buy the upgrade that fits your next floor. Conversely, hoarding gold while your weapon is underpowered creates longer fights, and longer fights give the monster player more opportunities to surround you. Keep enough for a sensible defensive purchase, then spend the remainder on the biggest upgrade that improves your next three rooms.
The strongest beginner version of the Fighter is therefore a balanced bruiser: dependable sword damage, a defensive reset, and enough health to survive one bad read. Pure glass-cannon builds can look spectacular in a highlight clip, but they’re poor teachers. They encourage trading damage instead of learning to avoid it.
| Stage | Recommended Focus | Combat Goal | When to Change Course |
|---|---|---|---|
| Opening rooms | Weapon damage and basic defense | Defeat small enemies before they surround you | Buy mobility if rooms are forcing repeated corner traps |
| Middle floors | Health, armor, or shield utility | Survive monster-player ambushes and mixed waves | Prioritize damage if enemies are surviving your full combo |
| Late dungeon | Burst damage plus emergency defense | Finish priority targets before the room escalates | Choose specialized protection after identifying boss threats |
For a useful comparison, the same disciplined approach appears in our Bounty Train beginner build guide: early consistency beats an impressive build that only works after everything goes right.
How to Fight Without Throwing Your Run Away
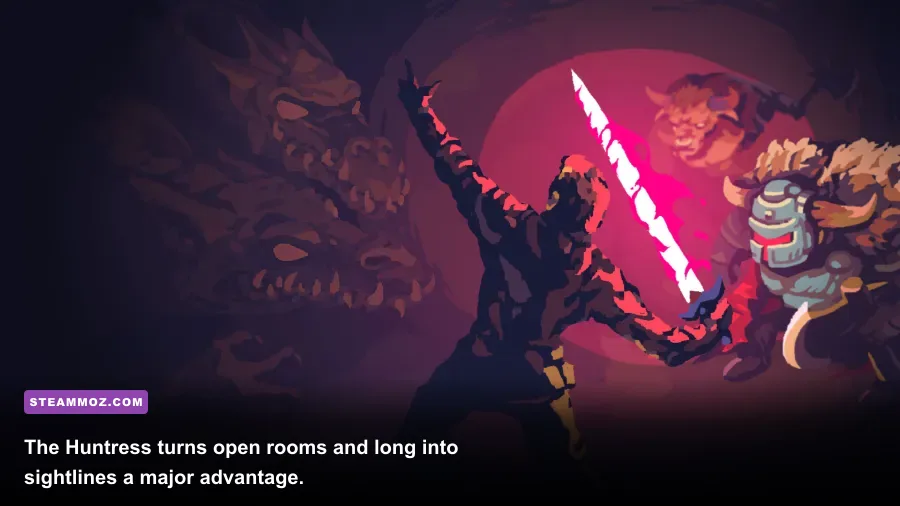
The Fighter’s basic attack has a commitment window. That means the correct question is not “Can I reach this enemy?” but “What can hit me while my attack animation finishes?” If the answer is two fast monsters and a projectile, wait. Pull the nearest target toward a doorway or wall, attack when the second threat is out of range, and immediately reposition.
Your default combat loop should look like this:
- Scan the room. Identify ranged enemies, fast chargers, hazards, and the direction an invading player is likely to approach from.
- Choose a retreat lane. Never begin a fight with your back to a corner unless you’re deliberately using a narrow doorway.
- Attack the closest high-pressure target. Don’t chase a distant weak enemy while a fast threat is already inside your range.
- Break contact. After your attack string, dash or walk out before the enemy’s counterattack lands.
- Re-enter on a diagonal. Straight-line approaches make it easy for monsters and players to predict you.
Don’t burn your dash simply to move across an empty room. Save it for three situations: escaping a committed attack, crossing a projectile lane, or reaching a dangerous enemy before it can summon more pressure. A dash that is available when the room turns ugly is worth more than a few seconds saved during exploration.
Use walls and doorways as soft cover, not permanent shelter. A narrow entrance can prevent several monsters from reaching you at once, but it can also become a trap if the player controlling the enemies sends a durable creature first and a ranged attacker behind it. Step out, deal damage, then retreat through the opening before the crowd reaches your position.
Projectiles deserve special attention. Watch the attacker rather than the projectile itself. Many ranged enemies telegraph their shot through a brief animation, giving you time to move laterally. Dashing directly toward the shooter may work once, but it often places you inside a second attack’s range. Sideways movement followed by a short approach is safer.
If you take damage, don’t panic-heal or sprint randomly. Create distance, identify the source, and decide whether the room can still be won. A controlled retreat preserves health and lets you re-enter with information. Panic movement usually turns one hit into three.
Handling Monsters, Traps, and Player-Controlled Ambushes
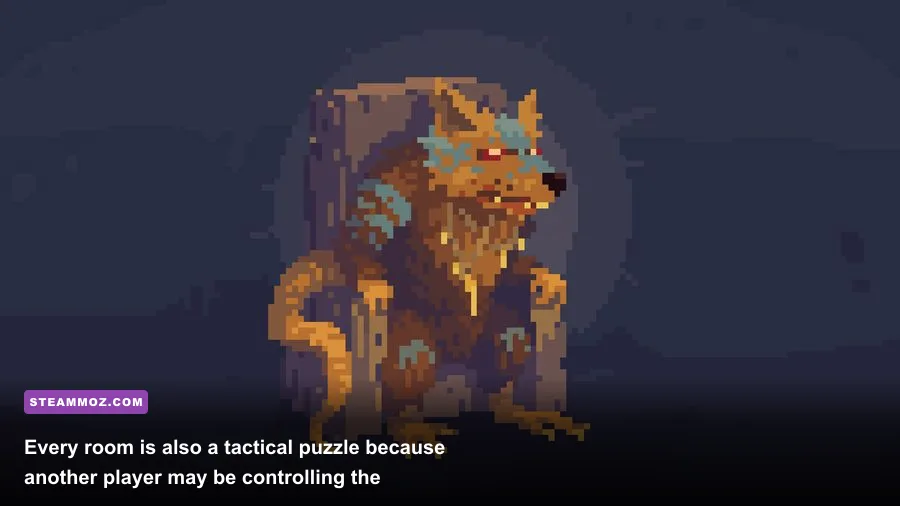
The defining trick of Crawl is that the dungeon isn’t simply trying to kill you. Other players become ghosts and spend XP to control monsters, which means enemy behavior may suddenly become much smarter than the room’s normal AI. A creature that retreats instead of attacking may be baiting you into a trap. A monster standing still may be waiting for your dash to go on cooldown.
When a player takes control, slow down for half a second. Look for intent. Aggressive monsters usually want to force you away from safe ground, while defensive monsters want to keep you busy until another threat arrives. Attack the monster that changes the geometry of the fight, not necessarily the monster with the lowest health.
Traps are easiest to handle when you refuse to rush the reward behind them. Approach suspicious pickups from an angle, keep an escape route open, and avoid dashing over unknown floor space. If you already know a room’s trap pattern, use it against invading monsters by positioning near the trigger without stepping on it yourself.
Monster rooms should be approached in priority order. Fast enemies can force movement; ranged enemies punish predictable movement; durable enemies occupy space. Remove whichever category is currently making the other two more dangerous. There is no universal “kill ranged first” rule if a charging monster is already one step from your back.
| Threat | Telegraph | Best Fighter Response | Bad Response |
|---|---|---|---|
| Fast charger | Distance closes quickly before the attack | Attack once, dash through or around it, then reset | Backing into a wall while trading hits |
| Ranged attacker | Visible firing animation or projectile lane | Move laterally and approach after the shot | Running in a straight line |
| Durable blocker | Slow movement and space denial | Ignore it briefly if a faster threat is active | Spending every cooldown on its armor |
| Trap room | Suspicious floor pattern or isolated reward | Keep an escape lane and test the route carefully | Dashing toward loot without scouting |
| Player-controlled monster | Unusually deliberate movement or retreat | Wait for the commitment and punish the approach | Chasing into an unseen corner |
When you become a ghost, don’t waste the opportunity by spawning the cheapest monster in the nearest room. Watch the living hero first. If they rely on dashing, choose a threat that makes them spend it early. If they hide behind a doorway, spawn something that attacks from range or controls the entrance. Learning to play the monster side will make you dramatically better at predicting it.
When to Try the Wizard, Huntress, and Gearhead
The Fighter is the best starting build, but it isn’t the only good beginner route. Once you understand spacing and room control, the other heroes make more sense because you can focus on their individual strengths instead of trying to solve basic movement at the same time.
Wizard: choose the Wizard when you enjoy planning two moves ahead. Spells such as Fireball reward grouping enemies and predicting movement, while mobility tools such as Blink can save a run when melee pressure becomes overwhelming. The catch is vulnerability. If you spend your strongest spell on a single weak target, the next wave can leave you with no answer. Maintain distance, use the room’s edges, and fire into the path an enemy must take rather than at its current position.
Huntress: the Huntress is excellent in open rooms because her bow lets her damage threats before they reach melee range. She becomes much less comfortable in cramped spaces, where line-of-sight breaks and enemies can appear beside her. Prioritize movement, keep a clear firing lane, and never let a player-controlled monster herd you into a corner. The Huntress feels powerful when you’re proactive and fragile when you’re late.
Gearhead: Gearhead suits players who like preparation. Turrets and mechanical tools can turn a room into a controlled zone, but setup time is a real cost. Place your tools where they cover an approach or protect a retreat, not directly on top of your character. Gearhead is rewarding after you’ve learned common enemy routes, yet it can feel awkward as a first class because you’re managing the battlefield instead of simply reading it.
| Hero | Beginner Rating | Core Strength | Main Risk |
|---|---|---|---|
| Fighter | S-Tier starter | Reliable melee pressure and forgiving fundamentals | Overcommitting into surrounded fights |
| Huntress | A-Tier | Ranged damage and strong open-room control | Weakness when enemies collapse on her |
| Wizard | A-Tier | Area damage, spacing tools, and explosive burst | Wasting spells or getting caught without resources |
| Gearhead | B-Tier starter | Prepared defenses and battlefield control | Needing setup time in fast rooms |
If the Wizard’s ranged style appeals to you, the same patience is useful in slower narrative games such as Citizen Sleeper-like RPGs, though Crawl demands much sharper moment-to-moment reactions. For graphics troubleshooting rather than build advice, our guides to stable FPS settings and performance tuning cover the same practical mindset: remove technical friction before judging your play.
A First-Run Plan That Actually Teaches You
On your first run, don’t measure success only by whether you reach the final floor. Track whether you learned something repeatable. Did you die because you attacked into a telegraph, spent your dash too early, ignored a ranged threat, or followed a player-controlled monster into a bad room? That answer is more valuable than a random victory built on favorable rooms.
Use the opening rooms to practice three things: attacking from the edge of your range, retreating without panic, and keeping one escape tool available. In the middle floors, start identifying which enemy types force you to move and which ones merely occupy space. Near the end, stop experimenting with unfamiliar upgrades and lean into the tools your run has already proven reliable.
Against a boss or final-room encounter, enter with your resources ready. Clear minor threats only when doing so creates space; don’t chase every weak enemy around the arena. Watch for the boss’s wind-up, move during the telegraph, and attack during recovery. If the room contains hazards, treat them as part of the boss rather than background decoration. Your goal is controlled uptime, not constant aggression.
Finally, play a few rounds with friends and rotate character choices. Crawl is at its best when the same person who ambushed you with a monster later has to survive your own summon strategy. That loop teaches both sides of the game, and it quickly exposes why the Fighter’s balanced build is so useful: you’re learning combat, dungeon geometry, economy, and player psychology at once.
For official details on the studio and the game’s broader updates, follow Powerhoof’s official website and the Crawl Steam Community hub. And if you want more genre recommendations after mastering its local multiplayer chaos, browse our coverage of games like Iratus. Start Fighter, buy consistent damage, preserve your dash, and learn to distrust every suspiciously quiet room. That’s the build—and the mindset—that gives beginners their best chance in Crawl.