The best Bounty Train Trainium Edition starting build is a defensive economy setup: keep Walter Reed focused on train reliability, recruit a durable front-line fighter and a medic, buy only essential cargo, and save your first major profits for repairs and fuel capacity. Beginners lose runs by treating Bounty Train like a trading sandbox; the real objective is building a train that can survive bad routes, random events, and one ugly ambush without bankrupting itself.
This guide is built for a fresh campaign on the normal difficulty, with no assumption that you already know the map or event system. The same principles work with the extra content bundled into the Trainium Edition, but the edition doesn’t remove the core pressure: every trip is a calculation between distance, fuel, water, crew health, cargo value, and combat risk. If you want the official baseline before starting, check the Bounty Train Steam page and the developer’s Corbie Games site.
The safest opening build for a new campaign
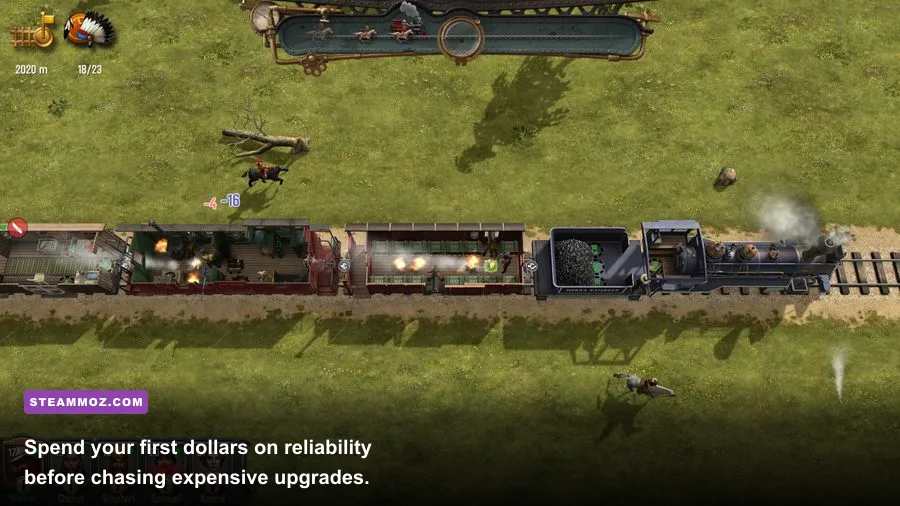
Your opening setup should solve three problems in order: keeping the locomotive moving, keeping the crew alive, and generating enough cash to make the next two upgrades without taking a reckless loan or gamble. That means your first build is not a high-damage outlaw squad. It’s a compact support team with enough combat power to end a boarding encounter quickly.
Use Walter Reed as the center of the build and prioritize skills that improve train handling, repairs, or general efficiency. His value is measured over an entire journey rather than in a single duel. Put him where he can contribute to train operations, then let dedicated combat crew handle attackers. If a tooltip offers a choice between a modest personal combat bonus and a clear train-management improvement, take the train bonus during the first hours.
Your first recruit should fill the front-line role. Look for a character with strong health, melee capability, or defensive traits rather than a specialist who needs expensive equipment. Your second recruit should be a medic or support character. Healing is more valuable than it first appears because wounded crew members reduce your ability to defend the train, and replacing injured specialists can cost more than the loot from the battle that hurt them.
| Build Slot | Recommended Priority | Why It Works | Early Warning |
|---|---|---|---|
| Walter Reed | Repairs, train handling, efficiency | Improves every trip instead of one encounter | Don’t turn him into your only fighter |
| Front-line recruit | Health, melee, defense | Absorbs pressure during boarding fights | Replace fragile damage dealers later |
| Medic or support | Healing and recovery | Reduces downtime and replacement costs | Keep this character away from the first contact |
| Fourth slot | Ranged damage or utility | Finishes attackers before they reach the crew | Only add it after the economy is stable |
For equipment, a reliable revolver or rifle is the best early ranged purchase because it lets a crew member contribute before enemies reach the train. A shotgun can be excellent at close range, but it’s less forgiving when the user is isolated or forced to reload at the wrong time. Don’t buy the most expensive weapon in the shop just because it has a higher damage number. A weapon that leaves you unable to afford fuel or repairs is a bad upgrade.

🎮 Bounty Train Trainium Edition
Looking to experience this game? Grab your digital key directly on our store for $1.49.
View on Steammoz Store →Stat priorities, equipment, and combat roles
Bounty Train rewards role separation. The crew member who repairs the locomotive shouldn’t be standing in the most exposed carriage, and the character carrying your best gun shouldn’t be wasting turns on maintenance while enemies are boarding. Think of the train as a moving party formation: a safe operating core, a combat buffer, and a damage position.
Walter Reed: the engine-room anchor
Walter’s first priority is keeping the train functional. Choose upgrades that improve repair work, reduce operational pressure, or make travel more efficient. You’re not trying to create a duelist. You’re trying to prevent one damaged component from turning a profitable trip into a stranded disaster. Assign him to the locomotive or the nearest useful operational position whenever the route is calm.
Front-line fighter: health before style
The front-line character needs enough survivability to buy time for the ranged crew. Health, armor, defensive effects, and melee reliability are more useful than a narrow bonus that only works under perfect conditions. Put this character between attackers and your medic. During a boarding action, the fighter’s job is to stop enemies from reaching your support crew, not to chase every target across the train.
Medic: protect the investment
Healing should be used before a wounded character becomes a liability. A medic doesn’t need to be involved in every attack. Keep the medic behind the fighter and use recovery actions during the gaps between enemy attacks. If the game gives you a choice between restoring a small amount immediately or waiting for a more efficient recovery, choose the option that prevents a character from entering the next encounter at critical health.
Ranged specialist: controlled damage
Give your best early firearm to the character with the safest firing position. Rifles are most useful when they can fire repeatedly from behind a defensive screen. Revolvers are more forgiving when a fight moves between carriages. Shotguns are a close-range answer, not a substitute for positioning. Watch reload timing carefully; beginning a reload as an enemy crosses into melee range is one of the fastest ways to lose a promising run.
| Role | Primary Stat Focus | Gear Choice | Combat Job |
|---|---|---|---|
| Train operator | Repair and efficiency | Utility equipment | Keep the locomotive moving |
| Tank | Health and defense | Melee weapon or durable gear | Block boarding lanes |
| Medic | Recovery and survivability | Defensive equipment | Stabilize wounded allies |
| Ranged attacker | Accuracy and damage | Rifle or revolver | Focus exposed attackers |
For a deeper equipment mindset, Steamoz’s equipment tier-list approach is useful even though it covers a different game: prioritize items that prevent run-ending mistakes, not items that look impressive on paper. The same logic applies here.
How to spend your first dollars and upgrade the train
Your first financial target should be a reserve, not a shiny locomotive part. Keep enough money to cover at least one emergency repair, a fuel purchase, and a basic crew recovery. The exact cost varies with the route and market state, so use percentages instead of memorizing one rigid shopping list: hold roughly 30 percent of your current cash in reserve, spend about 40 percent on essential train improvements, and use the remaining 30 percent for crew gear or carefully selected cargo.
Early upgrades should make the train less likely to fail. Capacity improvements are valuable once you’re regularly filling the hold, but they don’t help if the engine can’t complete a route. Prioritize repairs, fuel efficiency, water capacity, and durability before maximum cargo space. A larger hold is a profit multiplier only after you can reliably reach the destination with the cargo intact.
Don’t upgrade every system at once. A scattered train is expensive and mediocre. Pick one operational weakness and fix it completely enough to survive the next route. If you’re constantly running short of fuel, improve fuel economy or capacity. If ambush damage is leaving you stranded, improve durability and keep repair supplies available. If your crew is losing fights, buy a weapon and reinforce positioning before buying another cargo slot.
| Upgrade Phase | Spend On | Skip For Now | Success Test |
|---|---|---|---|
| Opening trips | Repairs, fuel, water reserve | Luxury cargo capacity | You can finish a route after minor damage |
| First profit cycle | One meaningful engine or durability upgrade | Replacing the entire crew | Operating costs feel predictable |
| Stable midgame | Capacity and specialist equipment | Unplanned cosmetic spending | Cargo profit exceeds travel costs consistently |
| Expansion stage | Higher-risk routes and stronger weapons | Overloading weak crew members | You can survive two difficult events in one journey |
The key hidden rule is opportunity cost. Every dollar spent on a weapon is also a dollar you can’t use to recover from a damaged locomotive. Every cargo purchase occupies space that might be needed for fuel, supplies, or a more valuable trade. Bounty Train doesn’t punish ambition; it punishes ambition without a reserve.
Routes, cargo, and the early-game profit loop
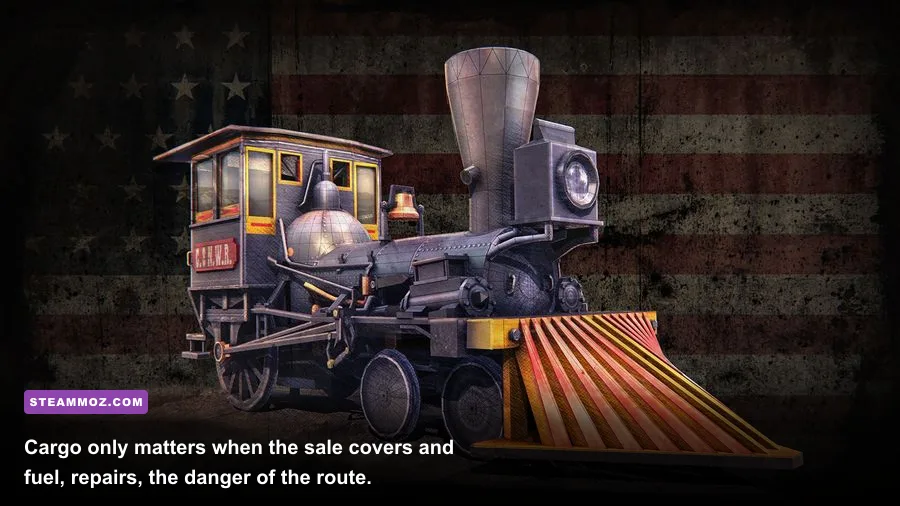
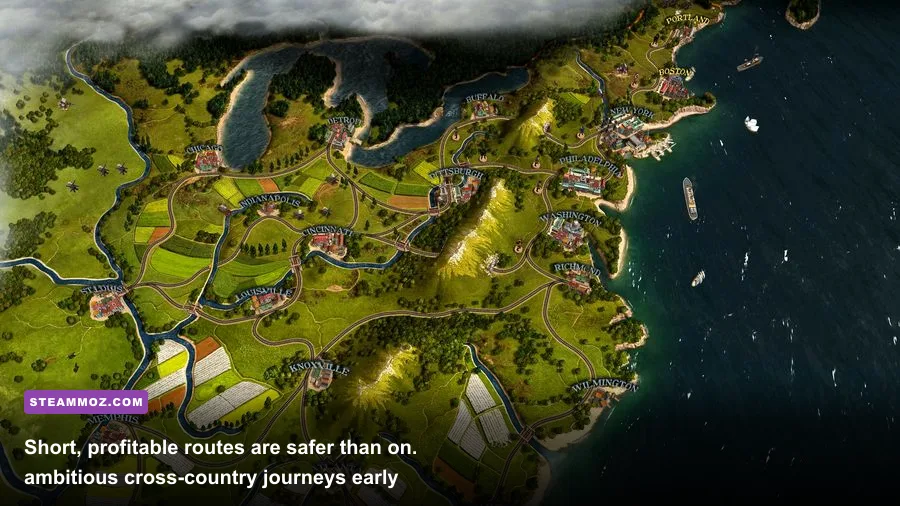
Begin with short routes between nearby cities and use them to learn how prices, travel time, and random encounters interact. Don’t commit to a long cross-country trip just because the destination offers a better sale price. A route’s gross revenue is meaningless if fuel, repairs, crew recovery, and lost cargo consume the margin.
Build a simple loop: buy a small amount of a commodity at a low price, sell it where demand is visibly stronger, restock essential supplies, then return through a route you already understand. The first loop is about information. Track which stations regularly offer food, fuel, water, or profitable cargo. Once you know the rhythm, increase the cargo load gradually instead of filling the train immediately.
Keep cargo diversified. A single large shipment can produce a great payout, but it also turns one bad event into a complete financial collapse. Two or three modest cargo types give you flexibility when the market shifts or an event forces an unexpected stop. Avoid buying cargo when you’re already below your emergency reserve. Profit that can’t be collected safely isn’t profit.
Before departing, check four things: locomotive condition, fuel, water, and crew health. I like leaving with the train comfortably above half its essential resource capacity whenever the route is unfamiliar. That isn’t a hard requirement, but it gives you room to absorb detours, repairs, and bad luck. If the route is known and short, you can run leaner; if it’s new, pay for safety.
| Route Situation | Recommended Load | Risk Level | Beginner Decision |
|---|---|---|---|
| Known short route | Small cargo batch and normal supplies | Low | Best for learning prices |
| Unknown medium route | Half cargo capacity with reserve cash | Moderate | Use after the first stable loop |
| Long route with weak train | Minimal cargo, high supply reserve | High | Usually postpone it |
| High-value cargo run | Diversified cargo and full recovery plan | High | Attempt only after upgrades |
Random events are where disciplined runs separate from lucky ones. Read every option instead of clicking the fastest response. A choice that saves money now may damage the train or injure a crew member, while a slightly more expensive option can preserve the entire journey. Think in total trip cost, not immediate cost.
Combat rotation and mistakes that kill beginner runs
When a fight starts, pause and establish the threat before issuing commands. Identify which enemies are closest to the crew, which character is being targeted, and whether the battle is happening near the locomotive or cargo cars. Your first move should usually be defensive: place the front-line fighter between attackers and the medic, then focus fire on the enemy with the clearest path to your support characters.
The basic rotation is straightforward. The fighter engages the nearest threat, the ranged specialist attacks the most exposed target, and the medic stays behind cover until healing is needed. Walter keeps operating unless the fight has reached his position; abandoning the engine too early can turn a winning combat encounter into a disabled-train problem. Once one attacker is down, shift fire rather than spreading damage across several healthy enemies.
Boarding enemies create a different priority. Stop the attacker who can reach the rear crew first, even if another enemy has lower health. Bounty Train’s fights are often lost through access rather than raw damage: a wounded medic or operator can collapse the whole formation. Use the train’s layout as your defensive tool. Narrow approaches are valuable because they let one durable character absorb pressure while ranged allies work safely behind them.
After combat, don’t immediately resume travel. Heal the injured, repair critical damage, reload where applicable, and inspect your supplies. A victory that leaves the train barely functional is only a delayed defeat. If repairs are expensive, sell low-value cargo or abandon a marginal objective rather than pushing into another encounter with a wounded crew.
| Combat Moment | Priority Target | Correct Response | Common Mistake |
|---|---|---|---|
| First contact | Enemy nearest to support crew | Block with the fighter and focus fire | Chasing a distant target |
| Medic threatened | Attacker entering the back line | Retreat medic and reposition tank | Trying to finish a different enemy |
| Operator threatened | Enemy near locomotive systems | Defend the engine before dealing damage | Leaving Walter exposed |
| Fight won | None | Heal, repair, reload, then travel | Rushing into the next event |
Three beginner mistakes deserve special attention. First, don’t hire every recruit you can afford; wages and equipment quietly drain a fragile economy. Second, don’t treat every event as a combat challenge. Avoiding a fight can be the strongest move when the train is damaged. Third, don’t sell essential supplies to fund cargo. A full hold has no value if the locomotive cannot complete the journey.
For players who enjoy tuning performance alongside strategy games, Steamoz’s stable-FPS settings guide and higher-FPS graphics breakdown cover the same practical principle: remove instability before chasing maximum output. In Bounty Train, stability means a reserve, a healthy crew, and a train that can absorb one bad roll.
The 60-minute progression plan
During the first 15 minutes, recruit only the core fighter and support character, equip one dependable firearm, and inspect nearby routes. Don’t buy a full cargo load. Your first trip should teach you the station economy and reveal how much fuel, water, and repair capacity your locomotive actually consumes.
From 15 to 35 minutes, complete a short trade loop and bank the profit. Upgrade the train’s biggest operational weakness, then buy better defensive equipment if the first combat encounter exposed a problem. This is also the point to decide whether your fourth crew slot is worth the wages. If the current team survives comfortably, keep saving instead of expanding automatically.
From 35 to 60 minutes, start taking medium routes only when the train can leave with a meaningful reserve. Add cargo capacity after you can fill the existing hold profitably. Improve the ranged character’s weapon once the engine and recovery budget are secure. By this stage, your goal isn’t spectacular revenue; it’s repeatability.
The strongest beginner build in the Trainium Edition is deliberately unglamorous: Walter Reed operating the train, a durable fighter controlling boarding lanes, a medic preserving the crew, and one ranged specialist finishing threats. Keep roughly 30 percent of your cash untouched, favor short routes, upgrade reliability before capacity, and treat every combat victory as a reason to recover before traveling again. That build won’t produce the biggest screenshot-worthy haul on day one, but it will still be running when riskier trains have already derailed.
For official game information and updates, the Bounty Train Steam news hub is worth checking before starting a long campaign. And if you’re moving between strategy games, Steamoz’s weapon-tier guide for Iris and the Giant offers another useful lesson: build around dependable synergies first, then chase stylish high-roll options once the fundamentals are secure.