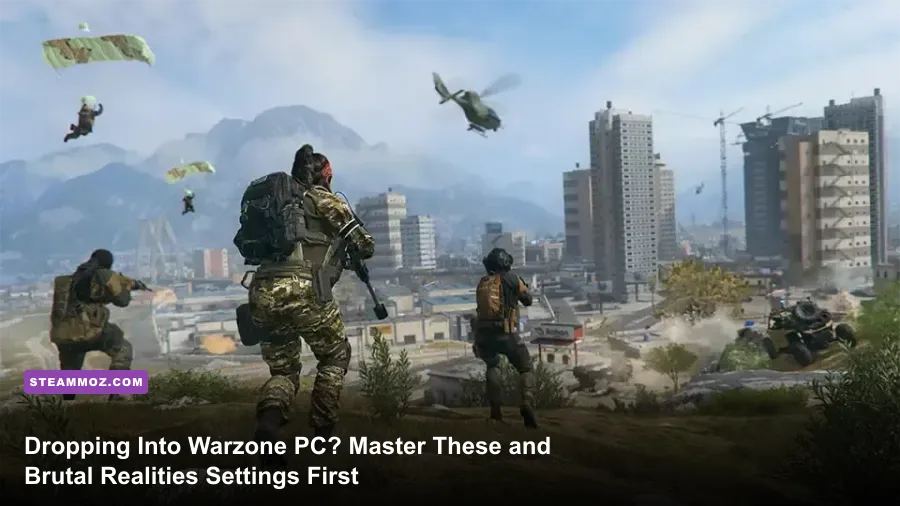
Jumping into Call of Duty: Warzone on PC is an entirely different beast than playing on a console or picking up a relaxed tactical shooter. If you fire up the client with default configurations, you are walking straight into an ambush of micro-stutters, distorted footsteps, sluggish camera transitions, and unforgiving 600-millisecond time-to-kill (TTK) melt-downs. Winning gunfights in this battle royale requires treating your PC setup like high-grade hardware, dialing in movement keybinds to break hitboxes, and understanding macro mechanics that the tutorial never bothers to explain. Before you dive out of the cargo plane, here is the unvarnished operational breakdown of what you need to adjust, unlearn, and master to survive.
Tuning Your Graphics for Absolute Frame Pacing and Visibility
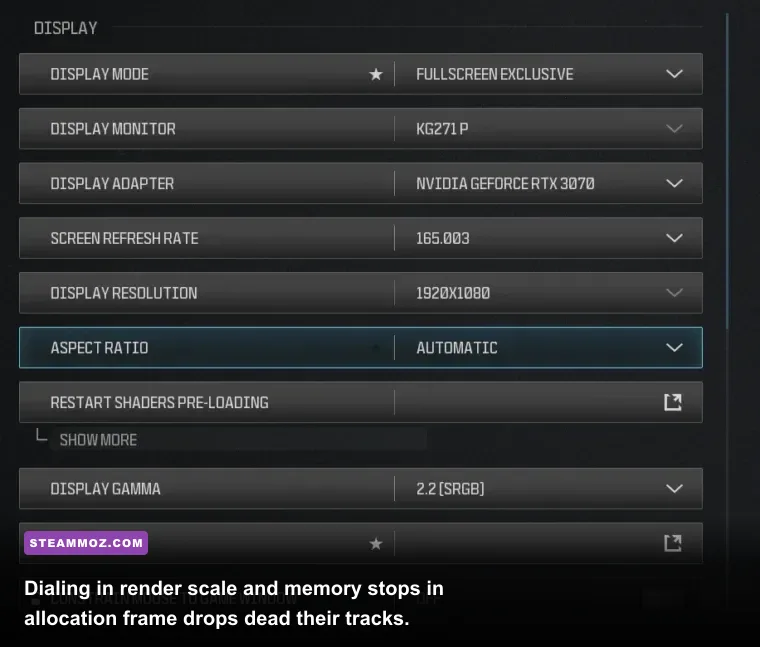
Warzone is notorious for chewing through system memory and leaving players with jagged frame times right when gunfights kick off. Crank your visual candy all the way up, and you'll find volumetric fog, screen space reflections, and aggressive ambient occlusion actively hiding enemy operators in dark stairwells. The goal on PC isn't to make the landscape look like a cinematic trailer; it's to push consistent 140+ FPS while retaining crystal-clear target silhouette contrast at 150 meters.
Start inside the Quality menu by tackling your VRAM Scale Target. Defaulting this setting to 90% frequently causes memory allocation thrashing alongside your OS and background apps, culminating in hideous frame hitches. Drag that slider down to 70% or 80%. Next, force On-Demand Texture Streaming off or restrict it to a tiny cache size if you are struggling with bandwidth; streaming assets mid-gunfight injects brutal latency spikes. If you have dealt with engine crashes while stress-testing intense environments, you know the frustration—much like troubleshooting erratic frame spikes in EscapeVR The Basement crashing and low FPS fixes, stabilizing your memory bandwidth solves half the battle before you even load into a server.
For upscaling, avoid standard DLSS or FSR Balanced modes if you play at 1080p, as they introduce motion smear across iron sights. Instead, run FidelityFX CAS set between 50% and 75% sharpening at native resolution. This delivers razor-sharp edge detection on distant targets without muddying your reticle. Pair this with Spot Cache set to High or Ultra. This allocates a portion of your VRAM to cache point light shadows, preventing that notorious half-second freeze when an enemy tosses a stun grenade or thermite into your room. If your rig needs deeper performance tuning across modern engines, cross-reference our performance breakdown in Far Cry 6 GOTY upgrade pass settings for max FPS to see how rendering pipelines handle high-draw workloads.
| Graphic Setting | Competitive Recommendation | Performance Impact | Tactical Advantage |
|---|---|---|---|
| VRAM Scale Target | 70% - 80% | Stabilizes Frame Latency | Eliminates micro-stuttering during sudden gunfights |
| Upscaling / Sharpening | FidelityFX CAS (60%) | Extremely Low (~1-2%) | Unrivaled edge clarity across long sightlines |
| Spot Cache | High or Ultra | Consumes VRAM (Low GPU load) | Prevents stutter when explosions and lighting update |
| Particle Quality & Resolution | Very Low | High (+8-12% FPS in fights) | Clears smoke/flash visual clutter from iron sights |
| Depth of Field & Motion Blur | Off (World & Weapon) | Moderate (+4-6% FPS) | Instant peripheral recognition while snapping corners |
| Field of View (FOV) | 105 – 115 (Affected) | Moderate | Wider peripheral vision and reduced visual recoil |
Do not skip your Field of View calibration either. While maxing FOV out to 120 seems tempting, it creates an extreme fisheye warp that shrinks distant heads down to a cluster of two pixels. Setting FOV between 105 and 115 hits the sweet spot. Crucially, set ADS Field of View to Affected rather than Independent. Affected scales your aim-down-sight zoom relative to your wider base FOV, which drastically dampens the visual kick of bouncy high-recoil weapons like battle rifles and heavy LMGs.
Fixing Warzone's Audio: Loudness Equalization and Dynamic Range
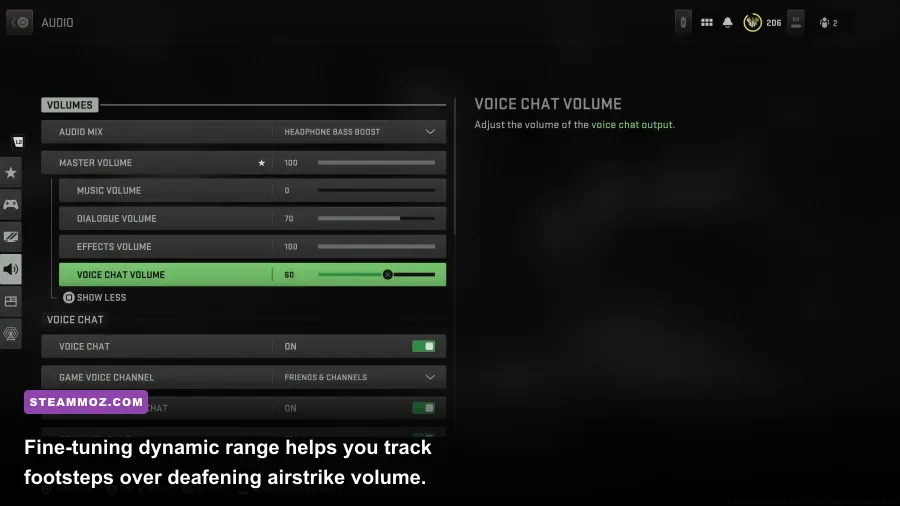
Warzone features a notoriously cluttered soundscape. Precision airstrike sirens, roaring helicopter rotors, and rumbling cluster mines routinely drown out the subtle cloth-rustle and boot-scuffs of an enemy sprinting up your metal staircase. If you leave the audio engine on its default cinema mix, you will be sound-whored by enemies while you are practically deafened by your own supply crate opening sounds.
Your first operational fix happens in Windows, not the game client. Open your Windows Sound Control Panel, head into your playback device properties, find the Enhancements tab, and enable Loudness Equalization. This acts as an aggressive audio compressor: it drags ear-splitting peaks (like artillery strikes) down while lifting quiet, low-decibel cues (like crouch-walking and armor-plating). If your driver lacks native equalization, utilizing a third-party parametric EQ such as SteelSeries Sonar or Peace GUI with an Equalizer APO wrapper lets you boost the 60 Hz to 250 Hz range (footstep thump) while carving out a sharp dip around 4 kHz to tame tinnitus-inducing flashbang rings.
Inside the game's audio options, switch your Audio Mix to PC Speaker or Headphone Bass Boost. Counter-intuitively, PC Speaker delivers the flattest, tightest dynamic compression curve, ensuring quiet footsteps aren't relegated to whisper territory. Set your Master Volume to a comfortable ceiling, drop Music Volume to absolute zero, drop Dialogue Volume down to 25% (you only need to hear callouts like "enemy soldier incoming"), and trim Cinematic volume entirely. Keep Effects Volume pinned at 100%. These clean-up steps prevent sensory overload when the endgame circle collapses into pure artillery chaos.
Mastering Movement: Momentum Resets, Camera Breaking, and Keybinds
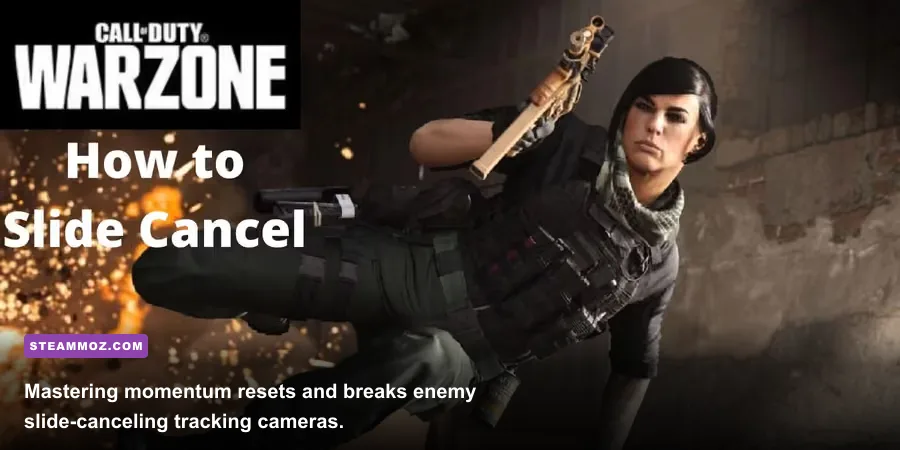
Movement on PC is a weapon system in its own right. The era of stationary, grounded gunfights does not exist here. If an opponent catches you caught flat-footed in the open, your survival time is under a second. To compete with controller aim-assist tracking up close, you must master momentum chains: slide-canceling, bunny hopping across thresholds, and breaking the opponent's camera tracking arc.
First, inspect your movement keybinds. The default layout binds Prone and Crouch in ways that require awkward thumb or pinky contortions. Separate these inputs entirely. Bind Slide/Crouch to a dedicated, easily reachable key (such as Left Ctrl or C) and bind Prone directly to an accessible mouse side button. In the gameplay settings, set Slide/Dive Behavior to Tap to Slide. This removes the processing delay the game injects while waiting to register whether you are tapping or holding the key, letting you execute rapid slides instantaneously.
Enable Automatic Tactical Sprint (ATS). While ATS creates a minor delay if you are caught needing to hip-fire directly out of a sprint, the mechanical upside is massive: you never have to smash your Left Shift key twice just to reach top velocity, saving both your keyboard switches and your reaction time. When engaging around a corner, you do not simply walk around it. You sprint, initiate a slide, cancel it by snapping your aim-down-sights (ADS) button or jumping, and sweep your reticle across head-height angles. This exploits peeker's advantage over the netcode, placing you on the enemy's monitor before their local client renders your shoulder.
If you encounter bizarre input friction or keyboard response delays, ensure you aren't bottlenecked by unstable background polling or thread throttling, similar to performance hitches addressed in our guide to Filament Marmalade Edition settings for higher FPS. On PC, responsive input isn't a bonus—it is the bedrock of every won gunfight.
The Match Economy: Buy Station Tactics and Resource Management
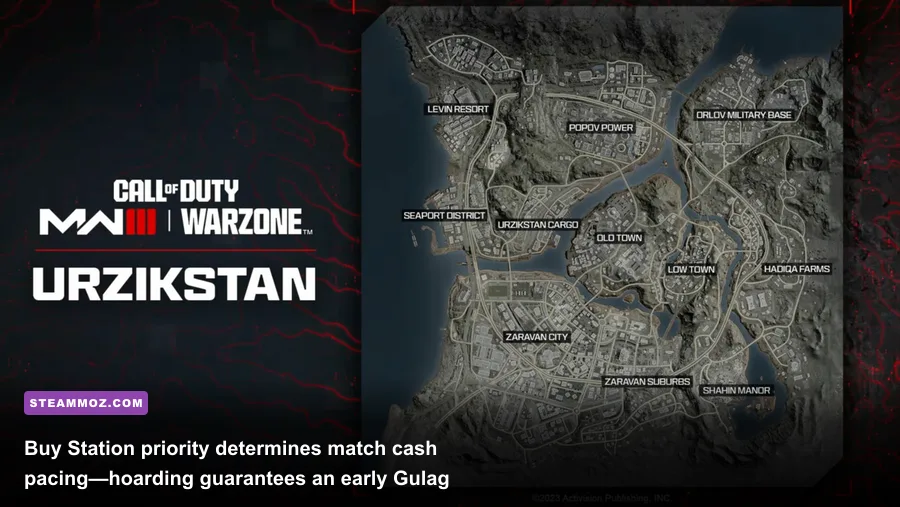
New PC players often treat Warzone like an open-ended survival simulator, hoarding cash like dragons and tiptoeing through bathrooms. This passive approach will get you crushed. Warzone's match pacing is governed by resource velocity. The faster you earn cash, convert it at a Buy Station, and establish UAV radar coverage, the faster you dictate the pace of the lobby rather than reacting to it.
When you drop into Urzikstan or Rebirth Island, your initial 90 seconds should be spent scouring ground-loot caches or clearing quick contracts (Bounties for dynamic target tracking, Scavengers for guaranteed early armor plates and funds). Never hold more than $4,000 to $8,000 on your person without an immediate plan to spend it. If a squad ambushes you with full pockets, you've essentially funded their Loadout Drop. Prioritize purchases methodically based on the current circle phase.
| Match Phase | Top Buy Station Priority | Alternative Purchase | Strategic Purpose |
|---|---|---|---|
| Infil / Circle 1 | Primary Custom Weapon ($2,500) | UAV ($6,000) | Out-gun ground-loot weapons immediately and wipe local drops |
| Circle 2 to 3 | Loadout Drop Marker ($16,000 - $20,000) | Self-Revive Kit ($3,000) | Secure full perk packages and dual weapon kits before free drop |
| Circle 4 to Midgame | UAV Chains (Triple UAV = Advanced) | Precision Airstrike ($4,500) | Locate non-Ghosted squads; dislodge rooftop snipers |
| Endgame / Circle 5+ | Gas Mask ($2,000 - $3,500) | Armor Plate Box ($2,000) | Unlock deep flank rotations through the gas without suffocating |
Notice the emphasis on buying a single custom weapon early rather than waiting for the entire squad to pool $16,000 for a shared Loadout crate. Buying your primary meta weapon for $2,500 gives you immediate handling and recoil advantages over opponents wrestling with bare ground-loot SMGs. If your client suffers sudden driver crashes or instability right when transactions update, consult stability resources like Elex PC fixes that stop crashes and rescue your FPS to ensure your GPU drivers, DirectX runtimes, and redistributables aren't falling out of sync during heavy memory transfers.
Loadout Architecture: Bullet Velocity, Recoil Control, and Perk Packages
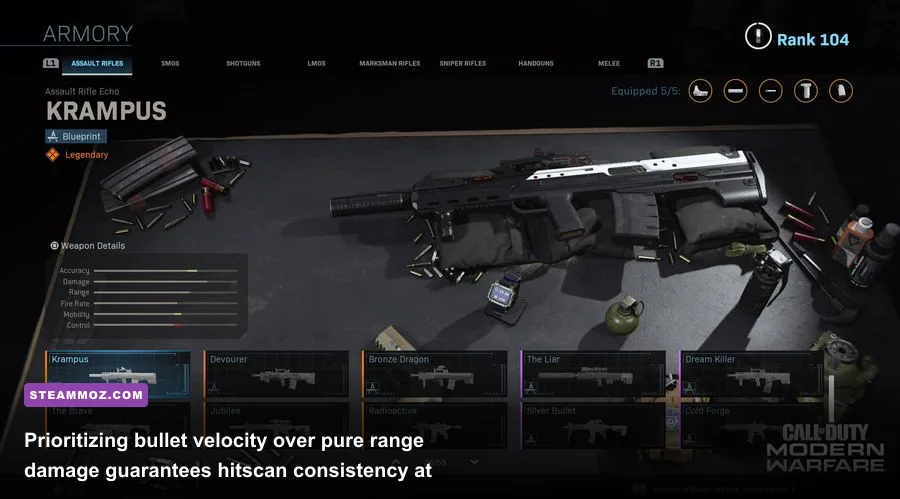
A fatal mistake rookie PC players make is importing multiplayer gunsmith builds straight into Warzone. Multiplayer weapon blueprints prioritize lightning-fast aim-down-sights speeds and sprint-to-fire times at the expense of range and magazine depth. In Warzone, where players possess 300 total health (100 base HP plus three 50 HP armor plates), those multiplayer builds crumble. You need weapons engineered for high sustained damage-per-magazine, predictable recoil paths, and sky-high bullet velocity.
Why is bullet velocity king on PC? Because the larger map layouts require you to challenge targets at 60 to 100 meters. If your assault rifle or LMG fires projectiles below 800 meters per second (m/s), you must lead your shots and account for severe bullet drop. When you tune attachments—such as heavy extended barrels, suppressors (like the VT-7 Spitfire or Sonic Suppressor), and high-grain ammunition—to shove bullet velocity beyond 1,000 m/s, your gun operates practically as a hitscan laser. Point your crosshair at their helmet, left-click, and the damage registers immediately.
Treat your weapon arsenal with the same analytical tier discipline we use when dissecting gear in Far Cry 3 Blood Dragon weapons ranked from S to C. Build your loadout around a disciplined two-gun archetype:
- Long-Range Anchor: An Assault Rifle or Light Machine Gun configured with a 50-60 round magazine, high bullet velocity, and horizontal recoil smoothing. (Example: SVA 545, Holger 26, or Pulemyot 762).
- Close-Quarters Shredder: A high-mobility Submachine Gun (SMG) sporting rapid sprint-to-fire speed, exceptional hip-fire or strafe mechanics, and clean iron sights. (Example: Striker 9, Superi 46, or WSP-9).
Equally critical is your Perk Package. For your base slots, Double Time is mandatory—it doubles your tactical sprint duration and accelerates refresh rates, facilitating continuous repositioning. Slot Fast Hands or Sleight of Hand into your second tier; re-plating or swapping to your secondary weapon half a second faster frequently determines the outcome of multi-team third parties. In the third slot, Quick Fix triggers instant health regeneration the moment you insert an armor plate or eliminate a target, letting you survive back-to-back pressure. Finally, High Alert is your ultimate sixth sense on PC: whenever an enemy outside your field of vision looks in your direction, the perimeter of your monitor pulses bright yellow. This nullifies campers and sniper ambushes before they can line up a clean headshot.
Before launching your next session, review the game's official patching cadence via the Call of Duty: Warzone official website to stay on top of stealth weapon nerfs and buff cycles. Always verify your installation integrity through the Call of Duty on Steam client or Battle.net launcher, and keep your GPU pipeline clean by snagging game-ready profiles directly from the NVIDIA Driver Downloads portal. If account link issues, shadowbans, or connectivity snags strike, reference the Activision Support portal to trace network server health.
Final Tactical Takeaway
Warzone on PC does not reward passive observers. Surviving Urzikstan or the claustrophobic alleys of Rebirth requires an aggressive mindset paired with technical precision. By stripping out visual clutter, leveling your audio equalization curve to catch every audio telegraph, binding your keys to preserve momentum, and constructing weapon builds optimized for extreme velocity, you dismantle the mechanical disadvantages that claim inexperienced operators. Calibrate your settings, lock in your primary loadout, and drop into the battlezone with absolute tactical intent.