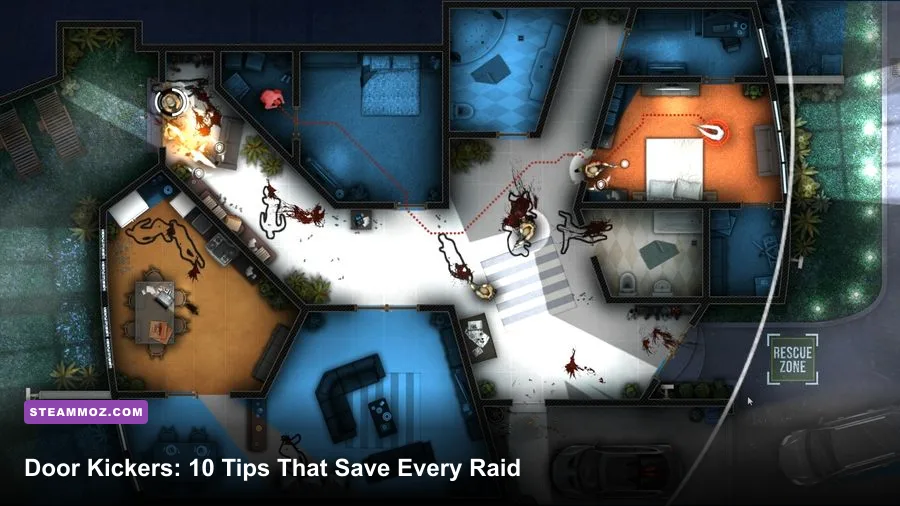
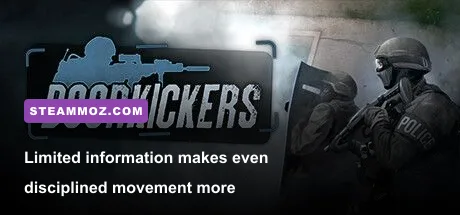
Door Kickers becomes dramatically easier once you stop treating it like a traditional RTS. The winning formula is simple: pause constantly, give every operator a specific lane, open dangerous rooms with the right tool, and let sight lines—not speed—control the raid. These 10 tips will help new players survive more missions, earn better ratings, and understand why a seemingly perfect plan can collapse in two seconds.
KillHouse Games built Door Kickers around real-time tactics with a pause button, so every decision matters before the shooting starts. You aren't managing an economy or waiting for cooldowns. You're solving a room-by-room puzzle involving angles, doors, noise, reloads, cover, and limited equipment. The official Door Kickers Steam page is useful for checking the game's feature set, while the KillHouse Games website provides developer information.
1. Pause Before Every Important Decision
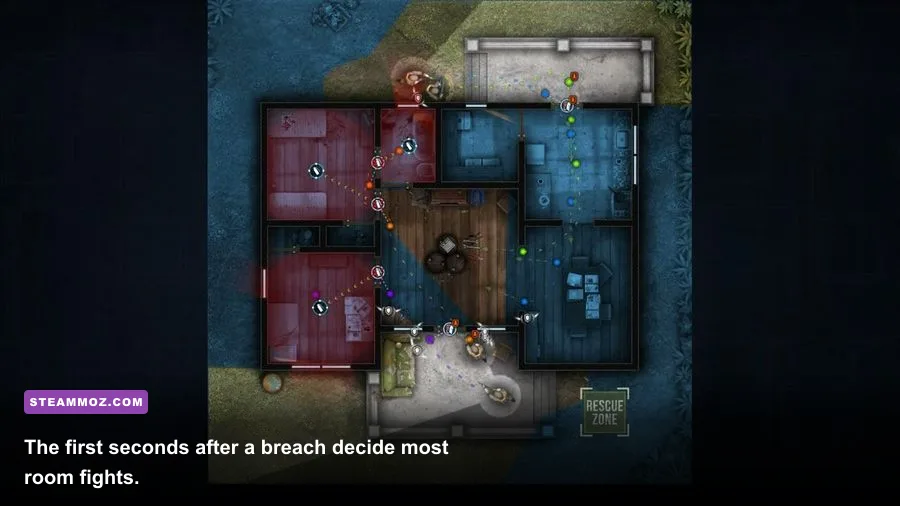
The pause button is your primary weapon. Use it before opening a door, crossing a hallway, changing direction, or sending an operator into a room that another teammate has not secured. Door Kickers may run in real time, but playing continuously is usually just volunteering to lose control.
A good rhythm is plan, unpause, observe, pause. Let the squad move only far enough to reveal the next problem. If an operator spots a hostile, pause immediately and decide whether the correct answer is a shot, a retreat, a flashbang, or a new angle.
Don't issue one giant path from spawn to objective. Long paths hide mistakes. An operator may expose himself to three doors at once, walk past useful cover, or enter a room while the rest of the squad is still behind him. Short movement segments make the plan readable and let you correct it before the situation becomes unrecoverable.

🎮 Door Kickers
Looking to experience this game? Grab your digital key directly on our store for $3.99.
View on Steammoz Store →2. Read Blue Paths and Red Engagement Lines
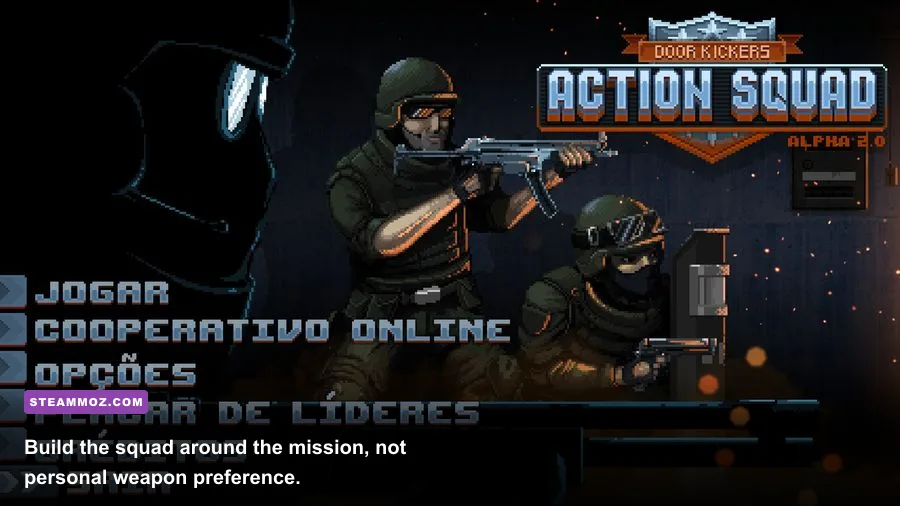
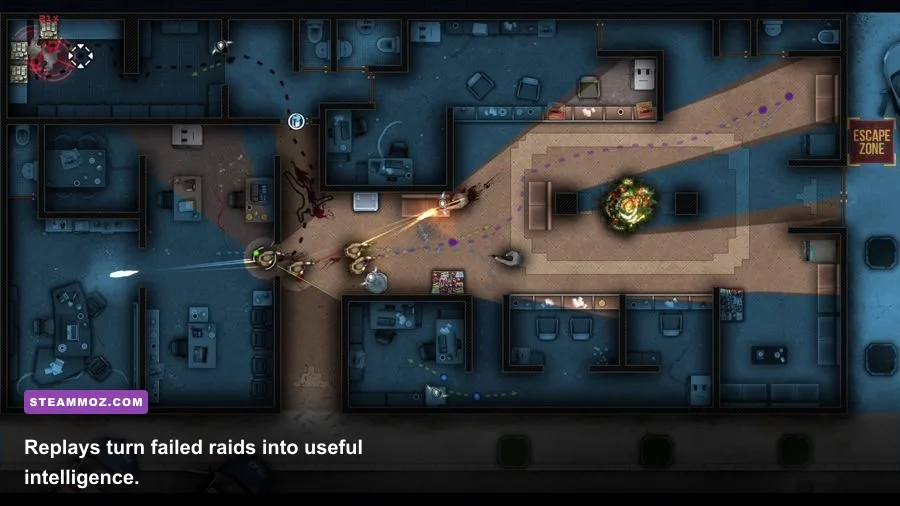
The planning interface gives you crucial information through movement and aiming lines. Blue movement paths show where an operator will travel. Red lines indicate likely engagement or facing behavior, helping you understand which direction the unit will prioritize when contact occurs.
Those lines are not decoration. They expose bad geometry. If an operator's path crosses a doorway diagonally, he may enter at a poor angle and spend precious time rotating toward the threat. If two operators' lines overlap, they may both focus on the same enemy while a second hostile remains unchallenged. Fix this by assigning one operator the near corner and another the far corner.
Use waypoints to shape movement rather than drawing a single straight line. A waypoint just outside a door can make a team stack neatly. A second waypoint inside the room can force a wide clear. The aim is to create controlled exposure: one operator sees a dangerous angle while the others remain ready to support.
| Path Problem | What It Causes | Better Fix |
|---|---|---|
| Long uninterrupted path | Unnoticed exposure and delayed reactions | Split the route into short, paused segments |
| Two operators share one angle | Overkill on one target | Assign separate corners or lanes |
| Diagonal doorway entry | Slow target acquisition | Use a waypoint and enter square to the room |
| Operators move side by side | One burst can stop multiple units | Stagger spacing and use cover |
3. Build a Squad Around Roles, Not Favorites
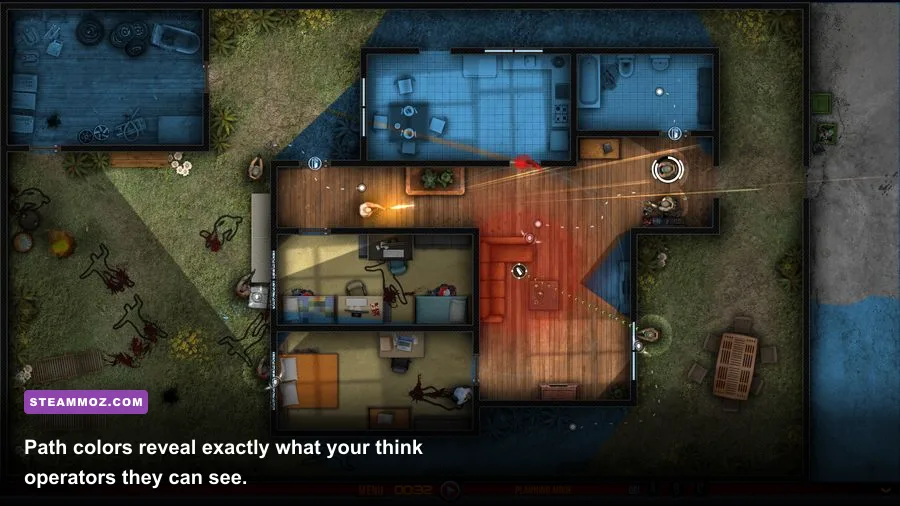
Every operator should solve a different problem. The Assault class is a dependable generalist for medium-range room clearing. The Breacher brings shotguns and breaching tools, making him excellent at forcing fast entries. The Shield can absorb attention from the front and create a moving focal point. The Support class is valuable when missions demand extra ammunition, a steadier weapon, or sustained fire.
A beginner-friendly four-person squad is usually one Breacher, one Shield, and two Assault operators. The Breacher handles the first dangerous door, the Shield leads when a narrow lane needs to be crossed, and the Assault operators cover opposite corners. Add Support when a mission is large enough to make ammunition or long engagements a serious concern.
Weapon choice should follow the map. An M870 is brutal at close range and can end a room fight immediately, but it is less forgiving when a hallway opens into several distant angles. An MP5 is easier to control in compact interiors, while an M4 offers a stronger answer to longer sight lines. Pistols such as the Glock are backup tools, not a reason to waste primary ammunition.
| Role | Useful Equipment | Best Situation | Main Risk |
|---|---|---|---|
| Assault | MP5 or M4, flashbangs | General room clearing and hallway coverage | Can become overextended without support |
| Breacher | M870, breaching charge | Fast entries and close-quarters fights | Limited reach in long corridors |
| Shield | Shield, sidearm | Leading narrow approaches | Vulnerable when flanked |
| Support | Carbine or automatic weapon, extra ammunition | Large maps and extended firefights | Noise and ammunition consumption |
Before launching a mission, inspect the available roster and gear rather than automatically selecting your highest-ranked operators. A star rating doesn't replace mission fit. A well-equipped Breacher on a door-heavy map can be more valuable than a stronger generalist carrying the wrong tools.
4. Treat Every Door as a Tactical Problem
Doors are the central puzzle in Door Kickers. A closed door hides information, but it also protects you from immediate fire. Opening it normally is slower and gives enemies a chance to react. Kicking it can create a faster entry, while a breaching charge provides explosive access at the cost of noise and limited equipment.
Don't breach every door just because you can. A loud entry can alert nearby enemies and turn several separate rooms into one chaotic fight. Use a normal opening when you have time and the approach is already covered. Kick when speed matters and the room is small enough for the entry team to dominate. Save charges for doors that are especially dangerous, reinforced, or positioned so badly that a conventional entry exposes your squad to multiple angles.
Stacking also matters. Keep the first operator slightly ahead, with the second offset behind him. If everyone stands directly on the threshold, a single burst or grenade can punish the entire squad. Pause as soon as the door opens, confirm what the entry operator sees, then send the next unit through.
5. Use Flashbangs Before Bullets
Flashbangs are among the safest ways to turn a contested room into a manageable one. Throw one through a doorway before entering when you suspect multiple enemies are inside. The goal isn't merely to stun a target; it's to buy a short window in which your operators can cross the threshold, acquire corners, and fire without immediately facing a coordinated response.
Timing and placement are everything. Throwing too early can waste the effect before the team reaches the room. Throwing too late means the first operator is already exposed. Place the grenade so it lands beyond the doorway rather than bouncing back into your stack. After the detonation, enter decisively. A flashbang is wasted if the squad waits outside long enough for the room to recover.
Grenades are not interchangeable. Flashbangs support controlled entries, while fragmentation explosives are for situations where eliminating a cluster matters more than preserving stealth. Breaching charges solve access and surprise, but they announce the attack. Think of equipment as a limited set of answers to specific geometry, not a collection of buttons to press whenever they are available.
6. Control Noise and the Alert Chain
Gunfire changes the entire mission. A suppressed weapon can help preserve surprise, but suppression isn't invisibility; enemies can still react to visual contact and nearby disturbances. Loud weapons, shotgun blasts, forced doors, and explosions may alert enemies in adjacent rooms, causing them to move toward your position or hold more aggressive angles.
When stealth matters, clear the nearest isolated target first and avoid firing across multiple rooms. Keep operators separated enough that one alarm doesn't expose everyone at once, but close enough to provide mutual support. This is especially important on missions with civilians or objectives where careless shooting can ruin the run.
Noise also affects your route. If a loud entry is unavoidable, plan around it. Position the rest of the squad at the corridors most likely to receive reinforcements, then make the breach. A noisy attack is not automatically bad; an unplanned noisy attack is. Use the alert as bait by placing a covered operator where responding enemies must cross his sight line.
7. Clear Angles in a Deliberate Order
Room clearing is about priority, not frantic mouse movement. The entry operator should immediately address the nearest lethal angle, usually the corner or doorway that can hit him first. The second operator should cover the opposite corner. Only after those immediate threats are handled should the team push deeper.
Think in slices. Move the squad so each step reveals a small portion of the room while previously cleared space remains covered. This prevents the classic failure where an operator rushes to the center and exposes himself to every uncleared angle simultaneously.
Hallways require the same discipline. Keep a lead operator watching forward while another covers the rear or a side door. Never assume a cleared room is permanently safe if enemies can move through it. A short pause after each contact lets you check ammunition, update facing directions, and confirm that nobody has silently wandered into a crossfire.
8. Manage Reloads and Ammunition Before the Fight
Reloads are a tactical event, not background animation. An operator who starts reloading while crossing a doorway is effectively unarmed during the worst possible moment. Pause after contact and check magazines before committing to the next room. If one operator is low, let another take the lead while the first reloads under cover.
Shotguns are particularly easy to misuse because their close-range power encourages constant forward motion. A Breacher can dominate a compact room but may struggle if he runs dry during a long sequence of doors. Pair him with an Assault operator who can cover the reload and handle targets beyond shotgun range.
Support equipment becomes more valuable on extended missions, but extra ammunition doesn't excuse wasteful firing. Use short, controlled engagements and avoid shooting through uncertain walls or doors unless the situation demands it. Every unnecessary burst reduces your options later.
9. Use Objectives and Civilians to Shape the Route
Mission objectives change the value of every route. A direct path to the objective may be faster but expose the team to several rooms at once. A slower route through cleared spaces can preserve health, ammunition, and control. Check the map before moving and identify which rooms can be bypassed, which doors offer cover, and where a retreat would be possible.
Civilians complicate otherwise easy shots. Confirm targets before firing and avoid spraying through occupied spaces. If an objective requires interacting with a location, secure the surrounding angles first rather than sending one operator alone. The operator performing the interaction may be committed for a moment, leaving him unable to respond quickly.
Stars and mission ratings reward more than simply finishing. Speed, casualties, accuracy, and objective completion all influence performance. Don't chase a perfect time on your first attempt. A slower clean run teaches the map and unlocks a better foundation for replaying it efficiently.
10. Replay Failures Instead of Restarting Blind
Door Kickers rewards analysis more than stubborn repetition. If a mission fails, watch the replay or restart while focusing on the exact first mistake. Was the first door opened without a flashbang? Did two operators stare at the same corner? Did an Assault operator cross a hallway before the Shield reached the front?
Change one variable at a time. Swap the M4 for an MP5, move the breach point, change the entry order, or place an operator on rear security. If you alter everything, you won't know which improvement solved the problem. The best players are effectively testing hypotheses against a fixed map.
Community-created missions can sharpen these skills after you've learned the basics. The game's Steam Workshop offers additional scenarios, while the official Steam discussions can help with edge cases and mission-specific questions. For more tactical-game reading, Steamoz's survival tips for new players and Byte Driver strategy guide are useful complements.
A Simple Raid Checklist
Before you unpause, ask five questions: who leads, who covers the opposite angle, what tool opens the first dangerous door, where will enemies come from after the first shot, and where can the squad retreat? If you can't answer those questions, the plan isn't ready.
For new players, the most reliable sequence is a Breacher or Shield at the front, an Assault operator covering the second angle, a flashbang before dangerous entries, and short movement commands between pauses. Keep the Support operator behind the initial contact when ammunition matters. This approach is slower than charging, but it teaches the game's real language: sight lines, exposure, timing, and controlled violence.
Door Kickers eventually makes those decisions feel instinctive. You'll recognize a bad doorway before opening it, notice when a path exposes too much of the squad, and start using noise as a deliberate weapon. Master that loop and the game stops feeling unfair. Every failed raid becomes readable—and every successful one feels earned.
For more PC tactics and performance advice, check Steamoz's guides to Hunt: Showdown settings, locked-FPS optimization, and beginner-friendly strategy planning.