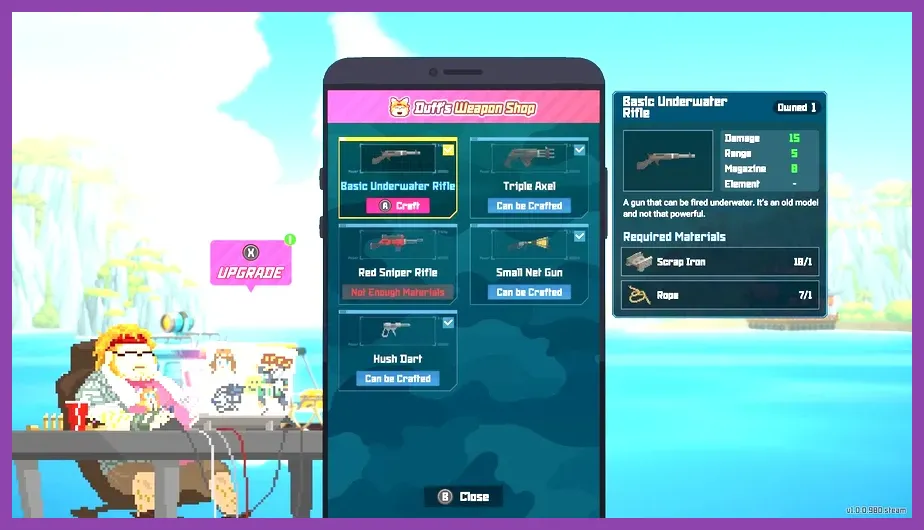
To build the absolute best weapons in Dave the Diver, your top crafting priorities should be the Death Rifle (crafted using 1x Megalodon Tooth and 1x Dark Steel), the Steel Net Gun (crafted using 1x Pelican Eel Tooth and 3x Steel Rope), and the Modified Underwater Tranquilizer Pistol. Acquiring these top-tier armaments requires targeted harvesting of key materials such as Weapon Fragments, Topaz, Diamond, Opal, Zoarcid Teeth, and specialized boss drops across the Blue Hole’s depth layers. Mastering Duff’s Weapon Shop application on your in-game smartphone is the single fastest way to dominate both aggressive apex predators and deep-sea bosses while maximizing your daily sushi restaurant profits.
Mastering Weapon Crafting in Duff’s Weapon Shop
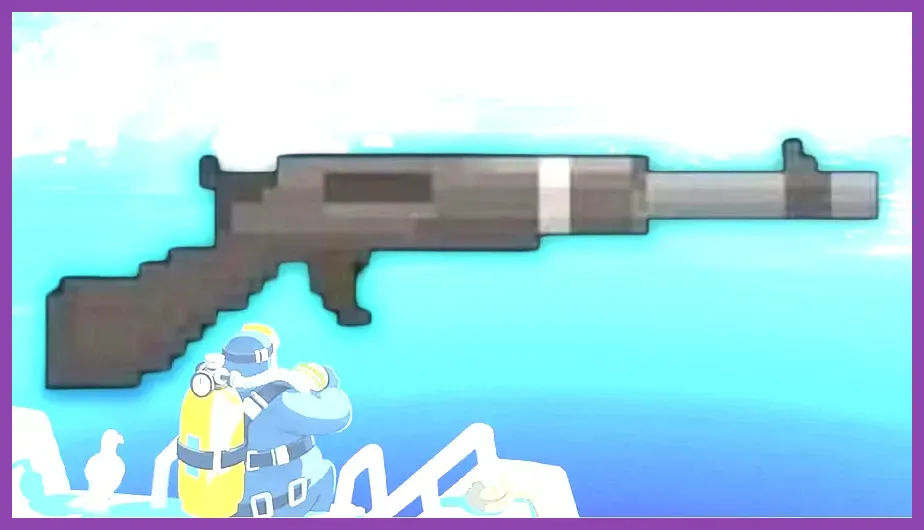
Crafting in Dave the Diver revolves entirely around Duff’s Weapon Shop, an app unlocked early on your smartphone after helping Duff retrieve his coveted anime figurines. Unlike basic gear upgrades managed at Cobra’s Shop or underwater workbenches, weapon crafting converts raw materials found during dives into permanent, high-powered firearms. Every weapon tree splits into elemental, utility, and raw power branches, demanding specific combinations of minerals, fish parts, and currency.
To craft or upgrade any weapon, you must gather three main resource categories: Weapon Fragments, Mining Minerals (such as Copper, Iron, Opal, Topaz, and Diamond), and Biological Drops harvested directly from marine fauna. Weapon Fragments act as the universal currency for all weapon modifications; breaking down unwanted weapons found inside underwater Red Weapon Crates provides a steady influx of these fragments. Always open weapon crates during your dives even if you do not plan to equip the contents, as disassembling them on the spot yields 5 to 15 Weapon Fragments per crate.
Understanding crafting blueprints is equally vital. Higher-tier weapons cannot be crafted outright; they require you to forge their foundational base models first. For instance, crafting the devastating Death Rifle requires you to advance through the Basic Underwater Rifle tree, upgrading step-by-step from Underwater Rifle I to Red Sniper Rifle, before applying late-game Chapter 6 and Chapter 7 materials. Similar to resource efficiency in games like League of Legends Hextech crafting, managing your base resources early saves dozens of wasted diving hours later.
Top-Tier Weapons to Craft First
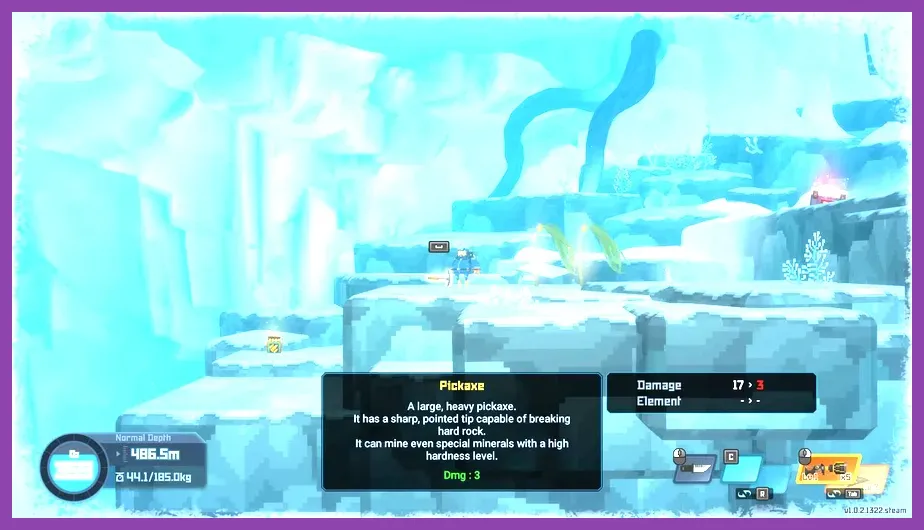
Not all weapons in Duff’s catalog are created equal. Depending on whether your priority is harvesting 3-star high-quality sushi meat or melting high-health bosses in the Glacial Area, specific firearms completely overshadow the rest of the arsenal.
1. The Death Rifle (S-Tier Offense)
The Death Rifle stands as the undisputed king of raw damage output in Dave the Diver. Boasting a massive base damage of 80 per shot, a 13-round magazine capacity, and an intrinsic 30% chance to trigger an instant-kill effect on non-boss targets, this weapon makes light work of aggressive Great White Sharks, Dunkleosteus, and Tigers Sharks alike.
- Base Damage: 80
- Magazine Size: 13
- Special Effect: 30% chance to instantly kill non-boss targets on hit.
- Key Required Materials: 1x Megalodon Tooth, 1x Dark Steel, 20x Topaz, 100x Weapon Fragment, 15,000 Gold.
2. Steel Net Gun (S-Tier Utility & Capturing)
If your main goal is optimizing Bancho Sushi's income, the Steel Net Gun is an absolute necessity. Unlike standard net guns that only catch small schooling fish, the Steel Net Gun fires a reinforced steel mesh capable of immobilizing giant creatures, including Tuna, Sailfish, and medium-sized sharks. Capturing fish unharmed guarantees a 3-star harvest quality, yielding maximum meat quantities and rare whole-fish ingredients.
- Capacity: 3 Nets
- Special Effect: Traps large aggressive predators without dealing lethal damage.
- Key Required Materials: 1x Large Net Gun, 1x Pelican Eel Tooth, 3x Steel Rope, 20x Mining Ore (Opal/Topaz), 80x Weapon Fragment.
3. Modified Underwater Tranquilizer Pistol (S-Tier Harvesting)
Combining quick fire rate with guaranteed sleep status, the Modified Underwater Tranquilizer Pistol lets you put even the fiercest predators to sleep in 2 to 3 consecutive shots. Once asleep, you can use the Salvage Drone to scoop up massive sharks intact. This makes it the premier tool for farming rare shark teeth and high-grade sushi meat without risking Dave’s oxygen tank.
- Base Damage: 10
- Tranquilizer Duration: 9 Seconds
- Key Required Materials: 1x Tranquilizer Pistol, 5x Coral Trout Tooth, 10x Starry Pufferfish Spike, 50x Weapon Fragment.
4. Flame Sniper Rifle II (A-Tier Boss Killer)
For long-range engagements against mobile bosses such as the Mantis Shrimp or Helicoprion, the Flame Sniper Rifle II offers unmatched precision damage. Delivering high base damage paired with continuous fire-element damage over time, it allows Dave to hit hard from safe distances while maintaining clear vision outside the boss’s melee range.
Player strategies for optimizing combat gear closely parallel progression loops found in action RPGs; for instance, learning combat mechanics in Mortal Kombat 1 legendary weapon guides emphasizes matching the right tool to specific enemy patterns—a rule that applies directly to Dave's underwater encounters.
Essential Crafting Materials and Where to Farm Them
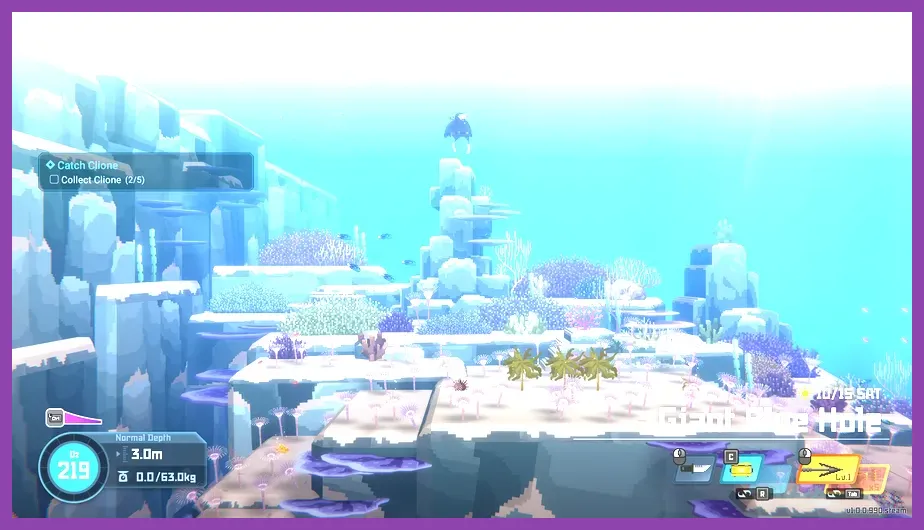
Crafting high-tier gear demands a deep knowledge of the Blue Hole’s topography and ecosystem. Certain minerals and biological components only generate at specific depth ranges or weather conditions. Below is a comprehensive breakdown of the rarest crafting materials in the game, complete with exact locations and harvest conditions.
| Material Name | Primary Depth / Location | Source / Drop Method | Primary Crafting Usage |
|---|---|---|---|
| Weapon Fragment | All Depths (0m - 540m) | Dismantling underwater weapons, opening yellow/red crates | Universal requirement for all crafting & upgrades |
| Topaz | Glacial Area (500m - 540m) | Mined from yellow crystal ore veins using Pickaxe/Explosives | Death Rifle, Steel Net Gun, Fire Sniper Rifle |
| Diamond | Glacial Area & Hydrothermal Vents | Mined from clear sparkling mineral nodes | Late-game elemental weapons & max upgrades |
| Opal | Deep Sea (130m - 250m) | Mined from greenish mineral deposits | Mid-to-late game weapon trees |
| Zoarcid Tooth | Glacial Zone Caves | Harvested from defeated Zoarcid fish | Ice Element Weapons & Kinetic Upgrades |
| Pelican Eel Tooth | Deep Sea (130m - 250m) | Carved from Pelican Eels after defeat/capture | Steel Net Gun upgrade tree |
| Megalodon Tooth | Glacial Control Room (Boss drop) | Defeating the Megalodon Boss in Chapter 6 | Death Rifle base crafting component |
| Dunkleosteus Plate | Hydrothermal Vents (400m+) | Harvested from armored Dunkleosteus specimens | Heavy Armor Piercing Weapons |
Harvesting minerals efficiently requires equipping the Pickaxe (found inside underwater item boxes) or upgrading Dave's Knife to level 3 or higher. Trying to harvest Topaz or Diamonds with a basic knife yields zero materials and damages your knife durability meter. For maximum resource farming, check out official updates and community discoveries on the Dave the Diver Steam Store Page and the official Mintrocket Developer Site.
Biome-by-Biome Material Farming Routes
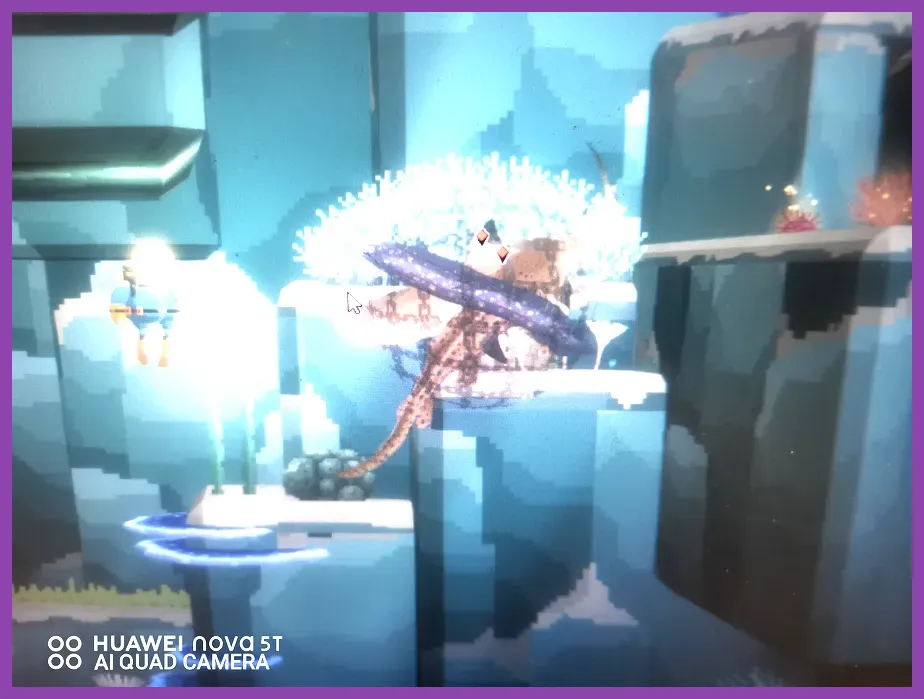
To maximize your limited oxygen tank and diving time, plan your dives around depth-specific harvesting routes. Diving blindly often leads to wasted trips and missed high-grade ores.
1. The Shallows (0m – 50m)
The upper waters are perfect for gathering base components like Wood, Scrap Iron, Rope, and Copper Ore. Focus on searching yellow supply crates scattered along the coral reefs. Collecting Wood and Rope early allows you to craft early net guns and basic harpoon upgrades. Avoid spending too much time here once you reach Chapter 3, as higher-tier ores do not spawn in shallow depths.
2. Medium Depth (50m – 130m)
This zone is rich in Lead Ore and Iron Ore, along with aggressive mid-tier predators like the Tiger Shark and Sawshark. Make sure to bring a tranquilizer gun or sniper rifle to deal with aggressive threats quickly. Keep an eye out for Tiger Shark Teeth and Coral Trout Teeth, both of which are required for status-effect upgrades like the Tranquilizer Dart Gun series.
3. Deep Blue Hole (130m – 250m)
Once you drop past 130 meters into the darkness, flashlight visibility becomes critical. This region yields Opal deposits, Sea People Artifacts, and Pelican Eel Teeth. Beware of Giant Tube Worms blocking narrow passages; bring a UV Light or Flame weapon to bypass them. Farming the Pelican Eel in this zone is mandatory for players aiming to complete the Steel Net Gun early. Efficient resource gathering here requires tactical positioning similar to managing survival items in titles featured in our Lethal Company strategy guides.
4. Glacial Area & Hydrothermal Vents (500m+)
Unlocked in late-game chapters, the Glacial Area contains the most valuable ores in the game: Topaz, Jade, and Diamond. Combine your mining runs with boss refights via the Marinca app or underwater mirrors. Hydrothermal Vents house Dunkleosteus and Pygmy Sperm Whales, dropping rare armor plates and thick blubber necessary for high-tier fire and kinetic upgrades. For detailed dive path maps, refer to the Dave the Diver Official Fandom Wiki.
Advanced Weapon Upgrades and Elemental Trees
Upgrading your weapons past their base forms unlocks devastating elemental damage types and specialized utility effects. Selecting the correct element against specific marine targets drastically cuts down combat duration.
Tranquilizer Element Path
The Tranquilizer tree replaces raw burst damage with crowd control. Weapons in this path have a flat percentage chance (typically 10% to 30% per shot) to put any target to sleep for 9 seconds. This status allows Dave to call in the Salvage Drone to airlift the immobilized creature directly to Bancho’s kitchen. This path is ideal for farming high-value sushi fish like Bluefin Tuna and Marlin without ruining their flesh quality.
Fire Element Path
Fire weapons deal bonus impact damage while applying a lingering burn effect that ticks for additional damage every second over a 5-second duration. The Flame Sniper Rifle and Flame Triple Axel excel at melting massive health pools on stationary or slow-moving bosses, such as the Kronosaurus or Great White Shark Klaus.
Lightning & Freeze Paths
Lightning weapons feature a chain-reaction mechanic that shocks nearby targets, making them effective against schools of aggressive fish like Barracudas. Freeze weapons slow down enemy movement speeds by up to 50%, eventually encasing them in ice blocks that deal bonus shatter damage when hit with a melee follow-up attack from Dave’s knife or crowbar.
Just as players optimize gold generation strategies in competitive games like Roblox Dungeon Quest gold farming guides, optimizing your underwater element matchups cuts down wasted dive time and maximizes total loot per run.
Resource Optimization and Dispatch Tactics
Gathering every single crafting component manually through diving can become tedious during late-game progression. Fortunately, Dave the Diver offers secondary mechanics to keep your material stockpiles overflowing without constantly underwater mining.
Utilizing Cobra’s Daily Shop Inventory
Check Cobra’s Shop on the boat deck every morning and afternoon. Cobra regularly sells essential crafting materials, including Steel Rope, Scrap Iron, Oxygen Capsules, and extra Sensor Bombs. Stocking up on Steel Rope whenever Cobra lists it saves you hours of searching shallow supply crates.
Dispatching Bancho Sushi Staff
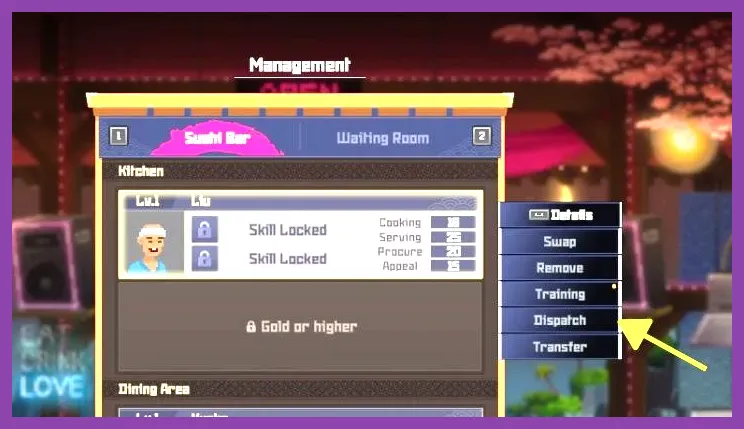
Once your restaurant staff reach level 7 or higher, you unlock the Dispatch System. Off-duty employees can be sent into town to gather specific culinary and crafting ingredients, such as Black Pepper, Olive Oil, and specialized condiments. While dispatch primarily targets cooking ingredients, keeping your sushi kitchen fully supplied frees up Dave’s dive focus entirely toward mining Topaz, Diamond, and hunting aggressive boss materials.
Combining active diving routes with smart restaurant automation allows you to craft every S-Tier weapon in Duff’s shop rapidly. Whether you are using the Steel Net Gun to capture pristine Tuna or unleashing the Death Rifle against prehistoric sea monsters, maintaining an optimized crafting workflow guarantees complete mastery over the depths of the Blue Hole.