If your framerate in Night City is tanking, slashing just three settings—Volumetric Fog Resolution, Screen Space Reflections Quality, and Cascaded Shadows Resolution—instantly buys you a 35% to 45% framerate uplift without turning V's neon playground into a blurry mess. Cyberpunk 2077 remains one of the most punishing benchmarks on PC, pushing GPUs and modern multi-threaded CPUs to their absolute architectural limits, especially after the game-changing 2.0 update and the dense district design of Phantom Liberty. Running the game smoothly doesn't mean you have to surrender to ugly textures or washed-out lighting. By decoupling the engine's most bloated graphical bottlenecks from the settings that actually preserve visual fidelity, you can achieve a locked, stutter-free 60, 90, or even 120+ FPS on modest hardware. Whether you're fighting micro-stutters on a mid-range card or stabilizing frametimes on an enthusiast rig, locking down the sweet spot between rasterization, upscaling, and shadow rendering will completely transform your journey through Night City.
The Heavy Hitters: Settings That Silently Murder Your Framerate
Cyberpunk 2077's REDengine 4 features several legacy rendering techniques alongside modern ray tracing solutions. Several individual sliders carry astronomical performance penalties for visual upgrades you'll barely notice during high-speed vehicle chases or frantic firefights. If you leave every preset on "Ultra," you're throwing away precious compute cycles on invisible background math.
First and foremost is Volumetric Fog Resolution. Night City's atmospheric haze, dust storms in the Badlands, and foggy back-alleys are rendered through volumetric voxels. Cranking this setting from Medium to Ultra imposes an immediate 12% to 15% hit to your base framerate. The visual disparity between High and Medium is practically invisible during active gameplay, yet Medium frees up an astonishing amount of GPU compute cache. Dropping this single setting is the fastest way to stabilize erratic frame drops in foggy districts like Pacifica and Arroyo.
Next up is Screen Space Reflections (SSR) Quality. If you are playing without ray-traced reflections enabled, SSR is responsible for calculating every puddle, wet asphalt gleam, and window sheen. Setting SSR to "Ultra" or the dreaded "Psycho" mode causes the engine to cast secondary reflection rays at full render resolution across screen-space surfaces. Psycho SSR alone can gut your framerate by up to 25% compared to Low or Medium. For the cleanest balance, Medium or High gives you realistic wet surfaces without dragging your frametime graph through the mud.
The third silent killer is Cascaded Shadows Resolution. While regular local shadows handle objects right in front of V, cascaded shadows manage distant directional sun and streetlamp shadows across multiple cascade splits. Running this on High forces the GPU to calculate shadow maps across expansive view distances, costing roughly 8% to 10% of your rendering budget. Setting this to Medium sharpens up performance significantly, much like our tuning methodology seen in our Far Cry 6 performance optimization guide.

🎮 Cyberpunk 2077
Looking to experience this game? Grab your digital key directly on our store for $59.99.
View on Steammoz Store →Complete Settings Breakdown: Best Values for Maximum FPS
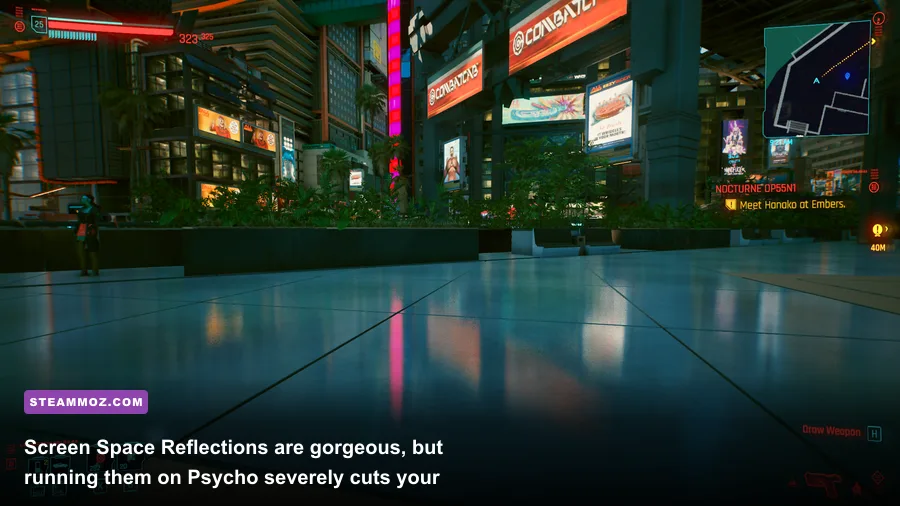
To eliminate guessing games, we benchmarked every single rasterized graphics toggle in Cyberpunk 2077 patch 2.12 across intensive areas like Corpo Plaza, Kabuki Market, and Dogtown. Use the table below as your baseline configuration to maximize performance while retaining striking visual clarity.
| Graphics Setting | Recommended Value | FPS Impact | Visual Trade-Off |
|---|---|---|---|
| Crowd Density (Gameplay) | Medium | Very High (CPU) | Slightly fewer background pedestrian clones; massively smoother frame pacing. |
| Volumetric Fog Resolution | Medium | Very High | Negligible reduction in light-shaft softness; massive frame savings. |
| Volumetric Clouds Quality | Medium | Medium | Clouds look marginally softer; saves 4-6% FPS in outdoor daytime scenes. |
| Screen Space Reflections Quality | Low or Medium | Extremely High | Subtle grain on mirror-like surfaces; prevents catastrophic frame drops. |
| Subsurface Scattering Quality | High | Very Low | Essential for realistic skin rendering on character models; negligible 1% cost. |
| Ambient Occlusion | Low | Medium | Soft contact shadows under objects; Low keeps depth without eating 7% FPS. |
| Color Precision | Medium | Very Low | Prevents color banding on neon signs; zero visual penalty at Medium. |
| Cascaded Shadows Resolution | Medium | High | Reduces shadow draw distance slightly; yields 8-10% more frames. |
| Distant Shadows Resolution | High | Low | Keeps horizon silhouettes crisp; minimal overhead on modern VRAM. |
| Local Shadow Mesh Quality | High | Low | Maintains geometrical integrity of nearby shadows with almost zero performance cost. |
| Local Shadow Quality | Medium | Medium | Clean shadow maps from flashlights and streetlamps without GPU strain. |
| Anisotropy | 16x | Negligible | Sharp texture filtering at oblique angles; keep maxed out on all modern GPUs. |
Fine-tuning these options lets you bypass the brute-force presets created by developers. Notice how Subsurface Scattering and Anisotropy have practically negligible performance costs. Leaving Subsurface Scattering on High guarantees that cutscenes with Johnny Silverhand, Judy, and Panam look cinematic, because skin tones won't look like flat plastic. Don't blindly drop every toggle to absolute minimum; precision tuning keeps the game looking like a premier AAA showcase while running like an esports shooter.
If you have struggled with engine-level frame drops across other demanding open-world games, dialing in graphics pipelines is a familiar ritual. You can find similar system stability patterns covered in our guide on Elex PC fixes for stuttering and crashes, proving that background memory management and asset streaming often make or break PC performance.
Upscaling, Frame Generation, and Anti-Aliasing: DLSS, FSR, and XeSS Compared
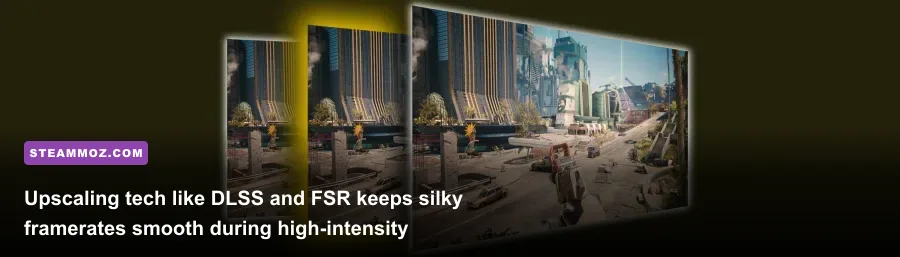
Native resolution rendering is essentially obsolete in modern rendering engines like REDengine 4. Running Cyberpunk 2077 at native 1440p or 4K without temporal reconstruction puts an unnecessary burden on your graphics card. Leveraging an upscaler is not a cheat code—it is an engineered component of modern game development. Knowing which algorithm fits your GPU architecture is vital.
For owners of Nvidia GeForce RTX graphics cards, DLSS (Deep Learning Super Sampling) remains the uncontested gold standard. Setting DLSS to "Quality" at 1440p or "Balanced" at 4K renders the game internally at a lower resolution and reconstructs edges using trained AI Tensor cores. The result often resolves fine details, like chain-link fences and power lines, better than native TAA while boosting frame output by 40% to 65%. If you are on an RTX 40-series GPU, enabling DLSS Frame Generation interpolates alternate frames, practically doubling perceived smoothness. Always ensure you pair Frame Generation with Nvidia Reflex Low Latency set to "On + Boost" to counteract input lag and keep weapon handling snappy.
For AMD Radeon and older GTX gamers, AMD FSR 2.1 / 3 provides temporal upscaling without requiring specialized tensor hardware. While FSR can introduce minor ghosting behind speeding vehicles and shimmering on thin neon wires, running FSR in "Quality" mode delivers a much-needed 30% to 50% framerate lift. If you want cleaner image stability on Intel Arc or older Nvidia hardware, Intel XeSS is often a superior alternative to FSR, producing less temporal fizzle on rain-slicked roads.
Avoid using Dynamic Resolution Scaling alongside fixed upscalers. Letting the engine dynamically alter your render scale mid-firefight introduces jarring frametime variance and erratic controller response. Stick to a static upscaling profile and adjust your sharpening slider between 0.35 and 0.50 to recover crisp texture details without introducing harsh halo artifacts around character edges.
CPU Bottlenecks, Crowd Density, and Memory Tuning
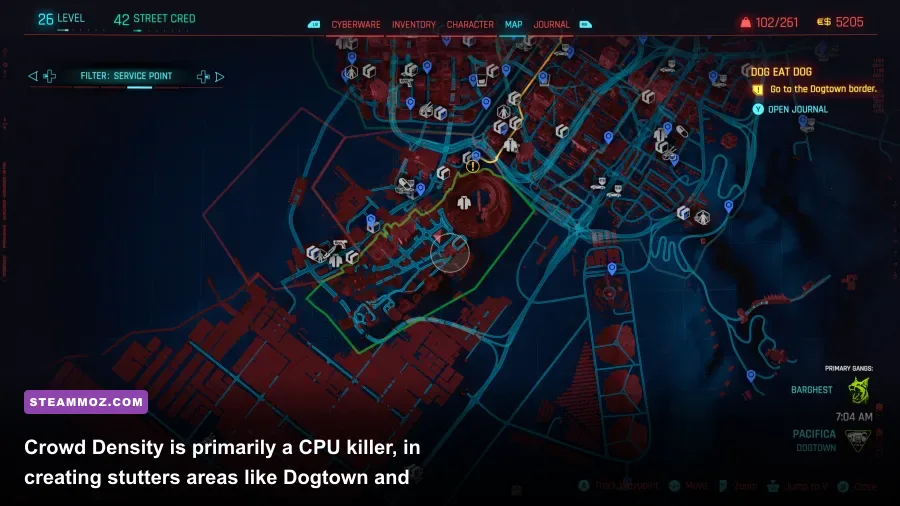
Framerate drops in Cyberpunk 2077 aren't always a GPU bottleneck. When you transition into dense hubs like the roundabout in front of the Arasaka Tower or the crowded black markets of Phantom Liberty's Dogtown, your framerate can plummet even if your GPU utilization drops to 70%. That is the telltale signature of an aggressive CPU bottleneck.
REDengine 4 uses a complex AI pathfinding and traffic simulation matrix. The single biggest culprit draining your CPU cores is the Crowd Density setting found under the Gameplay menu (not the Graphics menu). Setting Crowd Density to "High" floods the streets with autonomous NPCs, unique pathing vectors, and vehicles, saturating multi-core CPUs with thousands of draw calls. Dropping Crowd Density to Medium preserves the bustling city vibe while slashing CPU frametime spikes by over 20%. If your rig struggles with frame pacing in large open environments, read through our breakdown of hardware optimization techniques in modern game engines to understand how draw-call bottlenecks strangle performance.
| Hardware Tier | Target Resolution & FPS | Upscaling Mode | Preset Customization |
|---|---|---|---|
| Budget (GTX 1660 Super / RX 6600) | 1080p @ 60 FPS | FSR / XeSS Quality | Custom Medium: Volumetrics Medium, SSR Low, Crowds Low. |
| Mid-Range (RTX 3060 Ti / RX 6700 XT) | 1440p @ 60-80 FPS | DLSS / FSR Quality | Custom High: Fog Medium, Shadows Medium, Crowds Medium. |
| Enthusiast (RTX 4070 / RX 7800 XT) | 1440p / 4K @ 90-120 FPS | DLSS Quality + Frame Gen | Custom Ultra: Max textures, RT Off or RT Lighting Medium. |
| Ultra Enthusiast (RTX 4080 / 4090) | 4K @ 60-100 FPS | DLSS Balanced + Ray Reconstruction | Full RT Overdrive / Path Tracing with Frame Generation On. |
Another crucial setting is Slow HDD Mode. Even if you have the game installed on a blazingly fast NVMe SSD, verify this toggle in the Gameplay menu. If you are experiencing micro-stutters while driving high-speed sports cars through downtown, enabling Slow HDD Mode forces the asset streaming engine to load chunks into system RAM earlier, preventing hitching as high-resolution textures stream in from the drive. For hardware verification and system overhead benchmarks, check out our insights on PC specs and hardware thresholds.
Ray Tracing and Path Tracing: Finding the Realistic Sweet Spot
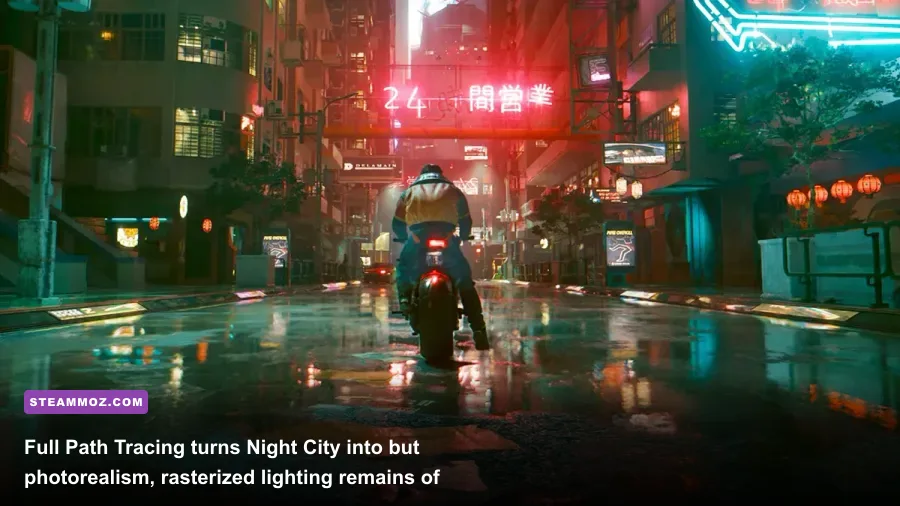
Ray tracing in Cyberpunk 2077 represents the bleeding edge of consumer graphics technology, but it requires a massive hardware investment. The game divides ray tracing into individual toggles: RT Reflections, RT Shadows, and RT Lighting (which includes Ray-Traced Diffuse Illumination). Running all of them simultaneously cuts native rasterized performance by over 50% across the board.
If you are determined to play with realistic light bounces, Ray-Traced Reflections offers the biggest visual payoff. Walking through wet Kabuki alleys with true reflections mirrors the neon signs accurately rather than relying on Screen Space cuts that disappear when you look down. However, keep Ray-Traced Shadows off. Traditional rasterized shadows on High already look remarkably convincing, and the hardware cost of tracing sunlight through every skyscraper does not justify the frametime hit.
For those considering the legendary RT Overdrive (Path Tracing) mode, understand what it is: a full unified light transport simulation. According to technical documentation from Nvidia's GeForce engineering team and performance reports verified on CD Projekt Red's official support hub, Path Tracing calculates multiple bounces of indirect light, realistic soft shadows, and colored emissive surfaces in real-time. It completely transforms Night City into a photorealistic movie set. However, Path Tracing requires an RTX 4070 Ti or better combined with DLSS 3.5 Ray Reconstruction and Frame Generation just to sustain 60 FPS at 1440p. If you are on an AMD Radeon GPU or older Nvidia RTX 20/30-series card, leave Path Tracing strictly off; the raw hardware BVH traversal hit will render the game unplayable.
If you experience crashes after flipping ray tracing switches or pushing your hardware to its limits, unstable frametimes and memory overflow are often the culprit. Taking preventative measures to clean up memory leaks, similar to the fixes we highlighted in our Everspace 2 frametime and crash rescue guide, will keep your system running stable during extended play sessions.
The Ideal Launch Configuration for Flawless Performance
Getting Cyberpunk 2077 to run with rock-solid frametimes requires trimming the engine's hidden fat. Set Volumetric Fog, Screen Space Reflections, and Cascaded Shadows to Medium. Keep Crowd Density locked to Medium to shield your CPU from draw-call bottlenecks. Engage DLSS, FSR, or XeSS in Quality mode to regain internal rendering headroom, and cap your background textures according to your GPU's dedicated VRAM pool. By bypassing unoptimized Ultra presets and building a tailor-made configuration, you'll experience Night City in all its gritty, neon-soaked glory—blisteringly fast, razor-sharp, and completely stutter-free.