
Jumping into Joel and Ellie's brutal trek across post-pandemic America on PC requires far more preparation than your typical third-person shooter. Between notoriously hungry VRAM requirements, savage enemy artificial intelligence, and an economy where a single misplaced roll of tape can cost you an armory of upgrades, careless play will get you flattened. If you want to survive the quarantine zones and abandoned highways without tearing your hair out over technical stuttering or empty magazines, there are core tactical systems, hardware calibrations, and survival habits you must lock down before stepping out of the Boston slums.
Let the Shaders Build and Tweak Your VRAM Headroom

Before you even think about pressing "New Game" on the main menu, glance down at the bottom right corner of your screen. That shader building progress percentage isn't a suggestion—it's mandatory survival equipment. While developer patches have vastly stabilized the PC release on Steam, interrupting shader building to jump straight into the prologue will spike CPU usage to 100%, induce severe micro-stuttering, and potentially trigger desktop crashes during intense asset loads. Let it sit for 15 to 25 minutes on your first boot until it hits 100%.
Once compiled, treat the graphics menu with respect, particularly the VRAM bar. The Last of Us Part I on PC pushes heavy texture streaming that easily overruns 8GB graphics cards. Setting textures to "Ultra" on cards like the RTX 3070 or RX 6600 XT causes catastrophic frame pacing spikes as system RAM gets choked by overflow. Drop textures to "High" or "Medium"—the visual difference on sub-4K displays is practically imperceptible during motion, but the stability gains are immense. If you have dealt with nasty frame pacing in other titles, our guide on ELEX PC fixes that stop crashes and rescue your FPS highlights similar memory leakage issues you want to avoid here.
If you are struggling to keep a locked 60 or 120 FPS in dense environmental areas like the overgrown Pittsburgh streets or the rain-swept outskirts, dial down the settings that punish your hardware with negligible aesthetic returns. Much like optimizing heavy open-world environments in our Far Cry 6 settings guide for max FPS, targeted adjustments make all the difference.
| Graphic Setting | Optimal Target | VRAM Impact | Performance / Visual Trade-off |
|---|---|---|---|
| Texture Quality | High (8GB VRAM) / Ultra (12GB+) | Extreme | Ultra overloads 8GB cards; High keeps frames smooth with zero blur. |
| Volumetric Lighting | Medium | Low | Saves 8-12% GPU render time with barely noticeable differences in fog. |
| Shadow Quality | High | Moderate | Ultra adds subtle edge diffusion that destroys framerates in flashlight scenes. |
| Screen Space Reflections | Medium | Low | Keeps water puddles looking cinematic without burning shader cores. |
| DLSS / FSR 2.2 / XeSS | Quality Mode | Negligible | Essential temporal reconstruction; resolves internal render bottlenecks instantly. |
Resource Economy: Crafting Priority and the Golden Scissor Rule
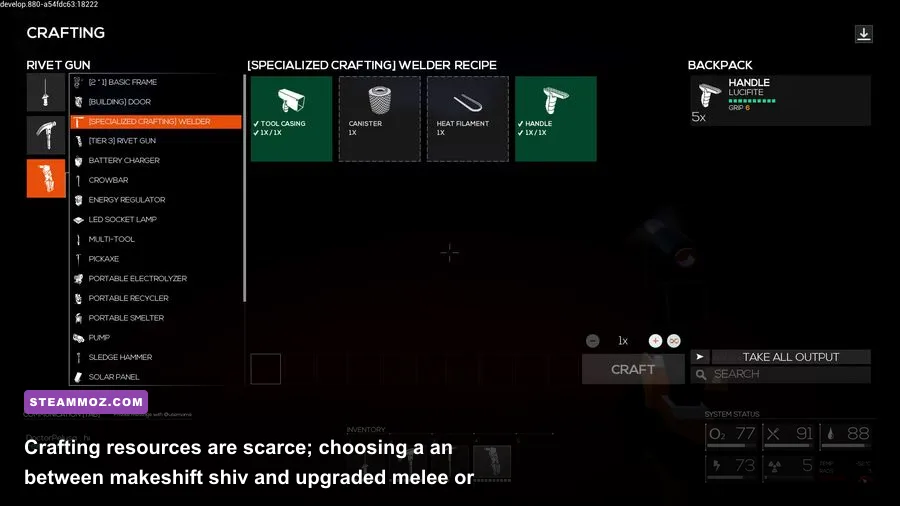
Every salvage item in Joel's backpack is split into dual-purpose components: Alcohol, Sugar, Blades, Binding, Explosives, and Rags. You can never build everything you want, meaning every crafted item represents a sacrifice. The most critical decision revolves around your Blades and Bindings. These two components combine to craft either a disposable Shiv or a Melee Weapon Upgrade. Here is the golden rule: always prioritize the Shiv.
Throughout the campaign, there are precisely 13 locked "Shiv Doors" scattered across the map. These hidden rooms contain the motherlode: massive caches of weapon upgrade parts, pill supplements for character stats, rare ammunition, and even early Tool upgrades that permanently expand your workbench capabilities. If you burn your last blade shivving an oblivious Clicker from stealth, you will inevitably stumble upon a locked door five minutes later and forfeit hundreds of upgrade points. Keep at least one pristine, fully crafted Shiv in your pocket exclusively for doors.
When it comes to Supplements (the little pill icon), spend them strategically. You might be tempted to level up maximum health right away, but you should actually dump your initial points into Weapon Sway (50 pills for Level 1, 100 for Level 2). Joel's hands shake violently when aiming down sights, especially under fire. Reducing weapon sway transforms the hunting rifle and 9mm pistol from erratic gambling tools into precision surgical instruments. After sway, invest in Listen Mode Distance or Crafting Speed. If you run into odd inventory bugs or system freezes when opening menus, reviewing crashing and low FPS fixes will help keep your software stable under pressure.
Combat Mechanics: Bricks, Bottles, and Stun Loops

New players treat Joel like an action hero and immediately reach for their firearms. That is the quickest way to end up on the death screen staring at an infected tearing your neck out. The single most powerful, game-breaking weapon in Joel's entire toolkit isn't the pump shotgun or the flamethrower—it's the common red brick lying on the asphalt.
You must understand the distinct functional differences between Bricks and Glass Bottles:
- Bottles: Primarily noise-makers. When thrown, bottles shatter with a wide acoustic profile, making them ideal for luring groups of Clickers toward unalerted human Hunter patrols to let them butcher each other. However, using a bottle as an improvised melee weapon only yields a single-hit stun.
- Bricks: Pure offensive kinetic destruction. While you can toss a brick to make noise, holding a brick in your hand allows you to execute a savage three-hit melee combo that outright kills Runners, Stalkers, and even human mercenaries without expending an ounce of ammo or weapon durability. More importantly: a thrown brick instantly staggers a charging Clicker, allowing you to sprint up and kill it with a melee weapon or shiv strike.
Master the "Stun-Sprint-Strike" loop. When facing human enemies wearing body armor or aggressive infected charging down a hallway, do not engage in a drawn-out shootout where you miss half your shots. Whip a brick directly at their chest, sprint into their staggering animation, and trigger a contextual grab or melee execute. You conserve vital ammunition, eliminate the threat in seconds, and retain absolute control of the battlefield pacing.
Weapon Bench Upgrades: What to Prioritize First

Scrap parts are finite. Even if you comb every bathroom and decaying desk drawer in the game, you won't fully maximize every single firearm on your first playthrough unless you run New Game Plus. That means your early workbench choices dictate the entire difficulty curve of your campaign. Ranking your arsenal effectively is just as vital here as it is when surveying weapons in our Far Cry 3 Blood Dragon weapon tier list.
Your absolute, non-negotiable first purchases must be the Holsters. By default, Joel can only quick-equip one sidearm and one long gun. Swapping to your shotgun or hunting rifle requires opening your backpack in real time while enemies actively flank your cover. Buying the Long Gun Holster (unlocked early in Pittsburgh) and the Pistol Holster gives you dedicated quick-swap hotkeys for two long guns and two sidearms. This upgrade doubles your active firepower on the fly.
| Weapon / Upgrade | Priority Tier | Key Milestone Cost | Tactical Impact on Combat |
|---|---|---|---|
| Long Gun Holster | S-Tier | 75 Parts | Allows instant switching between Hunting Rifle and Shotgun without accessing backpack. |
| Pistol Holster | S-Tier | 50 Parts | Enables fast toggling between 9mm rapid fire and heavy Revolver stopping power. |
| Hunting Rifle: Armor Piercing | A-Tier | 75 Parts (Tool Level 2) | Punches clean through human body armor and kills Clickers with a single torso hit. |
| Shotgun: Range & Spread | A-Tier | 30-50 Parts | Tightens pellet cone, ensuring lethal one-shot spread at medium engagement ranges. |
| Revolver: Fire Rate | B-Tier | 20-30 Parts | Shortens trigger recovery, preventing you from getting swarmed by rapid Runners. |
| Bow: Range & Draw Speed | B-Tier | 50 Parts (Tool Level 2) | Flattens arrow trajectory, turning the silent bow into a deadly long-range sniper. |
| Clip Capacity (All Guns) | C-Tier | Variable | Low priority early on; ammo scarcity means you rarely have enough rounds to fill high-capacity magazines. |
Notice how clip capacity sits at the bottom of the priority ladder. Early in the game, you will rarely hold more than four or five shells for the shotgun or three rounds for the rifle. Spending 50 parts to expand your magazine size when you only possess two bullets is a waste. Pour your resources into reload speed, armor penetration, and recoil stability first. For players who love maximizing resource efficiency and evaluating gear value, compare this balancing act to the upgrades analyzed in our breakdown of weapons worth your hard-earned credits.
Infected vs. Hunters: Tactical Rules for Surviving Encounters

Combat in The Last of Us Part I splits into two radically distinct flavors: fighting uninfected human scavengers and fighting the fungal monstrosities created by the Cordyceps brain infection. Applying the same rules to both factions will land you in an early grave. You need to identify enemy archetypes by sight and sound, adjusting your behavior accordingly.
Human Hunters and Military squads communicate verbally, use sweeping sightlines, and will actively flank your position if you stay crouched behind the same concrete barrier. If an unsuppressed gunshot rings out, they calculate your cover location, split into fire teams, and attempt to flush you out with Molotovs. To beat humans, maintain high mobility: strike from stealth, drop one or two enemies, break line of sight, and relocate through windows or crawlspaces. When they reach your previous location, ambush them from behind.
Infected operate on purely sensory, predatory behavior, categorized into specific threat profiles:
- Runners: Retain their vision and move in packs. If one spots you, its agonizing shriek alerts every nearby infected. Take them down with silent strangleholds from behind or snap their necks while they stare aimlessly at walls.
- Stalkers: The sneakiest enemies in the game. They actively avoid your line of sight, take cover behind doorways, and do not trigger Listen Mode when crouching still. Check corners manually with your flashlight and shotgun ready when traversing moist, spore-choked basements.
- Clickers: Completely blind, but possess hyper-sensitive echolocation. If you walk at normal speed nearby, they detect you instantly. You must push your analog stick or keyboard crouch key at half-speed. Never engage a Clicker in hand-to-hand combat unless you have an upgraded melee weapon or a brick stun; their bite is an instant kill that ignores your health bar entirely.
- Bloaters: Massive, walking fungal tanks that hurl corrosive mycotoxin clusters. Do not waste standard handgun rounds on them. Ignite them with a Molotov cocktail first—fire melts their fungal plating, massively multiplying all subsequent damage from shotgun blasts and rifle rounds.
For more technical documentation on how enemy pathfinding and combat systems operate across modern ports, visit the official developer updates via Naughty Dog's PC patch notes.
Essential Controls and Setting Adjustments for Mouse and Keyboard
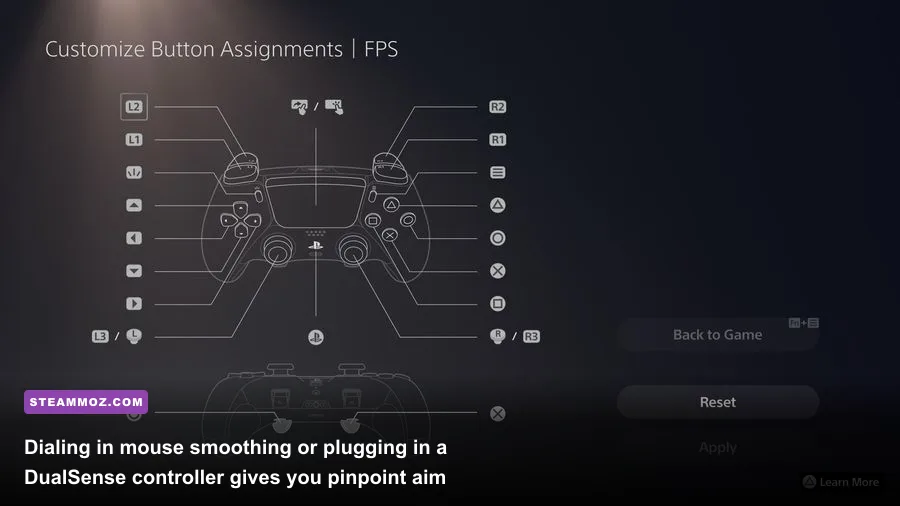
While The Last of Us Part I was built from the ground up for PlayStation controllers, the PC release features comprehensive mouse and keyboard support. However, default settings can feel sluggish if you don't adjust a few core parameters. The game simulates Joel's fatigue, weight, and gun momentum, which can initially feel like heavy mouse smoothing if your sensitivity isn't calibrated properly.
Head straight to the Mouse Controls menu and verify that Raw Mouse Input is turned on, while dynamic smoothing is dialed down to zero. This ensures your crosshair tracks 1:1 with your wrist movements, which is paramount when trying to land frantic headshots on sprinting Runners. Take a look at the system requirements and hardware considerations in our PC specs explained breakdown to ensure your rig can maintain frame stability without input latency spikes.
Keybindings also require a slight tune-up. By default, Listen Mode is tied to holding down a key. Switch this setting from "Hold" to "Toggle." Holding a key while simultaneously trying to crouch-walk with WASD cramps your fingers and degrades movement precision. Similarly, map your flashlight toggle and weapon holsters to easy-access thumb buttons on your gaming mouse. Being able to flick your flashlight off instantly without moving your fingers off the movement keys prevents roaming Clickers from catching you in their echolocation cones.
If you own a PlayStation DualSense controller, consider plugging it directly into your PC via USB-C. Naughty Dog fully ported the native DualSense features to the PC edition, including adaptive trigger resistance (you can feel the tension in the bowstring as you pull) and nuanced haptic feedback that vibrates to the rhythm of ambient rain. Detailed controller mapping instructions and technical troubleshooting can also be confirmed through PCGamingWiki's The Last of Us Part I technical page.
Surviving Joel's journey across the ruins of America isn't about twitch reflexes; it's about preparation, cold calculations, and knowing when to run away. Keep your VRAM in check, horde your shivs for locked doors, rely on bricks when ammunition runs bone-dry, and take every encounter at your own calculated pace. The wasteland offers no mercy, but with the right tactical mindset, you will guide Ellie safely across the country.