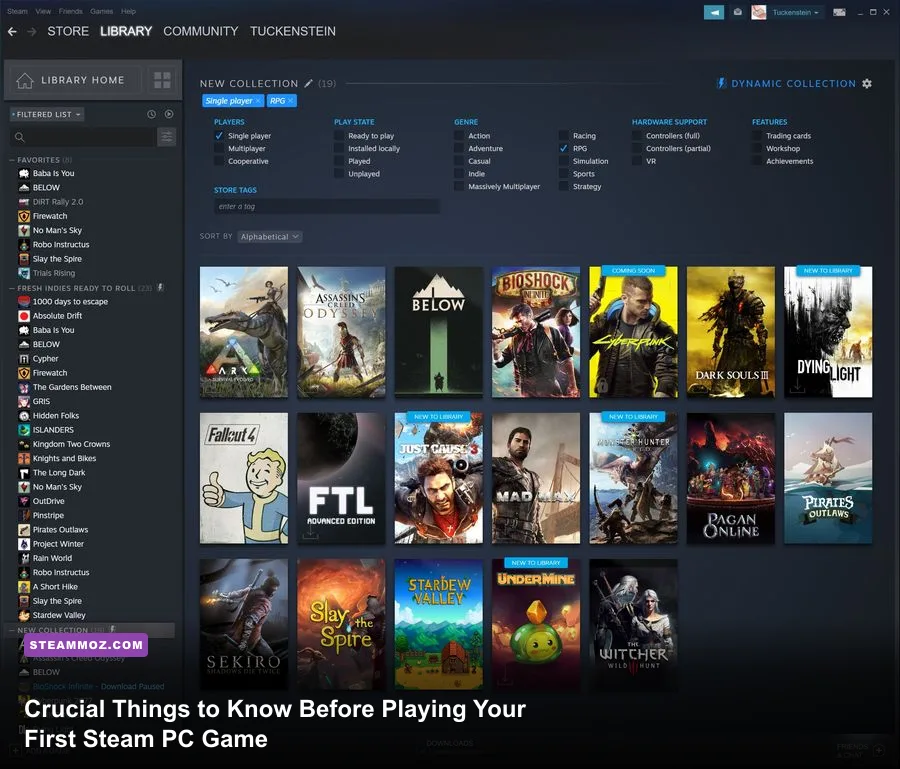
Jumping into Steam PC gaming isn't as simple as punching in your credit card details, hitting install, and grabbing a gamepad. If you leave Valve's client on default settings, it will silently throttle your download speeds, let background shader pipelines chug your CPU, quietly eat through your refund window while a third-party launcher updates, and occasionally overwrite dozens of hours of local save files during an unexpected cloud sync desync. Mastering the client requires tweaking your drive allocation, managing input layers, and knowing how Valve's backend handles background overhead before you boot your first title.
The Golden Refund Window and Why Most Beginners Blow It
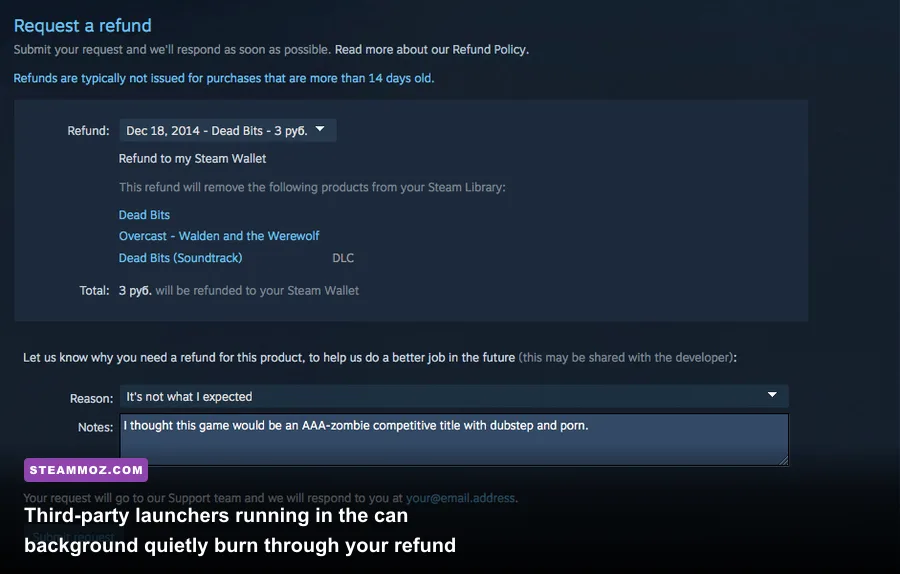
Valve maintains one of the most consumer-friendly refund models in digital storefront history, but newcomers routinely forfeit their eligibility due to simple operational mistakes. The official Steam Refund Policy states that you can return any software for any reason within 14 days of purchase, provided the title shows less than two hours of recorded runtime. That sounds straightforward until you hit your first game that uses an external client wrapper like EA App, Ubisoft Connect, or a custom MMORPG launcher.
Steam counts any time an associated executable process is active as active playtime. If you boot a heavy RPG that forces an external launcher to download a 40 GB day-one patch, or if the game sits at a title screen compiling DirectX 12 shaders for 95 minutes, Steam's telemetry tracks every single second. By the time you actually gain control of your character, test performance, and realize your rig can't sustain a stable 60 FPS, your refund window has vanished. Before throwing down cash on ambitious titles, always verify hardware overhead using guides like our breakdown of evaluating PC specs accurately. If a game spends more than 45 minutes unpacking files or stuttering on initial launch, close it immediately and evaluate whether you need an immediate refund through the Steam Support portal before that 120-minute counter expires.
Download Throttles, Drive Management, and Shader Caches
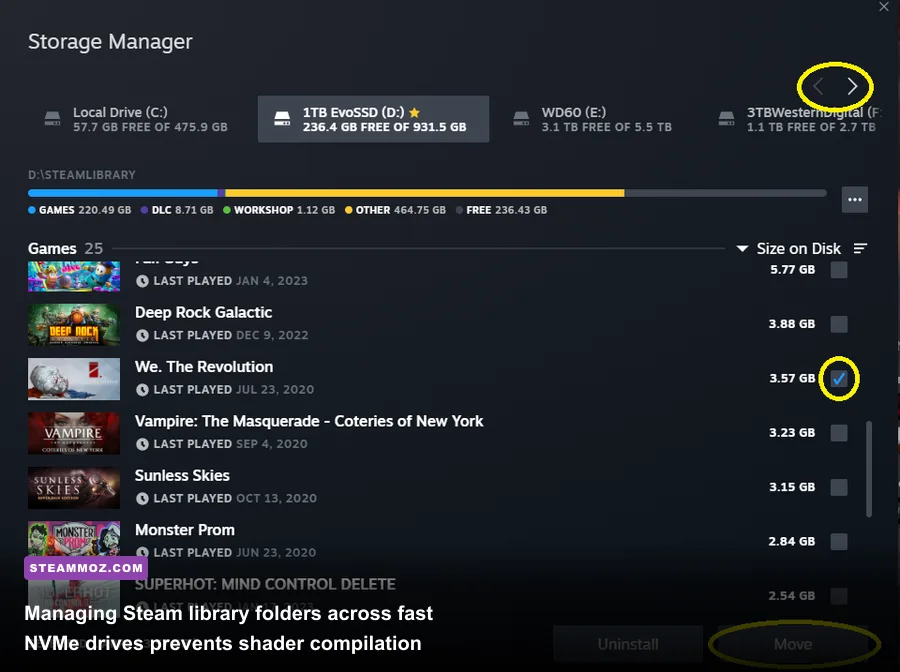
By default, Steam makes assumptions about your storage and networking that rarely align with optimal gaming performance. When you connect an external drive or secondary internal drive, Steam doesn't automatically optimize file pipelines for read-heavy titles. Under Settings > Storage, you must explicitly set up dedicated Steam Library folders. Modern releases heavily saturate drive bandwidth; installing modern titles on mechanical hard drives (HDDs) leads to aggressive asset pop-in, audio desyncs, and hitching. Keep your OS drive clean and install your heaviest titles on a PCIe 4.0 NVMe SSD capable of at least 3,500 MB/s sequential read speeds.
Networking configuration is another common bottleneck. Steam routes your traffic through regional content delivery servers, but geographic proximity doesn't always equal maximum throughput. If you notice your downloads stalling well below your ISP bandwidth limits, jump to Settings > Downloads and manually select an adjacent regional server located in a major network hub. Uncheck "Limit download speed" and make sure "Allow downloads during gameplay" is disabled unless you have an ultra-fast multi-gigabit fiber connection and a CPU with high thread counts. Background downloads during active play constantly write to the disk, introducing frametime spikes even in well-optimized games.
| Client Setting | Default State | Recommended Value | Performance / Operational Impact |
|---|---|---|---|
| Shader Pre-Caching | Enabled | Enabled (Monitor Disk Size) | Eliminates runtime stutter by pre-compiling Vulkan/DirectX pipelines; consumes SSD space. |
| Downloads During Gameplay | Disabled | Disabled | Prevents background disk I/O thrashing and CPU overhead while playing hardware-intensive titles. |
| Steam Overlay | Enabled Globally | Per-Game Basis | Hooking the overlay can cause frame pacing anomalies and conflict with third-party capture tools. |
| Hardware Video Decoding | Enabled | Enabled (Disable on weak GPUs) | Offloads Steam client web rendering to GPU; free up VRAM on low-end hardware by turning off. |
| Cloud Synchronization | Enabled Globally | Enabled (Manual conflict review) | Syncs saves across devices, but requires manual caution when managing offline and online profiles. |
Don't ignore the Shader Pre-Caching toggle tucked inside the settings menu. Valve collects shader profiles from millions of hardware configurations, allowing the client to download pre-compiled binary caches before you launch. This dramatically reduces the infamous micro-stutters that plague modern Unreal Engine titles. However, these caches sit in your steamapps/shadercache folder indefinitely. If you run a compact 500 GB boot drive, that cache can quietly balloon to over 30 GB of forgotten data. Periodic drive audits through Steam's built-in Storage Manager will keep your storage drives breathing freely.
Steam Input and Controller Calibration Secrets
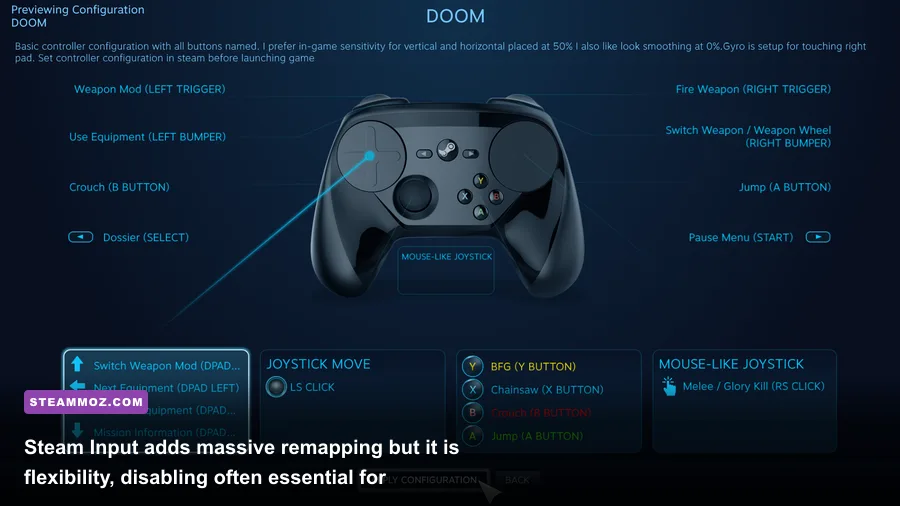
Steam Input is one of the client's most powerful features, but it is also a frequent source of phantom controller inputs, double-registration bugs, and input latency. When you plug in a modern controller—be it a Sony DualSense, an Xbox Wireless controller, or a Nintendo Switch Pro Controller—Steam wraps the device in its proprietary virtual input translation layer. While this lets you remap buttons, adjust stick response curves, and bind gyro aim to mouse inputs, it can completely break native controller integration in modern PC titles.
When playing a game with native DualSense support (like haptic feedback triggers and advanced rumble), leaving Steam Input globally active forces the game to read the controller as a generic XInput (Xbox) device. You completely lose adaptive triggers and see Xbox button prompts on-screen instead of PlayStation glyphs. To fix this, right-click the game in your library, navigate to Properties > Controller, and change the dropdown from "Use default settings" to "Disable Steam Input". This allows the game engine to communicate directly with the peripheral over USB.
Conversely, if you are playing older Japanese ports or indie titles with terrible gamepad support, forcing Steam Input to "Enable" solves missing deadzones, fixes broken stick axes, and eliminates the need for messy third-party software wrappers. Learning when to bypass or enforce this setting will save you hours of troubleshooting, much like learning how to apply tweaks to stop crashes and rescue your FPS when wrestling with finicky legacy engines.
Cloud Save Conflicts and Local Backup Hygiene
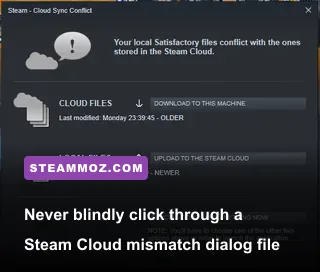
Steam Cloud is fantastic until it isn't. The service operates silently in the background, uploading your save games to Valve's remote clusters every time an executable terminates. However, network dropouts, moving between a desktop rig and a handheld device like the Steam Deck, or abruptly killing an unresponsive game process can cause severe synchronization mismatches. When Steam detects that the local save timestamp differs from the cloud file timestamp, it presents a modal dialog with two options: download from the cloud or upload from the local machine.
Far too many players panic and click the wrong button, instantly overwriting a 60-hour local endgame save with a 4-day-old cloud snapshot. Always read the timestamp and file size carefully before confirming. If you ever find yourself uncertain, do not touch the prompt. Navigate straight to your local user directory:
C:\Users\[Username]\AppData\Local\[GameName]
C:\Program Files (x86)\Steam\userdata\[YourSteamID]\[AppID]
Copy that folder to your desktop as a manual backup before hitting either button in the Steam client. Managing these files directly is a core skill on PC, particularly when modifying game configs or dialing in graphics settings for maximum framerates. Unstable overclocks or graphical crashes can corrupt a local save file right as the game closes, prompting Steam to upload a corrupted 0 KB file to the cloud. Creating local safety snapshots prevents these edge-case disasters.
Essential Launch Options and Command-Line Parameters
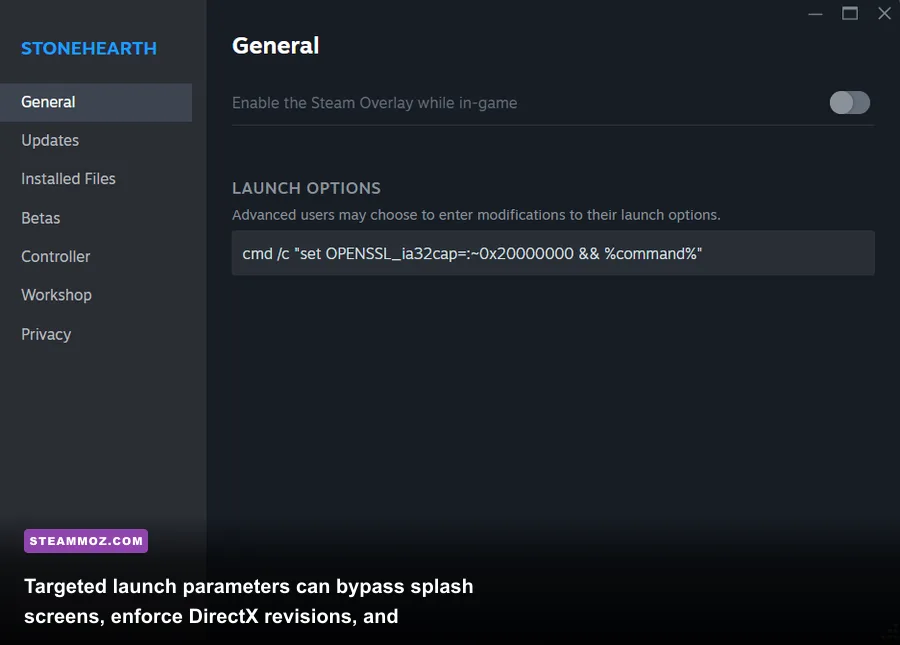
Tucked inside the Properties menu of every single game in your library sits the Launch Options input box. This single field lets you pass command-line arguments straight to the game's executable, bypassing intro splashes, altering backend rendering APIs, and locking frame presentation models before the engine initializes its first frame.
| Command-Line Argument | Primary Engine Target | Functional Purpose |
|---|---|---|
-novid or -skipintro |
Source / Unreal / Proprietary | Skips unskippable publisher logos and loading splash screens to boot straight to menu. |
-dx11 / -dx12 |
Multi-API Modern Engines | Forces the graphics pipeline to utilize DirectX 11 or 12, bypassing unstable default APIs. |
-vulkan |
Vulkan-Supported Titles | Forces Vulkan rendering, often smoothing out frametime spikes on modern AMD/Nvidia cards. |
-windowed -noborder |
Legacy Windows Engines | Enforces borderless windowed mode on older games that crash when Alt-Tabbing fullscreen. |
-high |
CPU-Bound Titles | Sets the Windows thread scheduler priority to High for the active game process. |
These commands are particularly helpful when troubleshooting stability. If a game crashes immediately on startup due to a broken graphics driver pipeline, injecting -dx11 into the launch box can force the engine to drop back to an older, rock-solid DirectX rendering path. This mirrors the troubleshooting process required when tinkering with settings for higher FPS or managing unexpected launch hurdles similar to fixing crashes and stabilizing framerates. Always keep a log of the launch arguments you apply; leaving outdated commands in place after a developer ships an engine overhaul patch can introduce bizarre performance quirks down the line.
By taking twenty minutes to organize your library drives, set up controller handling, lock down your save files, and understand Valve's refund telemetry, you turn Steam from a chaotic store launcher into a lean, predictable gaming platform. Treat your client configuration with the same care you give your in-game graphical settings, and your PC gaming experience will run smoother right from day one.