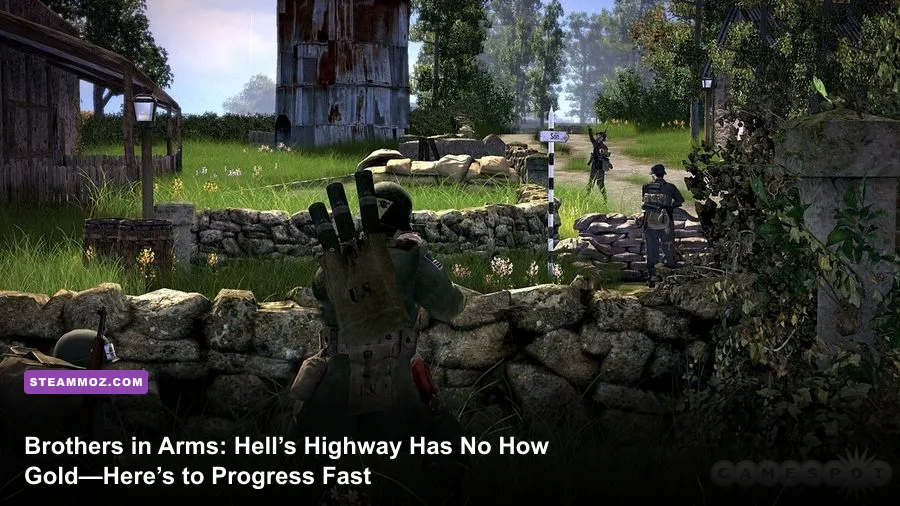
Brothers in Arms: Hell’s Highway has no character levels, XP bar, gold currency, or repeatable farming economy. The fastest way to “level” is to clear objectives efficiently, preserve squad momentum, and use the correct weapon for each encounter. Treat the game as a tactical campaign rather than an RPG: suppress German defenses with your fire team, flank with the assault team, collect useful weapons from fallen enemies, and avoid restarting checkpoints just to chase nonexistent rewards.
That distinction matters because searches for a Brothers in Arms: Hell’s Highway fast leveling and gold farming guide often assume a progression system that simply isn’t there. Gearbox’s 2008 shooter is built around a linear Operation Market Garden campaign starring Staff Sergeant Matt Baker. Your progression is mission-based, your upgrades are situational weapon pickups, and your real resource is battlefield control. Once you understand that, the campaign becomes quicker, less frustrating, and far more rewarding.
This guide focuses on the practical version of fast progression: finishing missions with fewer deaths, learning which guns are worth carrying, exploiting suppression and flanking rules, and avoiding the mistakes that make Hell’s Highway feel slower than it really is.
For broader PC troubleshooting advice, Steamoz’s ELEX PC fixes guide covers the same kind of legacy-PC stability problems that can affect older games.
There Is No Gold Farming Loop in Hell’s Highway

Hell’s Highway does not award gold, cash, skill points, weapon currency, or permanent stat bonuses. You cannot replay a mission to bank money, buy a stronger Thompson, or unlock a higher-level version of Matt Baker. The campaign unlocks content through mission completion, while weapons appear as fixed battlefield pickups or enemy drops.
That makes several popular “farming” ideas completely ineffective. Killing every German soldier does not produce currency. Searching every body does not increase a hidden loot total. Replaying a chapter on Easy does not create an account-wide advantage. Even collectible hunting is separate from combat progression; it is useful for completionists, but it will not make Baker’s squad deal more damage.
The best replacement for gold farming is time-efficient battlefield routing. Move only after an enemy position is suppressed, use cover that can actually withstand incoming fire, and let your squad perform the dangerous part of the assault. A quick, clean push saves more time than any imagined XP exploit because Hell’s Highway’s biggest delays come from deaths, poor positioning, and repeated checkpoint reloads.
| RPG Assumption | What Hell’s Highway Actually Uses | Fastest Strategy |
|---|---|---|
| Character XP | Mission and checkpoint progression | Complete objectives without unnecessary deaths |
| Gold or cash | No currency system | Collect useful weapons from scripted encounters |
| Skill upgrades | Squad commands and tactical positioning | Suppress, flank, then assault |
| Loot rarity | Fixed weapon availability | Carry the gun suited to the next engagement |
| Grinding | Linear campaign replay | Practice difficult checkpoints instead of farming kills |
Difficulty changes the value of disciplined play, not your reward payout. On Easy, you can move aggressively and use the campaign to learn layouts. Normal gives the intended balance between squad tactics and direct shooting. Hard punishes exposed movement, careless revives, and firing without suppression. If you are chasing the fastest first clear, Normal is usually the sweet spot; if you are learning, Easy removes friction without locking you out of meaningful content.
What Counts as Progress?
In practical terms, progress means four things: reaching the next checkpoint, keeping the squad alive long enough to execute commands, preserving ammunition for major defenses, and recognizing the visual cues that identify a pinned enemy. The red suppression indicator is more important than your personal kill count. A German unit under effective suppression is vulnerable to a flank; an unsuppressed unit can shred Baker’s team even when it looks close to defeat.
For another example of why “fast farming” can be misleading in older campaigns, compare Steamoz’s Empires of the Undergrowth leveling guide. That game really does have resource loops. Hell’s Highway does not.

🎮 ARMS
Looking to experience this game? Grab your digital key directly on our store for $59.99.
View on Steammoz Store →The Fastest Combat Loop Is Suppress, Flank, Assault
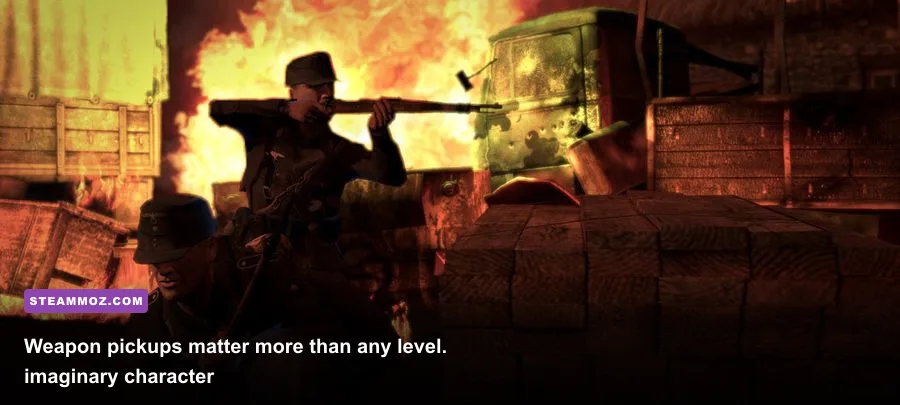
Every serious engagement should follow the same three-step rhythm. First, place your fire team where it has a clear line of sight and order it to suppress the German position. Second, move your assault team around the side while the enemy’s attention and accuracy are degraded. Third, close the distance and finish the position before the defenders recover.
Matt Baker’s command system is the closest thing Hell’s Highway has to a leveling mechanic. The more confidently you use it, the faster the game moves. A squad pinned behind a wall is not a static decoration; it is a tool that lets you cross open ground. If your men are taking continuous fire, stop trying to win the exchange with personal rifle shots. Find a better suppression angle, then order the flank.
How to Read Enemy Suppression
German infantry become less effective when pinned, and the visual response tells you when a flank is ready. Look for enemies ducking behind cover, reduced return fire, and the suppression marker changing from dangerous to manageable. Do not sprint the moment one enemy lowers his head. Wait until the entire position is under pressure, because a second MG42 or rifleman can still cover the approach.
MG42 teams deserve priority. Their sustained fire can erase a squad caught in the open, and their position often controls the route the game expects you to take. Use the fire team against the gunner, then send the assault team wide. Smoke grenades are valuable here, but smoke is not a magic invisibility field; use it to break a machine gun’s sightline while your squad changes position, not as an excuse to charge directly into a bunker.
| Situation | First Command | Movement | Common Mistake |
|---|---|---|---|
| Rifle trench | Suppress with fire team | Short flank through hard cover | Advancing before the whole line is pinned |
| MG42 nest | Target the gun position | Use smoke or deep cover, then circle | Exposing Baker to sustained fire |
| Urban street | Fix defenders from one side | Move through alleys and building edges | Crossing the center of the road |
| Open field | Suppress continuously | Use shell holes, walls, and smoke | Sprinting without a covered destination |
| Close bunker assault | Pin defenders at the entrance | Approach with assault team | Throwing grenades while teammates occupy the blast zone |
Squad commands also reduce ammunition waste. The AI can keep a position occupied while you conserve rifle rounds for exposed targets. When a flank succeeds, enemies often break, turn, or become easier to hit. That is faster than trading headshots across a street, and it creates fewer situations where the checkpoint reloads you back into a doomed position.
Best Weapons for Fast Campaign Progression
There is no permanent loadout, so weapon choice depends on the next fight. The M1 Garand is the safest general-purpose rifle because its eight-round clip delivers strong stopping power at medium range. Its reload is distinctive and relatively quick when empty, but topping off at the wrong moment can leave you exposed. Fire deliberately, reload behind cover, and avoid treating it like an automatic weapon.
The M1 Carbine is lighter and easier to control during movement, making it useful in urban sections and close-to-medium fights. It is less convincing when you need to stop enemies at long range or challenge a machine gun position. The Thompson excels at close range, especially during assaults through buildings, trenches, and narrow streets. Its recoil and ammunition consumption make it a poor choice for distant targets.
The BAR sits between rifle and submachine gun roles. It is heavy, hard-hitting, and excellent when you need a compact burst against a fortified position, but its ammunition can disappear quickly if you hold the trigger. German MP40s are practical close-range pickups, while the Kar98k is excellent for deliberate long-range shots but punishes missed shots during frantic pushes.
| Weapon | Best Range | Strength | Weakness |
|---|---|---|---|
| M1 Garand | Medium to long | High damage and reliable accuracy | Eight-round capacity and deliberate reload timing |
| M1 Carbine | Close to medium | Manageable recoil and mobile handling | Lower impact at distance |
| Thompson | Close | Fast suppression and strong assault performance | Recoil and rapid ammunition consumption |
| BAR | Medium | Powerful bursts against exposed defenders | Heavy feel and limited ammunition |
| MP40 | Close to medium | Stable automatic fire and useful enemy pickup | Less effective across open terrain |
| Kar98k | Medium to long | Accurate, powerful single shots | Slow follow-up shots under pressure |
| Bazooka | Anti-vehicle and hard targets | Solves armor and fortified threats | Limited rockets and dangerous splash damage |
Do not carry a bazooka just because you found one. Keep it when the immediate route contains armor, a vehicle, or a clearly marked hard target; otherwise, a rifle or automatic weapon gives you more flexibility. Rockets are limited, and the blast can kill nearby teammates or leave you exposed during the reload.
Grenades are strongest when they force movement. Throw one behind cover to push defenders into your squad’s firing lane, or use it to finish a pinned group before the assault. Frag grenades are not substitutes for squad commands. If the enemy is still fully active, a grenade toss often announces your position without solving the tactical problem.
Mission Routing, Checkpoints, and Efficient Practice
Hell’s Highway is a linear campaign set during Operation Market Garden, moving through Dutch towns, roads, fields, and bridge approaches. You cannot skip missions to unlock stronger equipment, but you can dramatically reduce completion time by learning what each area is asking you to do. Most fights are built around a dominant German position, a safe suppression lane, and a flank route that becomes visible once you stop viewing the battlefield as a shooting gallery.
Step 1: Identify the Anchor Position
At the start of a fight, don’t immediately sprint toward the nearest wall. Identify the enemy anchor: usually an MG42, a trench line, a bunker, or a building window controlling the open approach. Your first job is to deny that anchor’s freedom to fire. Place the fire team where it can maintain pressure without standing in the open.
Step 2: Find the Hard-Cover Route
Hard cover includes thick walls, terrain folds, substantial masonry, and vehicles that can actually block bullets. Thin fences and decorative wooden structures are unreliable. Follow the edge of the playable space and check alleys, garden walls, drainage ditches, and building interiors. The intended flank is often less dramatic than it looks; the game usually rewards patience rather than a heroic solo charge.
Step 3: Move the Assault Team in Short Bursts
Issue the flank command, watch the route, and be ready to cancel it if the team walks into a second firing lane. Hell’s Highway’s squad AI can be effective, but it is not clairvoyant. If a new machine gun opens up, return to suppression and redirect the assault. This is where experienced players save the most time: they adjust before a bad command turns into a checkpoint reload.
Step 4: Secure the Position Before Advancing
After a flank succeeds, sweep the immediate area for surviving defenders and ammunition. Don’t rush past a captured position if it leaves an enemy behind you. Some encounters trigger the next wave only after you cross a specific line, so use the quiet moment to reload, check your weapon, and place the squad in cover before moving forward.
| Checkpoint Problem | Likely Cause | Correction | Time Saved |
|---|---|---|---|
| Repeated deaths crossing a road | No effective suppression | Pin the MG42 or rifle line first | High |
| Squad wiped during a flank | Route enters a second firing lane | Redirect through hard cover | High |
| Constant ammunition shortage | Personal shooting replaces commands | Let the fire team hold targets | Medium |
| Unexpected enemy fire behind you | Position not fully secured | Clear stragglers before triggering movement | Medium |
| Vehicle encounter stalls progress | Bazooka not saved for the objective | Reserve rockets for marked armor | High |
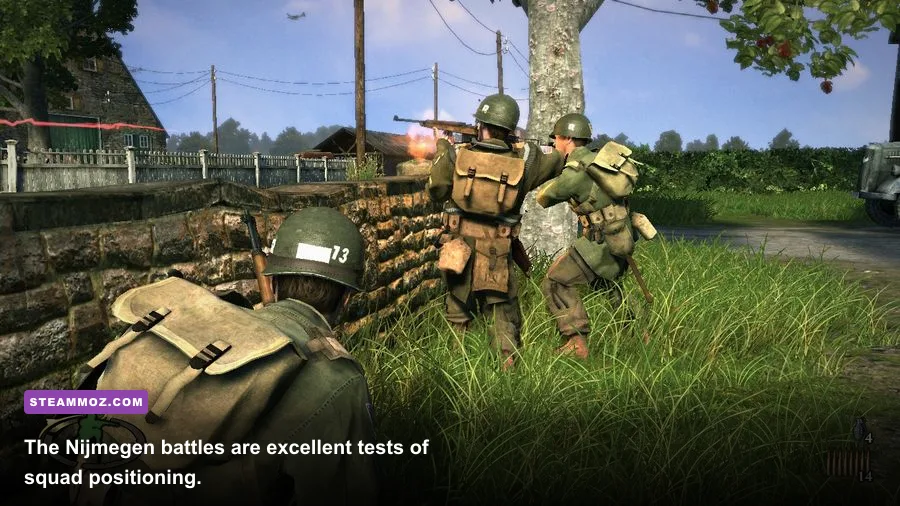
For the Nijmegen bridge and other large set pieces, resist the temptation to chase every visible target. The safest route is usually built around the objective, not the kill count. Suppress the strongest threat, move the squad toward the next piece of cover, and only engage distant stragglers when they block progress.
If you are practicing a difficult section, replay the checkpoint with a specific goal: learn the MG42 angle, locate the next hard-cover position, or test whether a flank route is safe. That is far more productive than repeating the entire mission for imaginary gold.
PC Settings That Keep Progress Smooth
A stable frame rate matters in a tactical shooter because missed commands and delayed aim can turn a clean assault into a reload. Hell’s Highway is an older PC release, so modern systems can sometimes run into compatibility quirks rather than raw performance limits. Start with a stable 60 frames per second if possible, use a sensible resolution, and disable visual effects that add blur without improving target recognition.
| Setting | Recommended Value | Performance Impact | Competitive Benefit |
|---|---|---|---|
| Resolution | Native monitor resolution | High if increased | Sharper enemy silhouettes |
| Texture quality | High, if video memory allows | Low to medium | Clearer cover and weapon detail |
| Shadows | Medium | Medium to high | Better visibility with fewer frame dips |
| Anti-aliasing | Low or medium | Medium | Balances edge quality and responsiveness |
| Motion blur | Off | Small | Cleaner target tracking |
| V-sync | Use only if tearing bothers you | Can add latency | Off is preferable for responsive aim |
| Field of view | Default unless a trusted fix works | Varies | Avoids distortion in the legacy engine |
Before changing files or installing a widescreen fix, check the game’s official Steam listing and community compatibility notes. Save backups before editing configuration files. The PCGamingWiki technical page is useful for resolution, controller, and modern Windows troubleshooting, while Gearbox’s official site provides franchise context.
Steam Cloud and local saves are worth treating carefully on an older title. Back up the save folder before experimenting with mods, and don’t assume a new installation will preserve every checkpoint. If the game crashes during a particular scene, lower shadows and disable overlays first. Smooth performance won’t make the AI smarter, but it will make squad commands and snap aiming more consistent.
For more legacy-PC performance advice, Steamoz’s Far Cry 2 PC specs breakdown and EscapeVR crash and FPS fixes offer useful comparison points.
The Real Fast-Progression Build
Since there are no skills or permanent upgrades, the most effective “build” is a tactical routine: M1 Garand or M1 Carbine for general work, Thompson or MP40 for close assaults, grenades for displacement, and a bazooka only when the mission clearly demands anti-armor fire. Keep Baker alive, keep the fire team firing, and never spend your assault team’s movement on a route you haven’t visually checked.
The campaign’s fastest players are not necessarily the ones with the highest aim accuracy. They are the ones who understand that a German position is a puzzle. Suppression creates the opening, the flank creates the collapse, and the assault finishes the job. Once you stop looking for gold and start using that loop deliberately, Hell’s Highway becomes quicker without losing the tactical identity that makes it stand out among World War II shooters.
So the final answer is simple: there is no gold farm and no level grind to exploit. Progress through the missions, use the weapons that fit the engagement, practice checkpoints instead of farming kills, and let Baker’s squad do what it was designed to do. That is the fastest route through Hell’s Highway—and the one that produces the fewest frustrating reloads.