For the fastest Blackguards Deluxe Edition leveling route, stop chasing random fights and build a repeatable economy: clear every profitable campaign battle, spend experience on a focused frontline and ranged core, sell surplus loot after each major chapter, and use arena encounters only when their payout justifies the healing bill. The best early investment is not flashy gear; it is enough survivability and accuracy to win battles without burning through every healing potion.
Blackguards is a party-based, turn-driven RPG built around The Dark Eye rules. That matters for farming because character advancement is not a simple damage race. Attribute points, weapon talents, fatigue, wounds, ammunition, and positioning all affect how much money a victory actually earns. A battle that gives excellent experience but forces you to replace three dead companions is not a profitable battle.
This Blackguards Deluxe Edition fast leveling and gold farming guide focuses on the original campaign, including the additional content bundled with the Deluxe Edition. It also explains which fights are worth repeating, how to avoid wasting experience, and why the game's tempting equipment upgrades can quietly wreck your campaign budget.
Build the party around reliable experience gains
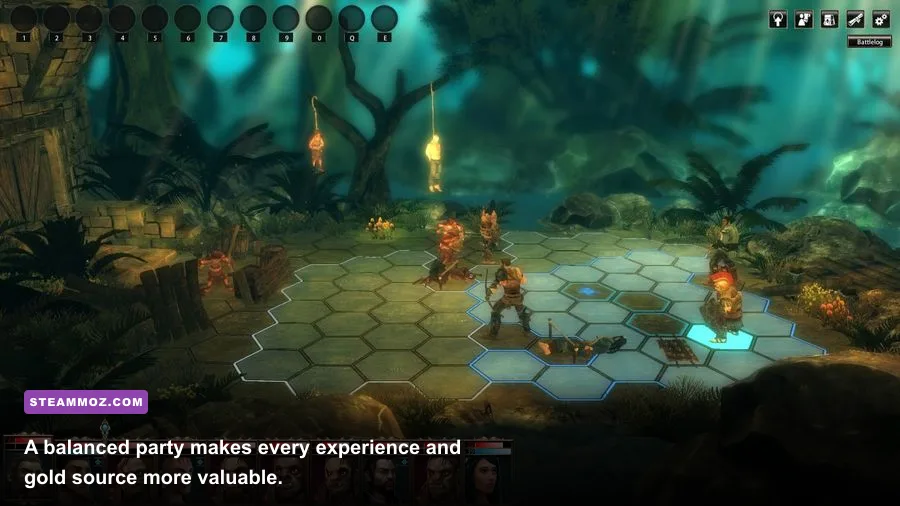
The quickest level curve comes from keeping the whole active roster useful rather than funneling every reward toward one hero. Blackguards' battles often punish a single carry because enemies can surround, disable, or focus-fire that character. A dead damage dealer contributes no attacks, earns no practical value from the battle, and may leave you paying for recovery afterward.
Your core party normally wants three jobs: a durable melee anchor, a ranged attacker, and a support or control specialist. Naurim is the obvious early frontline investment. His dwarf identity and heavy melee role make him a natural recipient of health, strength, weapon skill, and defensive improvements. Takate supplies mobility and close-range pressure, while Zurbaran offers magical utility that can turn a difficult encounter into a controlled one. The unnamed main character can fill whichever role your current roster lacks.
Do not spread every attribute point evenly. Blackguards rewards specialists. A melee character should prioritize the attributes and weapon talent that improve his chosen attack, then add survivability. A bow user needs accuracy and enough ranged skill to convert turns into hits; buying unrelated melee talents early only delays the point where that character becomes dependable. A mage should choose a small group of useful spells instead of purchasing every available option.
| Party Role | Priority | Useful Investment | Why It Levels Fast |
|---|---|---|---|
| Frontline bruiser | S-Tier | Health, strength, melee weapon talent, defense | Survives focus fire and keeps dealing damage from the first round |
| Ranged damage | S-Tier | Accuracy, ranged talent, bow or crossbow upgrades | Attacks over obstacles and finishes weakened targets safely |
| Battle mage | A-Tier | Spell skill, fatigue management, defensive magic | Controls groups and reduces healing costs |
| Off-tank skirmisher | A-Tier | Mobility, light weapons, defensive stats | Reaches archers and protects the back line |
| Unfocused hybrid | B-Tier | Several half-developed weapon types | Flexible, but too inaccurate and fragile early on |
The key is consistency. A character who hits most turns earns more value than a theoretically stronger build that misses repeatedly. Save before spending experience, test the next encounter, and reload if a new talent does not noticeably improve your combat rhythm. The game is generous with tactical experimentation, but it is not generous with wasted resources.

🎮 Blackguards Deluxe Edition
Looking to experience this game? Grab your digital key directly on our store for $1.19.
View on Steammoz Store →Spend experience in the right order
Experience is most valuable during the first chapters because each upgrade changes how many turns you need to win. Your opening purchases should make attacks land, keep key characters alive, or unlock a spell that solves a specific battlefield problem. Damage upgrades come after reliability.
For a melee character, buy the required weapon progression first, then improve the attributes that support that weapon. After that, add health or defensive options before chasing expensive secondary talents. A two-handed damage build can hit hard, but it has a real opportunity cost: it usually gives up the flexibility of a shield and may need more healing after every battle. If your campaign economy is weak, a safer one-handed setup can outperform it simply by reducing recovery expenses.
Ranged characters should stay behind the melee line and prioritize accuracy over speculative damage. Use elevation, obstacles, and distance to create free turns. Blackguards maps frequently reward a patient opening: let enemies move toward your frontliner, then shoot the exposed target instead of advancing into melee range.
Zurbaran's magic is strongest when it prevents enemy actions or protects your party, not when every spell is treated as a direct damage button. A control spell that removes one dangerous opponent from the fight can save more health than a small attack spell can deal in damage. Watch fatigue closely. A mage who empties his resource pool early may be forced into weak basic attacks during the battle's decisive phase.
Use the following purchase order as a practical template, not a rigid law:
- Unlock or improve the primary weapon talent.
- Raise the supporting attribute or accuracy stat.
- Add health, defense, or a reliable defensive spell.
- Improve the character's strongest damage option.
- Only then buy secondary weapons, niche abilities, or luxury utility.
There is no need to rush every level. If a battle is already easy, bank experience until you know which upcoming encounter is blocking your route. That lets you respond to the campaign instead of blindly buying whatever the shop or level-up screen presents.
Farm campaign battles before chasing the arena
The campaign is your safest source of experience and gold because its battles are tied to progression and usually provide a more favorable reward-to-risk ratio than optional grinding. Finish side encounters whenever they are close to your current strength. They often deliver experience, equipment, and coin at the same time, while also opening routes or reducing the need to purchase replacements later.
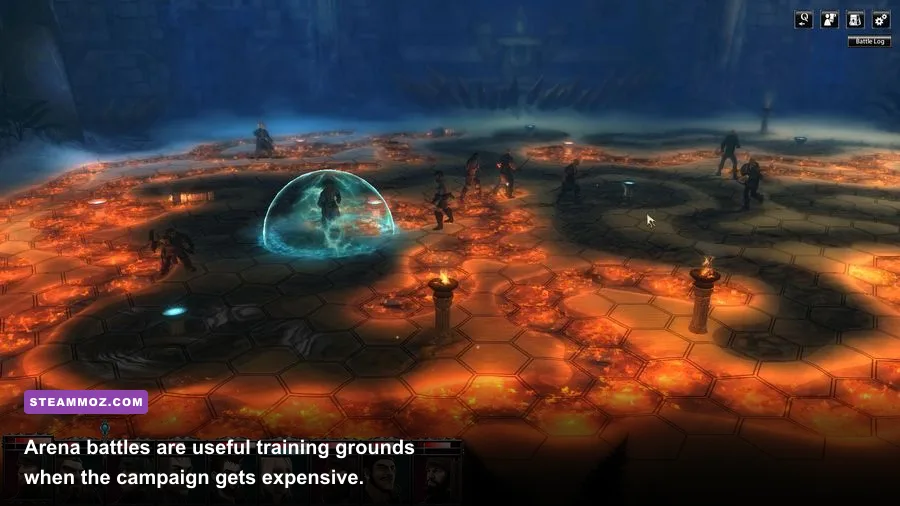
The arena is useful, but it is not an automatic money printer. Repeatable fights can become attractive when your party wins quickly and leaves the battlefield with minimal damage. They become a trap when you are spending more on healing, ammunition, or replacement equipment than the reward is worth. Test an arena battle twice: record the reward, count your consumable use, and compare that result with a normal campaign encounter.
Choose fights with compact layouts and enemies your party can eliminate before they reach the back line. Human opponents with exposed archers can be profitable if your own ranged unit acts first. Battles full of durable targets, poison, or high-mobility attackers may provide experience but still be poor gold farms because they extend the fight and increase the chance of a wounded companion.
| Activity | Experience Value | Gold Value | Best Use |
|---|---|---|---|
| Main-story battle | High | High after loot sales | Primary leveling route; advance the campaign while earning rewards |
| Nearby side encounter | High | Medium to high | Clear when the enemy level is close to your party |
| Arena victory | Medium | Variable | Repeat only if the fight is fast and low-risk |
| Underleveled optional fight | Low in practice | Usually poor | Skip until your accuracy and survivability catch up |
| Overlong attrition battle | Medium | Low after expenses | Avoid as a dedicated farm unless the reward is exceptional |
There is one important rule: never measure a farm by the reward screen alone. The real payout is reward gold plus sellable loot minus healing and ammunition costs. A fast, clean victory with ordinary treasure beats a dramatic win that leaves half the party wounded.
Turn every battlefield into a money-saving machine
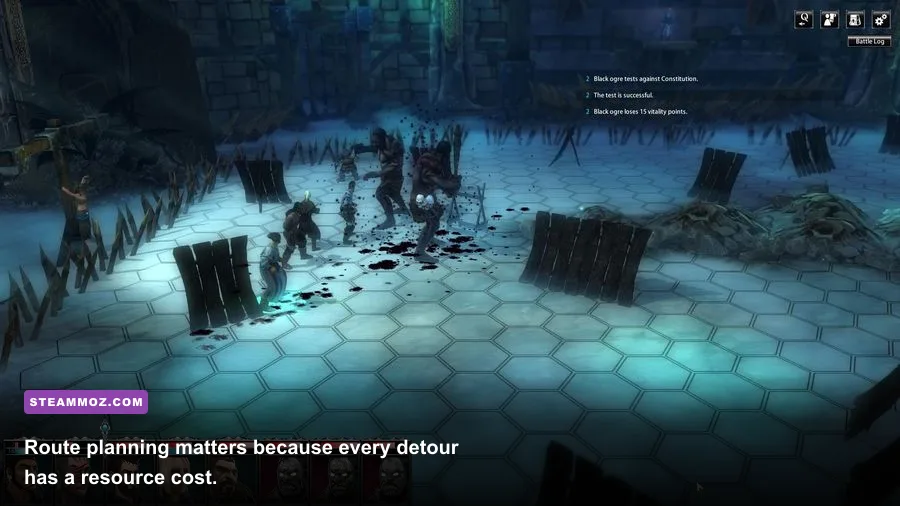
Positioning is your most overlooked gold-farming tool. Every hit you avoid is money you do not spend recovering from. Start battles by checking movement lanes, dangerous ranged units, explosive objects, traps, and any elevated tiles. Then decide where the enemy must walk before you commit your party.
Keep the frontline just far enough forward to attract attention without exposing the ranged characters. If the map contains a narrow approach, let the melee character hold it while the bow user attacks from behind. Do not surround an enemy just because the game allows it. A cluster can invite area attacks and make it harder to retreat from a bad engagement.
Focus fire is both a combat and economy tactic. Removing one enemy completely is better than damaging three enemies and allowing all of them to attack next turn. Prioritize archers, mages, fast skirmishers, and opponents with disabling abilities. Once the most dangerous target is down, use the frontline to control the remaining enemies while the ranged unit finishes them.
Save your strongest resources for moments that reduce incoming damage. A defensive spell cast before an enemy's high-damage turn can be worth more than an offensive spell cast after the enemy has already acted. Likewise, use consumables to prevent a death or failed objective, not to shave one turn from an already safe fight.
Watch fatigue and action economy. A character who spends multiple turns walking is not farming efficiently, even if the final damage number looks impressive. Open with ranged attacks, use the shortest safe movement routes, and avoid sending a heavy fighter across the map after a target that your bow user can reach.
Sell loot intelligently and protect your reserve
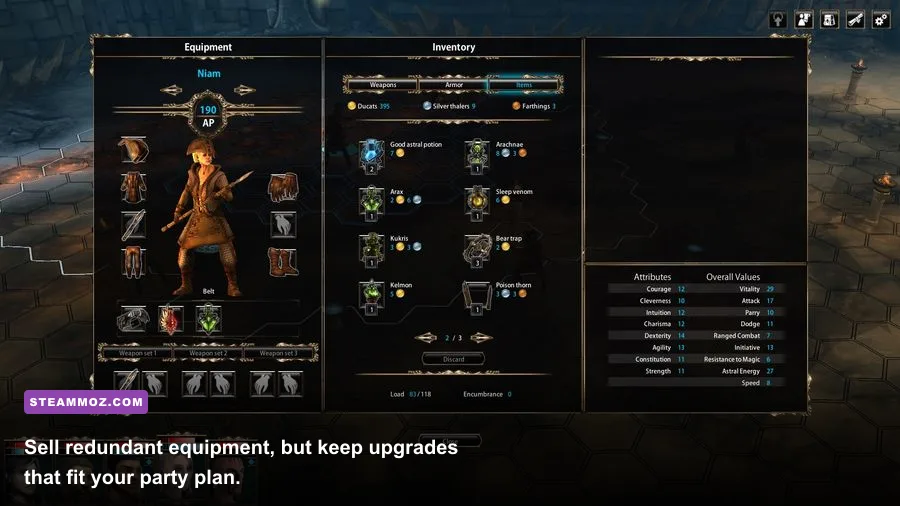
Loot is where many Blackguards players lose the gold race. The inventory fills with weapons and armor that look valuable, but carrying every item can hide which pieces are genuine upgrades. After a major group of battles, return to a merchant and compare each item against the equipment currently used by every companion.
Keep one practical backup weapon for a character who can switch roles, but sell duplicate low-tier weapons, redundant armor, and gear that does not match a party member's talent investment. Do not buy a slightly stronger item just because it is available. If the upgrade does not improve accuracy, survivability, or the number of attacks needed to defeat common enemies, save the money for a meaningful weapon or defensive purchase.
Gold should be divided into three reserves. The first covers immediate essentials such as healing and ammunition. The second is your next major equipment upgrade. The third is an emergency buffer for a difficult story stretch. Spending the entire purse after every victory creates a false sense of progress: your characters look stronger, but one bad battle can force you into low-efficiency grinding.
Merchants and equipment availability can change as the campaign advances, so delaying a purchase is not always correct. If a shop offers a significant weapon improvement for your primary damage dealer, buy it when you can still retain an emergency reserve. The best shopping moment is usually after selling a large loot batch, not immediately after a single battle.
| Gold Decision | Buy or Sell | Reason | Priority |
|---|---|---|---|
| Major primary-weapon upgrade | Buy | Improves accuracy or reduces turns per kill | High |
| Minor damage upgrade | Usually save | Does not offset its price or reduce incoming damage | Low |
| Duplicate low-tier weapon | Sell | Unused inventory value is more useful as reserve gold | Medium |
| Healing supplies | Buy as needed | Prevents downtime and protects a successful farm run | High |
| Luxury secondary gear | Delay | Spreads resources across characters without fixing a weakness | Low |
For broader resource-management habits, the same disciplined approach appears in Steamoz's Death Howl farming guide and the loot-focused advice in Fated Souls' hidden rewards guide. Blackguards is less about a single exploit and more about refusing to waste value.
Use a repeatable leveling loop
The cleanest Blackguards Deluxe Edition fast leveling loop is simple: prepare, clear the best nearby encounter, sell and restock, spend only on a meaningful upgrade, then continue the story. Repeating that cycle keeps your party strong without turning the campaign into a tedious grind.
Step 1: Prepare before leaving town
Check every character's weapon, ammunition, health, and spell resources. Move useful equipment from the inventory onto the companions who can exploit it. If you are short on gold, do not automatically sell a backup weapon; first decide whether the next map is likely to separate your party or force a role change.
Step 2: Pick the highest-value available fight
Prefer a story or side battle that sits near your party's current power. Avoid travelling across the map for a reward that will be consumed by supplies. If an arena encounter can be won quickly without repeated healing, add it to the loop. If not, leave it alone until your next weapon or talent upgrade.
Step 3: Win with focus fire
Open by identifying the enemy that can remove one of your turns: a mage, archer, poison user, or fast attacker. Lock down that target with movement, terrain, or a control spell. Let your frontline absorb attention while ranged characters attack from safety. Finish enemies one at a time and do not chase a fleeing unit into a bad position.
Step 4: Audit the result
Count the gold earned, loot collected, and supplies spent. If you ended with less money than you started, the fight was not a farm, regardless of the experience bar. This audit also shows which encounters your current build handles efficiently.
Step 5: Spend experience with a purpose
Upgrade the character who can most quickly improve the next battle. Often that means accuracy for a ranged attacker, durability for Naurim, or a control tool for Zurbaran. Avoid buying a new weapon style simply because the talent tree offers it.
Blackguards can feel slow when approached like a conventional action RPG, but its progression accelerates once your party stops trading health for damage. The campaign itself supplies the best route: clear profitable encounters, exploit terrain, sell intelligently, and keep each character tied to a defined job.
Deluxe Edition mistakes that quietly slow you down
The Deluxe Edition does not turn Blackguards into an effortless power fantasy. Extra content can tempt you into detours before your party is ready, and optional battles can expose weak builds earlier than the main route would. Treat bonus encounters as opportunities, not obligations.
Do not restart because the first few battles feel expensive. Early equipment is limited, and your economy improves sharply once the party can finish fights without repeated healing. Restart only when your character development is genuinely unfocused or when you have committed several levels to a weapon style you no longer want.
Do not mistake a high-damage critical hit for a strong build. Accuracy, defense, health, and positioning determine your average result across an entire chapter. Do not let one impressive turn convince you to abandon the setup that wins consistently.
Finally, keep manual saves before major purchases, story choices, and difficult travel segments. Blackguards' campaign can punish an underprepared party, and a saved checkpoint lets you test an arena route or equipment decision without sacrificing hours of progress. For official game information, check the Daedalic Blackguards page and the game's Steam guide hub.
The winning formula is deliberately unglamorous: specialize the party, prioritize accuracy and survival, farm only battles with a positive net payout, and sell anything that does not support your next clear. Follow that rhythm and Blackguards Deluxe Edition's toughest progression spikes become manageable without resorting to endless, low-value grinding.