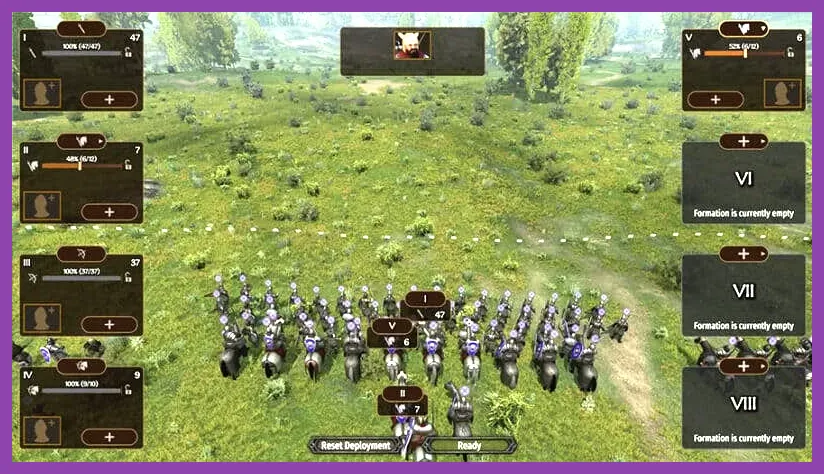
Dominating the battlefields of Calradia requires more than just raw troop numbers; mastering Mount and Blade 2 Bannerlord best team comp synergy is the key to crushing outnumbered enemy armies with minimal casualties. By pairing high-tier units like Battanian Fians with Imperial Elite Cataphracts and Legionaries, you create a self-sustaining combined-arms engine that completely shreds both AI and multiplayer opponents. Check out the official Mount & Blade II: Bannerlord Steam Page to download the latest updates, or read up on tactical fundamentals via the TaleWorlds Entertainment Website and consult the community-driven Bannerlord Wiki for deep stat sheets.
The Core Infantry Anchor: Imperial Legionaries and Sturgian Heavy Spearmen
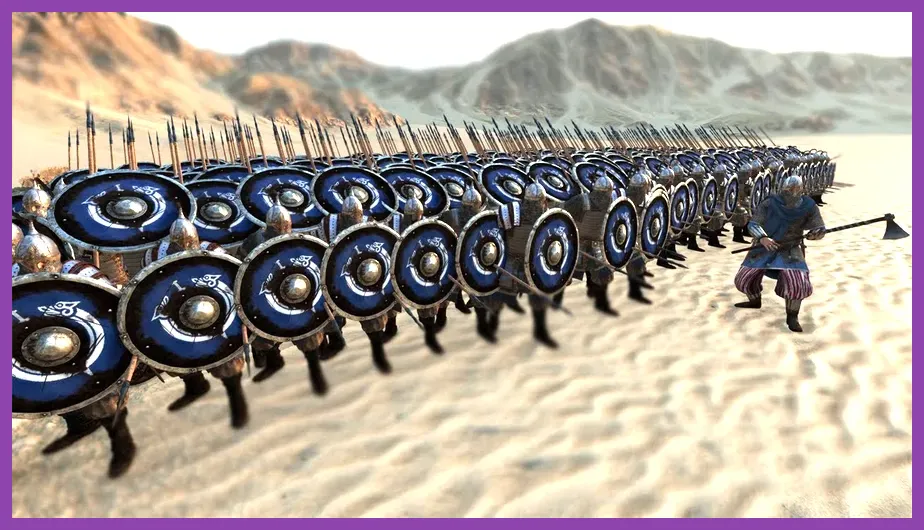
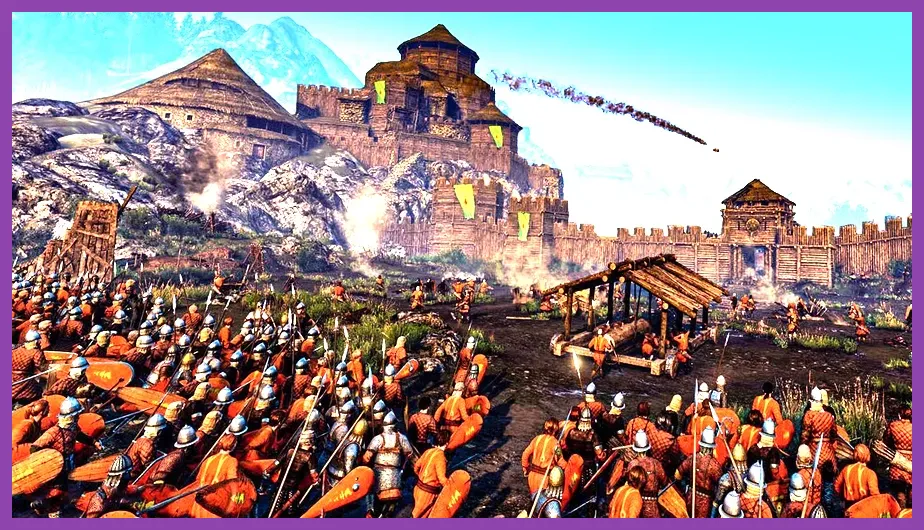
Your front line must be completely immovable to allow your high-damage ranged units and flanking cavalry room to operate. The undisputed S-Tier choice for frontline tanking is the Imperial Legionary. Equipped with heavy Round Shields, Spatha swords, and Heavy Throwing Axes, Legionaries possess superior melee AI tracking and dense shield walls that absorb punishing volleys of arrows. Pair them with Sturgian Heavy Spearmen to deter enemy cavalry charges dead in their tracks.
When positioning your infantry, order them into a deep shield wall facing the primary threat vector. For more advanced tactical movement, review our guide on optimizing frontline formations. Your infantry's primary job is not to secure kills, but to absorb the enemy charge, lock down opposing infantry lines, and buy precious seconds for your backline damage dealers.
The Ranged DPS Backbone: Battanian Fians and Vlandian Sharpshooters
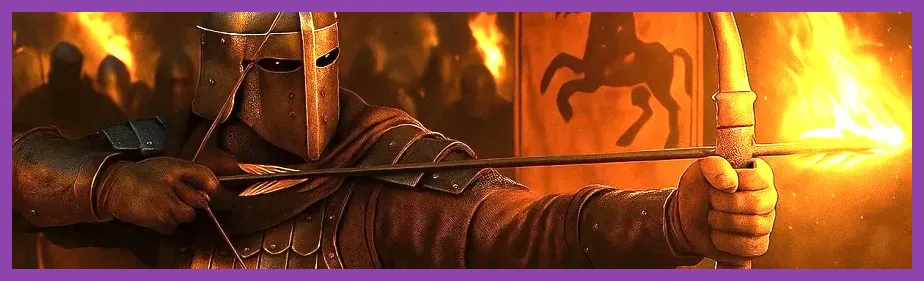
Damage output in Bannerlord is heavily skewed toward high-tier archers. Battanian Fian Champions are widely considered the most broken unit in the entire game due to their Noble Bow proficiency of 280, combined with two-handed sword capabilities that let them shred enemy cavalry foolish enough to engage them in melee. Flanking your Fians with Vlandian Sharpshooters creates a crossfire that strips armor plating from elite troops in seconds.
Position your archers on elevated terrain roughly 30 to 50 meters behind your infantry shield wall. If you are fighting in open plains, use the F-3 (Loose) formation to maximize individual arrow clearance, shifting back to F-2 (Line) when cavalry is imminent. For insights on managing high-end resource loads and system hardware during massive 1000-unit battles, see hardware optimization frameworks.
Shock Cavalry and Flanking Units: Imperial Elite Cataphracts
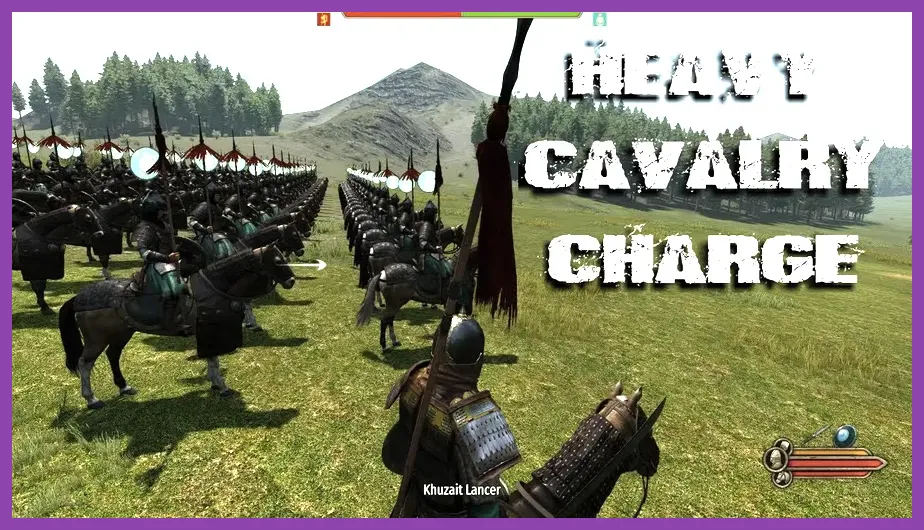
No optimal team composition is complete without a mobile hammer to shatter broken enemy formations. Imperial Elite Cataphracts boast heavy barding, lance proficiency, and massive charge damage values that knock enemy infantry flat on their backs. When your frontline Legionaries clash with the enemy, hold your Cataphracts in reserve behind a nearby ridge, then issue a F-6 (Delegate Command) or direct waypoint charge straight into the rear flank of the locked enemy infantry.
Timing is everything when executing a cavalry hammer-and-anvil strike. If you charge too early, your horses will bog down in the enemy's front ranks and take heavy casualties from polearms. For tactics on positioning mobile strike teams, check out advanced team synergy strategies. Always cycle your cavalry out of melee combat using F-1 F-4 (Retreat) commands if the engagement drags on too long.
Companion and Quartermaster Synergy Bonuses
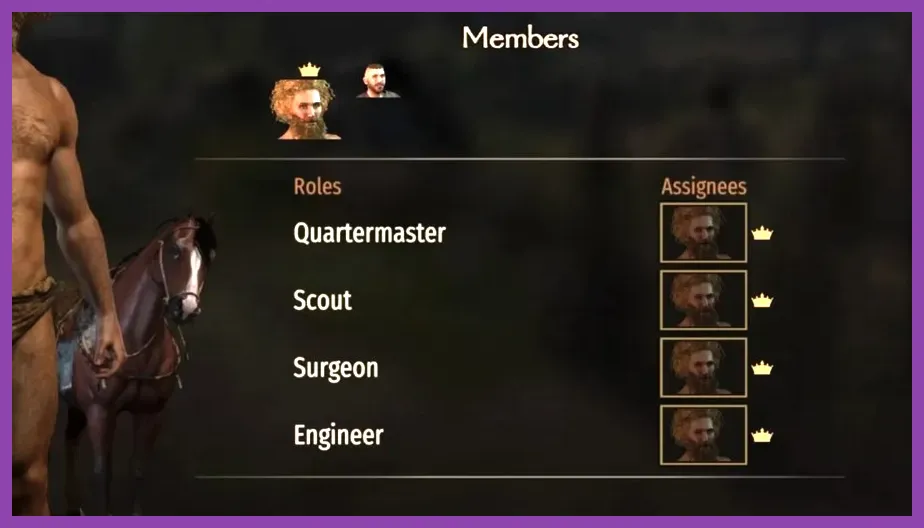
Your active party composition extends beyond troops on the field; companion skill distribution directly dictates your army's operational capability. Assign a companion with high Steward skill (such as 'The Golden' or wanderers with tactical traits) as your Quartermaster to instantly boost your maximum party size past the 300-man threshold. Equip your Surgeon with high Medicine to guarantee that troops who would normally die on the field are instead wounded, preserving your elite unit tiers.
Additionally, assign a Scout with high Scouting to spot enemy parties from across the map, allowing you to dictate the engagement terrain. For further reading on min-maxing companion skill distributions and character builds, consult our breakdown on character tier rankings and skill trees.
Advanced Combined-Arms Execution and Terrain Utilization
Putting all these elements together requires reading the battle map before the first clash occurs. Always look for steep hills, river crossings, or dense forests. Forests heavily penalize enemy cavalry charges, neutralizing Khuzait horse archer swarms and allowing your infantry and archers to isolate and destroy them piecemeal. If you are facing massive hordes of low-tier levies, your shield wall combined with continuous Fian arrow fire will rout their morale in under two minutes.
Manage your ammunition pools carefully by ordering archers to hold fire until targets are within 100 meters. For solo player combat setups that synergize with these massive army movements, reference our comprehensive solo combat and equipment guide. By maintaining strict discipline, protecting your Fians, and timing your Elite Cataphract charges, you will conquer Calradia with virtually zero elite unit losses.