
Absolum gets much easier once you stop treating it like a button-mashing brawler. Pick a hero with a game plan, learn to parry before chasing damage, build around one or two keywords, and spend your route resources deliberately. These 10 essential Absolum tips cover the habits that make early runs survive longer, unlock more permanent power, and turn the game's screen-filling fights into manageable encounters.
Absolum comes from Dotemu and Guard Crush Games, the teams behind modern beat-'em-up revivals such as Streets of Rage 4. Its roguelite structure adds branching routes, temporary upgrades, persistent progression, and four distinct heroes: Galandra, Azra, Brome, and Cider. The important distinction is that a failed run still teaches you something. If you only chase the final boss, you'll miss the systems that make the next attempt stronger.

1. Learn the combat rules before chasing damage
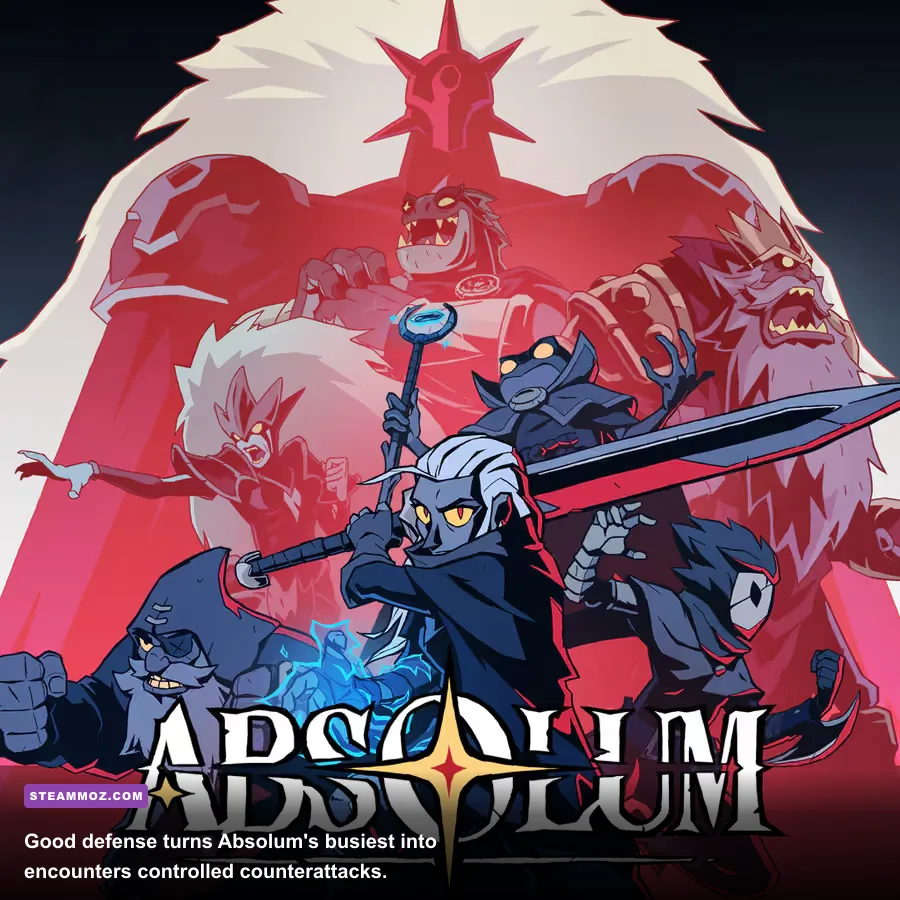
Your first few runs should be practice sessions for movement, spacing, and defense. Absolum's enemies are designed to surround you, so standing in the middle of a group and repeating a light-attack string is a fast way to lose health. Tap movement to keep enemies on one side, use a launcher to remove the most aggressive target, then finish the airborne enemy before returning to the ground crowd.
Parrying is the biggest early skill check. Watch the enemy's attack animation rather than the damage number or your own combo. A successful parry interrupts the incoming strike and creates a punish window; it is especially valuable against enemies that cannot be safely staggered with ordinary hits. Dodging remains useful, but a panic roll through several enemies often leaves you trapped against the opposite side of the arena.
Use grabs and throws as crowd-control tools, not just flashy finishers. A thrown enemy can hit another target, create breathing room, or move a dangerous foe away from a revive point in co-op. Environmental hazards and explosive objects are also worth saving for elite waves. Your goal is not maximum combo length. Your goal is to keep the encounter organized.
| Combat situation | Best first response | Why it works |
|---|---|---|
| One melee enemy approaches | Parry, then light combo | Converts defense into reliable damage |
| Several enemies surround you | Move to an edge, grab, or use a launcher | Stops attacks arriving from every direction |
| Ranged enemy joins a wave | Prioritize or throw a target into its line | Removes off-screen pressure |
| Elite enters while adds remain | Control the adds first unless the elite is charging | Prevents overlapping attack patterns |
🎮 Absolum
Looking to experience this game? Grab your digital key directly on our store for $18.74.
View on Steammoz Store →2. Choose a hero that matches your habits
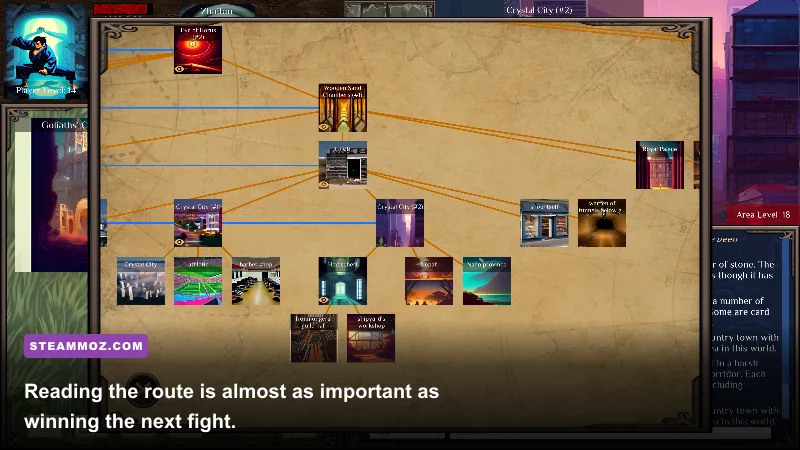
Don't pick a hero because a tier list says they are strongest. Absolum's four characters reward different instincts, and a theoretically powerful hero feels terrible if you dislike their range or rhythm. Galandra is the natural starting point for players who want a direct melee fighter and clear, aggressive pressure. Azra suits players who prefer magical reach and controlling space. Brome is the safer choice for a deliberate, sturdy style, while Cider rewards players who enjoy setting up effects and managing a more technical game plan.
That isn't a strict power ranking. It is a learning curve. A new player usually gets more value from a character with dependable defensive options than from a complicated damage ceiling. Play the opening section with each unlocked hero and ask three questions: Can I reach enemies safely? Can I escape when surrounded? Do I understand why my damage increased? If the answer is no, change heroes before blaming the route.
Co-op makes this choice even more important. Two short-range heroes can delete a target quickly, but they also compete for the same space. Pairing a close-range bruiser with a hero who can pressure from farther away gives your team better control over ranged enemies and airborne threats. Coordinate revives, too: one player should keep enemies busy while the other brings the fallen partner back.
| Hero | Best beginner identity | Prioritize | Common mistake |
|---|---|---|---|
| Galandra | Direct melee pressure | Safe confirms and mobility | Extending combos while surrounded |
| Azra | Reach and magical control | Spacing and area coverage | Ignoring enemies that slip inside |
| Brome | Durable, deliberate fighting | Defense and punish windows | Assuming toughness replaces blocking |
| Cider | Technical effect-based play | Synergy and setup | Collecting upgrades with no plan |
3. Build around a keyword, not every shiny upgrade

Absolum's temporary blessings, relics, and combat upgrades are strongest when they reinforce one another. The beginner trap is taking every improvement that looks individually good. A small bonus to several unrelated effects rarely beats a concentrated build that repeatedly triggers the same condition.
Start by identifying the first meaningful effect your run offers. If an upgrade improves fire, poison, stun, critical hits, or aerial damage, treat that as a possible build direction. Take the next reward only if it improves the same trigger, fixes a weakness in that plan, or gives you essential survivability. Damage-over-time effects need time and repeated contact; stun-focused builds need ways to hit reliably; aerial builds need launchers and safe follow-ups. The effect's description tells you what it wants you to do.
Don't sacrifice health for a tiny damage increase early in a run. A dead build has zero damage, and the value of healing rises sharply before an elite or boss encounter. Conversely, don't spend every reward on defense once your health is stable. The best runs create a loop: defense lets you maintain contact, contact triggers your effect, and the effect shortens the encounter before another mistake can happen.
| Upgrade choice | Take it when | Skip it when | Pair it with |
|---|---|---|---|
| Elemental or status bonus | You already trigger that effect often | Your current attacks rarely apply it | Duration, spread, or repeat triggers |
| Critical or combo bonus | You can maintain safe strings | You are constantly being interrupted | Mobility and stagger tools |
| Healing or maximum health | You are below safe boss health | Your run has reliable sustain | Damage reduction or parry rewards |
| Area damage | Waves routinely surround you | You struggle with single elites | Positioning and crowd control |
4. Read the map and spend resources with a purpose
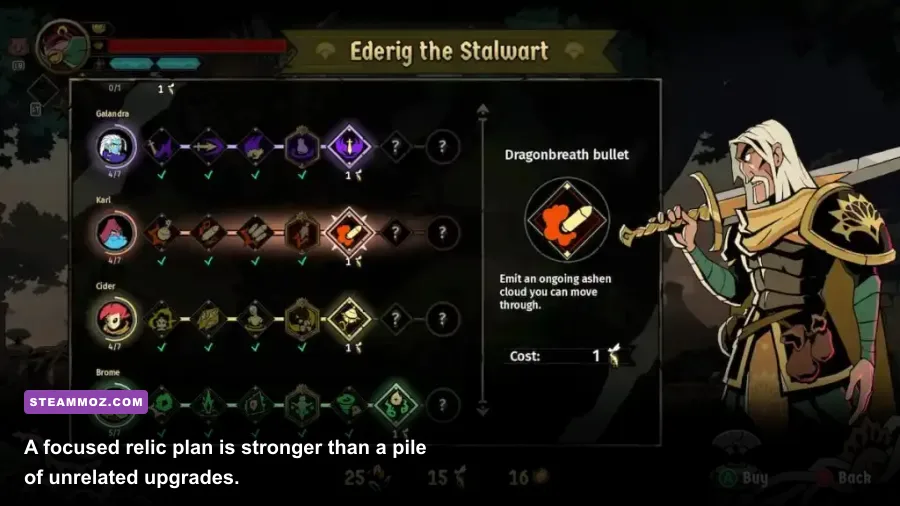
Branching routes are not decoration. Before selecting the next room, look at the reward type, risk, and what your run currently lacks. A healing room is far more valuable when you are one mistake from death; a shop is better when you have enough currency to buy a meaningful upgrade; a combat-heavy branch makes sense when your build needs another trigger.
Early currency should usually improve consistency rather than chase a perfect late-game item. Unlocking a reliable tool or strengthening a hero's baseline options can pay off across every future attempt. If the game presents a choice between an immediate, modest improvement and a risky reward that only works with a specific build, take the immediate option while learning.
Watch for rooms that offer a choice instead of a single reward. The correct pick changes with your health, current effects, and remaining route. A full-health player should not automatically choose healing, and a strong damage build should not ignore a defensive upgrade before a boss. Think in terms of the next two encounters, not the fantasy of a perfect run.
Persistent progression deserves the same discipline. Spend early resources on upgrades that improve survivability, starting consistency, or access to new options. Avoid pouring everything into a narrow bonus until you understand how often it appears. Absolum's official game page and Guard Crush Games' development page are useful places to check current system details as updates arrive.
5. Treat bosses as pattern exams, not damage races
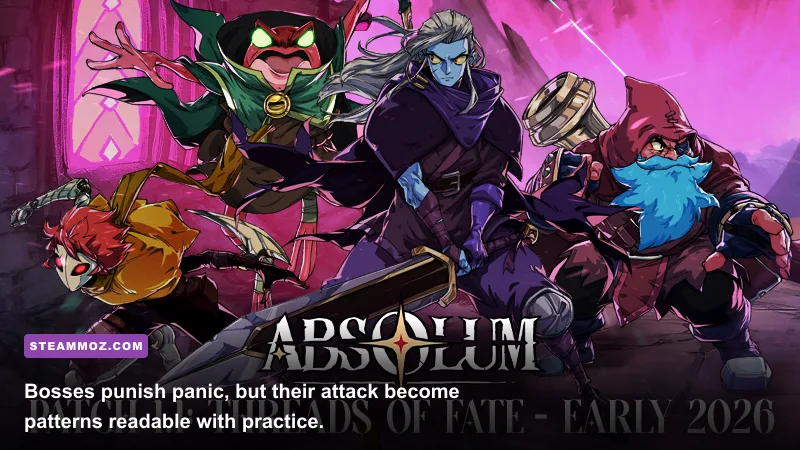
The final three tips matter most when an Absolum run reaches a boss. First, enter with a reserve: don't burn every healing option or explosive tool in the room before you know the pattern. Second, watch the boss's shoulders, weapon, and position rather than the visual effects around the arena. Third, punish only after the attack has finished. Most failed attempts come from attacking one beat too early and being caught by the recovery hit.
Boss arenas also test positioning. Keep yourself away from corners, because a wall removes your escape route and makes overlapping attacks much harder to read. When the boss summons smaller enemies, decide whether they are a genuine threat or an opportunity to refill your resources through safe hits. If a ranged add can attack while you focus the boss, remove it quickly. If the boss is invulnerable during a phase, stop swinging and use that time to reposition.
| Boss phase or danger | Telegraph to watch | Counter strategy | Best tool |
|---|---|---|---|
| Fast gap closer | Brief wind-up and forward commitment | Parry or sidestep, then punish | Defensive timing |
| Wide-area attack | Boss pauses while the arena effect forms | Move early to clear space | Mobility |
| Summoned adds | Boss withdraws or becomes protected | Clear ranged threats first | Area damage or throws |
| Enraged sequence | Faster repeats and shorter recovery | Use shorter combos and wait longer | Parry and burst punish |
6. Ten habits that make every run stronger
Tip 6: Stop attacking off-screen. Enemies outside the camera can enter during your recovery animation. Pull the group into view before committing to a long string.
Tip 7: Use the training area whenever it becomes available. Test a new hero's launcher, grab range, special attack, and recovery time there. Five minutes of deliberate practice saves far more than five failed runs.
Tip 8: Keep a panic button unused. Save a mobility skill, parry, or crowd-control option for the moment a second wave arrives. Spending every cooldown on the first enemy leaves you helpless during the dangerous part of the encounter.
Tip 9: Make co-op roles explicit. One player should draw attention while the other revives, attacks ranged targets, or applies a setup effect. Two players mashing into the same target is less effective than dividing the arena.
Tip 10: Review the death instead of restarting instantly. Ask whether you lost health to greed, poor positioning, an unread telegraph, or a weak build. That answer tells you what to change next run. For more roguelite-minded route planning, our Dragonkin secrets guide and Everspace 2 hidden-rewards guide cover the same useful habit: reward knowledge is permanent power.
Finally, don't judge Absolum by your first defeat. Your initial goal isn't to clear every zone; it's to make one improvement per attempt. Learn a parry timing, recognize one boss tell, unlock one useful option, or finish a run with a more focused build. Once those lessons stack up, Absolum stops feeling like chaos and starts feeling like a fight you can read.
If you're coming from classic dungeon crawlers, Steamoz's Dungeon Siege retrospective is a fun look at a very different kind of RPG pacing. For Absolum itself, keep an eye on the Steam listing for patch notes, controller support details, and updates. The fundamentals above won't change: control space, build with intent, and never let a flashy combo make the decision for you.