If Capes is crashing on startup or crawling below a smooth frame rate, start with four fixes: verify the Steam installation, update or clean-install your GPU driver, disable overlays, and lower shadows, effects, and post-processing before touching texture quality. For most PCs, a capped 60 FPS profile at 1080p is the best starting point; persistent crashes usually point to corrupted files, overlays, permissions, outdated drivers, or unstable overclocks rather than the game’s turn-based combat itself.
Capes is not a twitch shooter, but that does not make performance irrelevant. Camera movement, ability effects, destructible scenery, and several heroes attacking in the same turn can create noticeable frame-time spikes. A game that reports 55 FPS may still feel rough if individual frames arrive unevenly. This guide covers the practical fixes that work from the fastest checks to deeper Windows troubleshooting, with separate profiles for older laptops, mainstream gaming PCs, and stronger desktops.
Start with the fixes that stop most crashes
Before changing ten graphics options at once, make Capes stable at its default configuration. Open Steam, right-click Capes in your library, choose Properties, select Installed Files, and click Verify integrity of game files. This replaces missing or damaged files without deleting your saves. If Steam reports a repair, restart the client before launching again.
Next, reboot Windows rather than simply closing the game. A reboot clears a stuck graphics process and releases VRAM that another application may have left in an awkward state. Shut down overlays for the first test run: Steam Overlay, Discord Overlay, Xbox Game Bar, GeForce Experience or NVIDIA App overlay, AMD Adrenalin overlay, MSI Afterburner’s OSD, and RivaTuner Statistics Server. Capes can launch normally with an overlay enabled and then crash when the overlay hooks into a cinematic, resolution change, or fullscreen transition.
Use the official Capes Steam page as your reference for patches and system requirements. Also check the Spitfire Interactive website for developer updates. If the game crashes immediately after a patch, do not assume your hardware suddenly failed; verify files first, then test without overlays.
Reset a broken configuration
A bad resolution, window mode, or graphics value can cause a crash before the main menu appears. In Steam’s Capes launch options, try -windowed for one boot. Once the game reaches the menu, select your monitor’s native resolution, apply the changes, and restart normally. If that fails, remove the local configuration rather than repeatedly forcing the same broken setting.
Back up your saves before deleting configuration data. Look in %LOCALAPPDATA% for a Capes or Spitfire Interactive folder, then search inside it for files containing words such as GameUserSettings or Config. Rename the folder to something like Capes_Config_Backup instead of deleting it. Launch the game and let it create a clean profile. If the crash disappears, copy saves back carefully, but leave the newly created graphics configuration in place.
| Crash symptom | Most likely cause | First action |
|---|---|---|
| Crash before the main menu | Corrupt configuration, driver issue, or overlay hook | Use -windowed, disable overlays, then clean-install the GPU driver |
| Crash when loading a mission | Damaged game file or shader compilation failure | Verify files and allow the first load to finish without switching windows |
| Crash after changing resolution | Invalid fullscreen or monitor mode | Reset the configuration and boot windowed |
| Crash after 20–60 minutes | Overheating, unstable overclock, or VRAM pressure | Return CPU/GPU clocks to stock and lower effects and shadows |
| Only crashes with a controller or overlay | Input or overlay software conflict | Disconnect extra devices and disable Steam Input temporarily |

🎮 Capes
Looking to experience this game? Grab your digital key directly on our store for $15.99.
View on Steammoz Store →Use a Capes graphics profile built for stable FPS
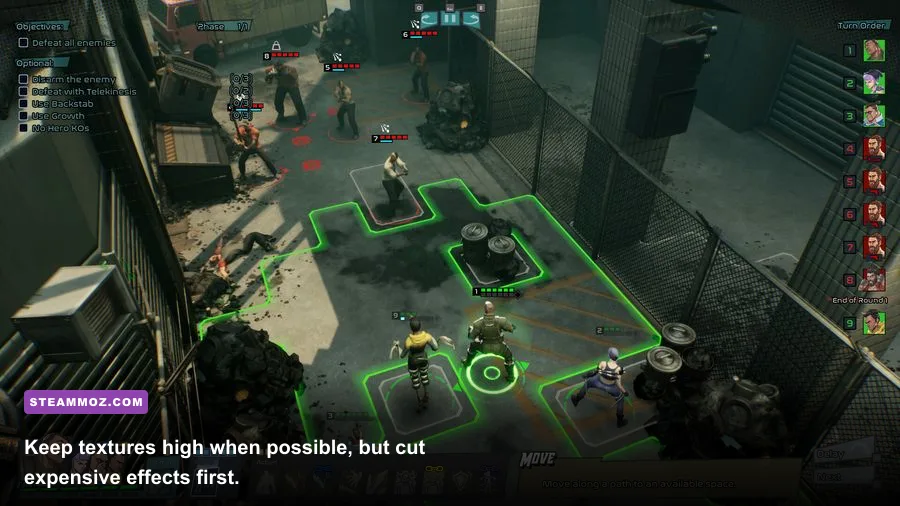
Do not begin by dropping every option to Low. Capes is a tactical game, so texture quality and resolution affect image clarity more than they affect moment-to-moment responsiveness. Shadows, effects, post-processing, and anti-aliasing are the settings most worth cutting when a busy mission causes a dip. Apply one change at a time, replay the same combat encounter, and watch frame-time rather than trusting the average FPS number alone.
For a 1080p monitor, begin with a 60 FPS cap and V-Sync enabled if you see tearing. A stable 60 feels better than an unlocked counter jumping between 48 and 83 FPS. If your display supports VRR, such as FreeSync or G-SYNC, enable it in the monitor and driver, then cap Capes a few frames below the panel’s refresh rate. A 58 FPS cap on a 60 Hz VRR display or a เว?
Use the following profile as a baseline. The FPS impact describes the usual cost in crowded scenes, not a guaranteed number for every GPU. Mission design, resolution, background applications, and laptop power limits all matter.
| Setting | Recommended value | FPS impact | Visual note |
|---|---|---|---|
| Resolution | Native 1080p; 900p on older laptops | Very high | Lowering resolution gives the largest GPU improvement but softens UI and character edges |
| Window mode | Borderless for convenience; fullscreen for troubleshooting | Low | Fullscreen can avoid desktop compositing conflicts on some systems |
| V-Sync | On without VRR; off with a properly capped VRR display | Low | Prevents tearing, though an unstable PC may feel more delayed |
| Texture quality | High with 6–8 GB VRAM; Medium with 4 GB | Low to medium | Keep this higher than effects unless you are hitting VRAM limits |
| Shadow quality | Medium | Medium to high | One of the best cuts for crowded scenes and camera movement |
| Effects quality | Medium | High | Reduces the cost of powers, explosions, and several simultaneous attacks |
| Post-processing | Low or Medium | Medium | Cut this if combat feels uneven despite a high average FPS |
| Anti-aliasing | Medium or the second-highest option | Medium | Dropping one step usually preserves a clean image |
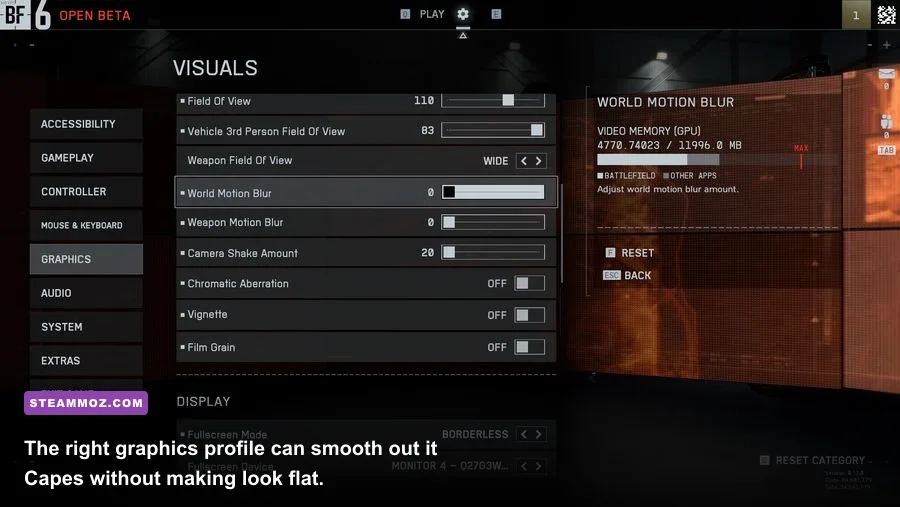
| Motion blur | Off | Small | Improves tactical readability during camera movement |
| Frame limit | 60 FPS, or refresh rate minus 2–3 FPS with VRR | None | Reduces heat, fan noise, and inconsistent frame pacing |
If your GPU is close to 100 percent usage, lower resolution, shadows, and effects first. If GPU usage is low while FPS remains poor, the limit may be the CPU, a power-saving mode, shader compilation, or another application. That distinction matters: lowering textures will not fix a CPU bottleneck, and lowering resolution may barely change the result.
For more PC troubleshooting ideas, compare the approach in our Knightica PC fixes guide and our breakdown of A Year of Rain settings. The games are different, but the principle is the same: identify whether the bottleneck is GPU load, CPU load, memory, or frame pacing before making random changes.
Match the settings to your PC hardware
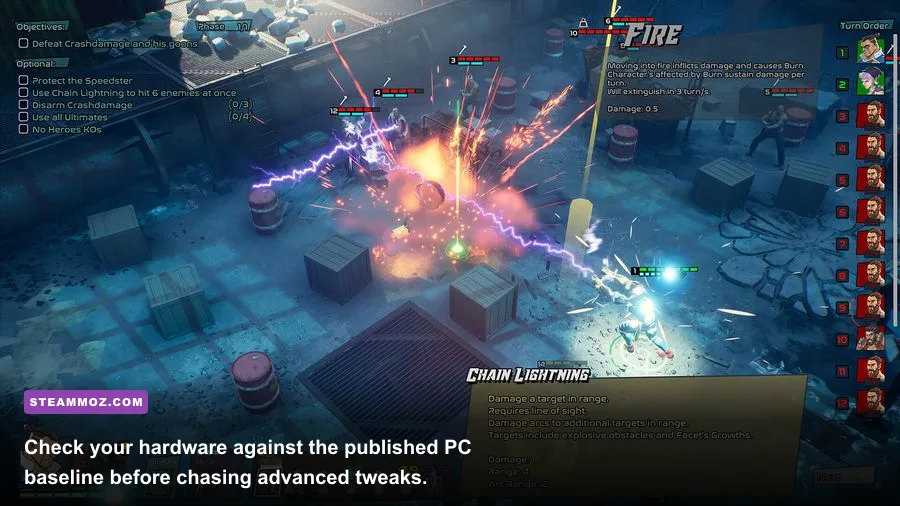
Capes’ published PC requirements are a useful floor, not a promise of locked performance in every mission. A system that meets the minimum can run the game, but it may need Medium or Low settings at 1080p. Eight gigabytes of RAM can also become uncomfortable once Windows, Steam, a browser, and Discord are open together. Close background applications before concluding that the game itself is leaking memory.
| PC class | Starting profile | Target | What to watch |
|---|---|---|---|
| Older gaming laptop or minimum-class desktop | 1080p or 900p, Low/Medium mix, Medium textures, Low shadows and effects | 30–60 FPS | Plug in the charger, use the high-performance power mode, and monitor temperatures |
| Mainstream gaming PC | 1080p, High textures, Medium shadows/effects, Medium post-processing | Stable 60 FPS | Keep overlays off while testing and cap FPS to reduce spikes |
| Modern mid-range desktop | 1080p or 1440p, High textures, Medium/High effects, Medium shadows | 60–100 FPS | At 1440p, lower effects before textures if combat dips |
| High-end desktop | 1440p, High settings, VRR cap, motion blur off | High refresh with stable frame times | Do not chase maximum FPS if the CPU becomes the limiter in busy encounters |
On laptops, Windows may silently run Capes on the integrated GPU. Open Windows Settings > System > Display > Graphics, add the game executable if it is not listed, choose Options, and select High performance. NVIDIA users can do the same through NVIDIA Control Panel under Manage 3D settings; AMD users should select the dedicated GPU in Adrenalin. Restart the game after changing this setting.
Also check the laptop’s manufacturer control center. Silent or battery modes can slash CPU and GPU power, producing the exact symptoms of “Capes low FPS.” Play while connected to AC power, keep vents unobstructed, and avoid testing performance on a soft surface. If the GPU temperature is climbing into the thermal-throttling range, lowering settings only masks the cause; clean dust and improve airflow.
Fix stutter, shader compilation, and frame-time spikes
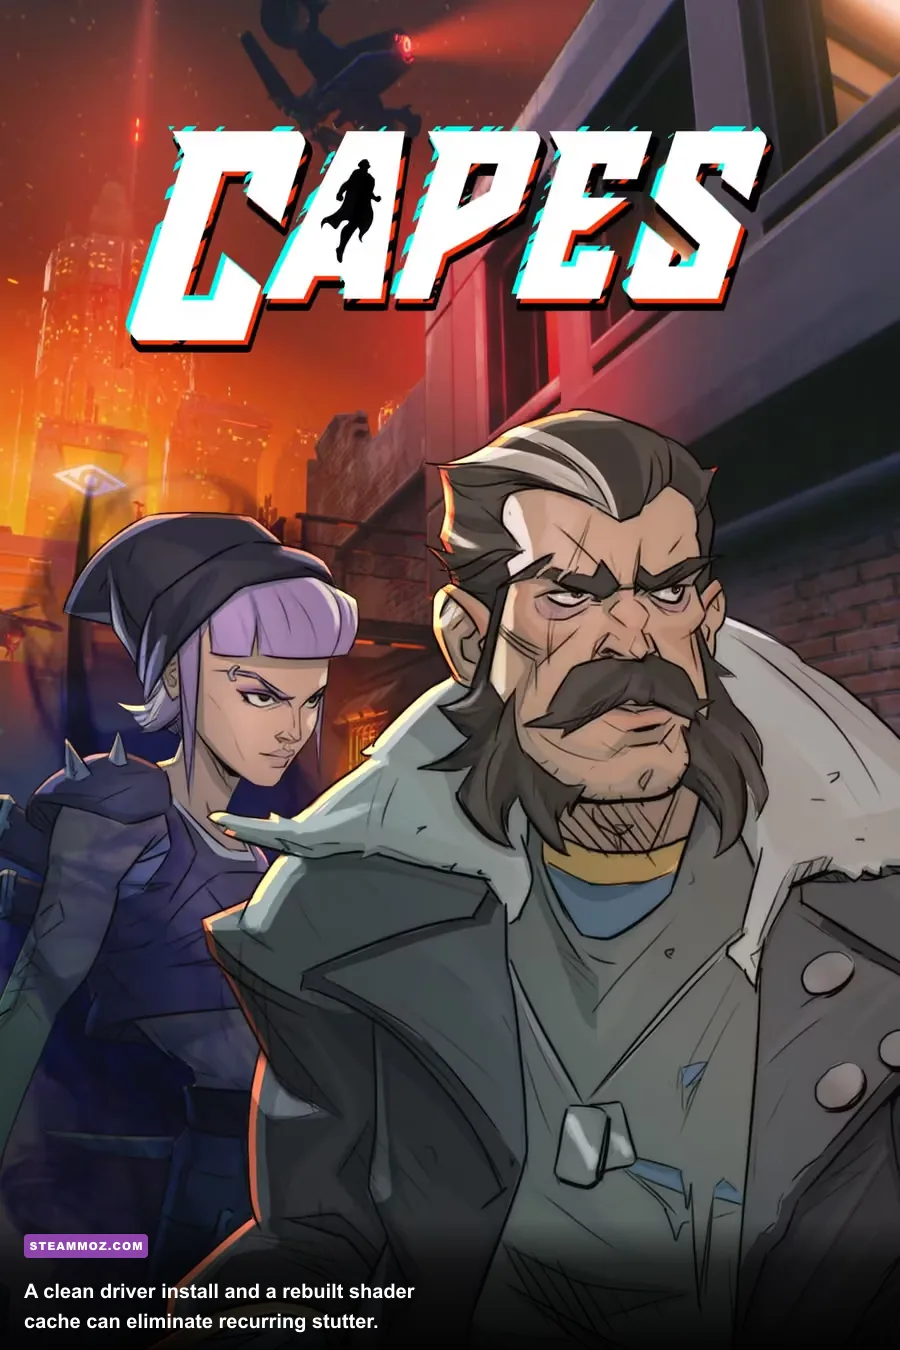
Some apparent FPS drops are actually shader stutter. The first time Capes displays a particular effect, Windows and the graphics driver may compile or retrieve shader data. That can create a short hitch when a mission introduces a new visual effect. Let the game sit at the menu for a minute after a driver update, then play through an area once before judging the second run.
Do not clear the shader cache every day. A cache rebuild can help after a driver update or graphical corruption, but the first launch afterward may stutter more while it rebuilds. NVIDIA users can clear the DirectX Shader Cache through Windows Settings > System > Storage > Temporary files. AMD users can use the reset shader cache option in Adrenalin. Restart Windows afterward and give Capes time to repopulate the cache.
Use an overlay such as Steam’s FPS counter or Xbox Game Bar only after the game is stable. For serious diagnosis, CapFrameX or PresentMon can reveal whether a “60 FPS” scene contains repeated 100-millisecond frame spikes. If your average is fine but the 1% lows collapse during a large power combo, reduce effects and post-processing rather than textures.
Keep Capes installed on an SSD if possible. An HDD can still run many games, but streaming mission assets while Windows is paging memory creates longer hitches. Keep at least 15 percent free space on the drive, close browser tabs using hardware acceleration, and pause downloads. Do not use aggressive process-priority tools or registry “FPS boosters”; they often make scheduling less predictable and can cause crashes.
If stutter began after changing GPU drivers, install the latest stable driver from the official NVIDIA driver page or AMD support page. Choose a clean installation where available. For a stubborn issue, use Display Driver Uninstaller in Windows Safe Mode, install the driver fresh, and test Capes before restoring overlays, recording tools, or overclocking utilities.
Find the real bottleneck
Use Task Manager or MSI Afterburner while reproducing the problem. GPU usage near 95–99 percent means the graphics card is working flat out. CPU usage at 100 percent on one or two busy threads with a much lower GPU load suggests a processor or background-task limit. RAM above 90 percent points to paging, while VRAM saturation often produces severe hitching when textures are set too high.
- GPU-bound: lower resolution, shadows, effects, and post-processing.
- CPU-bound: cap FPS, close background software, use a high-performance power plan, and remove unstable CPU overclocks.
- RAM-bound: close browsers and launchers, then consider upgrading from 8 GB to 16 GB.
- VRAM-bound: lower textures one step and avoid running high-resolution recording or browser workloads beside the game.
Stop recurring crashes with Windows-level checks
If file verification and driver updates did not help, check Windows’ fundamentals. Install pending Windows updates, restart, and run Capes from its normal Steam shortcut rather than an old desktop link. Right-click the game executable only if you need to test compatibility settings; permanent compatibility modes can create as many problems as they solve.
Temporarily disable third-party antivirus ransomware protection or add the Capes installation folder as an exception. Security software can quarantine a DLL or block a game from writing configuration and shader files. Re-enable protection after testing. Do not download replacement DLLs from random websites. If a dependency is missing, repair the official Microsoft Visual C++ Redistributable package and DirectX components through Microsoft’s support channels.
Check Event Viewer when the crash is repeatable. Press Windows key, type Event Viewer, open Windows Logs > Application, and look for an Error at the crash time. A faulting module associated with the GPU driver points toward a driver, temperature, or overclock problem. An application-specific module after a file update strengthens the case for verification or a clean configuration reset. Event Viewer will not always name the solution, but it can separate a game crash from a wider Windows failure.
Return every overclock and undervolt to stock, including XMP or EXPO if crashes affect several games. A setting can appear stable in a benchmark and still fail during a particular Unreal Engine workload. Test Capes for at least one complete mission at stock clocks. If stability returns, lower the overclock or tune voltage conservatively instead of blaming the game.
Finally, record exactly when the crash happens: startup, loading screen, first combat effect, alt-tab, controller connection, or after a long session. That detail is far more useful to support than “it crashes sometimes.” The official Steam Support portal can help with installation and launch problems, while the publisher’s official support channels are the right place for a reproducible game-specific bug.
The stable Capes setup I’d use first
For a mainstream 1080p PC, my first serious test would be native resolution, Borderless mode, High textures, Medium shadows, Medium effects, Low post-processing, motion blur off, and a 60 FPS cap. Disable every overlay, verify the files, and run the game from an SSD. This keeps Capes sharp while cutting the settings most likely to create frame-time spikes during crowded superpowered attacks.
Once that profile survives a full mission, add features back one at a time. Raise post-processing first if you value presentation, then shadows. Leave effects at Medium if combat dips during chained abilities. If you want to experiment with 120 FPS, unlock the cap only after confirming that 60 FPS is stable; otherwise you are measuring extra heat and fan noise rather than useful responsiveness.
There is no reason to accept random crashes as the price of playing a tactical superhero game. Verify the installation, reset a damaged configuration, remove overlay conflicts, use the dedicated GPU, and match the graphics load to your hardware. If performance still collapses after a clean driver install and stock clocks, reproduce the issue with a consistent mission and report it through the official channels. That gives the developers actionable data—and gives you the best chance of getting back to Rebound, Facet, and the rest of the team without another desktop crash.
For more performance-focused reads, Steamoz also has a practical Architect Life crash and FPS fix guide and a settings breakdown for Grow: Song of the Evertree. The same rule applies across both: change the setting tied to the bottleneck, then test before piling on another tweak.