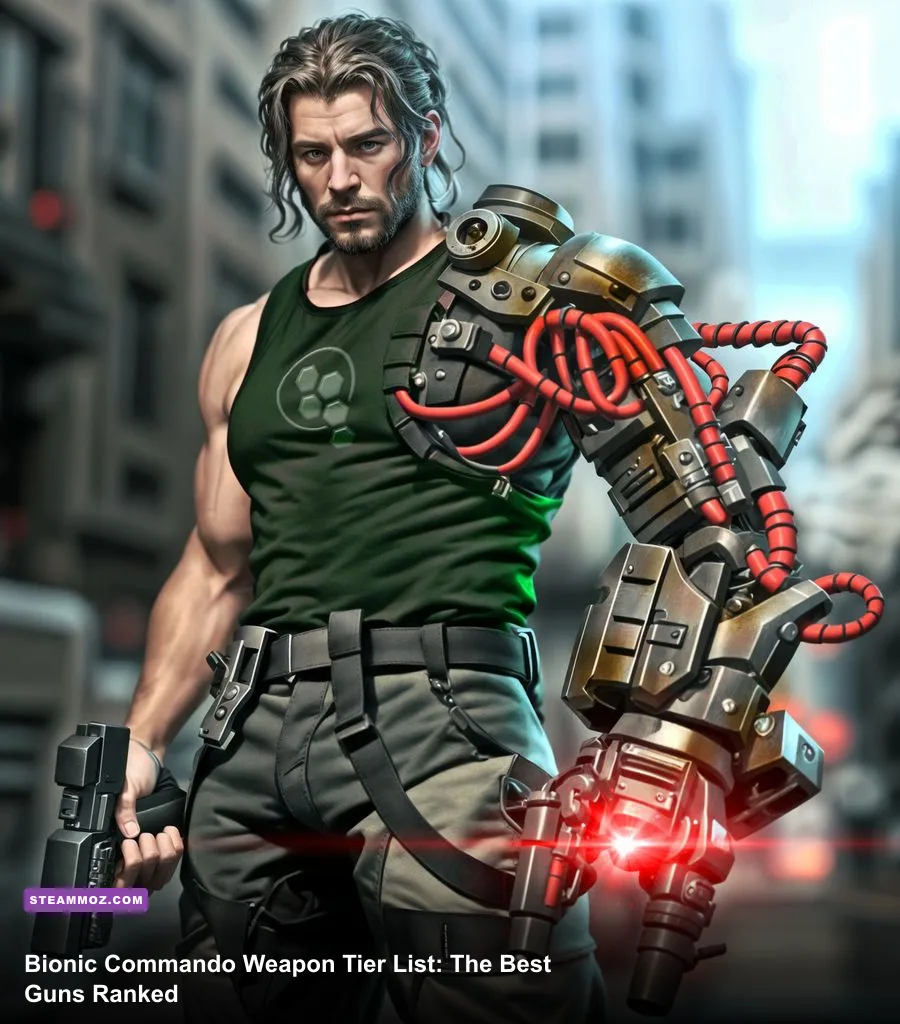
The Rocket Launcher is Bionic Commando's best weapon overall, but the Machine Gun is the smarter default carry. The Rocket Launcher deletes armored enemies and punishes boss weak points, while the Machine Gun handles drones, soldiers, turrets, and aerial targets without forcing you to fight at point-blank range. The Shotgun sits just behind them as the best panic weapon, and the Grenade Launcher is powerful but more specialized than its explosive damage suggests. This ranking covers the 2009 PC and console game, not Bionic Commando Rearmed, whose weapon roster and 2D combat rules are different.
There is an important wrinkle here: Bionic Commando does not present a modern spreadsheet of damage values, fire rate, recoil, or damage falloff. Capcom's game communicates weapon power through enemy reactions, hit effects, stagger behavior, ammunition scarcity, and encounter design. That means the most useful tier list is based on real combat jobs: how quickly a weapon removes a threat, how safely Spencer can use it while swinging, and how often its ammunition appears during the campaign.
If you want the official PC listing, the Bionic Commando Steam page is still the best reference for the 2009 release. For broader Capcom context, the publisher's official Capcom games site is also worth checking. Now, let's rank every conventional firearm around the thing Spencer always has available: his bionic arm.
The Bionic Commando weapon tier list
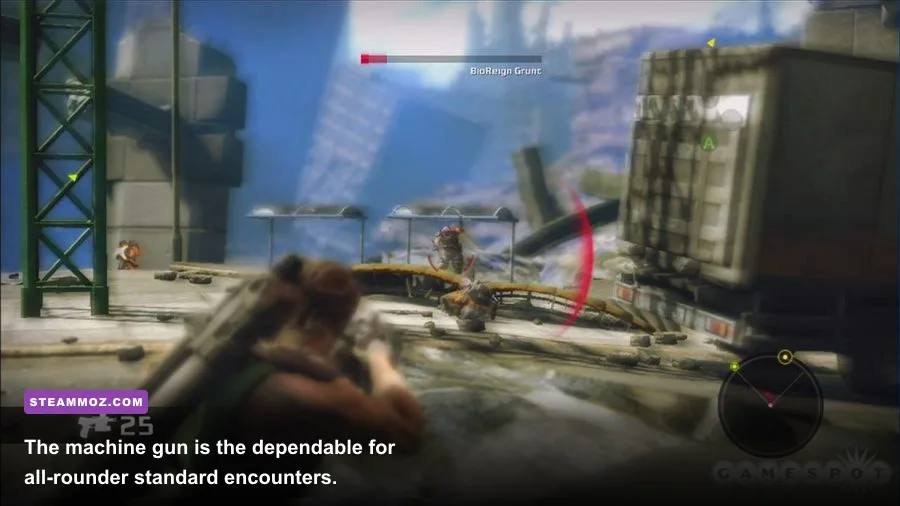
This is the short version. The tiers judge weapons on campaign-wide usefulness, not on a single spectacular boss encounter. A weapon that shines only when enemies are grouped together should not outrank one that stays useful across rooftops, interiors, vertical arenas, and long traversal sections.
| Weapon | Tier | Primary role | Biggest strength | Main drawback |
|---|---|---|---|---|
| Rocket Launcher | S-Tier | Armor and boss damage | Huge burst and reliable stagger | Limited ammunition and slow reload rhythm |
| Machine Gun | S-Tier | General-purpose combat | Best sustained pressure and range | Less efficient against heavy armor |
| Shotgun | A-Tier | Close-range control | Excellent burst and knockback | Falls off sharply at distance |
| Grenade Launcher | A-Tier | Area denial | Explosions punish groups and cover | Arcing shots are awkward while moving |
| Bionic Arm | S-Tier utility | Traversal and melee damage | Infinite access and environmental versatility | Requires proximity and timing |
The Machine Gun and Rocket Launcher are both S-Tier, but they earn that label in different ways. The Machine Gun is the weapon you'll miss most when it is unavailable; the Rocket Launcher is the weapon you'll be happiest to find before a serious fight. Treating them as interchangeable is one of the easiest ways to waste ammunition.

🎮 Bionic Commando
Looking to experience this game? Grab your digital key directly on our store for $3.19.
View on Steammoz Store →S-Tier weapons and why they dominate

Rocket Launcher
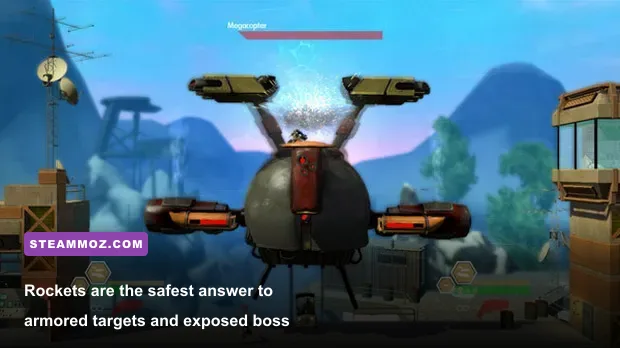
The Rocket Launcher is the clear number-one firearm when the game asks you to solve a hard problem quickly. Its explosive projectile hits with enough force to stagger or heavily damage armored opponents, and it is especially valuable against enemies that punish prolonged exposure. If a target has a shield, heavy plating, or a vulnerable phase that only lasts briefly, rockets turn that window into meaningful progress.
The weapon also pairs perfectly with Spencer's mobility. Swing past an arena, release at the apex of the arc, and fire before landing. This keeps you from standing still and lets the rocket travel into an enemy's exposed side. Against large targets, don't fire simply because the launcher is equipped. Wait for a telegraphed opening: an armor panel opening, a charge animation ending, or a weapon cooldown. A rocket fired into invulnerable plating is not just wasted damage; it is wasted scarce ammunition.
Its weaknesses are equally clear. The launcher has a slow combat rhythm, a limited supply, and a projectile that can punish careless close-range firing. Never shoot at the floor when Spencer is trapped beside a wall or vehicle. The splash can turn a good escape into self-inflicted damage. Keep the Rocket Launcher for armored soldiers, large mechanized threats, and boss weak points rather than spending it on the first ordinary infantryman you see.
Machine Gun
The Machine Gun is the campaign's best practical weapon. It reaches distant enemies, suppresses targets while Spencer is airborne, and keeps dealing damage when a moving target refuses to stand still. Drones and turret positions are where it feels most indispensable, because the gun lets you maintain pressure without committing to a dangerous swing into open space.
Its apparent weakness is damage per bullet, but that is the wrong way to evaluate it. The Machine Gun wins through uptime. It starts firing immediately, needs no explosive arc, and lets you correct your aim during a burst. Fire in controlled bursts at long range, then hold the trigger when a target is staggered or exposed. Full-auto spraying is tempting, but it burns ammunition quickly and makes it harder to notice when a target has already entered a vulnerable state.
The best Machine Gun habit is to combine it with a swing-release. Begin a grapple, build horizontal momentum, then fire while Spencer travels across the screen. This creates a moving firing platform and makes ordinary enemies far less likely to land clean hits. It also gives the Machine Gun an edge over the Shotgun in traversal-heavy combat: you can attack without sacrificing the distance that keeps you alive.
A-Tier weapons that need the right situation
Shotgun
The Shotgun is the most satisfying weapon in Bionic Commando and one of the most dangerous to misuse. At close range, its spread delivers a brutal burst that can stagger ordinary enemies and clear breathing room when Spencer is surrounded. It is superb inside compact industrial spaces, during sudden ambushes, and whenever an enemy has committed to a melee attack.
The catch is positioning. The Shotgun is not a weaker Machine Gun; it is a commitment weapon. You have to enter its effective range, fire, and use the impact to create the next opening. The cleanest sequence is grapple, swing low, release behind or beside the enemy, then turn and fire as you land. That movement avoids a static duel and places the full spread where it matters.
Do not chase distant targets with it. Bionic Commando's open arenas often make the Shotgun feel inconsistent because only part of the spread connects at range. Save shells for enemies approaching your landing zone or for close-range threats that would take too long to finish with the Machine Gun. On higher difficulty, that discipline matters more than raw aim because missed shells leave Spencer exposed during the recovery animation.
Grenade Launcher
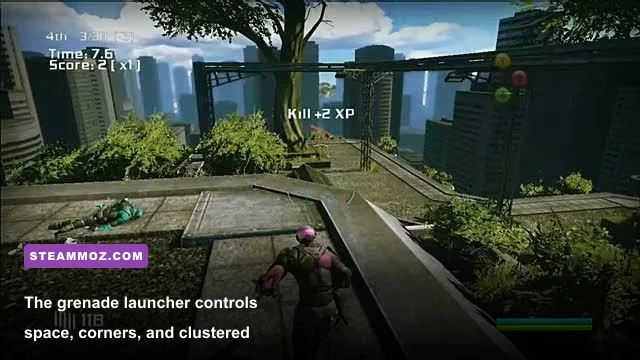
The Grenade Launcher has the highest tactical ceiling of the A-Tier weapons. Its explosive rounds are excellent against clustered infantry, enemies hiding around corners, and targets positioned below Spencer. It can make a difficult group manageable before the fight properly begins: fire into the cluster, swing to a new anchor point, and let the explosion force enemies out of cover.
It is also the weapon most affected by player error. The projectile's arc means you must account for distance and elevation, and the blast can become a liability in confined spaces. Firing while pressed against a wall or railing is a classic way to damage Spencer without meaningfully hurting the target. The launcher becomes much better once you stop aiming at bodies and start aiming at floors, ledges, and walls beside them.
Use it for area control rather than single-target damage. A grenade into a group of weak enemies has much better ammunition value than a grenade carefully placed against one soldier. When a large enemy is alone, switch to the Rocket Launcher or Machine Gun unless the grenade's bounce lets you attack from complete cover.
| Combat scenario | Best weapon | Recommended action | Weapon to avoid |
|---|---|---|---|
| Distant infantry or drones | Machine Gun | Use short bursts while swinging | Shotgun |
| Armored enemy | Rocket Launcher | Wait for an exposed panel or stagger | Grenade Launcher for single targets |
| Three or more enemies grouped | Grenade Launcher | Target the floor or cover beside them | Rocket Launcher if ammunition is scarce |
| Enemy inside grappling distance | Shotgun | Land, fire, then immediately reposition | Grenade Launcher at point-blank range |
| Empty ammunition reserve | Bionic Arm | Use throwables and environmental objects | Remaining firearm with one unsafe shot |
The bionic arm is more than traversal
Calling the Bionic Arm an S-Tier weapon sounds strange until you remember how much of the combat system is built around it. Spencer's arm is not merely a movement tool between shooting galleries. It creates distance, changes elevation, grabs environmental objects, enables melee attacks, and lets you attack from angles that conventional weapons cannot reproduce.
The first rule is to separate grapple targets from attack targets. A glowing grapple point may be the fastest way across a gap, but it may also place Spencer directly in front of a turret or heavy enemy. Look for alternate anchors above and behind the encounter. Swinging around the perimeter often gives you a safer firing angle than taking the obvious central route.
The arm's second major job is ammunition conservation. If an enemy is isolated and close to a destructible object, use the environment instead of spending a rocket. Grab and throw objects when the arena provides them, then follow with a melee strike or Shotgun blast. This is slower than using a rocket, but it preserves the explosive round for the armored target that actually needs it.
Momentum is the hidden stat. A stationary grapple is useful for repositioning, but a full swing gives Spencer better evasion, more unusual attack angles, and safer releases. Start swings early, change anchors before reaching the end of the arc, and avoid repeatedly grappling the same point in open combat. The arm is strongest when it keeps the enemy guessing where Spencer will land.
Best weapon combinations for the campaign
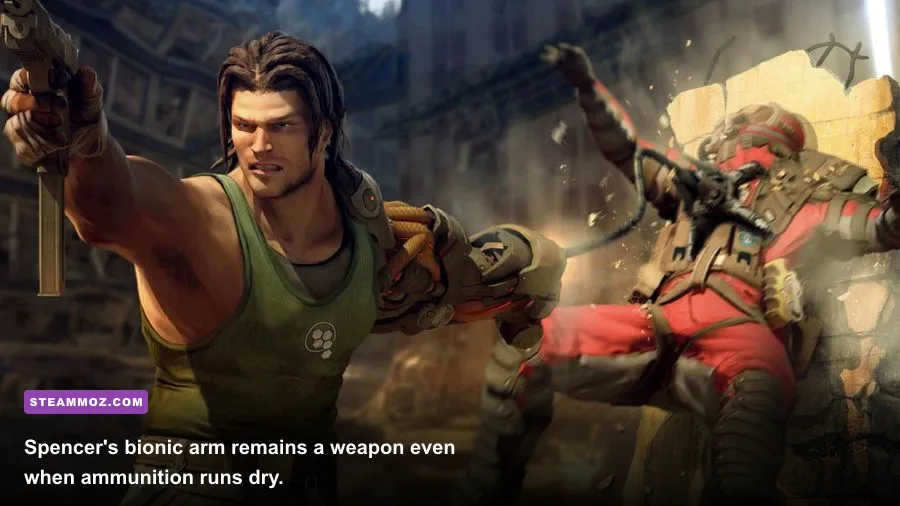
Bionic Commando's weapon swapping is at its best when each firearm has a job. Carrying the Machine Gun and Rocket Launcher is the safest all-purpose setup. The Machine Gun handles routine enemies and flying targets; the Rocket Launcher waits for armor, boss openings, or a dangerous group that cannot be approached safely.
Swap the Machine Gun for the Shotgun in dense interior sections or arenas with short sightlines. This setup is aggressive, but it rewards players who understand grapple routes and can consistently land beside enemies rather than in front of them. The Shotgun also gives you a strong answer when several enemies rush your landing point.
The Grenade Launcher deserves a slot when the level repeatedly funnels enemies through narrow spaces. It is less attractive in vertical areas where targets are spread across multiple elevations. Before picking it up, look at the next encounter rather than the current one. Weapon pickups are valuable because they solve the following problem, not because they are automatically upgrades.
| Loadout | Tier | Best for | How to play it |
|---|---|---|---|
| Machine Gun + Rocket Launcher | S | Blind campaign progression | Use bullets routinely and save rockets for armor |
| Shotgun + Rocket Launcher | A+ | Close arenas and boss approaches | Force close-range stagger, then reserve rockets for phases |
| Machine Gun + Grenade Launcher | A | Groups, cover, and mixed infantry | Control space with grenades and finish survivors with bullets |
| Shotgun + Grenade Launcher | B+ | High-risk aggressive runs | Use explosions to create a route, then finish nearby targets |
For a first playthrough, the S-tier loadout is still the recommendation. It has the fewest bad matchups and teaches the game's central lesson: mobility keeps you safe, sustained fire handles ordinary threats, and explosive burst should be saved for enemies that force a commitment.
Boss and heavy-enemy strategy
Boss encounters reward patience more than raw trigger speed. Large enemies usually advertise their dangerous attacks with a charge, a visible weapon wind-up, a roar, or a temporary exposure after the attack finishes. Use the Bionic Arm to stay mobile during the telegraph, then fire the Rocket Launcher when the vulnerable section is visible. If you launch too early, the projectile may hit armor and accomplish almost nothing.
The Machine Gun is your safest choice while learning a boss pattern. It lets you test where damage registers without spending rare explosive ammunition. Once you understand the rhythm, switch to rockets during the shortest vulnerability windows. This approach is slower during the first attempt but dramatically more reliable on repeat runs, especially when a failed dodge can throw Spencer into environmental hazards.
Against ordinary armored units, stagger is often more important than theoretical damage. Fire a rocket, immediately grapple to a side anchor, and attack from a new angle while the enemy recovers. Never stand in front of a disabled target waiting for a second shot. Bionic Commando's arenas are built to punish tunnel vision; the enemy you are shooting may be harmless while a drone, turret, or incoming projectile is the real threat.
For more weapon-focused comparisons, Steamoz's Dead in Antares weapon ranking is a useful contrast, while the Dungeons 2 weapon tier list takes a different approach to situational gear. Players tuning older PC releases may also find the performance advice in Dragonkin settings guide helpful for diagnosing frame pacing problems.
Final ranking and ammunition rules
The final verdict is simple: use the Machine Gun as your daily driver, keep the Rocket Launcher for problems that demand immediate burst, and treat the Shotgun and Grenade Launcher as deliberate specialists. The Bionic Arm belongs in every loadout because it is the system that makes the other weapons safer and more effective.
My ranking is Rocket Launcher and Machine Gun in S-Tier, Shotgun and Grenade Launcher in A-Tier, with the Bionic Arm as S-Tier utility. The Rocket Launcher wins the headline battle because it can swing boss phases and armored encounters. The Machine Gun wins the practical battle because it remains useful in almost every room. If your ammunition is low, don't cling to the strongest gun; switch weapons, use environmental objects, and let the arm create a better angle.
That balance is what keeps Bionic Commando's combat interesting. The game never asks you to find one magic weapon and hold the trigger. It asks you to move, read the arena, recognize the enemy's opening, and spend the right tool at the right moment. Master that loop and even the lower-ranked weapons start feeling dangerous.