If you're dropping into Urzikstan or Rebirth Island treating them like standard run-and-gun arenas, you're leaving free Specialist Perk Packages, instant Advanced UAVs, and twenty-thousand-dollar cash stacks on the table. Warzone is packed with concealed blast bunkers, encrypted keypads, and intricate multi-step environmental puzzles that the average lobby completely sprints past. Cracking these secret locations doesn't just fill your inventory with pristine floor loot—it fundamentally warps match pacing by handing you late-game advantages before the first circle collapse even begins closing in.
Finding these hidden caches requires far more than wandering into a dark basement. You need exact access sequences, awareness of high-traffic ambush angles, and PC-specific visual configurations that pull faint keypad numbers out of pitch-black corners. While casual console squads struggle to read unlit terminal screens in mud-covered tunnels, PC players dialed into custom color profiles and sharpened render scales can breach these locations in seconds. Much like uncovering hidden areas in an Everspace 2 secret locations and hidden rewards guide, knowing precisely where the terrain hides developer secrets is the fastest way to turn a standard match into a blowout victory.
The Popov Power Underground Vault: The High-Tier Cash Mine
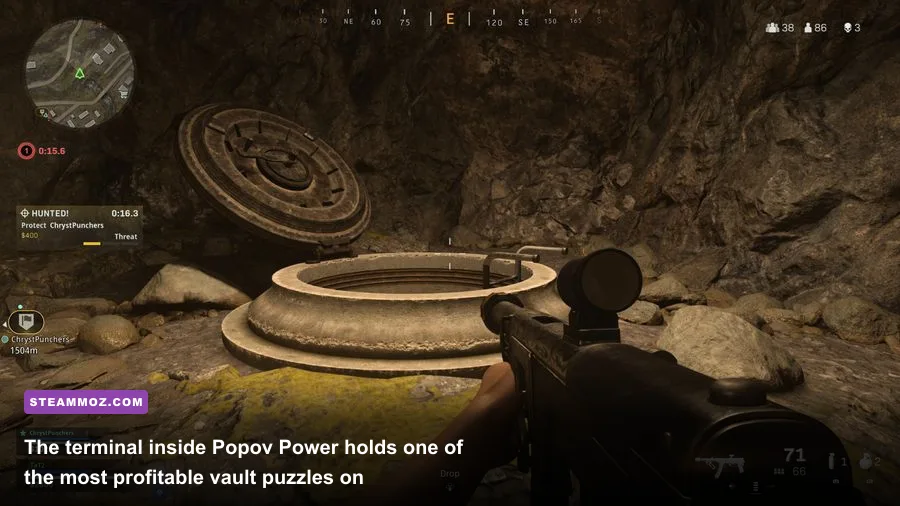
Nestled beneath the industrial concrete monolith of Popov Power in Urzikstan sits one of the most lucrative and overlooked bunker networks in modern Warzone. While forty players regularly slug it out across the cooling towers and the northern railyard, the reinforced blast door tucked under the primary turbine building remains untouched in roughly 80% of matches. This vault houses multiple orange legendary supply crates, guaranteed killstreak drops, and frequently spawns an armory-tier Minigun that rips through approaching redeploy choppers with terrifying efficiency.
Breaching this vault requires solving an environmental circuit puzzle rather than entering a static, universal passcode. Head into the sub-basement beneath turbine block B. You'll spot a heavy vault door wired to three distinct electrical junction boxes mounted along the concrete hallway. Follow the exposed yellow wiring running along the ceiling conduits. Each junction box has a red emergency trip switch that you must engage within a tight 45-second window. Doing this solo is entirely possible if you pop a Tac-Sprint slide-cancel rotation through the central corridor, but doing it with a squadmate watching the maintenance stairwell keeps you from getting third-partied by late droppers.
Once all three switches flip green, an audible pressure alarm echoes through the sector, and the hydraulic vault locks hiss open. Inside, your squad will find an average of $18,000 to $25,000 in raw cash piles, a munitions box, and an armor satchel upgrade. More importantly, the central metal desk spawns a persistent killstreak crate that regularly spits out an Advanced UAV or an immediate Foresight canister, revealing every circle location for the remainder of the match. For players hunting lucrative side objectives similar to our Eternal Destiny secret locations and hidden rewards breakdown, this spot provides unmatched early-game momentum.
🎮 1bitHeart
Looking to experience this game? Grab your digital key directly on our store for $2.99.
View on Steammoz Store →Rebirth Island's Bioweapons Safe and the Red Access Card
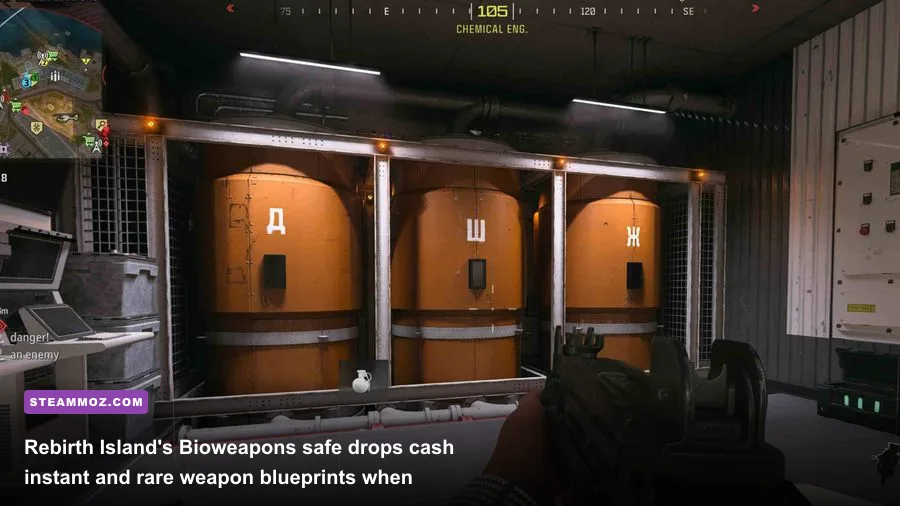
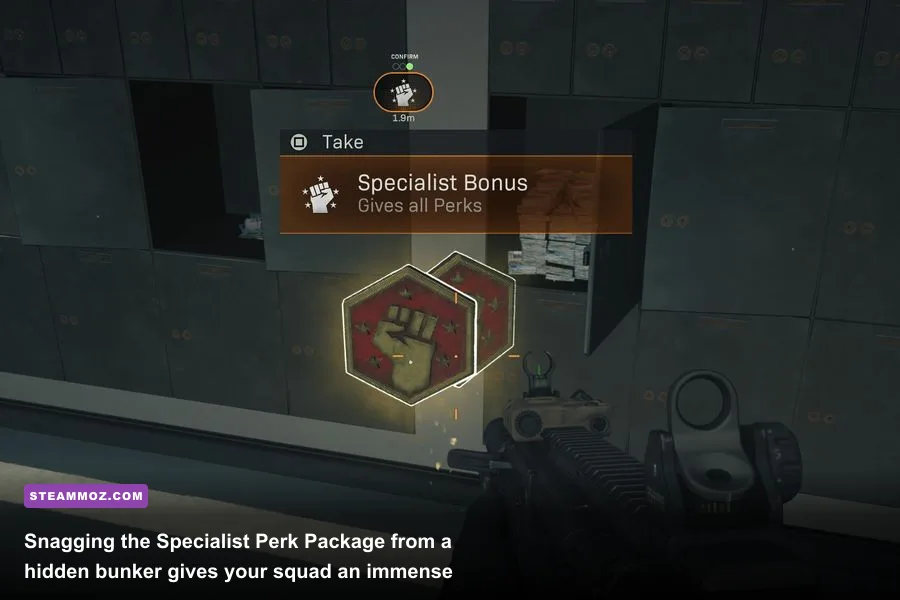
Rebirth Island is absolute chaos from the moment the inflight timer hits zero, which makes its multi-room Easter eggs both intensely risky and profoundly rewarding. The crowning jewel of the island's secrets is the hidden reinforced safe located inside the sub-level laboratory of Bioweapons. Cracking this safe awards the squad with the Specialist Perk Package—granting every single combat perk in the game simultaneously—alongside an exclusive weapon blueprint and enough cash to buy your squad's primary loadout drop immediately at the harbor buy station.
Accessing the safe isn't a matter of typing in numbers; you have to scavenge or loot the elusive Red Access Keycard. While keycards historically had static spawn locations, current patch logic distributes them through three primary vectors: popping high-tier orange loot crates on the prison roof, clearing the hidden shower block stash near Stronghold, or taking down an enemy player carrying one. If you secure the Red Access Card, prioritize your rotation toward the lowest level of Bioweapons immediately. Enter through the exterior ocean-facing blast hatch rather than the main stairwell; teams camping the upper glass offices will melt you if you try descending from above.
Swipe the card at the reinforced electronic scanner next to the metal cage in the subterranean cleanroom. The door unlocks silently, giving your squad access to an isolated armory stocked with self-revives, durable gas masks, and the Specialist token. If you're looking for high-tier hardware that evokes classic powerhouse loadouts—much like the vintage destructive gear discussed in our Far Cry 3: Blood Dragon weapons ranked from S to C piece—these hidden island blueprints feature optimized attachments tuned specifically for zero-recoil mid-range gunfights.
The Urzikstan Missile Silo Protocol: Decrypting the Comms Network
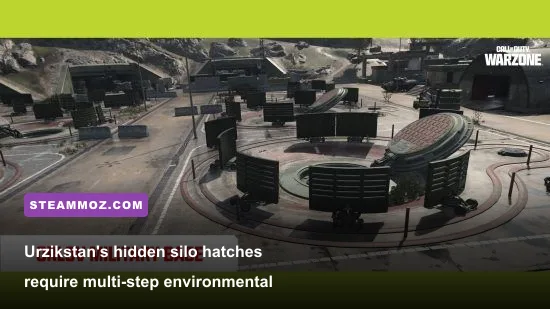
Hidden across the arid ridges between Orlov Military Base and the Zaravan Suburbs are three decommissioned missile silos buried beneath heavy steel floor doors. In standard play, these hatches appear as decorative map geometry. However, activating the Comms Network protocol unlocks the subterranean command bays, rewarding players with unprecedented reconnaissance power and defensive utility that secures wins during brutal open-field endgames.
To trigger the silo hatch sequence, you must locate the three military radio towers broadcasting static frequencies in northern Urzikstan. You'll recognize these towers by the red emergency beacon pulsing at the spire top. Climb the maintenance ladder of any two towers and interact with the electronic control panel housed in the weatherized utility box at the tower base. A localized audio cue will transmit a three-digit morse transmission. You don't need a cryptographic decoder to figure it out: checking your minimap immediately after interaction will reveal an orange directional ping pointing straight toward the active silo hatch.
Sprint toward the marked silo before the three-minute timer expires. The heavy horizontal door will slide back with a deep mechanical groan. Descend the ladder into the command chamber. Inside, you'll encounter a terminal interface offering a one-time deployment of an EMP Jammer. Dropping this tactical field upgrade disables all enemy HUDs, thermal optics, and vehicle engines within a massive 250-meter radius, creating an impenetrable defensive perimeter if the circle collapses over northern Urzikstan's treacherous open hillsides.
PC-Specific Visual Optimization: Spotting Hidden Prompts and Keypads
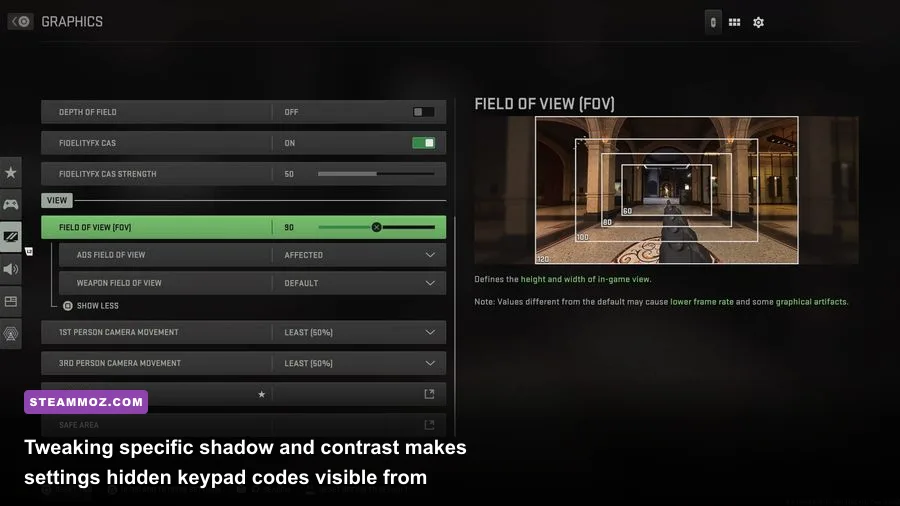
Console players routinely sprint past secret rooms simply because default graphic configurations completely bury interactive objects in crushing ambient occlusion and muddy shadow cascades. If you want to spot hidden wall keypads, subtle vent openings, and unrendered loot cables across dark bunker walls, your PC display stack requires razor-sharp tuning. Proper rendering eliminates the visual mush that developers use to conceal Easter egg switches.
First and foremost, your field of view (FOV) directly impacts prompt detection. While maxing your slider out to 120 FOV gives you insane peripheral awareness in close-quarters skirmishes, it significantly shrinks center-screen pixel density. This makes tiny wall-mounted keypads and floor wires virtually invisible beyond five meters. Dropping your FOV to a competitive sweet spot of 105 to 112 maintains wide peripheral vision while preserving enough pixel scaling to easily spot hidden interface prompts in poorly lit bunkers. For a deeper look at balancing competitive clarity with smooth framerates, check out our recommendations in the Far Cry 6 settings for max FPS walkthrough.
| PC Video Setting | Recommended Value | FPS Impact | Clarity & Easter Egg Advantage |
|---|---|---|---|
| Upscaling / Sharpening | FidelityFX CAS (85-90%) | Zero (Native) | Sharpens blurred keypad textures and distant vault switches dramatically. |
| Screen Space Ambient Occlusion | Off | +4% to +6% FPS | Removes excessive faux shadows in bunker corners, making interactables pop. |
| Color Filter Mode | Filter 2 (Both Target) | None | Dramatically enhances saturation and contrast; red loot wires become unmistakable. |
| Volumetric Quality | Low | +7% to +10% FPS | Clears out thick dust haze in tunnels, letting you spot secret crawlspaces easily. |
| Shadow Map Resolution | Normal / Low | +5% FPS | Eliminates pitch-black shadow pockets where hidden terminals and loot chests hide. |
Beyond graphics settings, don't overlook your audio profile. Activating keypads and pressure switches generates faint mechanical clicks and hydraulic hissing sounds. In the PC audio menu, switch your profile to "PC Headphone" with Master Volume set high and Dialogue reduced to 40%. This silences repetitive announcer callouts so you can pinpoint the faint hum of an unlooted bunker terminal through solid concrete walls. If your game suffers from micro-stutters when rendering these intricate underground assets, applying solid stability tweaks like those detailed in our ELEX PC fixes that stop crashes and rescue your FPS will keep your frame pacing rock solid.
Secret Bunker Loot Tiers and Tactical Value Ranked
Not every hidden room in Warzone justifies dragging your squad through the gas or breaking cover across an open airfield. Some Easter egg rooms require massive multi-minute detours only to hand you a couple of standard armor boxes and a secondary weapon you'll immediately swap out. Knowing which bunkers provide match-winning utility versus those that merely serve as death traps is critical to maintaining a positive KD and a consistent win rate. You can monitor system updates and live map adjustments through the official Raven Software patch notes to ensure these routes remain active.
| Secret Location | Map & Coordinate | Unlock Requirement | Guaranteed Key Loot | Tactical Tier |
|---|---|---|---|---|
| Popov Power Turbine Vault | Urzikstan (D-3) | 3-switch circuit relay | Advanced UAV, $20K+ Cash, Minigun | S-Tier |
| Bioweapons Lab Sub-Safe | Rebirth Island (B-2) | Red Access Keycard | Specialist Perk Package, Blueprint | S-Tier |
| Shahin Manor Wine Cellar | Urzikstan (H-7) | Pressure plate pair | Durable Gas Masks, Precision Airstrike | A-Tier |
| Industry Office Hidden Vent | Rebirth Island (D-4) | Vent crawl + Crowbar | Self-Revive Kit, Tempered Carrier | B-Tier |
| Zaravan Suburbs Silo 02 | Urzikstan (F-8) | Comms Tower Beacon | EMP Jammer, Foresight Tablet | A-Tier |
The clear standout remains the Popov Power Turbine Vault. The pairing of an Advanced UAV with immense cash reserves lets your squad execute a complete loadout purchase and wipe the surrounding territory while opponents are still scrounging through residential buildings with floor-loot SMGs. Meanwhile, Rebirth Island's Bioweapons safe sits at the pinnacle of resurgence play because the Specialist Perk Package completely breaks close-quarters gunfights. Granting perks like High Alert, Quick Fix, and Ghost simultaneously transforms any competent fragger into an absolute juggernaut.
Environmental Easter Eggs and Lore Tributes You Walked Past
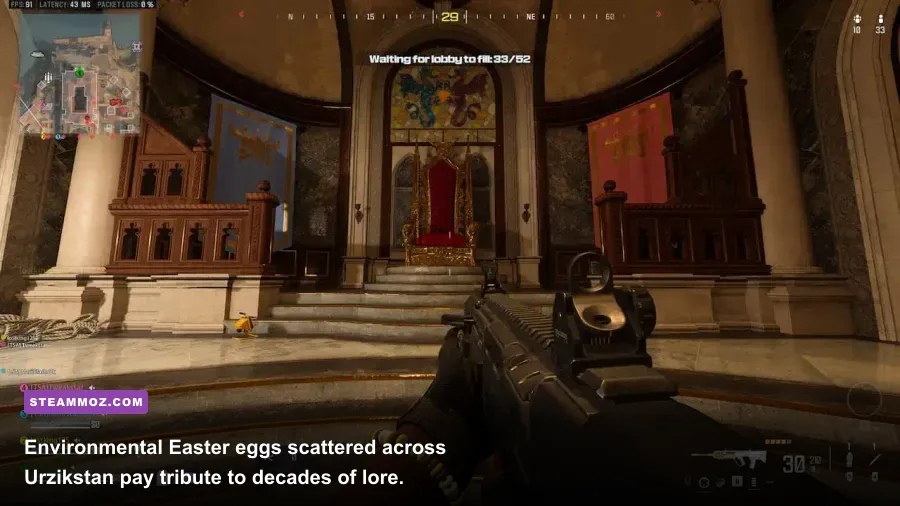
Warzone's maps aren't just sterile tactical arenas; they are littered with subtle narrative relics, retro hardware, and visual gags that pay homage to iconic moments across the storied franchise. While these won't always load your backpack with killstreaks, discovering them adds a massive layer of atmosphere to your drops. If you ever run into connectivity hitches or authentication hang-ups while loading into these detailed sectors, verifying map files via the Activision Support portal guarantees all environmental assets stream in cleanly without texture pop-in.
One of the coolest environmental details sits inside an unmarked office building on the outskirts of Low Town in Urzikstan. On the second floor, behind a barricaded wooden door that must be broken down with melee strikes, you'll find a retro computer monitor displaying glowing green command-line terminal code. Interacting with the dusty keyboard boots up an 8-bit recreation of the classic arcade sounds from original Treyarch titles, complete with a tiny teddy bear perched atop the mainframe wearing night-vision goggles. This is an explicit tribute to the legendary Zombies mystery box mascot that franchise veterans have pursued since 2008.
Another fascinating nod resides along the rocky shores south of Levin Resort. Tucked inside a half-sunken cargo container washed up against the jagged sea cliffs is an abandoned radio transceiver. If you hold your interact key while standing next to it, the speaker emits faint, distorted radio chatter echoing the iconic "Bravo Six, Going Dark" audio soundbite from the Modern Warfare campaign reboot. Finding these spots isn't just about loot; it's a testament to the level design craftsmanship that Raven Software and Infinity Ward pack into these sprawling virtual warzones. You can read up on upcoming seasonal map refreshes directly on the official Call of Duty: Warzone site.
The Grandma's House Hidden Stash on Rebirth
Almost everyone who drops Rebirth Island knows "Grandma's House"—the cozy, multi-story brick residence sitting just south of the main Prison yard. What most players miss is the hidden floor compartment located beneath the worn floral rug in the upstairs sewing room. By tossing a frag grenade or firing an explosive projectile directly into the corner baseboard, you shatter the false floorboards, exposing a hidden lockbox containing a guaranteed Durable Gas Mask and a cluster mine.
This tiny secret takes less than five seconds to trigger during an active rotation and offers an incredible tactical escape route. Having a Durable Gas Mask in your pocket before rotating into the late-game circle shifts along the open Rebirth cliffs allows you to pull off deep gas-flanking plays that catch unsuspecting squads completely off guard. It's quick, low-effort, and gives you a substantial survival edge without having to gamble your life on a contested buy station.
Mastering Secret Rotations: Extracting with the Spoils
Chasing down hidden vaults and completing complex keypad Easter eggs introduces unique tactical vulnerabilities. The biggest mistake squads make is getting tunnel vision while punching numbers into an electronic lock or looting orange crates, leaving themselves wide open to incoming breach charges or well-timed thermite grenades. The instant a bunker door cracks open, assume nearby enemy squads heard the mechanical audio cue and are already collapsing on your position.
Before initiating any terminal hack or switch sequence, always lay down a defensive perimeter. Drop a trophy system right in the doorway to neutralize incoming drill charges, scatter proximity mines across flanking stairwells, and have your primary submachine gunner hold the choke point while one player claims the specialist rewards and cash piles. Treat secret locations as high-stakes tactical objectives rather than casual loot spots. Master these hidden bunker protocols, dial in your PC's visual clarity, and you'll turn Urzikstan's deepest secrets into your squad's most reliable path to victory.