Finding the most well-hidden secrets, rare merchants, and clandestine dungeons in Iron Gate's procedural survival sandbox requires precise navigational strategies, exact seed knowledge, and careful biome preparation. This masterclass guide details the precise coordinates, spawn conditions, and strategic utility of every major secret location in Valheim, ensuring you never miss a rare trader, hidden boss altar, or end-game dungeon again. Whether you are hunting for Haldor, tracking down Hildir's hidden chests, or scouring the Ashlands for tactical fortresses, every hidden point of interest is cataloged below.
Locating Haldor the Trader in the Black Forest
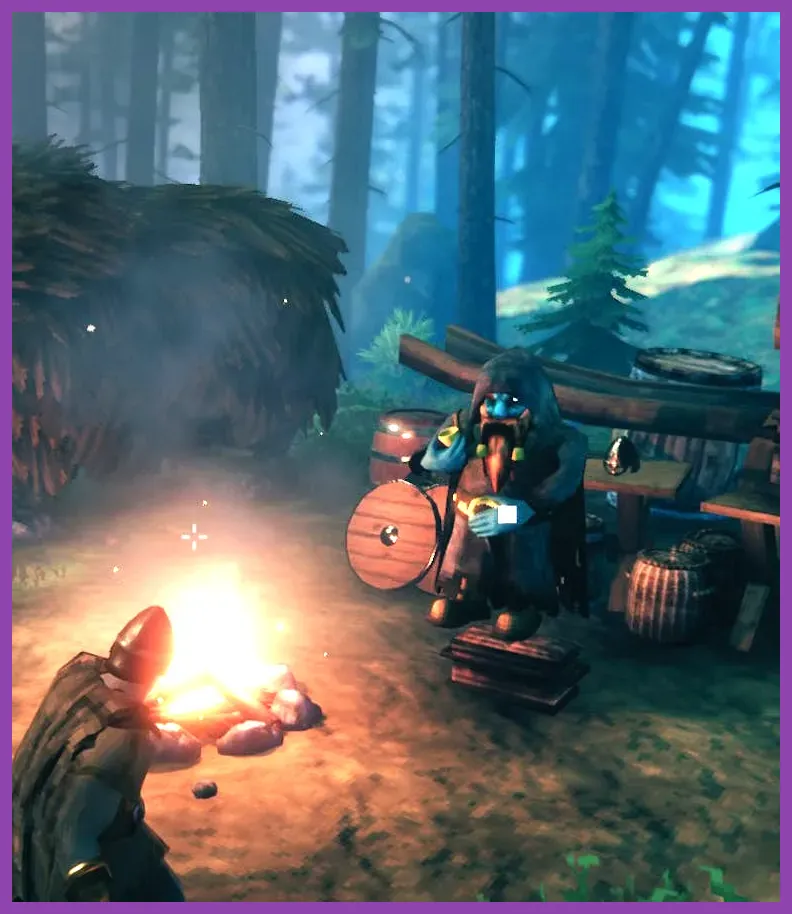
Haldor the merchant is arguably the most critical early-game secret in Valheim because he sells the Megingjord, a belt that increases your maximum carry weight from 300 to 450 units. Finding him can be frustrating due to the game's procedural world generation, but understanding his spawn rules makes the search systematic. Haldor spawns inside the Black Forest biome, but only within a specific distance range from the center of the world (typically between 1,000 and 2,000 meters away from the sacrificial stones).
When you approach within 1,000 meters of Haldor on any given map seed, a small pouch icon will permanently appear on your mini-map, signaling his general direction. To find him quickly, build a network of portal hubs across multiple Black Forest islands rather than running on foot. His camp is always marked by a warm campfire and a protective ward where enemies cannot attack you. Aside from the Megingjord, Haldor sells the Ymir Flesh required for the Iron Sledge, the Dvergr Circlet for illuminating dark burial chambers, and the Yule Hat during seasonal updates. Check the official Valheim Steam Page for ongoing updates regarding world modifiers that can alter merchant spawn parameters.
Maximizing Your Black Forest Exploration
Because the Black Forest spans vast territories, you should prioritize sailing along the coastlines while looking for blue-roofed clearing hints or smoke plumes. If you want to optimize your team's progression speed before tackling merchants, check out this helpful crafting guide for general survival inventory strategies that apply across multiple survival crafting games. Once Haldor is pinned on your map, establish a permanent portal named 'Trader' right next to his camp so you can teleport back to sell Amber Pearls, Ruby, and Silver Necklaces whenever your inventory overflows.
Discovering Hildir and Her Quest Crypts
Added in the Hearth & Home and subsequent updates, Hildir is Haldor's sister and the keeper of secondary merchant services, including dress customization, hair styling, and high-difficulty mini-dungeons. Hildir's camp is also hidden in the Black Forest, but she spawns much further out from the world spawn point than Haldor, usually requiring you to defeat at least the Elder or Bonemass before you have the gear tier to safely explore her zone.
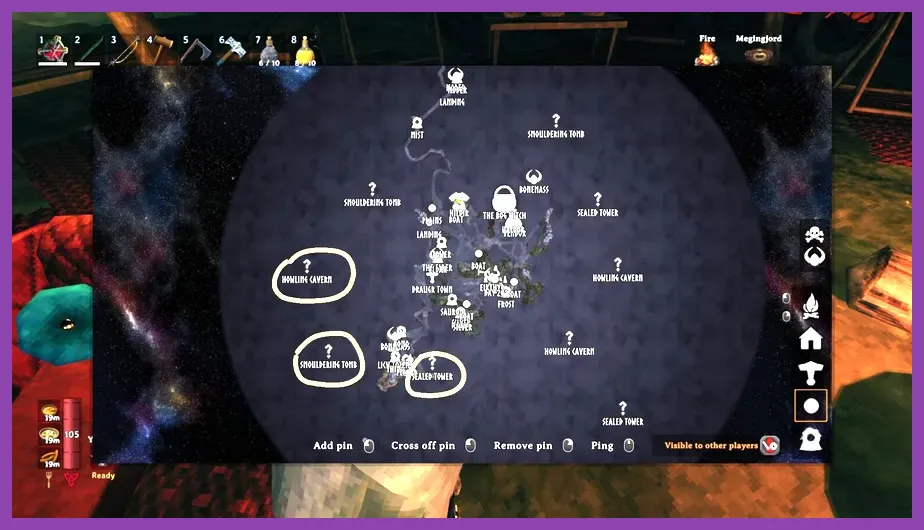
When you discover Hildir's camp, she will give you three distinct quests to retrieve stolen brass chests from specialized mini-dungeons scattered across different biomes: Smouldering Tombs, Howling Caves, and Sealed Towers. Each of these secret locations features unique hazards:
- Smouldering Tombs (Meadows/Black Forest): Guarded by specialized skeleton pyromancers. You must retrieve the bronze chest while avoiding intense fire-damage zones.
- Howling Caves (Mountain): Packed with Cultists and Úlv. These caves demand frost resistance meads and blunt weapons like the Iron Mace.
- Sealed Towers (Plains): Heavily fortified stone structures defended by Fuling Berserkers and Shamans. You need siege tactics or ranged attacks to clear the rooftop before looting the chest. </table>
- Clear the exterior perimeter using ranged magic staves (like the Staff of Embers) to suppress archers on the ramparts.
- Build a Ram using the materials gathered from the shores, or construct high earth-walls using a Hoe to scale over the stone battlements safely.
- Eliminate the Spawners located inside the courtyard to stop the infinite reinforcement loops of Charred mobs.
- Secure the inner chambers to claim the portals, chests, and infrastructure necessary to command the Ashlands.
Returning these chests unlocks decorative items, fireball staves, and advanced armor sets. For similar progression milestones in complex multiplayer games, read through our character unlock breakdown.
Unlocking Sunken Crypts in the Swamp Biome

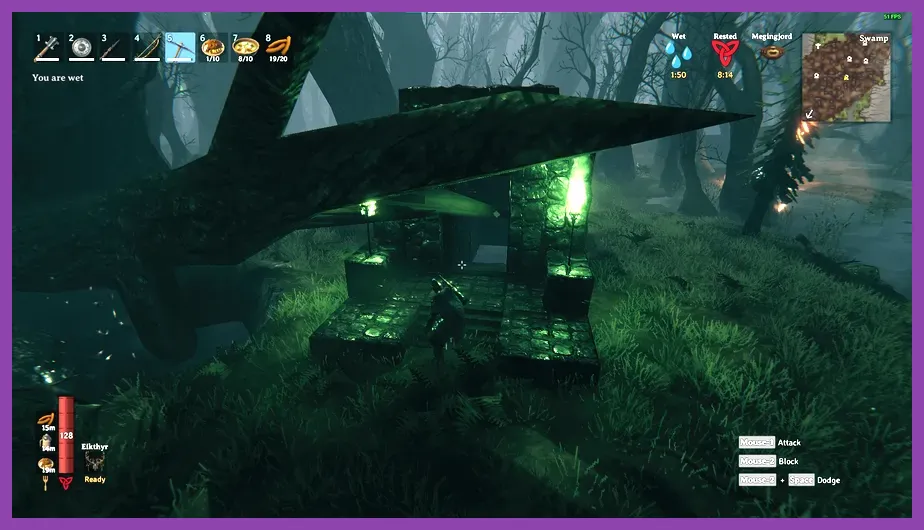
The Swamp is notoriously punishing, but its greatest secret lies hidden beneath the surface of the glowing green torches: Sunken Crypts. These stone dungeons are the exclusive source of Scrap Iron, Muddy Scrap Piles, and the Withered Bone items required to summon Bonemass. However, you cannot simply walk inside; every single crypt door is locked and requires a Swamp Key, which is dropped exclusively by the second boss, The Elder, located in the Black Forest.
Once you unlock a Sunken Crypt using the Swamp Key, the key remains in your inventory permanently and can open every other crypt you encounter. Inside, navigate through narrow corridors while managing your poison resistance mead to counter the constant threat of Blobs and Oozers. Use a Bronze or Iron pickaxe to mine through muddy scrap piles blocking inner doorways. Keep an eye on your stamina regen, as fighting Draugr Elites in tight, waterlogged rooms will quickly drain your health pool if you are unprepared.
Tracking Down Frost Caves in Mountain Biomes
The Mountain biome hides some of the most atmospheric and rewarding secrets in the game: Frost Caves. These procedural ice dungeons were introduced during the Mountain update and serve as the primary source of Fenris Hair, Crystal, and the materials needed to craft the Fenris Armor set, which grants total speed bonuses and frost resistance. Finding Frost Caves requires scaling the steepest peaks of high-altitude mountain ranges where Drake nests and Moder altar markers are located.
The entrance to a Frost Cave is marked by a stone doorway embedded directly into a snowy cliffside, flanked by unlit torches and occasionally guarded by a cultist or two. Inside, the cave layout is labyrinthine, featuring breakable ice walls, bottomless pits bridged by narrow wooden planks, and secret chambers containing hidden rune stones. Exploring these caves requires high stamina foods like Serpent Stew or Wolf Skewer, alongside fire-based weapons to deal with Bats and Cultists. Review the official Iron Gate Developer Website for deep dives into cave generation mechanics.
Navigating Infested Mines in the Mistlands
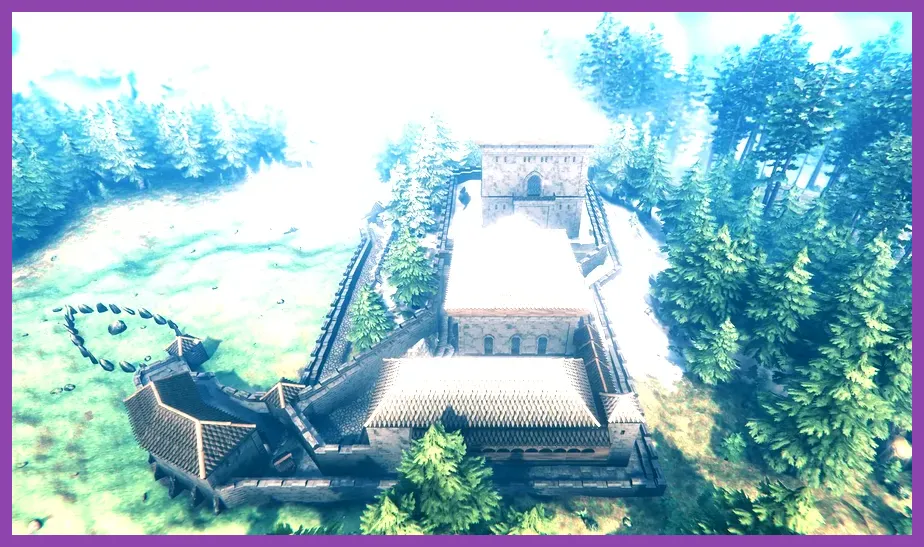
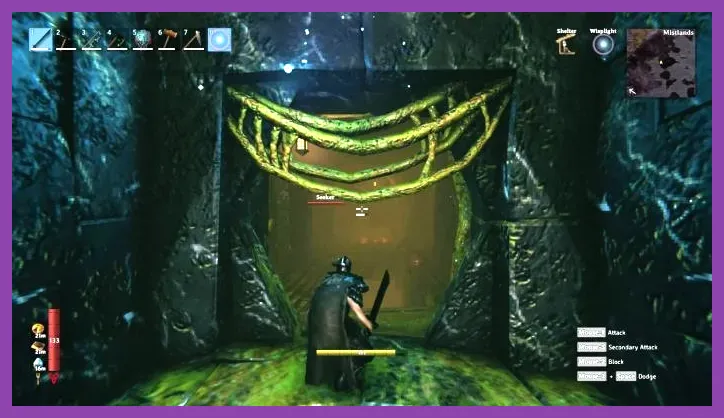
As you push into the late game, the fog-shrouded Mistlands hold the most crucial industrial secrets: Infested Mines. These ruined Dvergr structures or sprawling underground arachnid nests are the only place in Valheim where you can acquire Black Core items, which are mandatory for building the Galdr Table, Black Forge, and Artisan-level machinery.
Infested Mines are typically integrated into large Dvergr Outposts or buried beneath colossal stone stairs. Entering requires breaking wooden barricades or using Dvergr explosive barrels (though detonating them carelessly will turn the local Dvergr faction hostile). Inside, you must contend with Seekers, Seeker Soldiers, and Tick swarms. Keep a close ear out for the buzzing sounds of Ticks, as they bypass heavy armor by latching onto your neck. Sweep every room methodically, smash glowing purple egg sacks for soft tissues, and loot every pedestal containing Black Cores.
Conquering Ashlands Fortresses for End-Game Secrets
The Ashlands represent the current pinnacle of Valheim survival difficulty, featuring a hellish landscape of constant volcanic fire, charred undead legions, and massive stone strongholds known as Ashlands Fortresses. These fortresses are the ultimate secret locations in the game, serving as walled settlements defended by hordes of Charred Warriors, Morgen beasts, and heavy ballista emplacements.
Capturing an Ashlands Fortress is mandatory if you want to unlock advanced crafting progression, as they house the Spark Stacker, the Siege Engines, and critical crafting tables required for flametal metallurgy. To breach a fortress:
Mastering these high-tier mechanics requires precise coordination. For more advanced tips on optimizing team synergy and positioning in difficult cooperative encounters, take a look at our solo player class guide and our comprehensive gear acquisition breakdown to keep your survival setups running efficiently across every title you play.