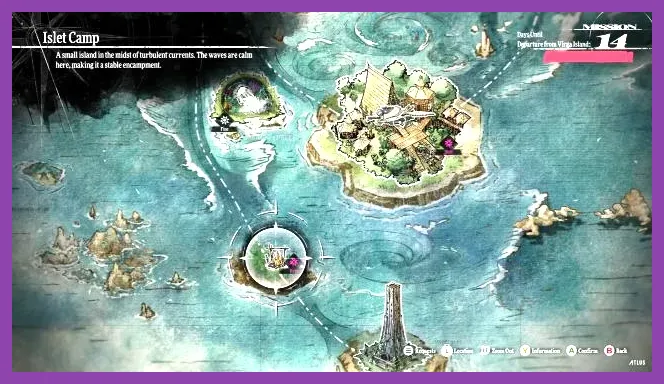
Metaphor ReFantazio’s secret locations are its optional dungeons and concealed map areas: start with Belega Corridor near Grand Trad, then clear the Abandoned Tomb, Man-Eater’s Grotto, Gracia Forest, Disgraced Ruins, Tower of Blind Faith, Forsaken Tower, and the late-game Dragon-related trials. Most are unlocked by accepting specific requests, so check the Recruitment Center, town noticeboards, and follower conversations whenever the calendar advances.
How Secret Locations Work
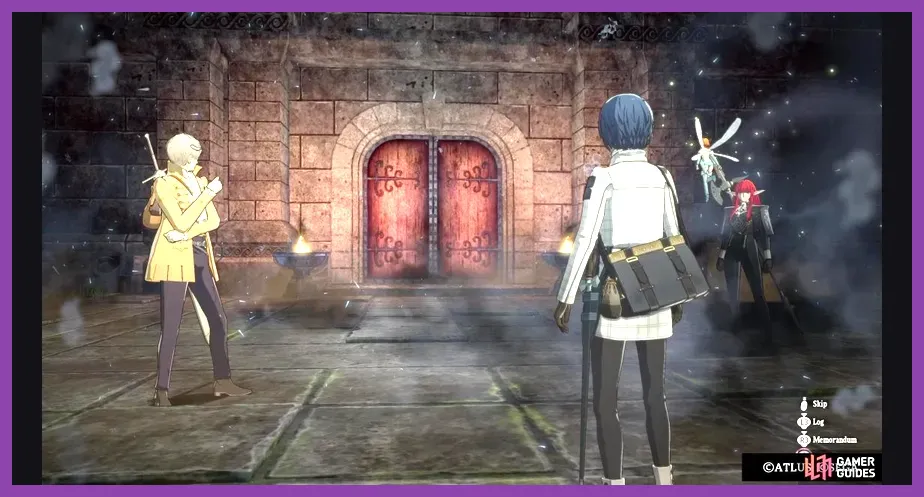
Metaphor ReFantazio does not mark every optional destination with a prominent dungeon icon. Several areas appear only after a quest request becomes available, while others are added to the Gauntlet Runner’s travel map after speaking to a particular NPC. The safest routine is to visit Grand Trad, Martira, Brilehaven, and Altabury after every major story event.
Optional dungeons consume travel time, but they are usually worth completing because they provide rare weapons, armor, MAG, experience, and quest rewards. Save before entering, bring a full stock of MP recovery items, and use the Runner’s kitchen and Academy facilities before departure. The official Metaphor ReFantazio Steam page is useful for confirming the PC version and update status, while Atlus’ official game site provides the main character and world information.
1. Belega Corridor
Region: Grand Trad outskirts. Unlock: accept the request connected to the local Monster Hunter and travel to the corridor’s entrance outside the capital. This is normally the first optional dungeon available and an excellent early test of party composition.
Belega Corridor is filled with undead and beast-type enemies, making the Healer Archetype especially valuable. Use Hama against undead targets and keep a Mage or Seeker available for weaknesses revealed by Analysis. The narrow passages contain dead ends that are easy to mistake for blocked routes; inspect side rooms instead of rushing toward the boss marker.
Do not leave immediately after reaching the deepest chamber. The corridor includes additional treasure paths and a stronger encounter than the ordinary mobs. Equip the best available healing and Light-resistant gear before the final fight, then exploit any weakness shown by the Analysis command. Belega Corridor is also a good place to earn early MAG for unlocking Knight, Merchant, or upgraded Healer skills.
2. Abandoned Tomb
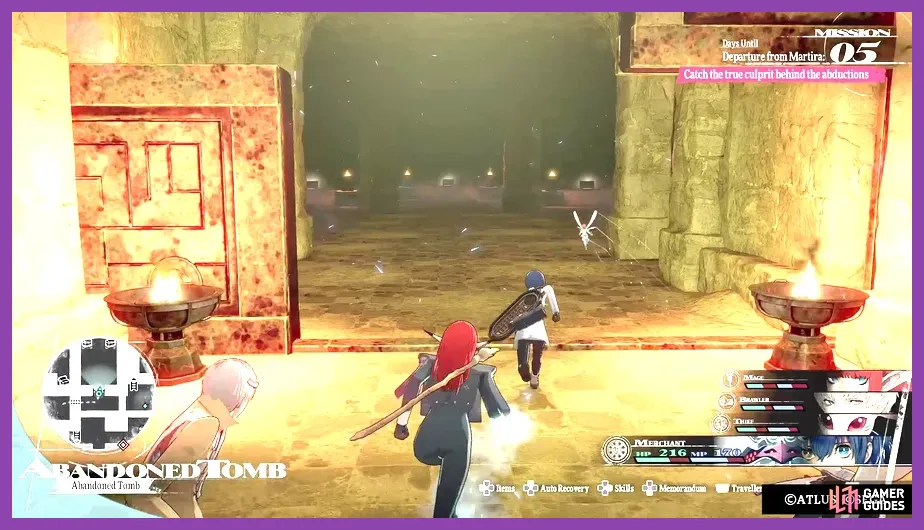
Region: Martira area. Unlock: take the request involving a dagger and ring after Martira’s main story crisis has progressed. The location appears as a destination near the town rather than as a normal story dungeon.
The Abandoned Tomb uses misleading dead ends and enemy-filled corridors to hide its useful rooms. Search every branching chamber for blue and red treasure chests, and look for interactable doors before assuming a hallway is decorative. The dungeon favors undead and curse-oriented encounters, so a Healer with Patra and a Mage with fire coverage make the route considerably safer.
Carry Purifying Herbs and healing items. Curse effects can waste turns and prevent a character from acting, which is particularly dangerous when several enemies share the same weakness. The deeper treasure rooms contain better equipment than the main path, but they also place stronger enemies beside the reward. Heal before opening high-value chests and avoid entering at low MP.
3. Man-Eater’s Grotto
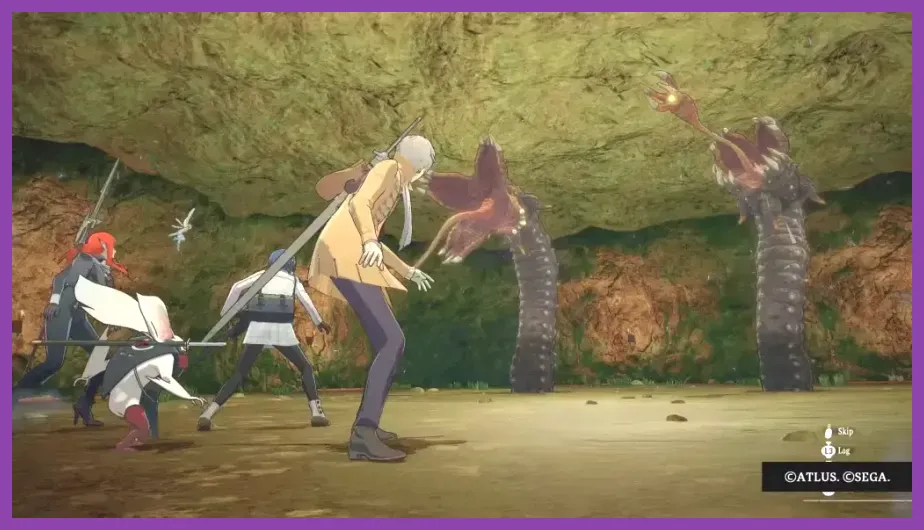
Region: the countryside reached from the Martira travel network. Unlock: accept the request that sends the party to investigate the grotto and its missing travelers. It is an optional combat-heavy location rather than a story-critical destination.
Man-Eater’s Grotto is best attempted after the party has access to several upgraded Archetypes. Enemy groups frequently combine physical attackers with creatures that punish careless elemental targeting. Use Analysis on every new species, then build your four-slot turn plan around the weakness icons rather than repeating a favorite attack.
A Magic Seeker or Wizard is useful for exploiting elemental weaknesses, while Commander buffs help the party survive longer fights. Keep a Knight or another durable front-line Archetype equipped when entering unexplored rooms. The boss encounter has a clear attack rhythm: remove supporting enemies first, guard when the main target signals a heavy physical strike, and spend Press Turn icons only after confirming a weakness.
4. Gracia Forest and Disgraced Ruins
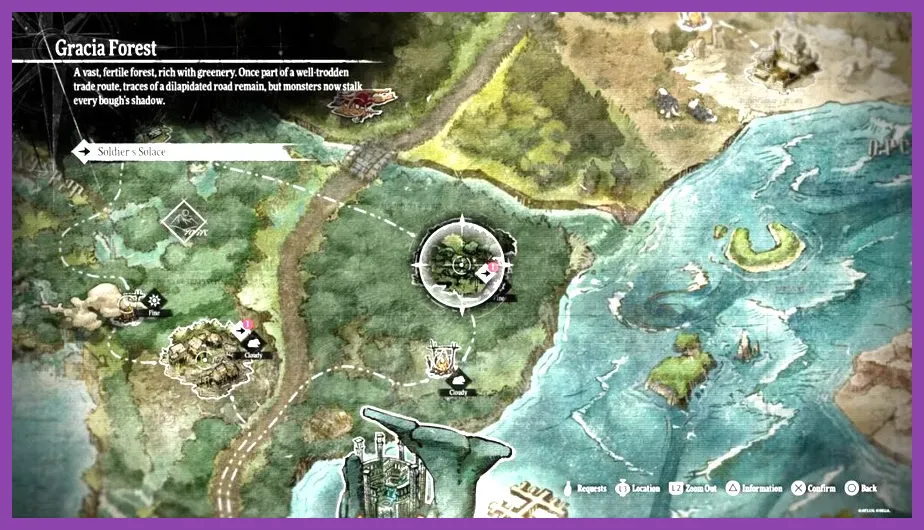
Gracia Forest: unlock its request from the later regional quest chain and travel there through the Gauntlet Runner. Disgraced Ruins: accept the associated bounty or investigation request when it appears in the late-game noticeboards. These areas are easy to miss because neither is required for the shortest story route.
Gracia Forest rewards a balanced party. Plant and beast enemies can inflict status effects, so pack Patra, Me Patra, and the appropriate medicine. Scout side paths carefully: forest corridors often loop back to earlier rooms, and the best chests are placed away from the obvious objective marker. A Merchant is also useful for extra money during the long clear.
Disgraced Ruins is more demanding and should be treated as a preparation check for endgame content. Bring Electric, Ice, Fire, and Light coverage across the party, because enemy weaknesses vary sharply between floors. Save MP for elite battles instead of spending every turn on overworld attacks, and use the Runner’s autosave only as a backup rather than your primary save.
5. Tower of Blind Faith
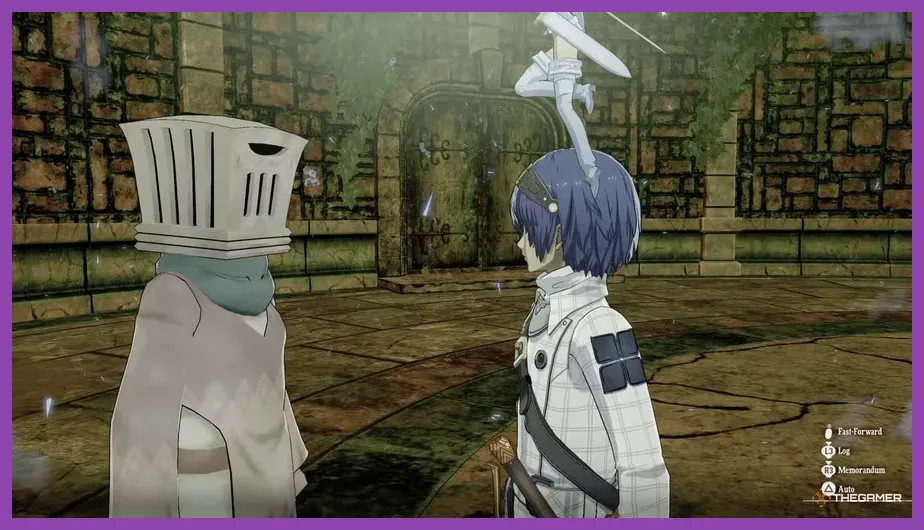
Region: the later island and coastal travel route. Unlock: progress Eupha’s storyline and accept the related dragon-trial request. The Tower of Blind Faith is an optional high-level dungeon, not part of the normal route through the main story.
The tower’s difficulty comes from long floors, strong resistance profiles, and battles that punish an unbalanced team. Bring Eupha as Summoner when possible, but do not rely on one damage type. A Masked Dancer can provide useful elemental inheritance and resistance manipulation, while a Commander supplies party-wide buffs for elite encounters.
Before entering, stock MP restoratives and equip accessories that prevent the status effects used by the tower’s demons. Examine every staircase landing and side room; several valuable chests are positioned off the direct ascent. Against the final encounter, remove adds quickly, guard through telegraphed area attacks, and preserve Press Turn icons for the turn after the boss loses its protection or changes phase.
6. Forsaken Tower and the Dragon Trials
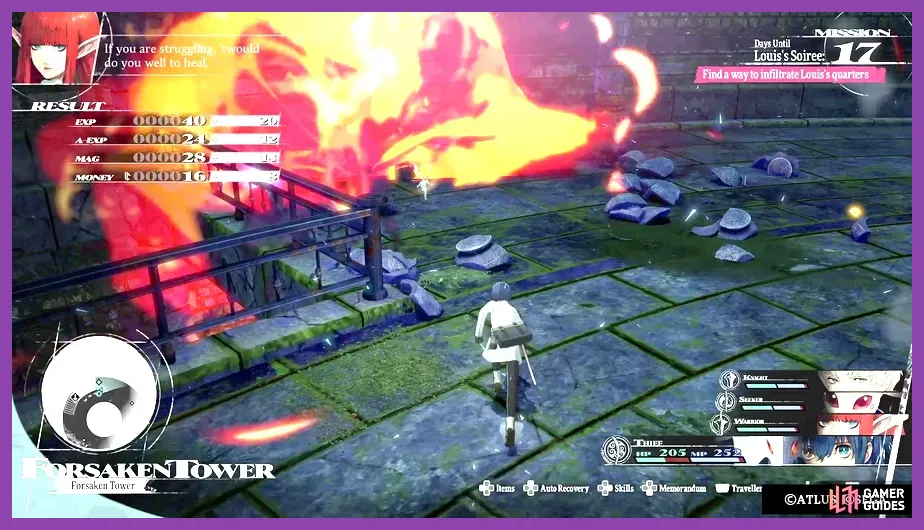
Forsaken Tower: unlock it through the late-game dragon trial chain. The exact request becomes available only after the relevant story and follower progress, so it may not appear during an early visit to the map. This is among the best secret locations for experienced parties seeking difficult fights and endgame rewards.
Set your party around the boss’s revealed resistances instead of entering with four pure damage Archetypes. The Royal Archetype is ideal for the final stretch, but Royal skills are expensive and should be used selectively. Keep a dedicated healer, remove debuffs quickly, and use inherited resistances to prevent a single elemental attack from deleting a character.
The wider dragon-trial chain includes multiple optional challenges, including the Dragon Temple route. These are designed for optimized equipment and high-level Archetypes, so finish follower quests and raise Royal Virtues before attempting them. The official Atlus website is the best source for official announcements, while this broader Steamoz secret locations guide offers another example of a systematic exploration checklist.
Best Order for Every Secret Location
Use this progression for a clean first playthrough: Belega Corridor first, then Abandoned Tomb, followed by Man-Eater’s Grotto. Complete Gracia Forest and Disgraced Ruins once the party has upgraded Archetypes, then leave Tower of Blind Faith and Forsaken Tower for the late game.
Track every request in the journal, revisit each town after major story milestones, and reserve one or two free calendar days for travel. If you enjoy checklist-based RPG progression, Steamoz’s guides to materials and crafting and endgame preparation use the same practical approach. Clearing these optional locations before the final deadline gives you the strongest equipment, more MAG for inheritance, and enough combat experience to handle Metaphor ReFantazio’s hardest bosses.