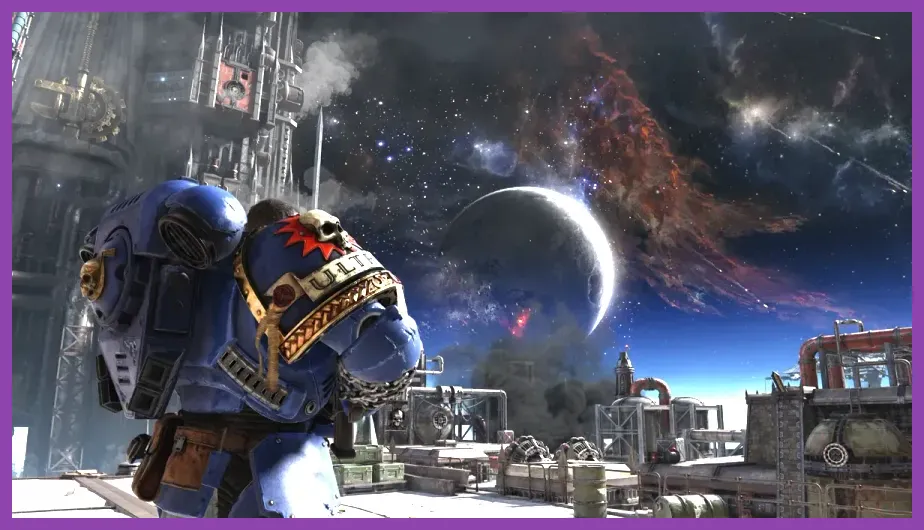
The best way to find every secret location in Warhammer 40,000: Space Marine 2 is to sweep each campaign checkpoint before crossing its point of no return, then replay Operations on Minimal difficulty for Gene-Seed and Armoury Data. Campaign secrets are primarily Dataslates, while Operations hide one Gene-Seed and one Armoury Data pickup in randomized-but-fixed side branches. Use this guide’s mission routes, listen for the audio chime, and never board an elevator or trigger a major arena until the nearby rooms are clear.
There is an important distinction between collectibles and progression items. Dataslates are lore collectibles and remain collected once found. Gene-Seed grants bonus experience to the Marine carrying it, but the bonus is lost if that Marine dies or the squad fails. Armoury Data unlocks weapon perks and appears in different rarity tiers. The official Steam page for Space Marine 2 is useful for checking the current build, but the routes below are designed for the live campaign and Operations structure rather than a specific patch.
How Secret Collectibles Work in Space Marine 2
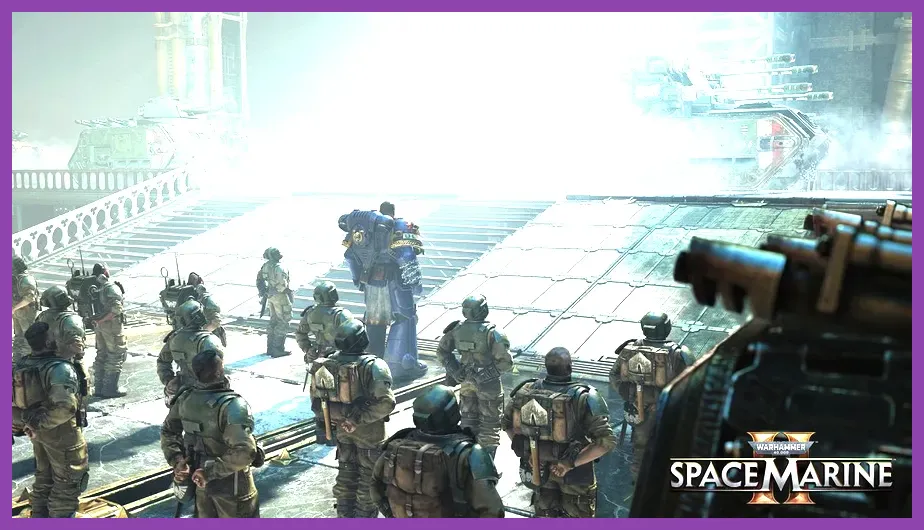
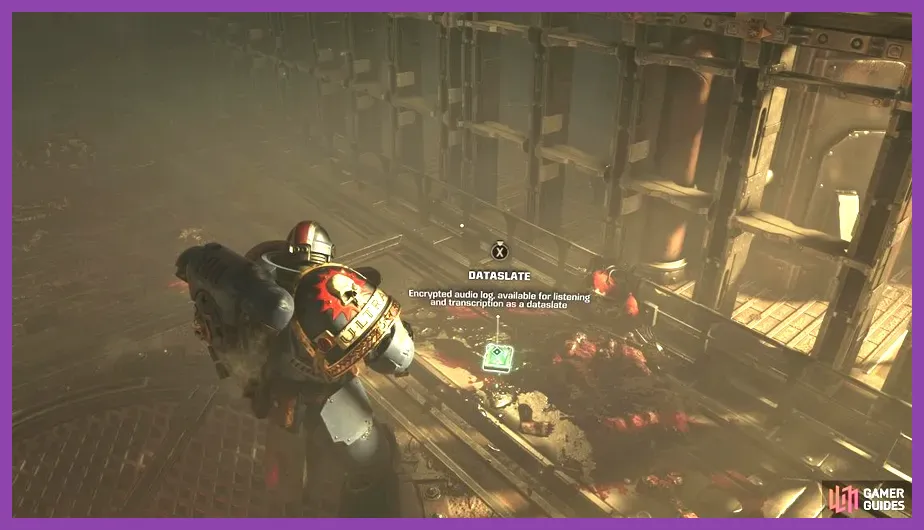
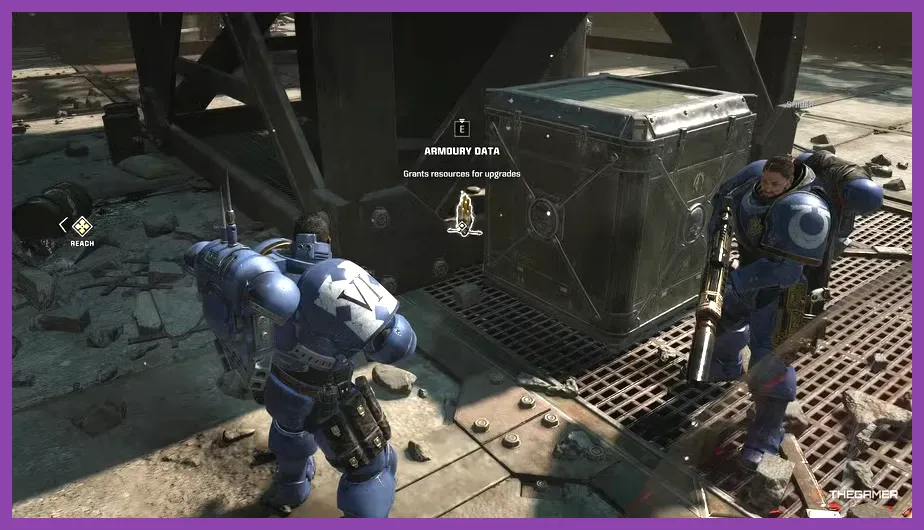
Most hidden pickups are placed just outside the critical path. A Dataslate looks like a small data terminal or tablet and usually sits on a desk, crate, altar, or workstation. It does not sparkle from a distance, so the sound cue is more reliable than visual scanning. Armoury Data is a glowing servo-skull or relic case, while Gene-Seed is normally a yellow-highlighted biological container in a quiet room.
Use the right difficulty for each collectible
For campaign Dataslates, difficulty does not matter. Recruit is ideal because enemies cannot delay your search and the collectible remains available after a checkpoint reload. For Operations, Minimal difficulty is the safest farming setting. Armoury Data is needed for weapon mastery and can be recovered even when Gene-Seed is not present. Gene-Seed is higher risk: the carrier must survive extraction, so place it on a durable class such as Tactical, Heavy, or Bulwark instead of a reckless Assault build.
Recognize a one-way transition
Elevators, airlocks, doors that close behind the squad, and scripted cutscene triggers are the major warning signs. Before using one, turn around and inspect ledges, weapon racks, storage rooms, and dead-end corridors. If the squad enters a large combat arena, finish the wave first, but search the perimeter before interacting with the objective marker.
Players who enjoy methodical loot routes can apply the same discipline used in our Red Dead Redemption 2 armor locations guide: identify the landmark, clear the area, then search the edges rather than the center.
Skyfire and Severance Secret Locations
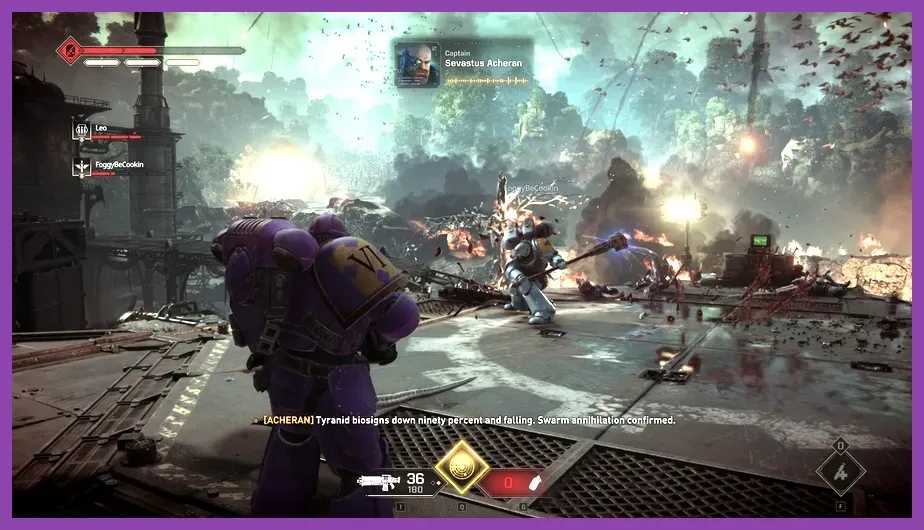
Skyfire: airfield and relay route
At the opening airfield, follow the main path until the first Imperial Guard defensive position and Tyranid engagement. After the fight, do not immediately follow the squad toward the objective marker. Check the abandoned structure on the left side of the approach, including the rear workstation and the narrow passage behind the stacked supply crates. The first hidden Dataslate is in this off-route interior.
Continue through the airfield and cross the open section with wreckage. Before taking the route toward the control position, search the right-hand perimeter beside the sandbag line and damaged machinery. Skyfire uses visual clutter to hide the terminal: look for a rectangular slate on a metal surface rather than a glowing item. Once the squad climbs toward the relay area, the preceding lower section is effectively closed, so complete this sweep first.
Severance: jungle ruins and the elevator approach
Severance’s first collectible route branches from the jungle trail shortly after the squad reaches the ruined stone structures. When the path divides around the vegetation-covered wall, take the narrower side route and inspect the small ruin at the end. The Dataslate sits inside the shelter, away from the central trail. You can collect it before or after the nearby Tyranid encounter, but clearing the area first prevents a Warrior from interrupting the interaction.
The second Severance location is near the approach to the elevator and extraction section. After moving through the ruined settlement and completing the nearby fight, search the side structure opposite the main objective route. Check the interior corner behind the broken masonry and equipment pile. Do not activate the elevator until you have searched both the structure and the exterior edge; the elevator transition removes access to this section.
Severance is also a good mission for practicing audio tracking. If you hear the faint electronic hum but cannot see a terminal, walk around the outside of the ruin. The game often places the slate on the reverse side of a wall, where the objective marker does not lead you.
Machinus Divinitus and Servant of the Machine
Machinus Divinitus: search the Mechanicus interiors
Machinus Divinitus contains its secrets inside the Adeptus Mechanicus facility rather than in the obvious combat lanes. After entering the industrial complex, clear the first interior battle and inspect the side workstation before climbing farther into the facility. The Dataslate is positioned on a desk among Mechanicus equipment, so it can blend into the red-and-metal environment.
Later, after the route moves through the large machinery section, look for a side room before the next major door. The second terminal is in the room’s rear area, generally near storage containers and a workbench. Search the entire floor before using the console that advances the mission. If the squad reaches a broad arena with multiple entrances, you have gone too far; turn back before activating the arena objective.
Servant of the Machine: balconies and maintenance rooms
In Servant of the Machine, the first hidden location appears after the opening advance when the squad enters the facility’s maintenance route. Inspect the side chamber containing pipes, crates, and service equipment. The Dataslate is placed on a low console rather than directly beside the mission marker. The room is easy to miss because the primary route points toward the next sealed door.
The second location comes after the squad works through the interior toward the machine objective. Search the upper walkway and the maintenance side room before dropping to the lower level. The slate rests near the wall-side equipment, not in the center of the platform. If you have already dropped through a one-way opening, reload the previous checkpoint; the game will not always let you climb back to the balcony.
These two missions reward a slow camera sweep. Hold the interact prompt whenever you see a terminal-shaped object, and check both sides of doors before stepping through. Unlike ammunition, a Dataslate does not have a bright pickup outline at long range.
Voidsong and the Final Campaign Areas
Voidsong: objective rooms are not the only rooms
Voidsong’s secrets are concentrated around the ship and installation interiors. After the first substantial combat sequence, inspect the side room adjoining the main passage. The hidden terminal is set on a workstation, usually near storage and technical equipment. Take the side room before following the squad toward the next objective door.
As the mission moves into the deeper interior, search the branching corridor beside the main route. Look behind cover, around stacked containers, and inside rooms that appear to be purely decorative. The second Dataslate is deliberately positioned away from the central objective line. If a door seals after interaction, complete the surrounding search first.
Dawn’s Descent, Bellum Sempiternum, and replay cleanup
The later campaign sections use the same design language: check the area immediately before a scripted sequence, then inspect any side chamber after a large battle. In Dawn’s Descent, prioritize the facility edges and rooms beside objective consoles. In Bellum Sempiternum, search around the final approach and the side of each large combat space before crossing the final transition. The last missions are especially hostile to backtracking because cutscenes and locked doors divide their arenas.
For reliable cleanup, open the campaign mission-select screen after completing a run and replay the earliest mission where your collection record is incomplete. You do not need to finish the entire campaign mission to save a Dataslate: collect it, allow the checkpoint to register, and safely quit after the next autosave. This is faster than replaying every mission from the start.
Every Operations Secret: Gene-Seed and Armoury Data
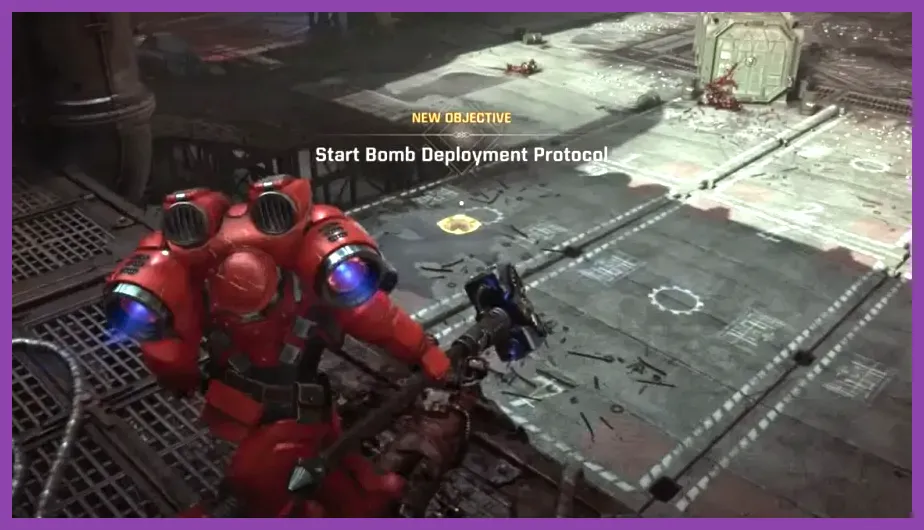
Operations do not use the same fixed collectible list as the campaign. Each Operation has a Gene-Seed spawn and an Armoury Data spawn selected from possible side locations. Their exact room can change between runs, but the search logic is consistent: inspect optional branches before the next objective, especially dead ends that contain no ammunition or enemies.
How to find Gene-Seed
Gene-Seed is carried in a yellow biological container. The container normally appears in a small side room, behind a short detour, or on a platform reached by stairs that the objective does not require. The carrier receives bonus experience only if the squad extracts successfully. Give it to the player with the safest survivability plan, communicate the pickup immediately, and avoid risky executions or solo pushes.
There is no value in searching every corner after the squad has passed a hard transition. Before activating a console, loading an explosive device, or entering an elevator, sweep every open branch. Gene-Seed often occupies the final room of a dead-end corridor, so follow routes that look intentionally unnecessary.
How to find Armoury Data
Armoury Data appears as a servo-skull or relic case and is frequently near a small cluster of crates. Its tier depends on the Operation and difficulty. Collecting it contributes to weapon progression, so it is worth running Operations even when your campaign Dataslates are complete. A Tactical Marine with the Auspex Scan can speed up the required combat, while a Bulwark’s banner gives the team a safer way to recover after a bad side-room engagement.
If you only want Armoury Data, play on Minimal and clear the nearest optional branches. If you want both items, use a full sweep and treat the Gene-Seed carrier as the squad’s priority asset. Our Rust weapons tier list covers a different game, but its core lesson applies here too: reliable survival is more valuable than a flashy high-risk route when progression is on the line.
Fastest 100 Percent Secret-Location Checklist
- Choose Recruit for campaign cleanup and Minimal for Operations farming.
- At every checkpoint, search the opposite side of the objective marker first.
- Inspect desks, terminals, workbenches, storage rooms, balconies, and dead-end corridors.
- Listen for the Dataslate hum and look for the Gene-Seed’s yellow container.
- Clear a combat arena before searching its perimeter; enemies can interrupt pickups.
- Never use an elevator, airlock, sealed door, or objective console until the area is swept.
- Record each collected Dataslate by mission so you can replay only the missing section.
- Keep the Gene-Seed carrier alive and extract before attempting another risky pickup.
For performance-conscious players, disable motion blur and keep textures on High if your graphics card has sufficient VRAM; collectible hunting is easier when small terminals remain sharp. On weaker PCs, use the game’s upscaling option at Quality, lower Shadows to Medium, and keep Effects at Medium so swarms do not obscure side rooms. Our graphics settings guide explains the same visibility-first approach for competitive games.
Finally, confirm patches through Focus Entertainment’s official Space Marine 2 community hub and consult Saber Interactive’s official game page when a seasonal update changes an Operation layout. The dependable rule remains unchanged: secret locations sit beside the route, not on it. Slow down before every transition, sweep the overlooked branch, and you will collect the campaign Dataslates while securing Gene-Seed and Armoury Data on repeat Operations.