If you want every secret in Husk, search the edges of each story area before crossing an obvious progression trigger. The game has no formal collectible menu or secret-ending checklist; its hidden rewards are mostly ammunition, healing items, weapons, readable notes, environmental clues, and a handful of tucked-away rooms. This route covers the train wreck, Shivercliff’s streets, the church, hospital, underground sections, and the final approach without spoiling the story beyond the locations you are already visiting.
Husk is a short, linear survival-horror game from UndeadScout, built around the aftermath of a train disaster and protagonist Matthew Palmer’s search through the ruined town of Shivercliff. That linear structure makes the secrets easy to miss: many doors become inaccessible after a loading transition, while others sit behind scenery that looks decorative rather than interactive. Save ammunition, turn up brightness only slightly, and treat every side corridor as a potential reward room.
How Husk’s hidden rewards actually work
Before listing the routes, clear up one common misunderstanding. Husk does not hide a large set of numbered figurines, keys, or journal pages with a dedicated completion counter. The useful secrets are practical. A side room may contain revolver rounds, shotgun shells, a health item, or a weapon pickup. Other detours exist for atmosphere and story context, usually through notes, photographs, posters, and rooms that explain what happened in Shivercliff.
There are three rules that make the hunt much easier. First, loot every room before using a conspicuous exit, ladder, elevator, or brightly lit doorway. Those are usually one-way story transitions. Second, check behind doors that open inward; the interaction prompt can disappear when you stand at the wrong angle. Third, do not sprint through darkness. The game’s narrow field of view can hide a side door until you are almost level with it.
| Secret type | Typical reward | How to spot it | When to search |
|---|---|---|---|
| Supply room | Ammo or healing item | Unlit doorway, shelves, or a short dead end | Before a major transition |
| Lore room | Note, photograph, or environmental clue | Furniture, wall clutter, unusual lighting | After clearing nearby enemies |
| Weapon detour | New firearm or backup ammunition | Locked-looking side route or storage area | When the game first introduces a weapon type |
| Ambush route | Usually no loot; positional advantage | Long empty corridor or blind corner | Check first, then commit |
For context, our Fear secret-locations guide uses a similar room-by-room approach, but Husk is less collectible-driven. Think of this as a missable-resource map rather than a traditional 100 percent trophy guide.

🎮 Husk
Looking to experience this game? Grab your digital key directly on our store for $3.99.
View on Steammoz Store →Train wreck and opening area secrets
Do not leave the crash site as soon as Matthew regains control. The wreck is the first place where the game teaches you to follow the main route, then double back along its edges. Walk around the exterior of the train cars and inspect the gaps between the wreckage and the embankment. These spaces are dark, but they are also where the opening ammunition and healing supplies are easiest to overlook.
Search the carriages before following the light
Inside the accessible train sections, check both ends of every carriage. A visible exit often draws your eye forward, while the opposite end contains a small supply pickup or a readable object. Look under the windows and beside seats rather than staring only at waist height. The game uses low-contrast objects, so move slowly and sweep your flashlight across the floor.
Once you reach the area outside the wreck, circle back toward the crash debris before taking the path toward Shivercliff. If you trigger the next loading transition, you cannot rely on returning for anything left behind. There is no special weapon locked in a puzzle here, so do not waste time trying to force every damaged door. The valuable secret is the extra early-game buffer: even a few rounds can prevent a restart later.
What to keep for the first serious encounter
Use melee whenever the route is safe and reserve firearms for enemies that block a narrow hallway. The revolver is forgiving at range but punishes missed shots because its reload window is exposed. If you find healing in the wreck, do not spend it while merely injured. Wait until a mistake would otherwise force a reload. That discipline matters because the opening area can quietly determine whether you enter town with enough supplies to explore.
Shivercliff Main Street and the abandoned homes
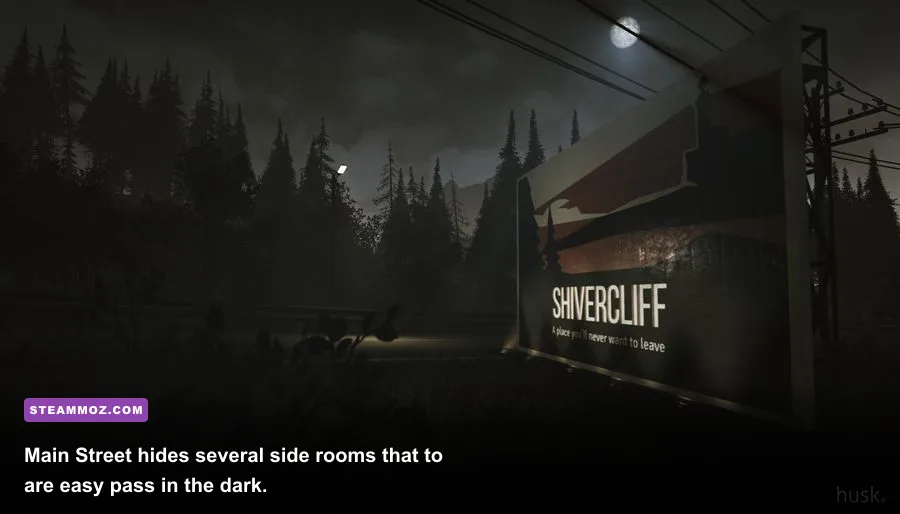
Shivercliff is the largest early exploration section and the easiest place to miss a reward. Follow the main road once to establish the route, then return and inspect every side entrance you passed. The most reliable landmarks are boarded storefronts, parked vehicles, and houses with unusually intact porches. If a building has a door, a narrow side passage, or a visible interior light, assume it deserves a closer look.
Start on the outer edge of Main Street rather than cutting straight through the center. Search the accessible rooms in the first cluster of houses, then check the alleys behind them. The rear alleys are not just visual filler: they frequently contain dead-end pickups and provide safer angles around wandering enemies. Keep your crosshair low when entering a room because ammunition and health items can blend into the floorboards.
The gas station and storefront detours
The commercial strip is a classic misdirection. The obvious route runs through the broad street, but the useful search pattern is perimeter first, interior second. Check counters, shelves, and back rooms, then look for a second exit before returning to the road. Some doors do not show their interaction prompt until Matthew is close enough to the handle, so approach from the center instead of hugging a wall.
Do not fire at every threat in the open street. Pull enemies toward doorways and use corners to create one-on-one encounters. This saves ammunition for the interior sequence and lets you return to unopened rooms without fighting through a fresh group. If a building appears empty, still inspect it: the reward may be a note or environmental clue rather than a combat item.
| Shivercliff landmark | Search route | Likely reward | Main danger |
|---|---|---|---|
| Outer houses | Porch, front room, rear room, alley | Health and handgun ammunition | Enemies emerging from blind doorways |
| Main Street stores | Counter, shelves, back room, side exit | Ammo and lore objects | Open-road exposure |
| Parked vehicles | Walk around both sides and check nearby walls | Small pickups or route clues | Low visibility around the car |
| Boarded buildings | Check adjoining alleys rather than forcing the front | Usually environmental detail | Dead ends that funnel you into combat |
Players working through the town on higher difficulty should consider a separate manual save before committing to the next interior. Husk is not a loot-heavy RPG; wasting one box of shells can hurt more than missing a minor note. Our guide to PC fixes for Final Vendetta is unrelated in content, but the same practical rule applies to older PC games: use a stable save before a major transition.
Church section: side rooms, notes, and safe timing
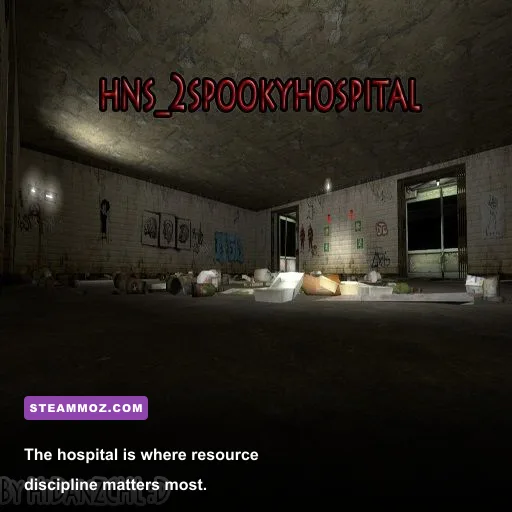
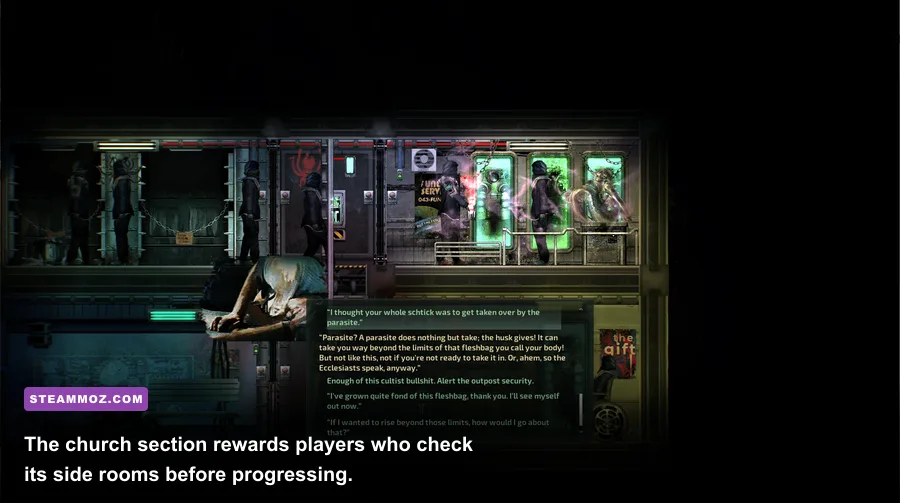
The church is a compact area, but its layout encourages tunnel vision. The main aisle points you toward the next objective, while side rooms sit in shadow. Before interacting with the central progression object, walk the perimeter of the nave and inspect the attached rooms. Check behind pews, beside the altar area, and along the wall opposite the entrance. You are looking for small pickups and readable objects, not a hidden boss door.
Clear threats before reading anything. The church’s narrow geometry makes it easy to get trapped in an animation while an enemy approaches from a side entrance. Once the room is quiet, revisit each corner with the flashlight aimed at floor level. Notes and photographs are often placed at hand height, but ammunition can sit lower and vanish against dark wood.
Why the church is worth a full sweep
This section is less about a single spectacular reward and more about preserving resources for the next run of corridors. A few spare rounds here can let you avoid risky melee attacks later. The church also contains some of the game’s strongest environmental storytelling, so players rushing toward the objective lose context that makes Matthew’s search more coherent.
When the game gives you a clear route onward, stop and make one final circuit. If the church door closes behind you or the screen fades, assume the area is finished permanently. That habit is more reliable than trying to remember which doors were open, because Husk rarely announces that you have crossed a point of no return.
Hospital corridors and the most missable supplies
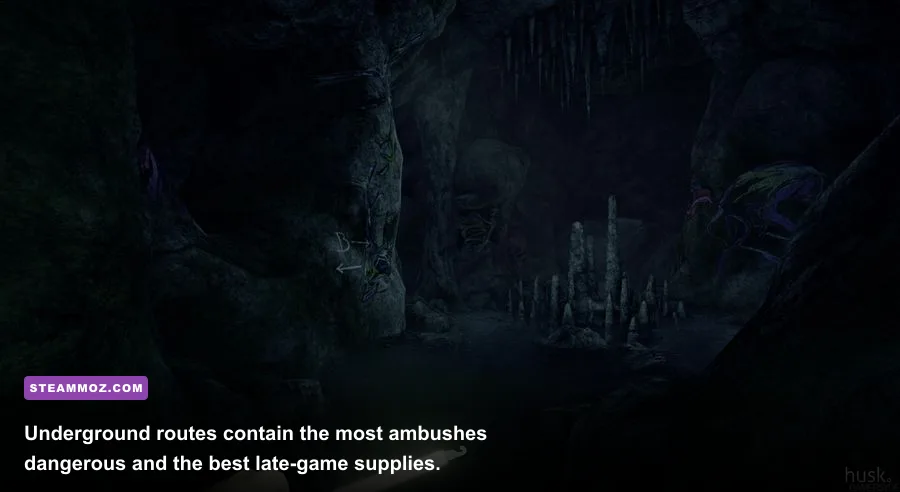
The hospital is where the secret hunt becomes genuinely valuable. Its long corridors and repeated rooms make it easy to confuse visited areas, and the visual noise hides ammunition in cabinets, corners, and side offices. Use landmarks rather than memory: reception desks, nurses’ stations, waiting areas, and stairwells divide the building into manageable loops.
Search each corridor from one end to the other, then return through the opposite side before opening the next obvious door. Check patient rooms even when they look identical. The reward may be a healing item, while an empty room can still reveal a note or a clue about the town. Inspect wall-mounted cabinets and low shelves; do not assume every useful object is placed on a table.
Handling hospital enemies
Listen before turning corners. Audio cues often give you a moment to line up a shot or retreat into a wider room. Avoid backing into an unexplored doorway, because that is how a careful search turns into a surprise grab. If you need to fight, create distance first, fire only when the target is committed to its animation, and reload in a room you have already cleared.
The hospital’s biggest hidden reward is effectively an improved survival margin. A player who searches every office can carry more healing into the late game, while a player who sprints through the main corridor may reach the next checkpoint under-equipped. If you are playing on a modern ultrawide monitor, watch for objects near the edges of the screen; field-of-view changes can make side pickups even easier to miss.
| Hospital area | Best search pattern | Reward value | Combat advice |
|---|---|---|---|
| Reception | Desk, side office, rear doorway | High for early supplies | Keep the entrance behind you |
| Patient rooms | Check every bed, cabinet, and bathroom entrance | Medium; often healing or ammo | Clear one room before opening the next |
| Nurses’ stations | Circle the desk and inspect wall storage | Medium to high | Use the desk as a visual barrier |
| Stairwells | Search the landing before changing floors | Usually small pickups | Never reload halfway up the stairs |
Underground routes and the final backtracking check
Underground passages are the last major place where players leave rewards behind. The tunnels are visually repetitive, so mark your progress mentally by intersections, lamps, support beams, and doors. When a corridor branches, clear the short dead end first. The longer branch is usually the progression route, and taking it immediately can lock you out of the side path after the next encounter or transition.
Keep the flashlight moving across the floor and walls. Supplies can be placed beside structural supports rather than in the center of the path, and the darkness makes a box look like rubble. If you find a weapon pickup, check the surrounding tunnel anyway; nearby ammunition is often positioned to teach you how the new weapon should be used.
Do not spend the final reserve too early
Late-game encounters punish panic firing. Let enemies enter open space, use the environment to break their approach, and take deliberate shots rather than emptying a magazine into a target moving across your screen. Keep at least one healing item for the final sequence and avoid using your strongest ammunition on enemies you can bypass.
Before entering the final obvious doorway, sweep the previous chamber once more. This is the last practical opportunity to collect anything you skipped. There is no secret ending unlocked by carrying a particular note or weapon, so focus on completing the route with supplies intact rather than chasing a mythical bonus conclusion.
Best settings for spotting hidden items
Husk is an older PC release, and modern hardware can run it comfortably, but visibility is more important than raw frame rate when hunting secrets. Keep post-processing effects if you like the atmosphere, then raise brightness only enough to distinguish doors from walls. Excessive brightness flattens shadows and can actually make interactive objects harder to read.
| Setting | Recommended value | Performance impact | Secret-hunting benefit |
|---|---|---|---|
| Resolution | Native monitor resolution | Medium to high | Keeps small pickups sharp |
| Texture quality | High if VRAM allows | Low to medium | Improves readable notes and surface detail |
| Shadow quality | Medium | Medium | Preserves atmosphere without hiding door edges |
| Post-processing | Medium | Medium | Reduces excessive blur around objects |
| Brightness or gamma | One small step above default | None | Reveals corners without killing contrast |
| V-sync | On if tearing bothers you | Possible latency | Does not affect item locations |
If the game stutters, lower shadows and post-processing before reducing resolution. Players who want more troubleshooting ideas can compare our smooth-FPS settings guide or the For the King II performance profile. The principle is the same: stabilize frame pacing first, then tune image quality.
Final checklist for a clean secret run
At the train wreck, circle the carriages and debris before leaving. In Shivercliff, search the perimeter, then the interiors, then the alleys. In the church, clear the nave and inspect every side room before using the progression object. In the hospital, use reception desks and stairwells as landmarks and check every patient room. In the underground sections, take short branches before long branches and inspect the previous chamber before the final door.
Most importantly, do not mistake Husk for a conventional collectible game. You are not hunting dozens of numbered secrets or a hidden ending. You are building a better survival run: extra bullets, one more heal, a note that fills in Shivercliff’s tragedy, and enough awareness to avoid walking past a door in the dark. That is where the game’s real hidden rewards are, and this route catches nearly all of them without turning a tense horror story into a checklist simulator.
For the latest ownership details, patches, and system information, check the official Husk Steam page. You can also browse UndeadScout’s official site for the developer’s other projects and follow the game’s publisher information through UndeadScout’s Steam developer listing.