
The fastest way to clear every meaningful secret in the F.E.A.R. Collection is to sweep each level before crossing its final trigger: search offices behind breakable glass, check bathrooms and stairwell landings, read every laptop, answer every ringing phone, and grab Reflex and Health Boosters before moving through one-way doors. The original F.E.A.R., Extraction Point, and Perseus Mandate hide permanent stat upgrades; F.E.A.R. 2 hides intel and phone records; F.E.A.R. 3 turns secrets into psychic-link collectibles and challenge rewards.
This guide covers the six PC campaigns normally sold together: F.E.A.R., Extraction Point, Perseus Mandate, F.E.A.R. 2: Project Origin, F.E.A.R. 2: Reborn, and F.E.A.R. 3. The Steam releases don't provide one unified collection tracker, and some patch or console guides use different chapter names. Use the landmark descriptions below rather than blindly following a numbered video route. If you're playing the original through modern Windows, the official F.E.A.R. Steam page is the correct base version to compare against.

What counts as a secret in each F.E.A.R. game?
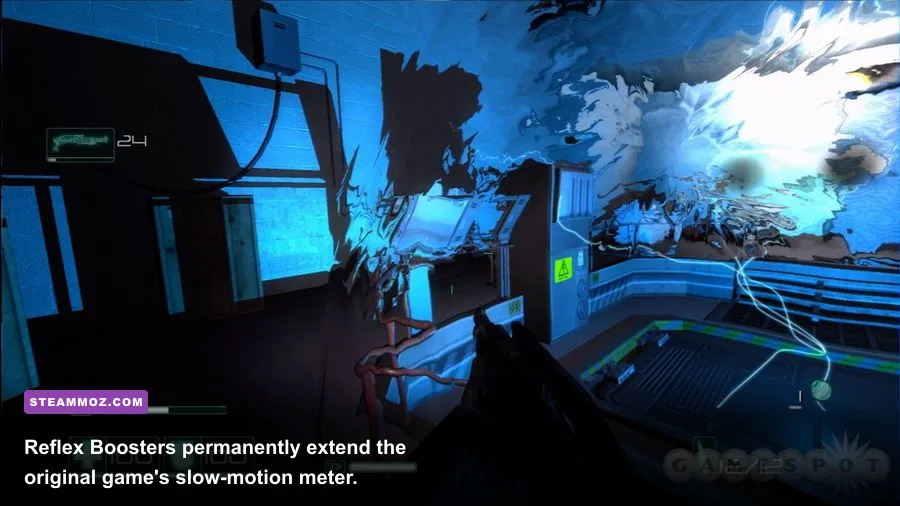
There are three different collectible systems hiding under the word “secrets.” In the first game and both Monolith expansions, Reflex Boosters permanently increase slow-motion capacity, while Health Boosters raise maximum health. Intel terminals, laptops, phones, and data pads expand the story but usually don't affect combat. F.E.A.R. 2 keeps the narrative collectibles but drops the old booster hunt. F.E.A.R. 3 uses Alma's souls, psychic-link targets, and score challenges instead.
| Campaign | Reward-bearing secret | What it changes | Best sweep rule |
|---|---|---|---|
| F.E.A.R. | Reflex and Health Boosters | Longer slow motion and larger health pool | Search before ladders, elevators, and scripted visions |
| Extraction Point | Boosters, phones, intel | Permanent upgrades and story context | Check maintenance rooms behind crates |
| Perseus Mandate | Boosters, laptops, documents | Permanent upgrades and Replica background | Explore offices before entering combat arenas |
| F.E.A.R. 2 | Intel, phone messages, hidden weapons | Backstory, ammunition advantage, weapon variety | Inspect classrooms, ambulances, and side offices |
| Reborn | Intel and weapon caches | Extra narrative context and safer firefights | Look behind barricades after teleport sections |
| F.E.A.R. 3 | Souls, psychic-link targets, challenges | Score bonuses, upgrades, and co-op progression | Use Fettel's possession to reach optional kills |
For a second opinion on route discipline, Steamoz's achievement guide approach is useful: finish the room before triggering the next objective. That habit matters much more here than raw aim.
🎮 F.E.A.R. Collection
Looking to experience this game? Grab your digital key directly on our store for $8.24.
View on Steammoz Store →F.E.A.R. secret locations and permanent upgrades
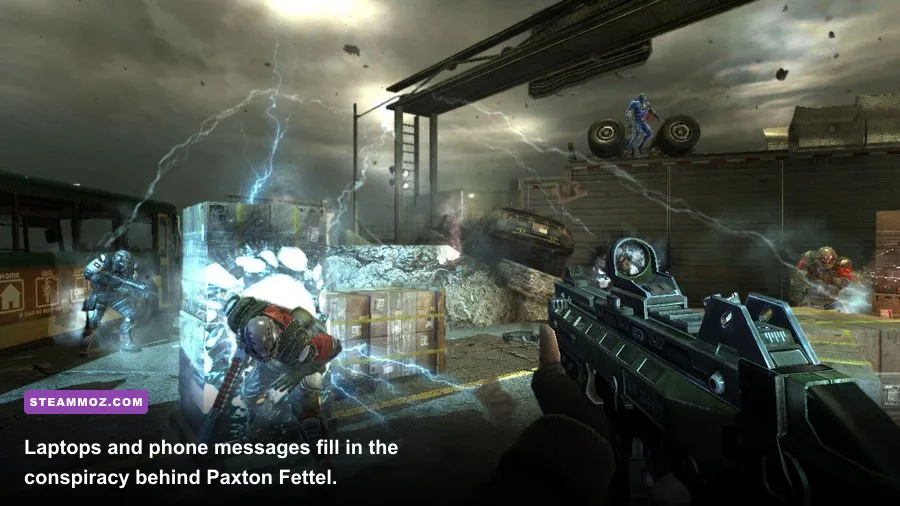
The original campaign has the most valuable secrets in the entire bundle. Reflex Boosters increase the duration of your slow-motion reservoir, and Health Boosters increase maximum health. Neither reward is flashy, but both snowball: extra slow motion lets you win more close-range shotgun fights, while extra health gives you room to survive a missed armor pickup on Interval 06 and later Replica encounters.
The reliable route through the original campaign
In the opening office and warehouse intervals, search every cubicle cluster after the first shotgun battle. The most commonly missed items sit in side offices with frosted or breakable glass, not in obvious locked rooms. Before taking a ladder, check beneath the stairwell and behind vending machines. F.E.A.R. loves placing a booster in the room you assume is only a combat reset.
When the campaign moves into the Armacham research areas, sweep laboratories from the outside inward. Check observation booths, server rooms, washrooms, and the narrow space behind filing cabinets. A useful tell is a conspicuously open door beside a corridor that otherwise funnels you forward. If a room contains a phone, terminal, or unusual blood trail, search it completely before interacting with the objective.
The underground and vault sections are especially easy to rush. After each major Replica arena, backtrack to the previous junction before using the next elevator. Boosters can sit on the return side of a door, while intel often appears on desks beside security monitors. The final executive and Origin areas contain fewer optional items, but they punish speed-running: inspect offices before climbing to the next floor, and don't activate a vision sequence until every nearby room is empty.
| Secret type | Typical hiding place | Why players miss it | Practical check |
|---|---|---|---|
| Reflex Booster | Side office, stairwell landing, laboratory booth | Looks like set dressing | Use flashlight and scan low shelves |
| Health Booster | Maintenance room or return corridor | Placed after an arena, not before it | Backtrack before the next elevator |
| Intel laptop | Security desk, executive office, server room | Screen blends into dark interiors | Interact with every powered monitor |
| Phone message | Office or hallway side table | Ring can be masked by combat audio | Pause after a firefight and listen |
Don't reload immediately after finding a booster. The original game's checkpoint behavior can preserve the pickup but reset your mental route, so mark the room mentally by its nearest elevator or arena. The Extraction Point Steam listing and Perseus Mandate listing are useful references for separating expansion content from the base campaign.
Extraction Point and Perseus Mandate hidden rewards
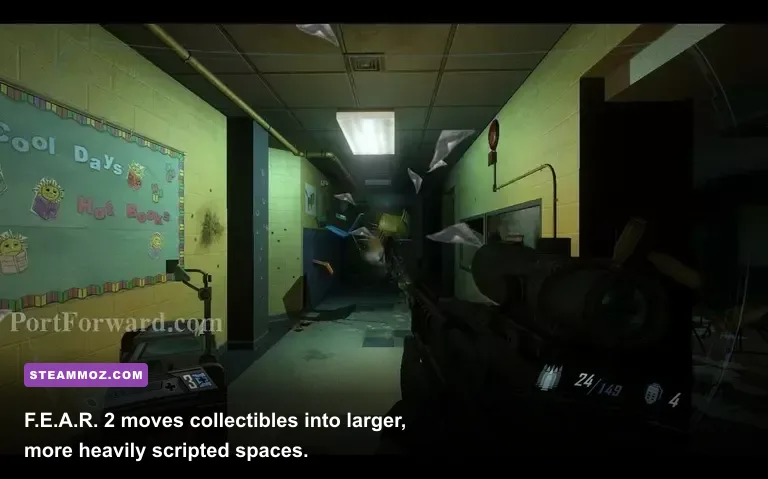
Both expansions use the same essential logic but are more aggressive about hiding rewards behind combat detours. In Extraction Point, search the ruined streets, subway access points, and hospital interiors before following the obvious evacuation route. Maintenance closets beside trains and offices behind overturned furniture are prime locations. If a room contains a medkit, look for a second interactable object nearby; the designers often pair supplies with a phone or data point.
Perseus Mandate leans harder into corporate offices and Replica staging areas. Sweep cubicles from left to right, then check conference rooms and server aisles. Its darker rooms make the flashlight essential, but remember that switching it on can make you easier for enemies to spot. Clear the encounter first, then do a slow perimeter walk. Boosters are permanent, so taking a few seconds now is worth more than conserving one magazine.
Neither expansion gives you a new skill tree, so the best hidden-reward build is simple: prioritize every Reflex Booster, use slow motion for shotgun and penetrator engagements, and keep the ASP rifle or assault rifle for mid-range cleanup. On high difficulty, don't burn slow motion just to style on a single ATC soldier. Save it for Replica Assassins, heavy armor, and rooms with multiple flanking doors.
F.E.A.R. 2 and Reborn intel, weapons, and side rooms
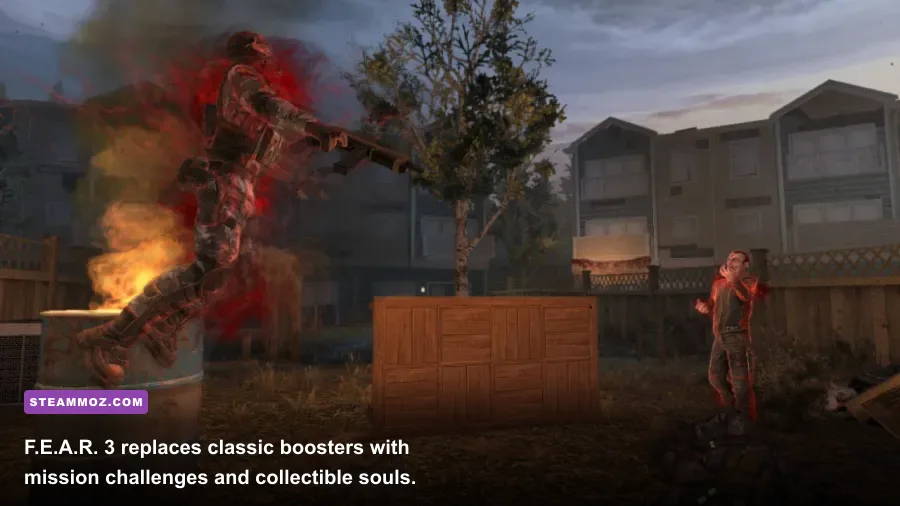
F.E.A.R. 2's secret hunt is less about permanent statistics and more about reconstructing the Project Origin timeline. Intel appears as laptops, audio sources, documents, and phone messages. The most reliable locations are classrooms in the school chapter, offices around the hospital, subway service rooms, and desks inside the ruins. Search behind reception counters and inside ambulances before entering the next objective zone.
F.E.A.R. 2 also hides practical pickups in spaces that look like dead ends. The laser carbine, Type-7 particle weapon, missile launcher, and sniper rifle are often placed where the level wants you to pause and look around. Don't carry a full weapon inventory into a side room and assume the pickup is useless: swap temporarily, fire the ammunition, and return for your preferred gun if the checkpoint permits it.
In Reborn, Replica commando Foxtrot 813 moves through a shorter, more linear campaign. The secret rhythm is therefore easy to learn: after every teleport or major scripted hallucination, inspect the newly opened rear route before pushing toward the objective marker. Weapon caches tend to sit behind construction barriers, while intel is placed near control consoles and blast doors. The official F.E.A.R. 2 Steam page confirms the campaign and Reborn-era content, but it doesn't provide an in-game collectible checklist, so write down each chapter as you clear it.
F.E.A.R. 3 secret rewards and psychic-link targets

F.E.A.R. 3 changes the hunt completely. Point Man and Paxton Fettel earn score and progression through mission challenges, psychic-link kills, soul pickups, and environmental objectives rather than Reflex Boosters. The best secret locations are usually off the critical route: rooftops, side apartments, locked-looking service corridors, and arenas with a second vertical level.
As Point Man, prioritize headshots, weapon-specific challenges, and explosive multi-kills. As Fettel, use possession to turn a soldier against his squad, then detonate or transfer before the timer expires. In co-op, don't split blindly: one player should hold the main lane while the other checks the side room, because many challenge objects disappear once the arena's final wave is cleared.
| F.E.A.R. 3 activity | Where to search | Best character | Reward payoff |
|---|---|---|---|
| Psychic-link kill | Enemy-dense arenas with cover | Fettel | High score and possession chain |
| Hidden soul | Side apartments, rooftops, service rooms | Either | Collectible progress and score |
| Weapon challenge | Open firefights after checkpoints | Point Man | Combat score and challenge progress |
| Environmental challenge | Explosive props and alternate routes | Either | Bonus points and completion rank |
If your goal is every reward rather than merely finishing the story, replay chapters on a lower difficulty first. F.E.A.R. 3's challenge systems are score-driven, and a clean run with controlled enemy spawns is more efficient than trying to force every objective on Insane.
Collection-wide checklist and missed-secret recovery
Use this order on every level: clear the current room, inspect every side door, check low shelves and desks, answer phones, read terminals, and only then cross the obvious objective threshold. Save a manual checkpoint before elevators or scripted visions when the game allows it. If a booster or intel item is missing, replay from the previous autosave rather than restarting the entire campaign.
For modern PC play, keep the original games near their intended presentation. Unlocked frame rates can cause odd physics or timing in older builds, while extreme mouse smoothing makes slow-motion firefights feel mushy. If you're troubleshooting a broader PC setup, Steamoz's settings guide and PC crash guide cover the same practical basics: stable frame pacing, clean drivers, and a backup save.
The important distinction is simple: F.E.A.R. and its two expansions reward obsessive room-by-room exploration with permanent upgrades; F.E.A.R. 2 rewards investigation and hidden weapons; F.E.A.R. 3 rewards replayable combat mastery. Treating all six campaigns like the original will waste time. Sweep the old office corridors for boosters, search Project Origin's institutions for intel, and replay Fettel's missions for score routes. That's the cleanest path to every meaningful secret and hidden reward in the F.E.A.R. Collection.