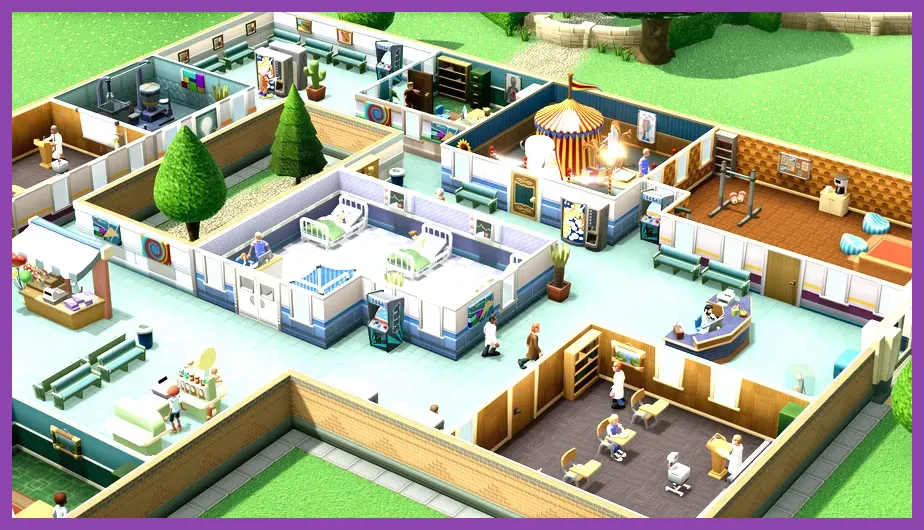
To unlock every Two Point Hospital: Close Encounters achievement, three-star all three expansion hospitals, research and cure the alien illnesses, and finish the cumulative treatment objectives in a dedicated high-throughput clinic. The campaign is much easier if you treat the first two hospitals as setup rather than rushing stars: hire broadly trained staff, build a reliable diagnosis loop, and keep one hospital open long enough to farm cures and research milestones.

🎮 Get Two Point Hospital: Close Encounters
Ready to dive in? Grab your copy today for just $4.49.
Check OfferStart with the right Close Encounters campaign plan
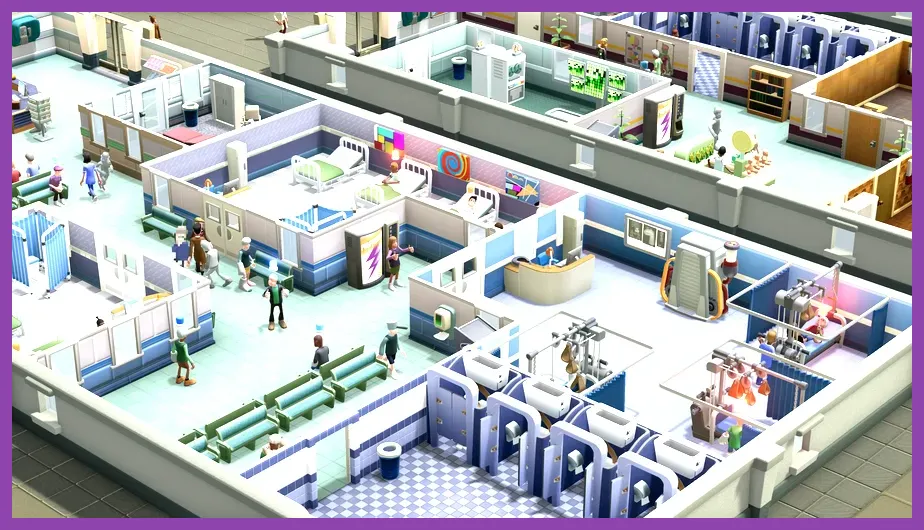
Close Encounters adds three hospitals to the world map: Goldpan, Camouflage Falls, and Pointy Pass. Their star objectives are the backbone of the DLC achievement set. You do not need to complete every optional challenge in a single save, but you should avoid abandoning a hospital immediately after earning one star. Several achievements are cumulative, and the campaign naturally gives you better rooms, staff, and research capacity as you move forward.
Goldpan is the ideal place to establish your template. Put General Diagnosis close to Reception, keep the GP's Office near the entrance, and create a short corridor to the Pharmacy and upgraded diagnosis rooms. Patients lose valuable time walking, and Close Encounters can punish a sprawling layout with queues before you even reach the difficult illnesses. Aim for a diagnosis certainty of at least 90 percent before treatment whenever possible; sending uncertain patients to treatment creates failed cures and drags down hospital value.
Camouflage Falls is where staffing starts to matter. Keep separate doctors for General Practice, Diagnosis, and Treatment instead of asking one exhausted employee to do everything. Train a doctor in Diagnostics and another in Treatment, then add Stamina Training to anyone working long shifts. A 100 percent-energy doctor works faster and makes fewer queue problems than a theoretically stronger employee who is constantly collapsing in a staff room.
Pointy Pass is the final campaign test. Before starting its three-star push, upgrade your core machines, add multiple GP's Offices, and keep a reserve of at least $50,000 for emergency rooms and staff. If a star objective asks for hospital value, attractiveness, or reputation, don't chase it while your cure rate is unstable. A profitable hospital with high happiness will complete those requirements naturally; a flashy hospital with a 60 percent cure rate will spiral.
| Hospital | Primary achievement work | Best preparation | Common mistake |
|---|---|---|---|
| Goldpan | Unlock the campaign and begin alien-related research | Compact diagnosis spine and early training | Expanding before queues are under control |
| Camouflage Falls | Build cure volume and stronger room coverage | Specialist doctors and upgraded machines | Using generalists for every department |
| Pointy Pass | Finish the final star objectives and cleanup cures | Cash reserve, marketing, and duplicate rooms | Removing rooms needed for cumulative tasks |
For a wider look at keeping queues under control, the hospital-flow principles in Steamoz's performance settings guide obviously target a different game, but its practical approach to eliminating bottlenecks is still useful here: identify the slowest part of the loop, then fix that part instead of decorating around it.
Three-star every hospital without wrecking your cure rate
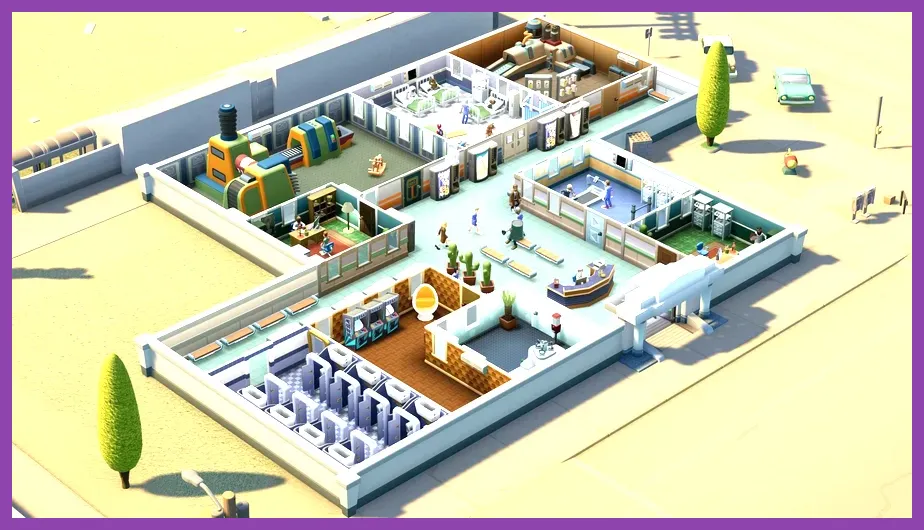
The campaign achievements are tied to star progression, so the safest route is to build for consistency. A three-star run should have a fast Reception, at least two GP's Offices, a General Diagnosis room, a Ward, a Pharmacy, and a Treatment room before you chase prestige. Keep rooms at least three tiles wide where possible, place windows and radiators sensibly, and use benches near every major queue. Patients who are comfortable wait longer, which buys you time to repair machines and train staff.
Prioritize Chromotherapy and Enthusiasm training for staff who spend their entire day in treatment rooms. For diagnosis doctors, use Diagnostics II or Diagnostics III when available. The extra training slots cost time, but the improved diagnosis percentage reduces repeat visits and failed treatment attempts. That trade is especially important for the alien conditions, which often require a full diagnosis chain before the correct room appears.
Do not accept every applicant. A doctor with Untidy, Grumpy, or Hangry can create a surprisingly expensive service problem in a hospital already struggling with queues. Prefer positive traits such as Cheery, Motivated, and Energetic. Nurses with Bedside Manner are excellent in Wards, while Pharmacy Management belongs on the nurse operating your Pharmacy. Staff skill is permanent, so investing in the right employee pays off for every remaining achievement.
When a star asks for a cure percentage, pause expansion and let the current patient load finish. Close the hospital to new patients if the game is about to flood you with a disease you cannot treat. This is not cheating the system; it is good hospital management. The existing queue still processes, while you get time to train staff, repair machines, and improve room prestige. If a requirement involves reputation, launch a marketing campaign only after you have enough diagnosis and treatment capacity to handle the extra arrivals.
| Objective type | Recommended approach | Useful room or staff | Risk to avoid |
|---|---|---|---|
| Cure percentage | Pause intake, improve diagnosis certainty, then process patients | Diagnostics-trained doctor | Accepting waves of untreated illness |
| Hospital value | Upgrade machines and raise room prestige gradually | Janitor with Mechanics | Overspending on decoration early |
| Reputation | Use marketing after treatment capacity is ready | Marketing campaign | Generating queues you cannot serve |
| Staff happiness | Add staff rooms, drinks machines, and training breaks | Energetic employees | Forcing staff through continuous shifts |
Before moving on, check the official Close Encounters Steam page for ownership and content details. The DLC achievements only track if the expansion is installed and active, so launching the base game without the add-on is an easy way to wonder why progress appears frozen.
Farm alien cures and the DNA Lab achievements
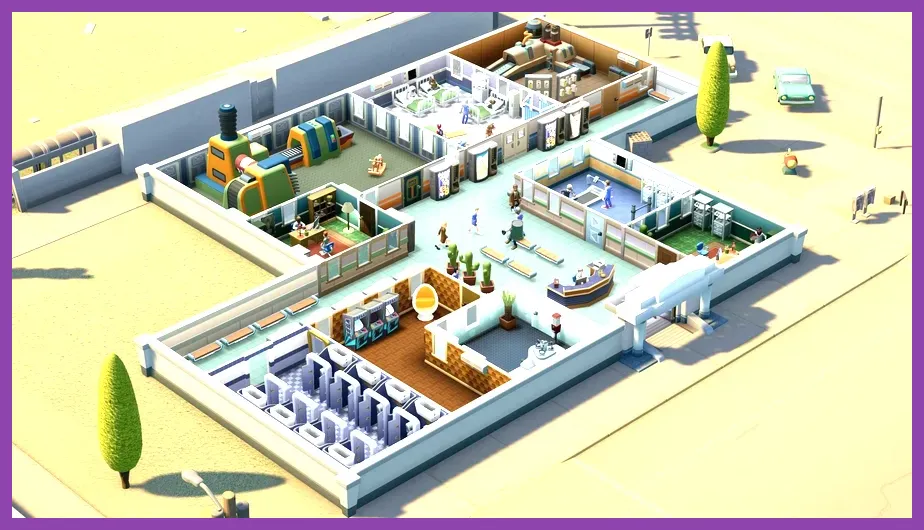
The alien-focused achievements are the ones most likely to remain unfinished after the campaign. Close Encounters introduces alien-themed illnesses and the DNA Lab, a treatment room that must be researched and built before those patients can be cured reliably. Research the DNA Lab as soon as the hospital makes it available, then place it near your other treatment rooms. You want short walking distances and a staff member trained specifically for the room.
Diagnosis comes first. A patient with an alien illness may visit several diagnosis rooms before the game reveals the condition, so don't judge the hospital by a single failed attempt. Improve the diagnosis chain with General Diagnosis, Cardiology, and an upgraded MEGA Scan or X-Ray room as your finances allow. If you send an uncertain patient into the DNA Lab, the failure costs both money and a valuable treatment slot.
Use the patient list to identify the exact illnesses needed by an achievement. The list shows the patient's current diagnosis, treatment room, and queue position. This is more dependable than waiting for the visual model alone, especially when several Close Encounters illnesses share similar silhouettes. Keep the required room open, and don't fire the trained doctor after the campaign objective pops; cumulative achievements can require more cures than the star screen demands.
The fastest farming setup is a small, profitable treatment hospital. Build two DNA Labs if the queue becomes long, add a second treatment-trained doctor, and use marketing only when the cure rate is stable. Leave the hospital running at normal speed rather than relying on maximum speed: at 3x, queues and machine breakdowns can stack faster than your janitors respond. Upgrade the DNA Lab with a Drug Mixer where available, but always assign a janitor with Mechanics to maintenance and keep a fire extinguisher nearby.
| Task | Target setup | Why it works | Failure warning |
|---|---|---|---|
| Reveal alien illness | General Diagnosis plus specialist rooms | Raises diagnosis certainty before treatment | Sending low-certainty patients to DNA Lab |
| Cure alien patients | DNA Lab with Treatment-trained doctor | Improves speed and reduces failed cures | Using an untrained general practitioner |
| Farm cumulative cures | Two DNA Labs and controlled marketing | Processes more patients without chaos | Starting marketing during a queue crisis |
| Protect cure percentage | Pause intake and repair before accepting more patients | Prevents avoidable treatment failures | Ignoring broken machines |
The official Two Point Hospital site is also worth checking if a platform update changes DLC behavior. Achievement counters occasionally fail to refresh until the next patient is cured or the hospital is saved and reloaded.
Use a cleanup hospital for the stubborn counters
After the three-star campaign, create a dedicated cleanup save in Goldpan or Camouflage Falls. This is more efficient than reopening Pointy Pass with a large, expensive hospital. Keep only the rooms relevant to the remaining achievement conditions, then build a clean loop: Reception, two GP's Offices, General Diagnosis, DNA Lab, Pharmacy, and the necessary treatment rooms. The goal is throughput, not a pretty campus.
Recruit staff from the full applicant list and reject anyone with traits that directly slow the task. For a treatment grind, a doctor with Treatment III, Bedside Manner, and Cheery is a dream hire. For diagnosis, prioritize Diagnostics III and Motivated. Nurses should cover Ward and Pharmacy separately whenever the queues are active. Train in batches, but never remove all qualified staff from the floor at once; that creates a temporary collapse that can erase the cure-rate progress you just built.
Keep a manual save before each large achievement push. If a hospital event, epidemic, or machine failure knocks your percentage below the required threshold, reload rather than spending an hour recovering. Also remember that many cumulative achievements count successful cures, not patients treated. A patient who reaches a room but leaves because the machine breaks will not help.
For a second opinion on managing upgrade economies, Steamoz's fastest ways to earn gold guide covers a different strategy game, but the same principle applies: protect your income before starting a spending-heavy objective. Close Encounters rewards a cash reserve far more than early cosmetic upgrades.
Final achievement checklist and troubleshooting
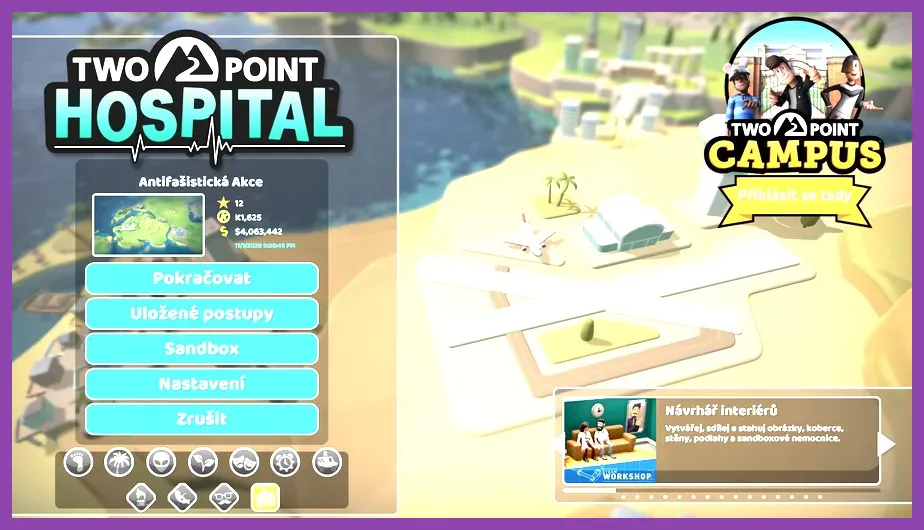
Before declaring the DLC complete, open Steam's achievement panel and compare it with your hospital history. The expansion's objectives broadly fall into four groups: campaign progression, three-star completion, alien or DNA Lab cures, and cumulative management milestones. A star appearing on the map does not always mean a delayed Steam notification has already synchronized, so save, return to the main menu, and allow the client a moment to update.
- Finish Goldpan, Camouflage Falls, and Pointy Pass. Earn all three stars in each hospital, not merely the first star required to unlock the next map.
- Research and build the DNA Lab. Keep it active in the hospital rather than selling it immediately after the first objective.
- Train dedicated diagnosis and treatment staff. Their higher success rate makes alien cure counters substantially faster.
- Track cumulative cures from the patient list. Count successful treatments, not arrivals or diagnosis attempts.
- Complete cleanup objectives in one stable save. A profitable, compact hospital is better than repeatedly rebuilding the campaign maps.
- Save and restart if a notification does not appear. Check that the Close Encounters DLC is installed, then cure one more qualifying patient to refresh the counter.
If an achievement still refuses to unlock, verify the DLC files through Steam, load the hospital that meets the condition, and let one full patient cycle complete. Avoid mods while troubleshooting, since modified files can interfere with achievement tracking. You can also consult the official Steam community discussions and the Steam achievement list for the current wording on your platform.
Close Encounters is at its best when you stop treating the achievements as a checklist and build a hospital that can actually absorb the weirdness. Three-star the maps methodically, protect your cure rate, and reserve the final alien cures for a purpose-built cleanup clinic. Follow that order and the full achievement set becomes a controlled management exercise instead of a second campaign of queue-induced panic.