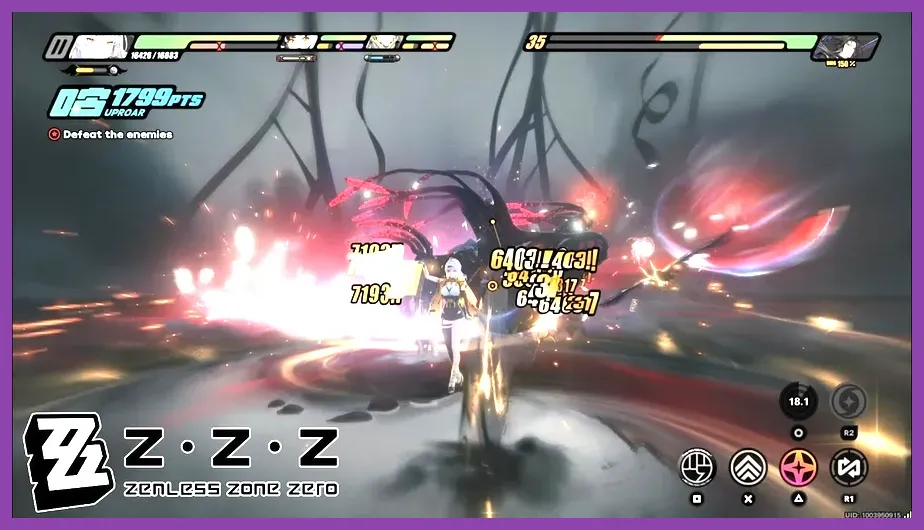
To beat the final boss in Zenless Zone Zero, you must master the quick assist counter mechanic, manage your Decibel rating for burst windows, and aggressively stack Daze damage to bypass its hyper-armor phases. The encounter demands precise timing against sweeping laser telegraphs in Phase 1 and relentless melee combos in Phase 2, making optimal agent synergy and disk drive builds non-negotiable for survival.
Preparing the Optimal Team Composition and Loadout
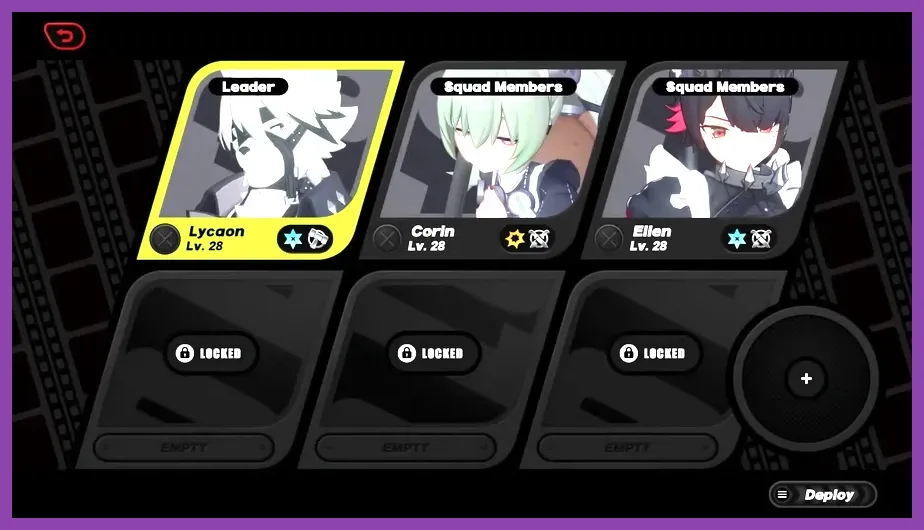
Success against this endgame threat begins long before you step into the Hollow arena. Bringing a balanced squad that maximizes elemental advantage and stagger efficiency is critical. For instance, pairing a high-impact Stun agent like Lycaon or Anby Demara with a heavy-hitting Attack agent such as Ellen Joe or Zhu Yuan creates the ideal damage loop. Additionally, ensure your support slot features someone like Nicole Demara for defense reduction or Soukaku for localized attack buffs.
Before launching the mission, check your W-Engines and Drive Discs. Your primary damage dealer should carry fully upgraded level 50+ W-Engines with matching elemental stats. If you need inspiration on how to structure your squads effectively, review this team composition guide for foundational synergy principles, or check out how specialized roles work in our solo player breakdown. Remember that managing your energy reserves and sub-stats on your 4-piece and 2-piece Drive Disc sets will make or break your DPS output during the narrow vulnerability windows.
Phase 1: Navigating Laser Telegraphs and Ranged Attacks
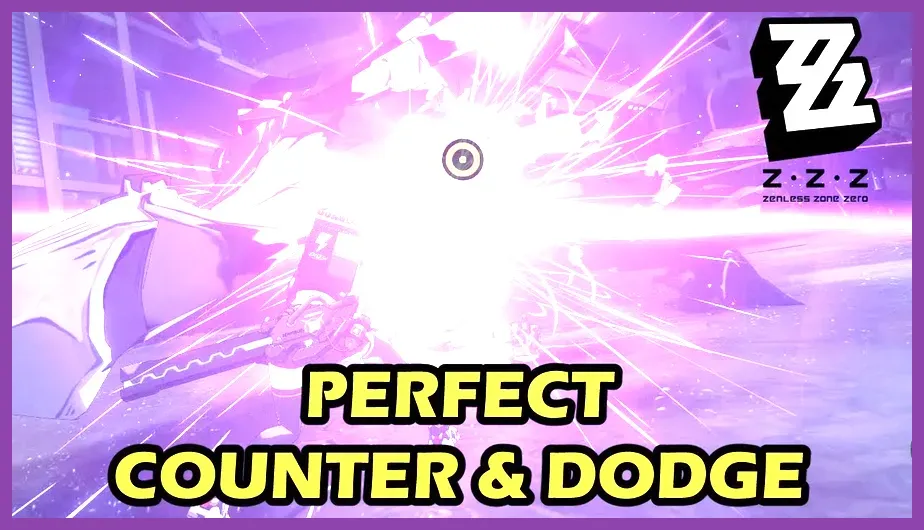
As the battle commences, the boss immediately takes to the center of the arena, unleashing wide circular AOE shockwaves and delayed linear laser grids. You must watch the boss's shoulders and core glow; a sharp blue flash indicates a normal attack that can be parried with a defensive assist, while a bright yellow or red glint signals an unblockable strike that requires an immediate evasive dash.
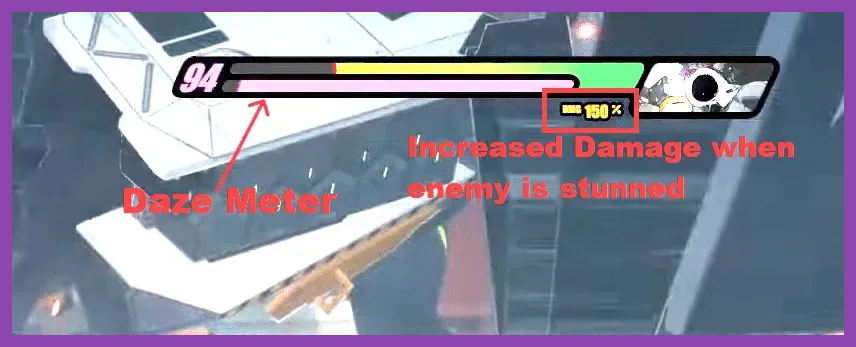
During Phase 1, do not get greedy with basic attack strings. Use your Stun character to pepper the boss with rapid multi-hit combos to build up the Daze meter. Once the Daze gauge fills and the boss enters a staggered state, immediately swap to your main DPS agent. Trigger a Chain Attack sequence to unleash your heavy elemental multipliers. If you are struggling with execution speed or mechanical reflexes, brush up on fundamental farming loops using insights from this crafting and farming guide to ensure your gear upgrades are fully maxed out before attempting the fight again.
Phase 2: Breaking the Shield and Managing Corruptive AOE
Once you deplete the boss's first health bar, Phase 2 begins with an aggressive screen-wide corruption pulse that drains your active agent's health over time if you linger in hazard zones. The boss gains a persistent energy shield that reduces incoming physical and elemental damage by 40%. To shred this shield rapidly, you need to trigger Attribute Anomalies by alternating between your chosen elements.
Keep your eyes locked on the boss's rapid-fire claw lunges and ground slams. Execute consecutive Perfect Dodges to trigger Slow Motion, allowing you to reposition behind the boss's blind spot. For players who love maximizing character potential through optimal build paths, take a look at our gear optimization strategies or explore advanced tactical rotations detailed in our team synergy guide to refine your positioning instincts.
Executing the Ultimate Burst and Securing Victory

The final 25% health bar is a pure DPS check where the boss enrages, increasing attack speed and shortening the recovery frames after its heavy attacks. Save your accumulated Decibel Rating until the boss finishes its longest recovery animation—typically right after it slams both fists into the ground, leaving its core exposed for four full seconds.
Unleash your Ultimate skill back-to-back across your agents to drain the remaining health pool before the hard enrage timer forces a wipe. If your current build falls short, consider exploring community resources and official updates via the Steam Platform hub or checking out the latest promotional updates on the HoYoverse Portal for additional combat insights. Stay patient, learn the telegraph audio cues, and execute your combo rotations cleanly to secure your victory.