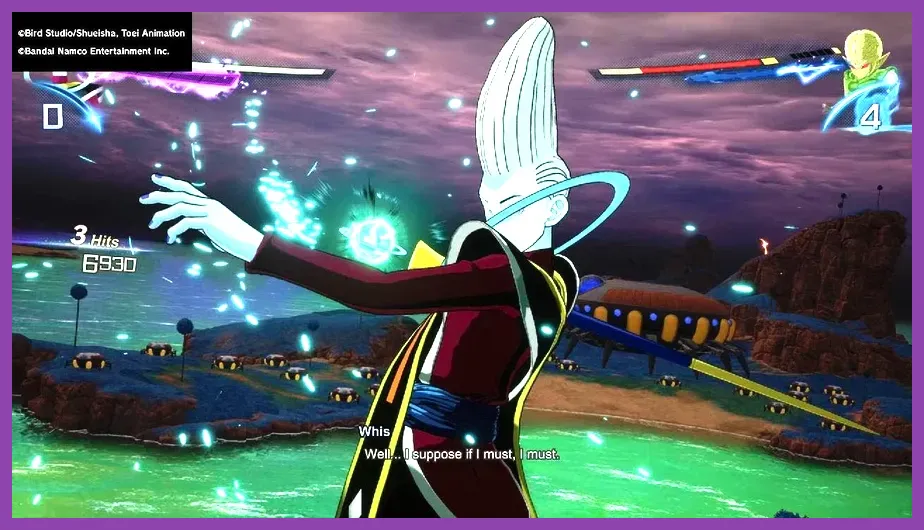
To beat the hardest boss in Dragon Ball: Sparking! ZERO—specifically the notoriously difficult Whis battle in the Episode Battle mode—you must abandon aggressive mashing and instead master the Perception Skill, time your Revenge Counters, and equip specific Ability Items like Ki-Regen and Master Turtle's Kamehashirt. Whis boasts frame-advantageous normals, automatic dodging mechanics that drain your Skill Count, and devastating unblockable follow-ups that can wipe your health bar in two combos if you fail to react.
Understanding Whis and His Combat Mechanics
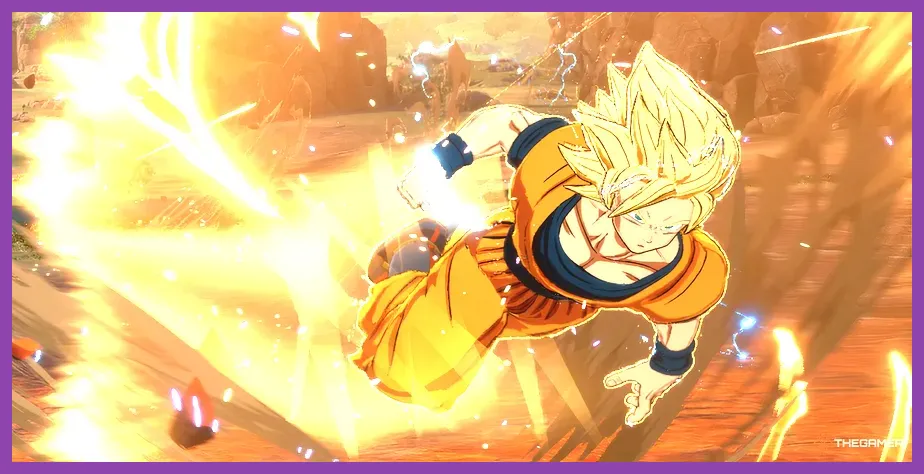
Whis is widely considered the ultimate skill check in Spike Chunsoft's arena fighter. Unlike standard opponents who leave massive openings after a Vanishing Attack, Whis operates under Autonomous Ultra Instinct logic during key phases of the encounter. His baseline stats give him superior tracking, infinite Ki regeneration, and the ability to instantly punish any raw Smash Attack you throw his way.
When approaching this fight, you need to understand his primary threat zones. Whis relies heavily on rapid-fire energy wave barrages that chip away at your guard health, followed by a sudden High-Speed Rush. If you attempt to dash straight toward him while he is glowing blue, you will trigger his counter-animation, leaving you stunned and vulnerable to a Super Attack. For players looking to expand their tactical combat knowledge across various titles, checking out resources like the Tekken 8 best team comp synergy guide or exploring the Smite best class for solo players highlights how critical boss mechanics and spacing truly are.
Step-by-Step Strategy to Break Whis's Defense
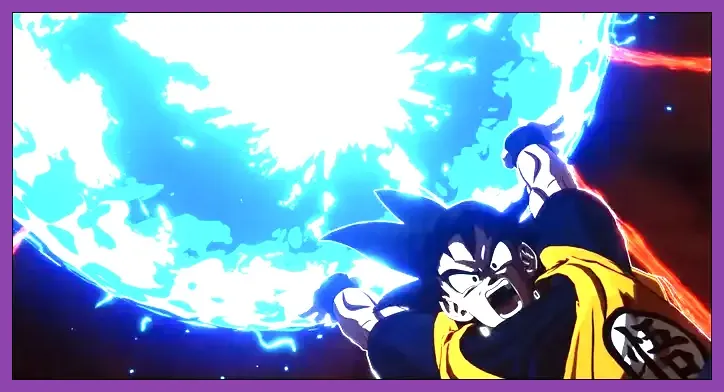
Defeating Whis requires a methodical, phase-based approach. You cannot simply overpower him with raw numbers; you must outsmart his programming using precise defensive inputs and optimal spacing management.
Phase 1: Neutral Game and Guard Management
In the opening minute, Whis will test your reflexes with standard melee strings. Do not drop your guard unless you are actively sidestepping.
- Hold the Guard button (R1 on PlayStation, RB on Xbox) while tapping the Left Stick up or down to perform a Z-Search step instead of a heavy dash.
- Conserve your Skill Count for instant transmission evasions rather than spending them on immediate Blast 1 buffs.
- Punish his missed grabs with a standard square/X combo, but cap it at four hits before he recovers his armor.
Phase 2: Exploiting the Post-Super Attack Window

Whis will frequently transition into his ultimate cinematic attack, "Prelude to Destruction." When this happens, your positioning dictates your survival.
- As soon as the camera cuts to his startup animation, immediately perform a Vanishing Assault if you have enough movement gauge, or hold your block and mash the step-dodge button to minimize splash damage.
- The exact frame window after his Super Attack ends leaves him open for a split second. Use this exact moment to charge your Ki to maximum capacity.
- Never unleash an Ultimate Blast while he is in his neutral stance; he will sidestep it effortlessly. Always chain your Ultimate into a heavy knockdown combo or a Dragon Homing Dash stun.
Recommended Ability Items and Build Loadout
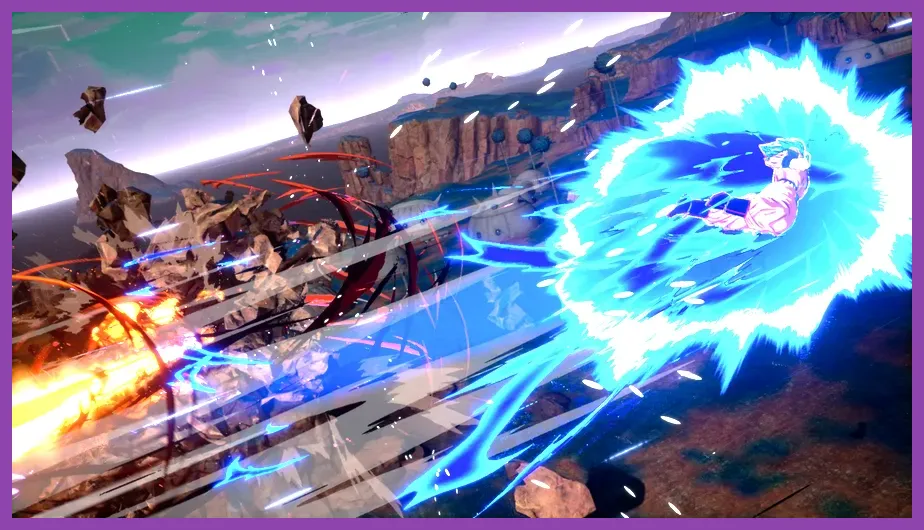
Your character build dictates whether this fight takes three attempts or thirty. Before queuing into the battle, visit the customization menu and equip your fighter with high-tier stat boosters. If you enjoy optimizing character loadouts and builds, you can also look at guides like the Starfield how to get legendary weapons fast or the Subnautica 2 best early skills to unlock for similar progression optimization tips.
For the Whis boss fight specifically, equip these three mandatory Ability Items:
- Master Turtle's Kamehashirt: Increases your overall melee damage output while slightly reducing incoming damage from energy blasts.
- Ki Control Device (Max Tier): Speeds up your natural Ki accumulation, allowing you to enter Sparking Mode much faster without having to manually charge in the open.
- Advanced Z-Counter Circuit: Expands your input window for executing perfect Perception blocks and Revenge Counters against high-speed rush attacks.
Advanced Defensive Techniques: Mastering Revenge Counters
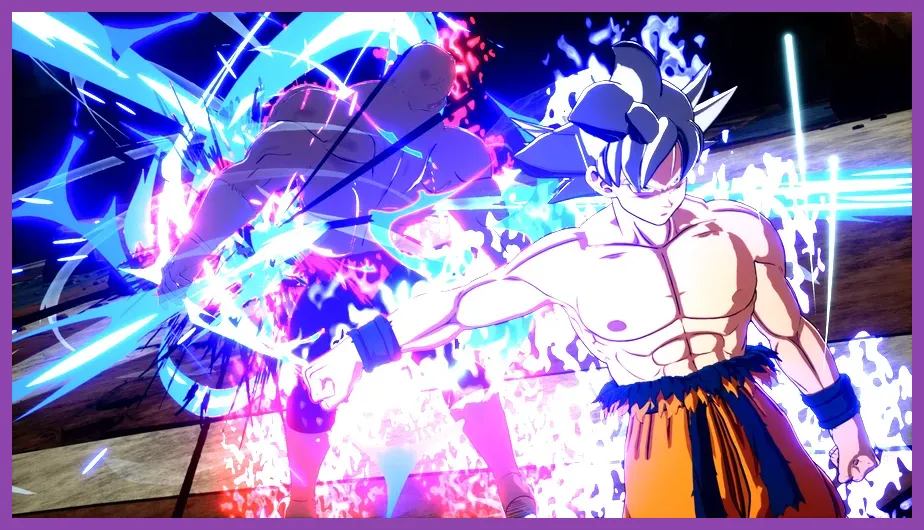
Standard blocking will only get you so far because Whis's combo pressure rapidly drains your guard durability meter until your posture breaks. To truly neutralize his offense, you must rely on the Revenge Counter mechanic.
Press Forward + Block simultaneously the exact frame Whis connects with his physical strike. If timed correctly, you will instantly teleport behind him, knocking him away and resetting the neutral game. This interrupts his endless combo strings and forces him back to a defensive stance. Practice this timing in the Bandai Namco training mode against a CPU set to Super difficulty before attempting the actual boss encounter.
Additionally, keep an eye on your character roster and match synergy. Similar to managing assets in the Squad Busters best weapons tier list or evaluating characters in the Squad Busters tier list all characters ranked for 2026, knowing your fighter's specific strengths allows you to exploit enemy elemental and physical weaknesses much more effectively.
Executing the Final Phase and Securing Victory
Once Whis drops below 25% health, his aggression multiplies exponentially, and he will spam his most damaging super attacks back-to-back. This is where patience turns into victory. Stay calm and do not get greedy with extended combos.
Bait out his rush attack by standing still at mid-range, side-step at the last microsecond, and activate Sparking Mode immediately. While in Sparking Mode, your Super and Ultimate attacks require zero Ki cost to execute. Spam your unblockable Blast 2 specials consecutively to drain his remaining health bar before he can recover his stamina. Follow these precise steps, manage your defensive counters, and you will finally conquer the most brutal challenge in Dragon Ball: Sparking! Zero.