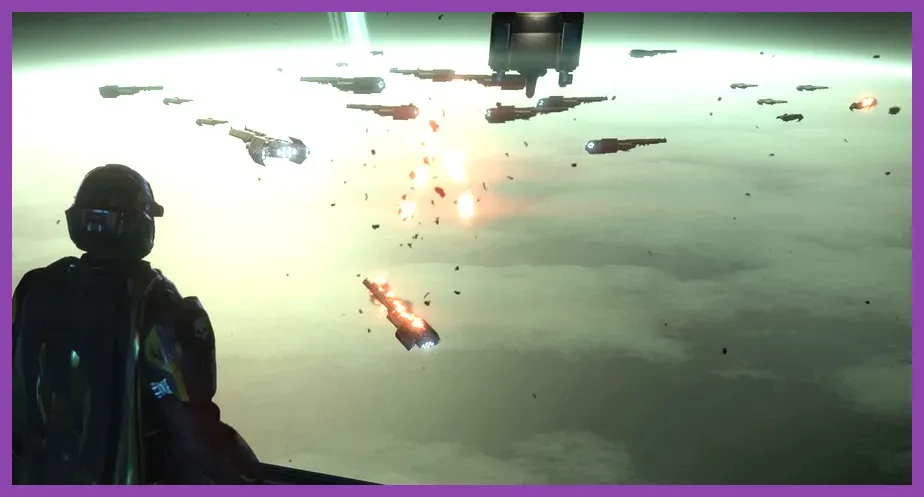
The best starting build in Helldivers 2 relies on the SG-8 Punisher shotgun, the P-19 Redeemer machine pistol, the default B-01 Tactical armor, and a core stratagem loadout featuring the Eagle Airstrike, MG-43 Machine Gun, EAT-17 Expendable Anti-Tank, and Orbital Precision Strike. This specific combination unlocks completely by Level 3 to 5, requiring minimal Requisition Credits and Medals while offering supreme crowd control, light-to-heavy armor destruction, and top-tier survivability against both Terminid bugs and Automaton bots.
The Ultimate Early-Game Helldivers 2 Starter Build
Dropping into Galactic War missions for the first time can feel overwhelming when faced with relentless Bug breaches and Automaton drop ships. While high-level players flex endgame equipment like the APW-1 Anti-Materiel Rifle or the Railgun, novice recruits have access to extraordinarily powerful gear right from their initial drops on Super Earth's behalf. Building an optimized starter loadout is not about grinding endlessly; it is about combining weapons and stratagems that complement each other's armor penetration tiers and area-of-effect capabilities.
Much like optimizing your operational strategy in tactical games or setting up co-op combat synergy in modern action RPGs, Helldivers 2 demands clear role coverage. A great starter build must accomplish three core tasks simultaneously: clear swarms of small trash mobs, destroy nests and fabricators efficiently, and punch through heavy physical armor when chargers or hulks step onto the battlefield.
Here is a complete summary overview of the definitive starter loadout:
- Primary Weapon: SG-8 Punisher (Unlocked on Page 1 of 'Helldivers Mobilize!' Warbond for 4 Medals)
- Secondary Weapon: P-19 Redeemer (Unlocked on Page 2 of 'Helldivers Mobilize!' Warbond for 15 Medals)
- Throwable: G-12 High Explosive Grenade (Default unlock)
- Armor Set: B-01 Tactical (Default set featuring the Extra Padding passive)
- Support Weapon Stratagem: MG-43 Machine Gun (Default unlock) OR EAT-17 Expendable Anti-Tank (Unlocked at Level 3 for 3,000 Requisition)
- Offensive Stratagem 1: Eagle Airstrike (Unlocked at Level 2 for 4,000 Requisition)
- Offensive Stratagem 2: Orbital Precision Strike (Default unlock)
- Defensive / Utility Stratagem: Machine Gun Sentry (Default unlock) OR Patriot/Guard Dog Rover (Unlocked at Level 10)
Primary and Secondary Weapons: The Ideal Early Loadout
While the default AR-23 Liberator assault rifle is a balanced, easy-to-use weapon with light armor penetration (405 DPS, 45-round magazine), it rapidly falls off when facing aggressive enemies like Terminid Stalkers, Hunters, or Automaton Devastators. For your primary slot, your very first investment in the Warbond store should be the SG-8 Punisher.
Primary Weapon: SG-8 Punisher
The SG-8 Punisher costs just 4 Warbond Medals on Page 1 of the free Helldivers Mobilize! battle pass. It deals a staggering 405 physical damage per shot across a tight pellet spread. More importantly, it possesses unmatched knockback force and rounds-reload functionality. Unlike magazine-fed weapons where reloading discards unfired rounds, the Punisher allows you to top off single shells mid-combat between shots. When a Stalker or Berserker rushes toward you, a single shell from the Punisher instantly staggers them backwards, breaking their attack animation and keeping you completely safe.
Secondary Weapon: P-19 Redeemer
For your sidearm, immediately save 15 Warbond Medals to reach Page 2 and purchase the P-19 Redeemer. This fully automatic machine pistol fires at a blistering 1,100 rounds per minute, outputting raw burst damage that exceeds many primary assault rifles. Because the SG-8 Punisher fires slowly, the Redeemer acts as your emergency "panic button." If small Hunters jump into your personal space or Scavengers surround your ankles, swapping to the Redeemer lets you clear the immediate personal zone in less than two seconds. Always toggle the firing mode to semi-automatic or short controlled bursts to preserve your ammunition reserves.
Throwable: G-12 High Explosive Grenade
Do not swap off the starting G-12 High Explosive Grenade until you unlock the G-16 Impact much later. The G-12 features a 3.5-second fuse delay and a broad 400-damage blast radius. The delayed fuse makes it ideal for banking shots directly into Bug Holes and Automaton Fabricator vent slots from distance, instantly closing down enemy spawn points without spending precious stratagems.
Best Early Armor and Passive Perks
Many new players quickly spend hard-earned Warbond Medals purchasing decorative light or heavy armor sets on early pages, unknowingly lowering their survival stats. In Helldivers 2, armor rating directly mitigates bodily damage, headshot multipliers, and explosive splash impact.
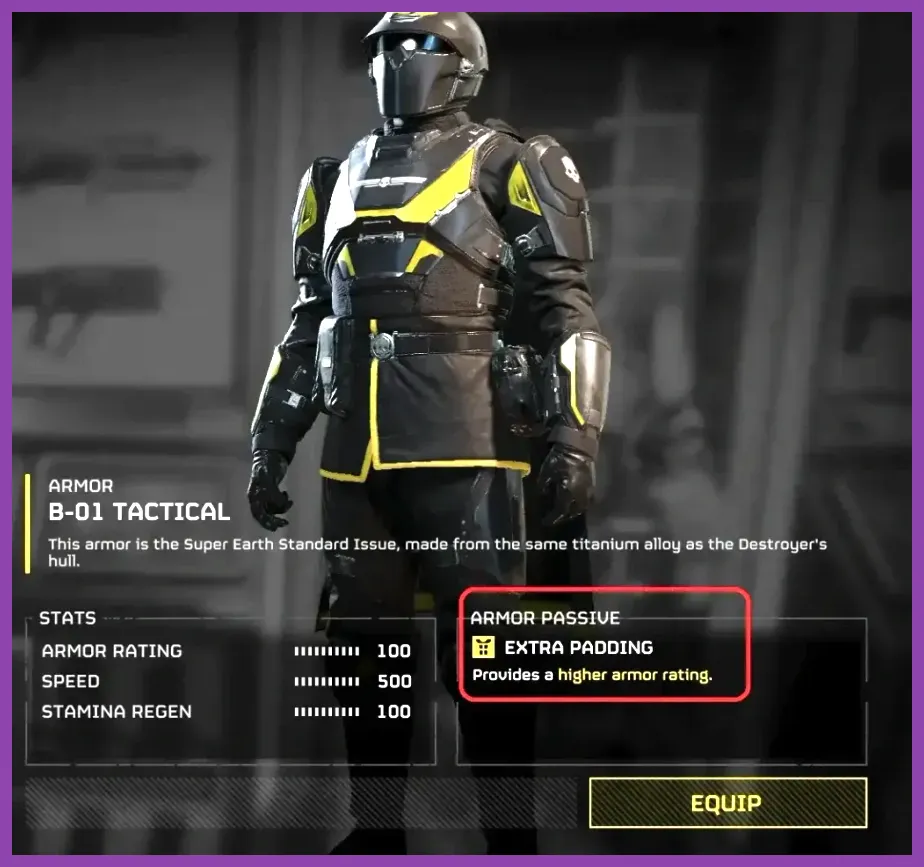
The single best body armor for early gameplay is actually your starting gear: the B-01 Tactical.
Why B-01 Tactical Outperforms Early Upgrades
The B-01 Tactical is a Medium class armor set, granting a baseline Speed rating of 500 and a Stamina Recovery rating of 500. However, its unique passive perk is Extra Padding. Extra Padding grants an additional +50 Armor Rating, raising the B-01 Tactical's defensive protection from 100 up to 150. This gives you the exact mitigation value of Heavy Armor while retaining the high movement speed and rapid stamina regeneration of Medium Armor.
| Armor Set | Armor Rating | Speed | Stamina Recovery | Passive Perk |
|---|---|---|---|---|
| B-01 Tactical (Medium) | 150 (via perk) | 500 | 500 | Extra Padding (+50 Armor) |
| SC-34 Infiltrator (Light) | 70 | 530 | 530 | Scout (Radar & Scan) |
| SA-12 Servo-Assisted (Medium) | 100 | 500 | 500 | Servo-Assisted (+30% Throw distance) |
If you prefer a stealthier playstyle focused on solo objective rushing or samples collection, purchase the SC-34 Infiltrator light armor from Page 1 of the Warbond (2 Medals). Its Scout perk reduces enemy detection radius by 30% and places radar scans on map markers, enabling you to slip past dangerous Automaton patrols completely undetected.
Top Low-Level Stratagems to Unlock First
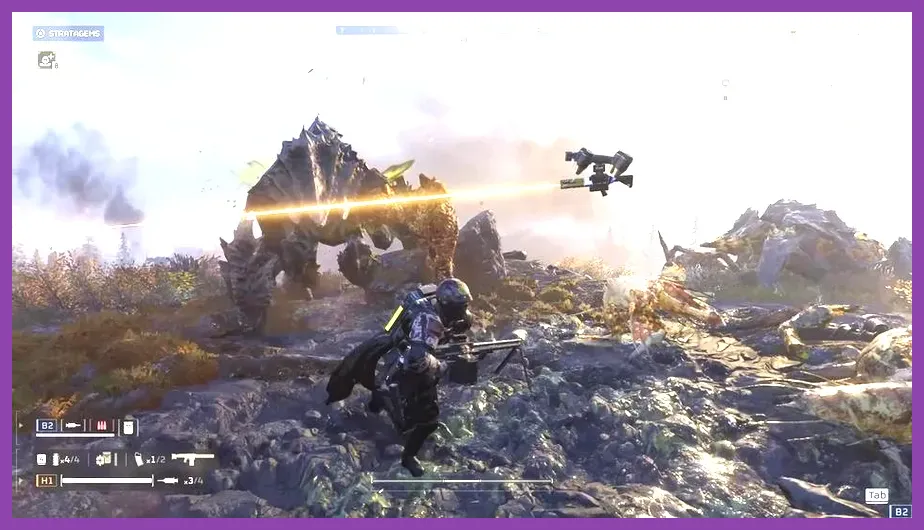
Stratagems form the core backbone of offensive power in Helldivers 2. However, Requisition Credits are tight during your initial 10 levels. Spending your funds on high-cooldown, niche call-ins will severely limit your combat effectiveness. Just as optimizing hardware using targeted graphics configuration guides maximizes framerates, selecting high-utility stratagems maximizes efficiency per drop.
Focus your initial Requisition budget on this exact unlock order:
1. Eagle Airstrike (Unlock Level 2 | Cost: 4,000 Requisition)
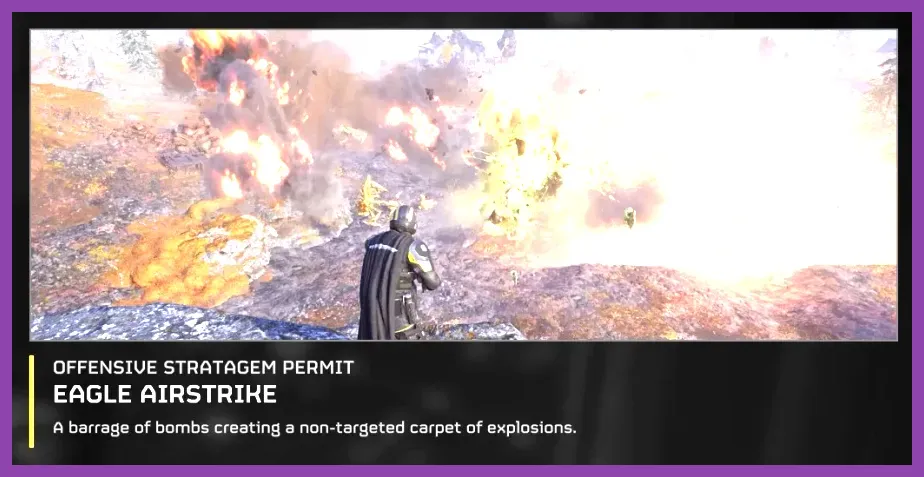
The Eagle Airstrike is arguably the single best all-around stratagem in the game, remaining an S-Tier staple all the way into Helldive (Difficulty 9) missions. It releases a perpendicular carpet of high-explosive bombs that wipes out swarms of infantry, destroys medium armor enemies (Automaton Devastators, Hulk weak points, Terminid Spewers), and demolishes enemy buildings including Bug Holes and Fabricators. With a base call-in time of under 1 second and multiple uses before requiring a brief Eagle Rearm, it outclasses almost every early alternative.
2. EAT-17 Expendable Anti-Tank (Unlock Level 3 | Cost: 3,000 Requisition)
Once you reach Challenging (Difficulty 3) and Medium difficulty missions, armored units like Chargers and Automaton Tanks begin spawning regularly. Light weapons bounce off their heavy plating completely. The EAT-17 solves this problem instantly. With a remarkably low 70-second cooldown, calling down an EAT drops two disposable rocket launchers on the field. A single launcher shot directly to a Charger's leg strips away its heavy shell, allowing you to quickly kill it with your primary shotgun. Because you drop these constantly, dying and losing your weapon carries zero long-term penalty.
3. MG-43 Machine Gun (Default Unlock)
Your default starter support weapon, the MG-43 Machine Gun, features medium armor penetration, high capacity (175 rounds per drum), and adjustable fire rates (450, 650, or 900 RPM). It easily punches through medium-armored targets like Hive Guards and Automaton Striders. Remember to crouch or prone while firing to suppress recoil, and always reload while sitting safely behind cover, as stationary reloading leaves you vulnerable.
4. Orbital Precision Strike (Default Unlock)
Do not underestimate your starting orbital call-in. Following recent balance patches by Arrowhead Game Studios, the Orbital Precision Strike features a fast 2-second call-in timer and high explosive penetration capable of deleting stationary heavy targets, Bile Titans, and Automaton Command Bunkers. Pair it with a stun grenade or direct agro to pin down heavy bosses directly inside the targeting beam.
Terminids vs. Automatons: Tactical Adaptations
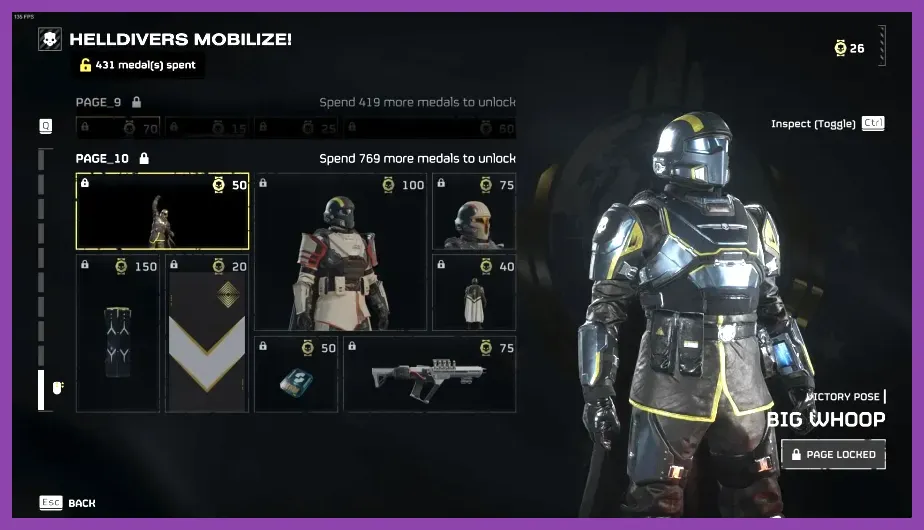
Your starter build requires slight adjustments based on which faction front you deploy to. The galactic conflict features vastly different tactical threats depending on whether you are fighting bugs or bots.
Adapting the Starter Build for Terminids (Bugs)
Terminids rely on sheer swarming numbers and fast melee flankers (Hunters, Leapers). When fighting on bug planets:
- Combat Rotation: Lead engagements with your MG-43 or Eagle Airstrike to thin out incoming waves. Switch to the SG-8 Punisher when enemies close into medium range to take advantage of its staggering blast.
- Stalker Counterplay: When hit by cloaked Stalkers, do not run away. Fire the SG-8 Punisher straight into their torso to instantly stagger them back and break their lethal tongue whip attack.
- Charger Counterplay: Wait for a Charger to initiate its sprint, step side-ways at the last moment, drop an EAT-17 call-in, grab the launcher, and fire directly into its exposed front leg joint. Finish it off with primary weapon fire.
Managing squad leveling pace during long galactic campaigns requires consistent mission completion, much like adopting efficient leveling strategies in complex games to unlock vital upgrades early.
Adapting the Starter Build for Automatons (Bots)
Automatons operate as tactical, ranged infantry unit formations heavy on rocket artillery and energy shields. When fighting on bot planets:
- Cover Usage: Standing in the open against Automatons is immediate suicide. Always fight from high cover or behind terrain dips.
- Devastator Counterplay: Aim the SG-8 Punisher or P-19 Redeemer directly at the unarmored red glowing head unit of Devastators and Berserkers. The Punisher's heavy impact will prevent missile-firing Devastators from launching rockets.
- Fabricator Destruction: Throw your G-12 grenades directly into the glowing top vent slots of Automaton Fabricators, or call down an Eagle Airstrike sideways across the building structure.
Warbond Medal and Requisition Spending Priority
To keep progression smooth during your first 15 hours in Helldivers 2, avoid spreading Warbond Medals thin across cosmetic capes or secondary emotes early on. Follow this streamlined purchase progression order to build your arsenal effectively:
Phase 1: Mobilize Warbond Page 1 & 2 (Level 1–5)
- Spend 4 Medals on Page 1 to acquire the SG-8 Punisher Shotgun.
- Spend 2 Medals on Page 1 for the SC-34 Infiltrator Armor (if you want lightweight speed/stealth).
- Unlock Page 2 by spending Medals on cheaper utility slots.
- Spend 15 Medals on Page 2 to acquire the P-19 Redeemer Machine Pistol.
- Purchase the Eagle Airstrike (4,000 Requisition) and EAT-17 (3,000 Requisition) from the Ship Management terminal.
Phase 2: Transitioning to Mid-Game (Level 6–10)
Once your core starter loadout is fully locked in, begin saving your resources for essential mid-game utility unlocks. At Level 10, spend 3,500 Requisition to unlock the "Guard Dog" Rover backpack stratagem (found on the Engineering Bay tab). The Rover equips a laser drone that automatically hovers over your shoulder, severing the heads of surrounding swarmers and light units without consuming main weapon ammunition.
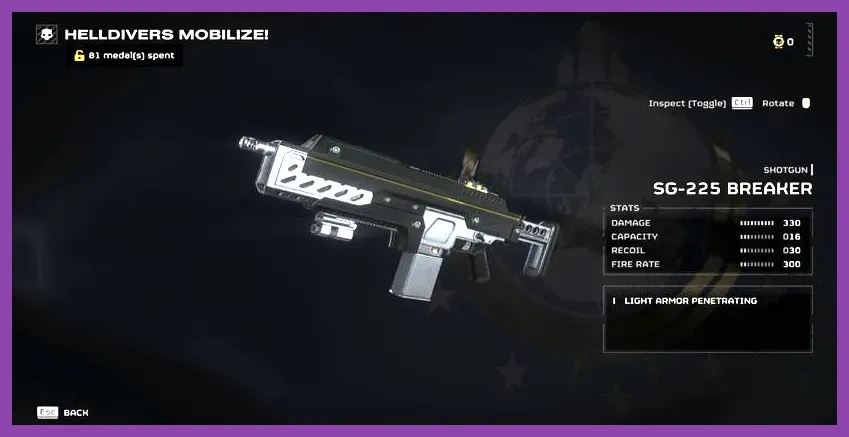
Additionally, work through Warbond pages toward the SG-225 Breaker shotgun (Page 4) and the G-16 Impact Grenade (Page 6). For players looking to master resource allocation across high-stakes titles, reviewing overall progression blueprints—like structured endgame build guides or gear priority breakdowns—demonstrates how efficient early resource spending lays the baseline foundation for late-game success.
By relying on the B-01 Tactical's survival stats, the staggering punch of the SG-8 Punisher, the rapid burst emergency power of the P-19 Redeemer, and the heavy structural demolition of the Eagle Airstrike and EAT-17, you will step onto any planet fully equipped to spread Managed Democracy across the galaxy.