Before you start playing Halo Infinite on PC, lock down three things first: a stable frame rate, sensible input settings, and a clear understanding of its arena fundamentals. The game is free to play on Steam, but it is not a casual shooter underneath the armor. Halo’s generous shields, long weapon time-to-kill, radar information, equipment cooldowns, and map-control economy make every fight a small tactical puzzle. If your PC is stuttering or you are treating it like Call of Duty, the first few hours can feel brutally confusing.
This is the useful version of the beginner briefing: what your hardware needs, which settings actually matter, how the multiplayer sandbox works, why the Battle Pass does not unlock campaign content, and which weapons and abilities deserve your attention. For baseline troubleshooting, Steamoz’s guide to stopping PC crashes and rescuing FPS is also worth keeping nearby, even though the fixes are not Halo-specific.
Check Your PC Before Downloading Halo Infinite

Halo Infinite is scalable, but its large maps, dynamic effects, and online simulation can punish unstable systems. The official PC requirements call for Windows 10 64-bit, 8GB of RAM, and an Intel i5-4440 or AMD FX-8370 at minimum. The minimum GPU target is a GeForce GTX 1050 Ti or Radeon RX 570 with 4GB of VRAM. Recommended hardware rises to a Core i7-8700 or Ryzen 7 3700X, 16GB of RAM, and an RTX 2070 or Radeon RX 5700 XT.
Those specifications should not be read as a promise of locked performance at every resolution. The minimum tier is aimed at playable 1080p settings, not a perfect competitive experience. In multiplayer, consistent frame pacing matters more than attractive shadows. A machine that averages 90 frames per second but repeatedly dips into the 40s can feel worse than one holding a flat 60.
| Component | Minimum | Recommended | Competitive Target |
|---|---|---|---|
| CPU | Intel i5-4440 or AMD FX-8370 | Intel i7-8700 or Ryzen 7 3700X | Modern six-core CPU |
| GPU | GTX 1050 Ti or RX 570, 4GB | RTX 2070 or RX 5700 XT | RTX 3060 Ti or faster |
| Memory | 8GB RAM | 16GB RAM | 16GB dual-channel RAM |
| Storage | 50GB available space | SSD strongly preferred | NVMe SSD for faster loading |
| Display | 1080p, 60Hz | 1080p or 1440p | 1080p or 1440p, 120Hz+ |
Install the game on an SSD if you can. It will not magically raise your average FPS, but it shortens loading and reduces the misery of moving between menus, matches, and campaign zones. Close browser tabs and recording software while testing, then use Halo Infinite’s built-in benchmark under Settings and Video. Watch the one-percent lows, not only the headline average.
There is another practical distinction: multiplayer is free, while the campaign is a separate purchase. The free multiplayer package includes Arena, Big Team Battle, Forge, custom games, and seasonal progression, but buying the campaign does not grant campaign co-op split-screen. Check the official Halo Infinite Steam page for the current package details and storage requirements.
Use These PC Settings for Smooth Competitive Play
Do not begin by copying a streamer’s settings line for line. Start with a frame-rate target your system can actually maintain, then tune image quality around it. Set the maximum frame rate a little below the refresh rate of your monitor if you use variable refresh rate. For a 144Hz display, a 141 FPS cap can produce cleaner pacing than letting the game slam into an inconsistent 160 and fall back.
Resolution scaling deserves special attention. If native 1440p is too expensive, lowering the render resolution through the resolution scale can preserve the same user interface while reducing GPU load. The trade-off is a softer image, especially around distant silhouettes. That matters in Halo because a tiny head peeking over cover can be the difference between a clean burst and a wasted magazine.
| Setting | Recommended Value | FPS Impact | Visual Trade-Off |
|---|---|---|---|
| Quality Preset | Custom | Baseline | Lets you target individual bottlenecks |
| Texture Quality | Medium or High | Low to medium | High VRAM use, modest performance cost |
| Geometry Quality | Medium | Medium | Lower distant detail and object complexity |
| Shadow Quality | Low or Medium | Medium to high | Less contact shadow definition |
| Cloud Quality | Low | Medium | Less atmospheric detail over Zeta Halo |
| Terrain Quality | Medium | Medium | Less terrain detail at long range |
| Effects Quality | Low or Medium | Medium | Reduced explosions, particles, and visual clutter |
| Async Compute | Test On and Off | Hardware-dependent | Can improve GPU utilization on some systems |
| Resolution Scale | 100% if possible | Very high when lowered | Lower values soften the whole scene |
For competitive play, I would sacrifice clouds, shadows, and effects before textures. Textures help the world remain readable, while heavy shadows and effects can obscure players during a chaotic fight. Keep the UI safe zone comfortable, turn on the performance overlay, and make sure your field of view is not so wide that targets become pinpricks. A value between 95 and 105 is a sensible starting point; wider is not automatically better.
Disable motion blur if you want a clean sight picture. Test dynamic resolution rather than rejecting it outright, especially on a 4K display. If your GPU usage sits near 99 percent and frames dip during explosions, lower resolution scale first. If GPU usage is low but frame time spikes during large fights, the CPU or background applications may be the real problem. Steamoz’s max-FPS settings breakdown explains the same diagnostic mindset in another demanding PC game.
Learn Halo’s Sandbox Before Chasing Kills
Halo Infinite’s signature mistake-correction window is its shield system. Spartans normally have 70 shield points and 45 health points beneath them, but the important lesson is not memorizing those numbers; it is understanding shield recharge. After taking damage, a shield begins recharging only after a short period without further hits. The exact timing changes with damage events, but the practical rule is simple: break line of sight immediately instead of trying to win a second duel on one bar of shield.
Headshots matter most after an enemy’s shields break. The MA40 Assault Rifle is a reliable close-to-mid-range automatic weapon with a 36-round magazine, while the BR75 Battle Rifle uses a 36-round magazine and fires three-round bursts. The BR is not just a stronger MA40. It rewards controlled pacing, range management, and accurate final shots. The VK78 Commando carries 20 rounds and sits between an assault rifle and a precision rifle, but its recoil punishes panic spraying.
| Weapon | Magazine | Best Range | What New Players Should Know |
|---|---|---|---|
| MA40 Assault Rifle | 36 rounds | Close to medium | Track the torso, then finish with a headshot after shields pop |
| BR75 Battle Rifle | 36 rounds | Medium to long | Use burst rhythm and prioritize exposed heads |
| MK50 Sidekick | 12 rounds | Close to medium | Fast swap and high finishing potential, but misses are costly |
| VK78 Commando | 20 rounds | Medium | Tap or short-burst instead of holding the trigger forever |
| Needler | 26 rounds | Close to medium | Keep pressure on one target so enough needles embed to supercombine |
| Energy Sword | Energy meter | Melee range | Use corners, elevation, and equipment rather than charging across open ground |
Weapon control is more important than weapon rarity. The Sidekick can finish a cracked opponent quickly, the Mangler can create nasty close-range pressure, and the Needler becomes terrifying when a target refuses to break line of sight. Learn weapon spawn locations in Academy and custom games before relying on them in matchmaking. Power weapons such as the Rocket Launcher and Energy Sword create territory problems: the team that controls the approach to the spawn often wins the weapon before it even appears.
Equipment changes the geometry of a fight. The Grappleshot is not only a mobility tool; it can steal weapons, reach ledges, escape a bad push, or sling you into a melee finish. The Repulsor can launch enemies away from a capture point or send you across a gap. Drop Wall buys a temporary angle reset, while the Threat Seeker reveals nearby enemies through walls for a limited time. Treat equipment as a cooldown resource, not decoration on your HUD.
Understand Arena Rules, Radar, and Team Positioning
Halo Infinite’s Arena modes use four-player teams, and your individual kill count is only one part of the equation. Strong teams trade damage, collapse on isolated enemies, and leave fights before the other side gets a clean reversal. If you are down shields, call the location, retreat, and let a teammate hold the angle. A heroic re-peek usually gives the enemy a free second kill and hands them map control.
The motion tracker gives directional information for nearby enemies, but it is not a complete wallhack. Sprinting and firing make you easier to detect, while crouching suppresses your presence in several situations. Do not crouch-walk everywhere; it is too slow and can destroy your ability to rotate. Instead, use radar deliberately. If a red blip appears near a doorway, bounce a grenade or hold a crossfire rather than sprinting through first.
Grenades are fundamental. Frag grenades bounce and roll, making them ideal for flushing players from cover. Plasma grenades stick to targets and vehicles but have a longer commitment. Spike grenades can shred enemies near walls and corners. A good opening is often grenade damage followed by a precision burst, not a raw weapon duel. On objectives, throw first to force movement, then shoot the escape route.
In Capture the Flag and Strongholds, do not chase kills into the enemy half without a reason. Every rotation should answer a question: are you protecting the objective, denying a power weapon, or creating a numbers advantage? In Oddball, the carrier should not be the first person through a doorway. In Stockpile, grabbing one power seed and surviving can be more valuable than dying while trying to carry three.
Big Team Battle is a different beast. Vehicles, open sightlines, and 12-player teams make battlefield awareness essential. The Warthog is strongest when a driver and gunner move with infantry support; charging alone into a lane with a Skewer is just donating a vehicle. The Mongoose is a rotation tool, not a battering ram. Check corners for the Hydra, Rocket Launcher, and Disruptor before taking predictable routes.
Campaign Progression Is About Movement and FOBs
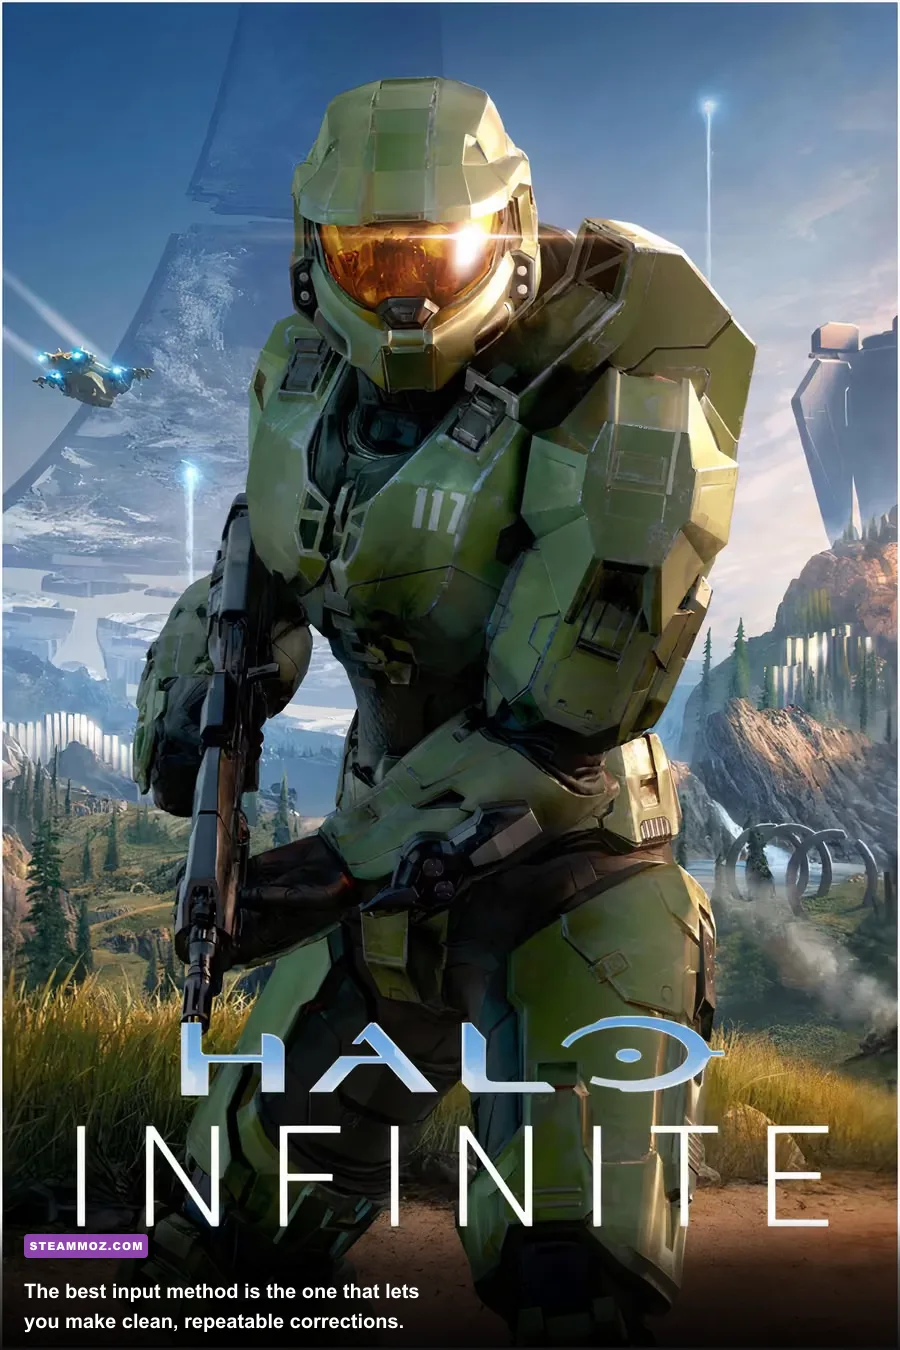
The campaign drops Master Chief onto Zeta Halo and gives you more freedom than older linear Halo games. That freedom can be misleading. You are not meant to clear every enemy camp with the starting MA40. Capture Forward Operating Bases first. FOBs reveal nearby activities, provide fast travel, resupply weapons, and let you call in vehicles. They turn a huge map into a network of manageable routes.
The Grappleshot should be your first serious upgrade priority because it improves both combat and exploration. Its cooldown upgrades let you chain movement more often, reach high ledges, escape Brute pressure, and grab environmental objects. The Shield Core keeps you alive during early outpost fights, while the Threat Seeker helps expose hidden enemies. The Drop Wall is useful, but it becomes more valuable after you understand how to create safe firing angles.
| Priority | Upgrade or Activity | Why It Matters | Best Early Use |
|---|---|---|---|
| 1 | Grappleshot upgrades | Improves mobility, escapes, and exploration | Reach ledges and reposition around Brutes |
| 2 | FOB captures | Unlocks fast travel, vehicles, and weapon access | Build a travel network before deep exploration |
| 3 | Shield Core | Raises survivability during outpost assaults | Absorb mistakes while learning enemy patterns |
| 4 | Threat Seeker | Highlights concealed enemies and threats | Locate Jackals and enemies behind cover |
| 5 | Spartan Cores | Provides upgrade currency | Spend deliberately instead of scattering points |
Enemy leaders also reward patience. Brutes often telegraph attacks with a roar, weapon raise, or aggressive rush. Jackal shields create a narrow vulnerability on the exposed side, so strafe rather than dumping a magazine into the shield face. Hunters are not traditional damage sponges: attack their exposed orange back, bait the fuel-rod swing, and use the Grappleshot to avoid being cornered. The Banished are at their most dangerous when you let them surround you.
Do not rush collectibles at the expense of upgrades and map control. Spartan Cores, Mjolnir Armor Lockers, Forerunner artifacts, and audio logs are rewarding, but clearing a FOB first usually gives you a better return. The campaign’s best moments come from improvising with the sandbox: grapple a fusion coil into a group, Repulsor-launch a Brute off a ledge, hijack a Ghost, or combine a Drop Wall with a precision angle.
Set Up Your Controls and Progression Expectations
Keyboard and mouse players should bind equipment and grenade selection where they can reach them without leaving movement keys. Controller players should test bumper-jumper and custom layouts rather than assuming the default is optimal. The goal is to jump, crouch, melee, grenade, and swap equipment without losing camera control. Halo firefights are won by tiny corrections, so keep mouse acceleration off and choose a sensitivity that lets you turn without making BR bursts wobble.
Controller aim assist is part of Halo’s balance, but it does not rescue bad positioning. Mouse and keyboard offers faster micro-adjustments, while controller can feel more consistent during tracking fights. Neither input is automatically superior in every encounter. Pick one and stop changing it every two matches; muscle memory needs repetition.
The Battle Pass is primarily a cosmetic progression track. It does not make your Spartan stronger, and core gameplay items are not locked behind paid tiers. Daily and weekly challenges award XP, while seasonal events may use separate event passes and objectives. This means you should not play around challenge requirements when the team needs an objective player. The cleanest approach is to learn the modes first and let progression follow naturally.
Finally, expect Halo Infinite to feel slower and more deliberate than many modern shooters. The fastest player is not the one who sprints constantly. It is the one who knows when to sprint, when to shield-recharge, when to rotate, and when to hold a power position. Read the official Halo Infinite hub for live-service updates, and consult the official Halo Support site if connectivity or account problems appear. For more PC performance habits, Steamoz’s guides to crashing and low-FPS fixes and higher-FPS settings cover the same practical troubleshooting workflow.
Get the frame rate stable, learn the BR75’s rhythm, respect shield recharge, and treat equipment as a tactical resource. Once those habits click, Halo Infinite stops looking like a chaotic arena and starts revealing its real appeal: every weapon, ledge, grenade bounce, and ten-second rotation can change the entire match.