The Final Argument is the best dedicated sniper rifle in Just Cause 3 when you want accurate, high-impact shots without giving up the series’ trademark mobility. It outranges ordinary assault weapons, punches through priority targets quickly, and becomes especially nasty when paired with Bavarium-based gear, the Wingsuit, and a fully upgraded grappling hook. It isn’t the best answer for every alarm wave, though: the CS44 Peacebringer is more forgiving up close, while the Bavarium Splitter is better when you need explosive crowd control.
This ranking focuses on practical performance rather than imaginary damage spreadsheets. Just Cause 3 does not expose a clean damage stat for every firearm, and shot impact changes with hit location, enemy type, distance, and whether you hit a vehicle component or a human target. That matters because plenty of weapon tier lists repeat made-up numbers. The useful question is simpler: which weapon solves the situations Rico actually encounters across Medici?

Final Argument weapon tier list

The Final Argument earns S-Tier because it combines precision, range, and reliable target deletion. Its role is not to replace every other gun. Its role is to remove the one target that makes the rest of the encounter dangerous: an alarm operator, armored soldier, helicopter pilot, fuel-tank guard, or missile launcher crew member.
| Weapon | Tier | Best strength | Main weakness |
|---|---|---|---|
| Final Argument | S-Tier | Long-range priority kills and precise sabotage | Slow follow-up shots and awkward under pressure |
| Bavarium Splitter | S-Tier | Explosive damage against vehicles and groups | Less precise; collateral damage can escalate chaos |
| CS44 Peacebringer | A-Tier | Fast, dependable general-purpose fire | Does not match Final Argument at extreme range |
| U-24 Zabava | A-Tier | Rocket pressure against armor and helicopters | Limited ammunition and poor subtlety |
| CS Spectre | B-Tier | Close-range suppression and quick handling | Wastes ammunition at long range |
| Shotguns | B-Tier | Brutal damage inside compounds | Short range and little utility against vehicles |
S-Tier: Final Argument
The Final Argument is at its best before the first siren. From a ridge outside a military base, zoom in and remove the alarm console operator, then hit the communications equipment that can call reinforcements. The rifle’s accuracy makes those opening shots dramatically safer than trying to sprint through the gate with an assault rifle.
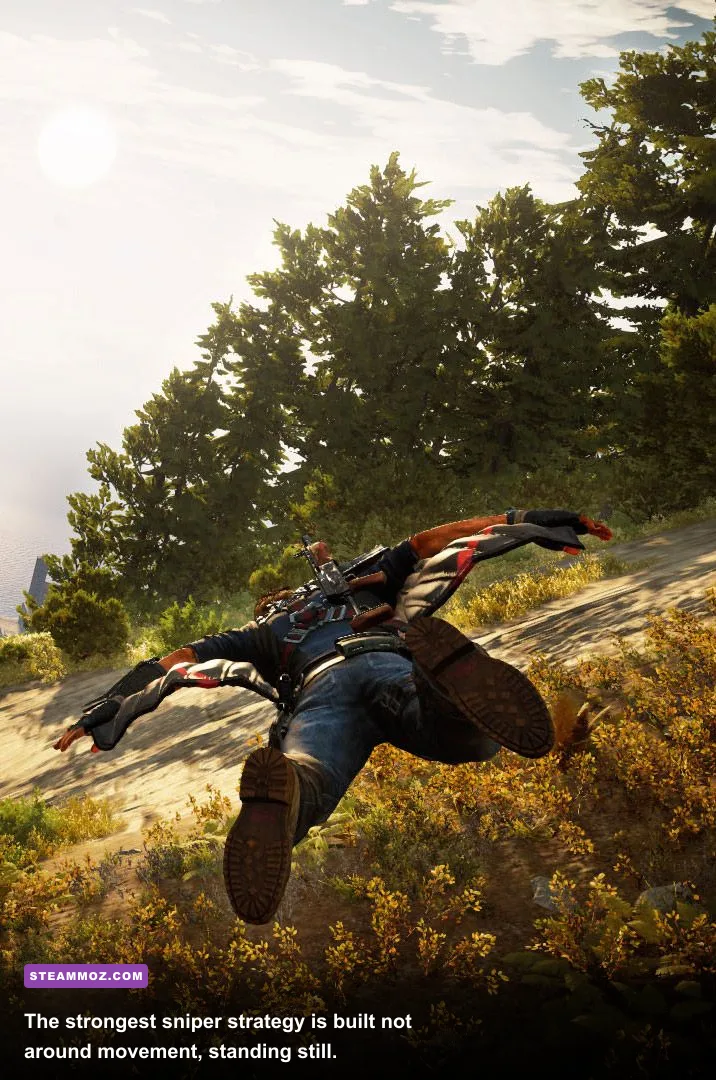
It also rewards patience during active combat. Rico can grapple to a rooftop, take a single shot, then wingsuit away before the response fully forms. That hit-and-relocate rhythm is more effective than camping behind cover, because Just Cause 3’s enemies eventually surround static positions and vehicles keep arriving from awkward angles.
S-Tier: Bavarium Splitter
The Bavarium Splitter is the Final Argument’s natural partner. It fires explosive projectiles that turn armored vehicles, fuel tanks, and dense groups into immediate problems for the enemy instead of Rico. It ranks alongside the sniper rifle because both weapons specialize in high-value targets, but their jobs are opposite: Final Argument is surgical; Bavarium Splitter is a demolition tool.
A-Tier: CS44 Peacebringer and U-24 Zabava
The CS44 Peacebringer is the loadout you choose when you expect the fight to become messy. It handles infantry rushing from multiple directions and gives you a much better emergency weapon than the Final Argument. The U-24 Zabava moves into A-Tier for a different reason. Its rockets are excellent against helicopters, armored cars, and clustered reinforcements, but ammunition scarcity prevents it from being an all-purpose answer.
🎮 Just Cause 3 - Final Argument Sniper Rifle
Looking to experience this game? Grab your digital key directly on our store for $0.74.
View on Steammoz Store →Why Final Argument beats ordinary sniper options
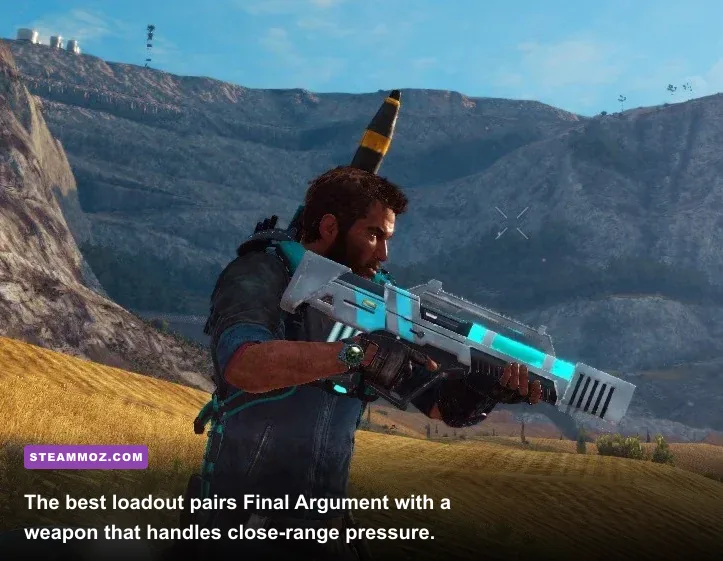
Just Cause 3’s world is built around targets that reward precision. A base can contain a radio tower, alarm panels, transformers, fuel tanks, vehicle-mounted guns, and several soldiers who can trigger reinforcements. Shooting random infantry first feels productive, but it rarely changes the encounter. The Final Argument lets you dismantle the base’s response system in the right order.
Start with the alarm infrastructure. Look for the red alarm panels and the operator stationed close to them. A clean headshot or a carefully placed body shot can remove the immediate threat, but don’t rush to fire at every visible soldier. Use the scope to identify the signal equipment, then prioritize the person who can activate it. Once the alarm chain is broken, the rest of the compound becomes a sandbox instead of a timed emergency.
Next, scan for explosive opportunities. The rifle is powerful on direct hits, but Just Cause 3’s best damage often comes from the environment. Fuel tanks, red explosive barrels, vehicle weak points, and tetherable structures give you better results than repeatedly shooting armored enemies. A Final Argument shot can start the chain; the environment finishes it.
That is also why the rifle feels stronger in Medici’s open terrain than in tight urban spaces. At a coastal base or mountain outpost, you can create distance with the Wingsuit and grappling hook. In a cramped town, enemies appear behind walls and vehicles reach you before the scope becomes useful. The weapon hasn’t become worse; the engagement geometry has changed.
Its real limitation is tempo
The Final Argument’s biggest weakness is the time between shots. Missing once is costly when a helicopter is already firing rockets or a heavy soldier is closing the gap. Don’t treat it like a rapid-fire marksman rifle. Fire, relocate, and switch weapons before the enemy gets a clean read on your position.
For a broader look at weapon ranking logic, compare this with Steamoz’s Ace Combat 7 weapon tier list. The same principle applies: a weapon’s tier depends on the problems it solves, not just its damage ceiling.
The best equipment pairing for Final Argument
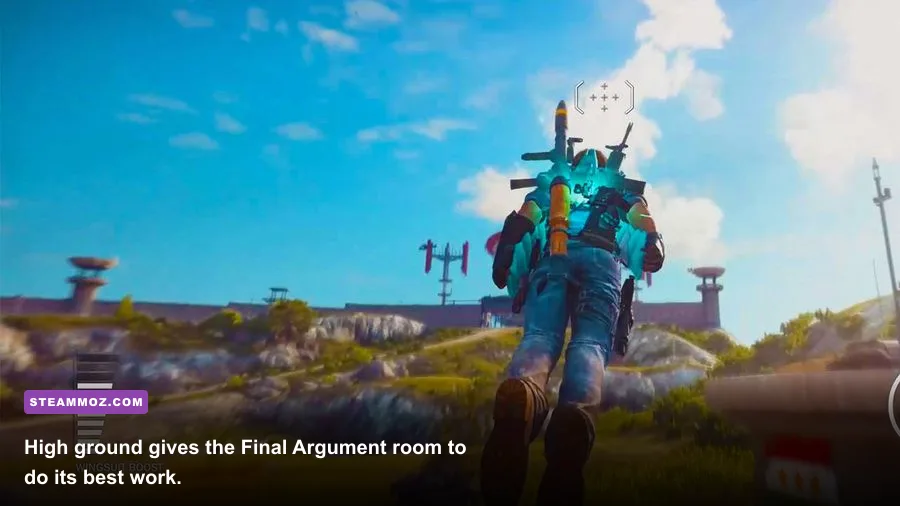
Final Argument should occupy one weapon slot, but your other equipment determines whether it feels dominant or frustrating. The strongest setup gives Rico an answer for infantry swarms, vehicles, and rapid repositioning without forcing him to reload while exposed.
| Equipment | Recommended choice | Why it works | Use it when |
|---|---|---|---|
| Primary precision weapon | Final Argument | Removes priority targets at distance | Opening a base or controlling a ridge |
| Secondary weapon | CS44 Peacebringer | Reliable close and medium-range backup | Enemies breach your position |
| Heavy weapon | Bavarium Splitter | Explodes vehicles and clustered enemies | Armored reinforcements arrive |
| Mobility | Wingsuit and grappling hook | Creates distance and new angles | After every loud engagement |
| Vehicle support | Rebel-dropped helicopter or armored vehicle | Provides a fast escape and extra firepower | During long base liberation fights |
The CS44 Peacebringer is the best conventional backup because it doesn’t compete with Final Argument’s job. It covers the five-second emergency: an enemy reaches the roof, a patrol comes around a corner, or a helicopter drops soldiers directly behind you. The Bavarium Splitter handles the larger emergency. Save it for armored targets and groups rather than spending every shot on ordinary infantry.
Mobility is not optional. Upgrade the grappling hook’s retraction and traversal abilities through the Rebel drop system, and invest in Wingsuit improvements whenever your challenge rewards allow it. Rico survives sniper play by changing elevation and angle. A rooftop, crane, radio tower, and hillside are all temporary firing platforms, not permanent cover.
The game’s official Steam listing for Just Cause 3 makes the open-world promise clear, but the practical takeaway is that your equipment should support movement across that world. A static sniper build wastes half of Rico’s kit.
Final Argument combat rotation that actually works
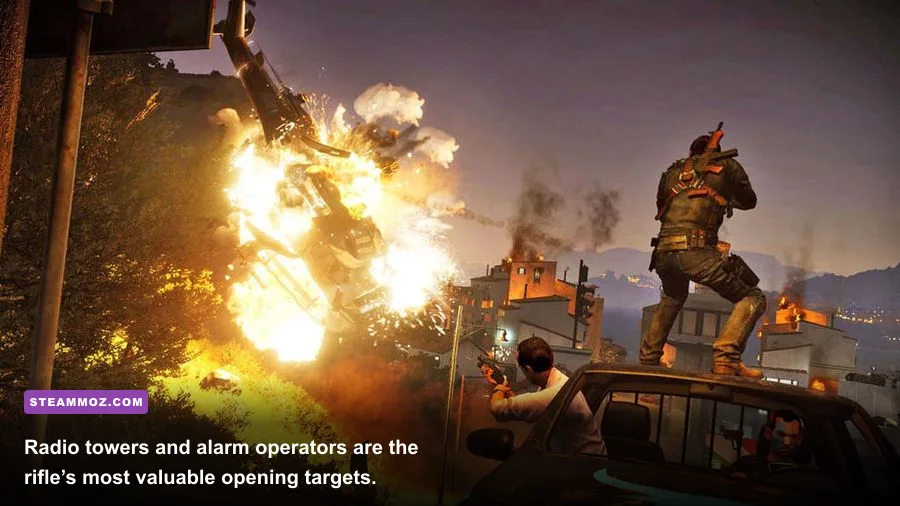
Use this five-step rotation whenever you approach a fortified location. It works particularly well in military bases, police stations, and the larger settlements where alarm systems can turn a quiet infiltration into a full-scale response.
1. Survey before aiming
Grapple to a high point and use the camera to identify alarm panels, generators, helicopters, and heavy weapons. Don’t immediately zoom in. First understand where you’ll move after the shot. The best firing position is one with two escape routes, not necessarily the highest tower.
2. Remove the alarm threat
Target the operator or the panel that can raise the alarm. If several panels are visible, take the one nearest the compound’s central response area. This buys more time than killing three regular soldiers, because it prevents the enemy from multiplying faster than you can fight.
3. Hit exposed vehicle weaknesses
Look for fuel tanks, tires, mounted gunners, and explosive components. A vehicle that loses its weapon is far less dangerous than a vehicle that merely loses health. Use Final Argument for precise component shots, then switch to the Bavarium Splitter if the target needs a decisive finish.
4. Relocate after two or three shots
There’s no prize for defending one rooftop until it collapses. Grapple sideways, wingsuit behind a wall, or land on a nearby platform. Relocation resets the angles enemies use against you and gives the rifle its range advantage again.
5. Switch weapons when the fight compresses
Once soldiers are inside close range, stop forcing sniper shots. Pull the CS44 Peacebringer, use the grappling hook to yank enemies into hazards, or deploy explosive equipment. Return to Final Argument only after you’ve rebuilt distance.
| Encounter phase | Danger | Counter strategy | Best tool |
|---|---|---|---|
| Opening approach | Alarm activation | Identify panels and operators first | Final Argument |
| First response | Vehicle-mounted weapons | Destroy gunner or explosive component | Final Argument or Bavarium Splitter |
| Reinforcement wave | Infantry collapse your position | Grapple and wingsuit to a new angle | Mobility upgrades |
| Close-range pressure | Enemies breach the roof | Stop scoping and clear space quickly | CS44 Peacebringer |
| Extraction | Helicopters and roadblocks | Leave vertically instead of driving through | Wingsuit and grappling hook |
Skill upgrades and challenge priorities
There is no traditional sniper skill tree in Just Cause 3, so the rifle improves indirectly through challenges and gear upgrades. Prioritize upgrades that increase survivability, mobility, and ammunition access before chasing purely destructive options. The weapon already hits hard; your real problem is staying in the right place long enough to use it.
Grappling hook upgrades are the first priority. Better retraction and traversal make it easier to reach a firing position, escape a compromised roof, or pull yourself across a gap without exposing Rico to a road convoy. Wingsuit upgrades come next because they turn every hill and tower into a launch point. The longer Rico can stay airborne, the less time he spends trading bullets with enemies.
Explosives and vehicle-related upgrades deserve attention after mobility. Final Argument creates openings, but explosive gear converts those openings into liberation progress. Completing challenges tied to weapons, vehicles, and destruction expands Rico’s options rather than simply making one gun stronger.
Be realistic about ammunition. The Final Argument is not a weapon you should spray through every patrol. Pick targets that would otherwise force a dangerous approach. If the objective is a small outpost with no alarm system, the CS44 Peacebringer may finish the job faster. If the objective is a large base with multiple response systems, the sniper rifle becomes dramatically more valuable.
For comparison, Steamoz’s Dungeon Siege starter-build guide makes a similar point about progression: early upgrades should remove bottlenecks, not merely inflate damage. In Medici, movement is the bottleneck that turns a good sniper into a great one.
Best Final Argument loadouts by situation
| Loadout | Weapons | Equipment focus | Best situation |
|---|---|---|---|
| Silent opener | Final Argument plus CS44 Peacebringer | Grappling hook and Wingsuit | Approaching bases before an alarm |
| Base breaker | Final Argument plus Bavarium Splitter | Explosives and mobility | Large military compounds |
| Anti-vehicle hunter | Final Argument plus U-24 Zabava | Vehicle access and rebel support | Convoys and helicopter-heavy fights |
| Urban escape | Final Argument plus fast-firing sidearm | Grapple traversal and vertical routes | Dense towns and police stations |
Silent opener
This is the default recommendation. Carry Final Argument for the first surgical shots and CS44 Peacebringer for everything that survives. It gives you the cleanest transition from infiltration to chaos without leaving a major range gap.
Base breaker
Choose Bavarium Splitter when the target location contains armored vehicles, tanks, or tightly packed defenses. Fire Final Argument first to remove the alarm threat, then use explosive rounds to collapse the compound’s vehicle response. This loadout is less elegant, but it finishes hard targets much faster.
Anti-vehicle hunter
The U-24 Zabava is more specialized. It is worth carrying when the mission or activity guarantees vehicle pressure, especially around roads and open terrain. Don’t burn rockets on infantry. Let Final Argument handle exposed operators while the launcher waits for armor.
The Final Argument also fits the broader Just Cause 3 playstyle better than a supposedly “perfect” stationary sniper build. Rico Rodriguez is a stuntman with a rifle, not a soldier glued to a bipod. Shoot the target that changes the fight, grapple away, exploit the environment, and return from a new angle.
For more weapon-focused reading, Steamoz’s Hunt: Showdown survival tips and Layers of Fear weapon tier list show two very different approaches to ranking equipment. Just Cause 3 sits somewhere in between: the gun matters, but the movement system often matters more.
Final verdict on the sniper tier list
Final Argument is the S-Tier precision weapon and the best equipment choice for players who like controlling an encounter before it becomes loud. It excels at alarm operators, radio equipment, exposed gunners, vehicle components, and long-range shots from terrain that lets Rico escape immediately afterward.
It drops to A-Tier only when the battlefield is cramped, ammunition is scarce, or enemies are already inside your personal space. That isn’t a flaw you can solve by stubbornly aiming harder. Pair it with CS44 Peacebringer, carry Bavarium Splitter or U-24 Zabava for heavy targets, and invest in grappling-hook and Wingsuit upgrades.
Avalanche Studios’ official Just Cause 3 page sells the fantasy of explosive freedom. Final Argument is the weapon that adds just enough control to that fantasy. One precise shot disables the alarm, one grapple changes the angle, and the next explosion belongs entirely to you.