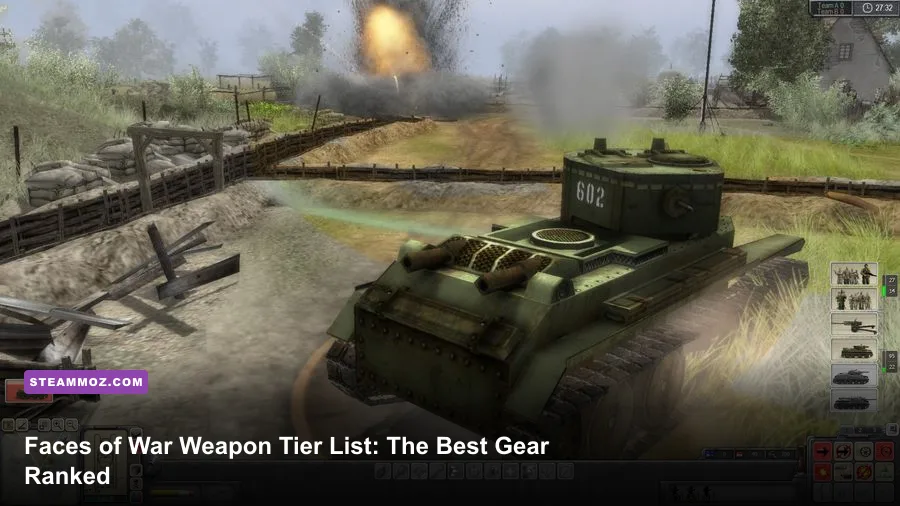
The short answer: the MG42, DP-28, and BAR sit at the top of the Faces of War weapon tier list for dependable infantry damage, while the Panzerfaust, Panzerschreck, and Bazooka are the best emergency answers to armor. The most valuable equipment, however, isn't always the weapon with the biggest damage number. Mines, satchel charges, smoke grenades, repair kits, and captured guns can win battles by changing where the enemy is allowed to move.
This ranking is built around the original PC release of Faces of War, its campaign and skirmish combat, and the game's unusually hands-on battlefield systems. Soldiers can pick up dropped weapons, crew abandoned vehicles, use wrecks as cover, and exploit line of sight in ways that make a conventional damage-only ranking misleading. If you're returning to the game through the official Steam release, use this list as a tactical priority guide rather than a rigid shopping list.
Faces of War weapon tier list at a glance
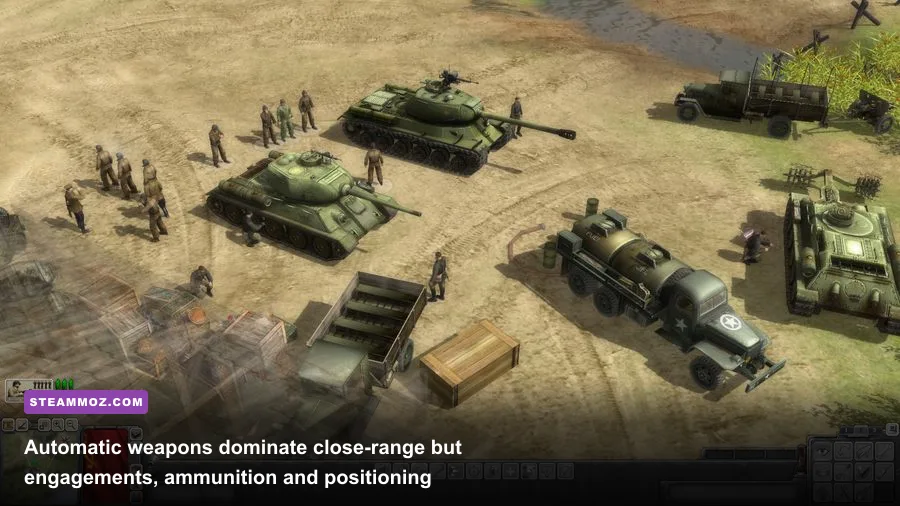
The strongest weapons below combine stopping power, practical range, suppression, availability, and usefulness across multiple missions. A rifle that is excellent in a scripted long-range defense may still be worse than an SMG once the fight enters a courtyard. Likewise, an anti-tank launcher can look weak if fired from the front, then instantly become the most important item on the map when an infantryman reaches a tank's rear armor.
| Tier | Weapons and equipment | Why they rank here | Best situation |
|---|---|---|---|
| S-Tier | MG42, DP-28, BAR, Panzerfaust, Panzerschreck, Bazooka, Satchel Charge | Exceptional suppression, burst damage, or mission-changing utility | Chokepoints, armor ambushes, fortified objectives |
| A-Tier | PPSh-41, Thompson, Bren, M1 Garand, Mosin-Nagant, PIAT, Mines, Mortar | Reliable specialists with strong faction or terrain advantages | Urban fights, open approaches, prepared defenses |
| B-Tier | MP40, Sten, Kar98k, M1 Carbine, Lee-Enfield, Grenades, Smoke | Useful and common, but less dominant or more situational | General infantry support and short objectives |
| C-Tier | Unarmed riflemen, damaged captured weapons, improvised pickups | Better than nothing, but limited by range, accuracy, or condition | Early mission shortages and emergency replacement crews |
S-Tier winners
MG42: This is the king of infantry control. Its value comes from volume of fire and suppression rather than simply deleting one target. Put the gunner behind sandbags, a wall, or a wreck, give the position a clear lane, and the MG42 can stop an assault before riflemen reach grenade range. Its weakness is movement: the weapon loses much of its advantage when the squad is forced to relocate repeatedly, and a flank or mortar strike can make a perfect firing lane worthless.
DP-28: The Soviet DP-28 is one of the best all-purpose squad weapons. It doesn't feel as brutally specialized as the MG42, but it is easier to keep useful while advancing through villages and broken terrain. It gives Soviet infantry a stronger base of fire than ordinary Mosin-Nagant riflemen, especially when the squad can fire from a window or rubble pile.
BAR: The American BAR earns S-Tier status because it blends mobility with automatic fire. It won't lock down a lane like a mounted MG, but it keeps contributing while the squad moves between hedges, houses, and objectives. In missions where the front line shifts constantly, that flexibility is worth more than a stationary gun's theoretical maximum.
Panzerfaust, Panzerschreck, and Bazooka: These launchers are not interchangeable. The Panzerfaust is the best close-range ambush tool: hide behind a building, wait for the tank to expose its side or rear, fire, and immediately retreat. The Panzerschreck offers better repeat engagement potential when ammunition is available, while the Bazooka is the dependable American answer for mobile anti-armor teams. None should be wasted on a frontal shot against a heavily armored vehicle unless the alternative is losing the objective.
Satchel Charge: Engineers carrying satchel charges can erase emplacements, wreck vehicles, and punish an enemy who has overcommitted to a building. The danger is delivery. A charge is only S-Tier if the engineer survives the approach, and AI-controlled infantry will happily walk into the blast zone if you don't pull them back manually.

🎮 Faces of War
Looking to experience this game? Grab your digital key directly on our store for $0.74.
View on Steammoz Store →Best infantry weapons for every range
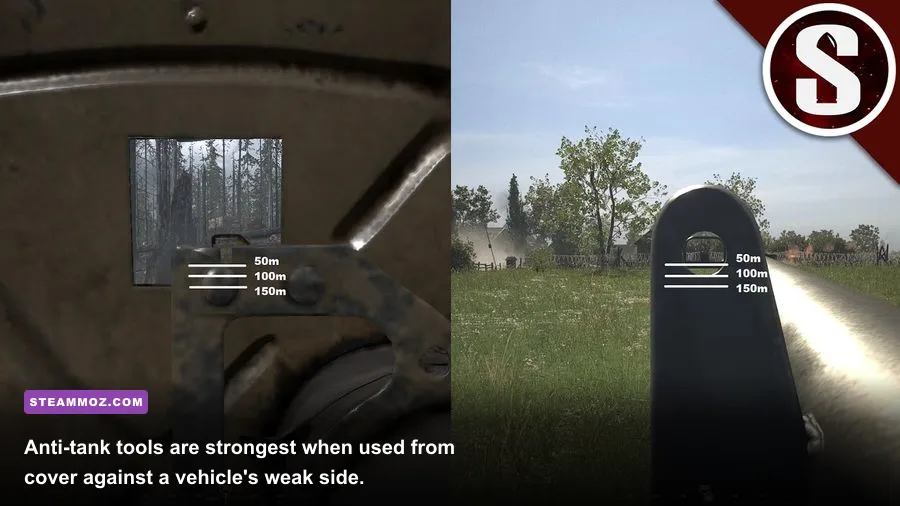
Faces of War's infantry weapons make sense when separated by engagement distance. Rifles are strongest when soldiers have time to aim across open ground. SMGs become terrifying around houses, trenches, and hedges. Machine guns control movement, but they need a defensible firing position and protection from flanking units.
| Weapon | Tier | Range profile | Practical verdict |
|---|---|---|---|
| MG42 | S | Short to long, strongest from cover | Best suppression and lane control; protect the gunner |
| DP-28 | S | Medium range | Excellent Soviet squad support while advancing |
| BAR | S | Short to medium | Best mobile automatic weapon for American infantry |
| PPSh-41 | A | Point-blank to short | Outstanding in urban pushes and trench fights |
| Thompson | A | Short range | Reliable assault weapon, especially around buildings |
| Bren | A | Medium range | Strong support fire, though less flexible in a rush |
| MP40 | B | Short to medium | Good close assault weapon, not a replacement for an MG42 |
| M1 Garand | A | Medium to long | Dependable American rifle for open-ground fighting |
| Mosin-Nagant | A | Medium to long | Accurate conventional rifle and common Soviet backbone |
| Kar98k | B | Medium to long | Useful at range, but slow against rushing infantry |
SMGs are not universal upgrades
The PPSh-41 and Thompson are brilliant when the map funnels combat into streets and rooms. Their high close-range output can shred a squad that is crossing a doorway, particularly after a grenade forces defenders out of cover. But putting every soldier on an SMG creates a range problem. A squad full of short-range weapons struggles to contest a distant machine-gun nest, and it may burn through ammunition before reaching the objective.
The MP40 and Sten are best treated as practical assault weapons, not elite replacements for every rifle. They shine when a squad is clearing a trench line or supporting engineers. The Sten is especially valuable when British infantry needs compact firepower in tight spaces, while the MP40 is a strong pickup for a German squad that has lost its original weapon mix.
Why rifles remain essential
The M1 Garand, Mosin-Nagant, Lee-Enfield, and Kar98k keep your army functional across the entire campaign. They can fire from defensive positions without demanding the same ammunition consumption as automatic weapons. A rifle squad with one automatic weapon, one anti-tank specialist, and several riflemen is usually more useful than a visually impressive pile of SMGs.
Use the weapon-ranking mindset from Far Cry 3: Blood Dragon carefully here: a weapon's tier depends on its battlefield job. In Faces of War, the best loadout is the one that covers the next threat, not the one with the flashiest firing animation.
Anti-tank equipment ranked and explained
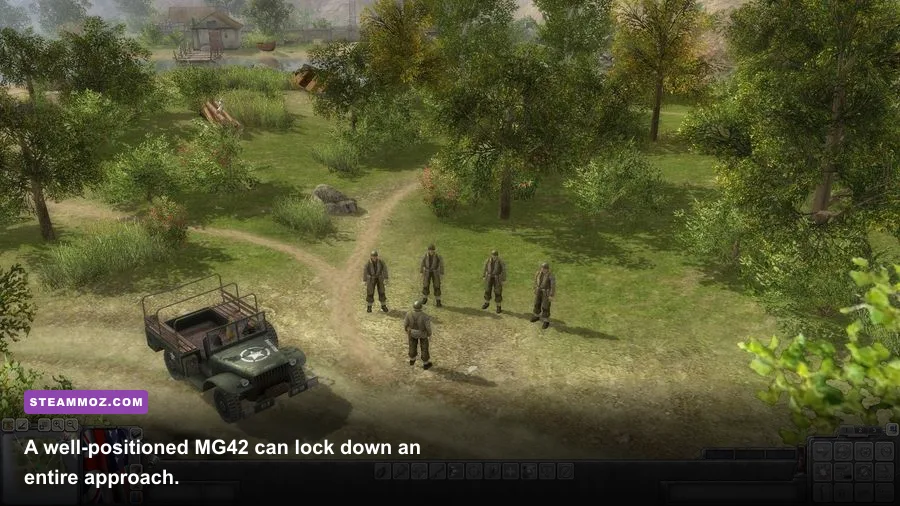
Armor battles are decided by angle, distance, and timing. A launcher fired into a tank's strongest facing may do little, while the same weapon from the rear can turn a supposedly dominant vehicle into a burning obstacle. Before firing, check whether the target is distracted, whether another enemy can see your shooter, and whether the retreat route is clear.
| Equipment | Tier | Ideal target | Key limitation |
|---|---|---|---|
| Panzerfaust | S | Close side or rear ambush | Limited ammunition and short engagement window |
| Panzerschreck | S | Repeated attacks on medium and heavy armor | Needs a protected operator and resupply |
| Bazooka | S | Mobile American anti-tank response | Requires a clean firing angle and careful positioning |
| PIAT | A | British infantry defense near cover | Less comfortable for fast open-ground attacks |
| Anti-tank gun | A | Long-range defense of roads and objectives | Vulnerable to flanking infantry and relocation problems |
| Satchel Charge | S | Disabled or trapped vehicles | Engineer must reach the target alive |
| AT grenade | B | Emergency close assault | Very dangerous against moving armor |
The best anti-tank routine is simple but easy to ignore. First, use riflemen or an MG to pin the tank's supporting infantry. Second, send a launcher team through cover rather than across the road. Third, attack the side or rear and retreat immediately. Finally, finish the crew or capture the vehicle if the game state allows it. A damaged tank that still has a living crew is not a victory; it can remain a threat, block movement, or be repaired.
Anti-tank guns deserve special attention. They are superb in a prepared defense because they can engage before a tank reaches grenade range. Place them behind natural cover with infantry screening their flanks. Never leave one alone in a town: enemy SMGs and engineers can reach the crew through alleys long before the gun has time to turn.
Equipment tier list: grenades, mines, smoke, and repairs
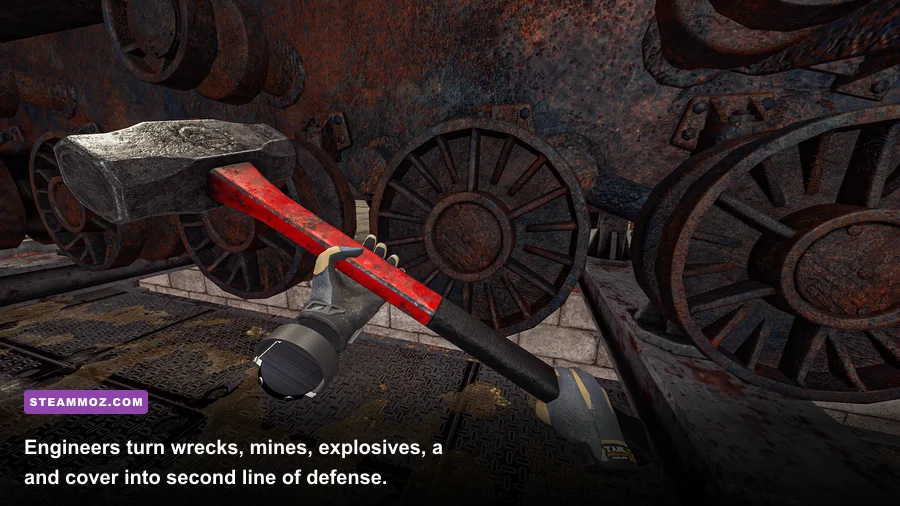
Equipment is where experienced Faces of War players separate themselves from players who simply move the biggest squad forward. Mines and smoke don't need to kill anything to be valuable. They can delay an armored column, split an assault, or buy enough time for a damaged unit to reach cover.
| Equipment | Tier | Best use | Common mistake |
|---|---|---|---|
| Satchel Charge | S | Emplacements, vehicles, buildings | Sending engineers in without suppression |
| Anti-tank Mine | S | Road denial and armor ambushes | Placing it where enemy infantry can spot the engineer |
| Smoke Grenade | A | Crossing exposed ground and masking retreats | Blocking your own machine-gun line of sight |
| Fragmentation Grenade | A | Clearing rooms, trenches, and clustered infantry | Throwing before pinning the target |
| Repair Kit | A | Keeping a valuable tank or gun in action | Repairing in direct enemy fire |
| Rifle Grenade | B | Harassing cover and light positions | Expecting it to replace artillery or a satchel |
Mines are map control, not cheap damage
Place mines on roads, narrow bridges, and the exits of objective areas. The strongest placement is often one the enemy must use after committing to an attack. A mine at the edge of a road may be ignored; a mine behind a wreck or just beyond a corner can punish a tank that turns late. Keep an infantry squad nearby so the mine's target cannot simply continue driving after the detonation.
Smoke changes the engagement
Smoke is best used before movement, not after your soldiers are already pinned. Throw it between your unit and the enemy position, then move through the screen while the opposition loses clean shots. Don't cover the enemy machine gun while leaving your own MG42 blind. Smoke should create an advantage for the next action, whether that action is a flank, retreat, repair, or engineer approach.
For a useful contrast, our Everspace weapon-value guide focuses on raw upgrades. Faces of War is different: utility equipment frequently beats a higher-damage weapon because it determines who gets to fire first.
Best squad loadouts for campaign and skirmish
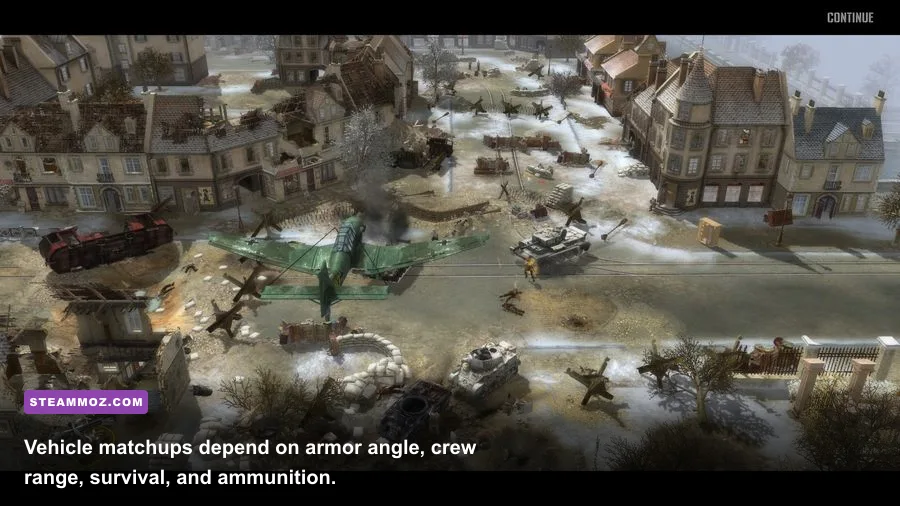
There isn't one perfect squad composition because the three major campaign perspectives ask different questions of your equipment. Soviet forces often benefit from aggressive close-range pressure with PPSh-41s and DP-28 support. American units are comfortable with flexible rifle lines built around the M1 Garand, BAR, and Bazooka. British forces can build a balanced defensive group around Lee-Enfields, Bren guns, Sten SMGs, and the PIAT.
| Squad role | Recommended equipment | Priority weapon | How to play it |
|---|---|---|---|
| Defensive line | Rifles, MG, grenades, mines | MG42, DP-28, or Bren | Anchor cover and punish predictable approaches |
| Urban assault | SMGs, grenades, smoke | PPSh-41 or Thompson | Pin, smoke the street, then clear rooms quickly |
| Anti-armor team | Launcher, rifle escort, smoke | Panzerfaust, Panzerschreck, or Bazooka | Use cover, wait for side armor, retreat after firing |
| Engineer team | Satchel, mines, repair tools, SMG | MP40, Sten, or Thompson | Follow suppression and never lead the assault |
| Mobile reserve | Rifles, automatic weapon, smoke | BAR or DP-28 | React to flanks and reinforce threatened objectives |
The most reliable six-man package
When you can influence a squad's equipment, aim for a balanced package: three riflemen, one automatic weapon operator, one anti-tank soldier, and one engineer or specialist. That setup can fight at range, suppress a push, answer a tank, and repair or demolish an obstacle. It also survives losses better than a one-dimensional assault squad.
For a German defensive group, an MG42 with Kar98k riflemen and a Panzerfaust carrier is the foundation. Add an MP40 soldier for close protection and an engineer for mines or demolition. For a Soviet assault group, use PPSh-41 troops to clear buildings, keep a DP-28 behind them, and protect the launcher carrier with riflemen. American squads should exploit the BAR's mobility: advance in bounds, stop to fire, then move the support weapon rather than dragging the entire group into a single clump.
How to use top-tier weapons without wasting them
S-Tier gear can still fail if it is used in the wrong place. The MG42 should not be ordered into a street duel with an enemy tank. A Panzerfaust carrier should not be the first unit through a doorway. A satchel charge should not be thrown into a crowded friendly position just because an objective marker is nearby.
- Scout before committing. Use a rifleman or cheap infantry unit to reveal machine guns, anti-tank guns, and vehicle routes. The fog of war hides the threat that your expensive equipment is meant to answer.
- Build a firing lane. Move the MG or anti-tank gun behind cover, then remove friendly units from its line of fire. A weapon that cannot shoot cleanly is dead weight.
- Pin before assaulting. Automatic fire and grenades work better when the enemy is already suppressed. Rushing an unsuppressed position turns a strong weapon into a casualty delivery system.
- Keep a retreat route. Launcher teams and engineers need somewhere to go after the attack. Smoke, a wall, a wreck, or a second squad can make the difference.
- Capture the battlefield. After an exchange, inspect dropped MGs, launchers, and ammunition. Picking up an abandoned MG42 or Bazooka can be more efficient than waiting for a fresh specialist.
Vehicle crews deserve the same discipline. Keep tanks moving when enemy anti-tank teams are nearby, but don't drive blindly into a town. Use infantry to clear windows and hedges first, angle armor toward likely threats, and repair behind cover. A tank's survival often depends less on its armor rating than on whether infantry can see the launcher team before it fires.
If the game behaves poorly on a modern system, the PC troubleshooting principles in our ELEX fixes guide are a useful starting point, especially for display mode, compatibility, and frame-pacing checks. You can also review the game's Steam system information and the publisher's 1C Company catalog before changing compatibility settings.
Final ranking and the equipment worth protecting
The final answer to the Faces of War weapon tier list and best equipment ranking is straightforward: protect your automatic weapons, preserve anti-tank ammunition until armor is confirmed, and treat engineers as tactical specialists rather than disposable infantry. The MG42 is the best pure infantry-control weapon. The DP-28 and BAR are the best flexible squad weapons. The Panzerfaust, Panzerschreck, and Bazooka are the equipment pieces that prevent a tank from dictating the battle.
Just below them, the PPSh-41, Thompson, Bren, M1 Garand, Mosin-Nagant, PIAT, mines, and mortars form a powerful A-Tier core. They are dependable because they fit specific jobs without demanding a perfect map. B-Tier weapons such as the MP40, Sten, Kar98k, M1 Carbine, and ordinary grenades are still valuable, particularly when they are available in quantity or match the terrain.
What makes Faces of War memorable is that a supposedly weaker item can become the winning tool at exactly the right moment. A smoke grenade can save an anti-tank team. A captured MG42 can stop a counterattack. A single mine can stall an armored column long enough for a Bazooka team to reach its flank. Rank the weapons, then break the ranking when the battlefield gives you a better idea.
For more strategy-game loadout coverage, compare this guide with Steamoz's Dungeons 2 weapon tier list and the Empires of the Undergrowth progression guide. The principle is the same across both games: understand what each tool changes, then build your strategy around that change.