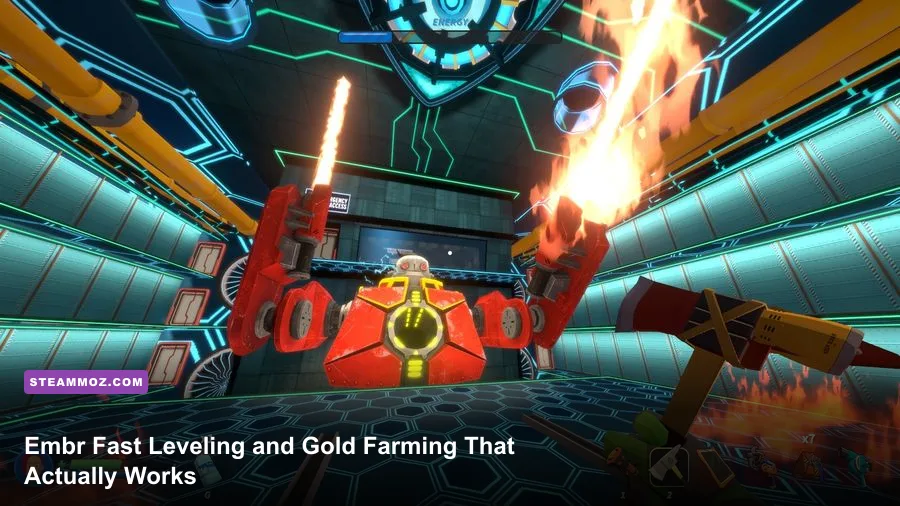
If you want to level quickly in Embr, stop chasing the biggest payout and farm the shortest mission you can clear cleanly. Run early residential rescues with a Fire Hose and Extinguisher, rescue every client before smashing expensive objects, collect optional valuables when they sit on your route, and restart immediately after the reward screen. Once your equipment can handle larger fires without backtracking, move to higher-paying commercial jobs. That loop delivers better cash per minute than repeatedly failing a difficult mission for a flashy headline reward.
One important correction before we talk farming: Embr primarily presents its spendable currency as cash, not a traditional RPG gold system. Players often call it gold because it fills the same role. Cash buys equipment and upgrades, while your progress is tied to completing jobs and improving mission performance. This distinction matters because there is no magical passive gold route or enemy respawn exploit to lean on. Your income comes from efficient emergency work.
How Embr’s Progression and Cash Rewards Work
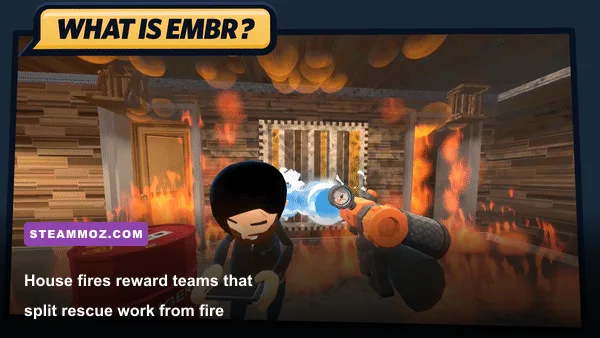
Every job is a speed-and-survival puzzle. You’re rewarded for rescuing clients, completing the main emergency objective, protecting property, and finishing optional tasks. The game also grades how much damage your crew causes, so blindly swinging the Axe through a house can turn a quick job into a poor financial run. The best farming mission is not necessarily the one with the highest listed reward; it’s the one you can repeat without deaths, failed rescues, or a long equipment setup.
Think in cash per minute rather than cash per mission. A short apartment rescue that takes three minutes and pays less can outperform a sprawling mansion job that takes ten minutes, especially when the latter regularly ends with a client left behind. Keep a simple mental tally for five runs. If a mission averages 4,000 cash in five minutes, that’s a stronger farm than a 7,000-cash mission taking nine minutes.
| Progression Activity | What It Improves | Best Use | Main Risk |
|---|---|---|---|
| Short residential rescue | Cash and mission familiarity | Early-game farming | Low payout if you miss clients |
| Commercial emergency | Higher cash per clear | Mid- and late-game income | Long routes and harsher hazards |
| Optional objectives | Extra reward and mastery | When placed near the main route | Wasting time searching |
| Replay with upgraded gear | Cash per minute | Efficient long-term farming | Overbuying tools too early |
There’s also a useful psychological trap here: players often grab the first visible objective and sprint out. That may complete the mission, but it leaves cash on the table. Before exiting, scan the building for clearly marked clients, nearby valuables, and easy secondary tasks. Don’t turn a three-minute job into a fifteen-minute treasure hunt, though. If an optional target requires breaking through two floors or crossing a burning hallway, skip it until the payout justifies the detour.
For a broader look at games built around repeatable income loops, see Steamoz’s How to Survive 2 farming guide and the breakdown of why Huntdown’s gold economy works differently.

🎮 Embr
Looking to experience this game? Grab your digital key directly on our store for $2.99.
View on Steammoz Store →The Best Early-Game Farming Route
Start with residential missions that place clients in predictable rooms and keep the entrance close to the building. These jobs teach the core route: enter, locate people, create a safe path, extinguish the immediate flames, and leave before the structure becomes a maze. Play solo if you’re learning layouts; play with one reliable partner when you’re farming. Four players can be fun, but random crews often duplicate tasks and burn through the clock.
Step 1: Locate every client before committing to a rescue
Use the opening seconds to identify where civilians are trapped. Don’t charge straight toward the loudest fire. A client in a side room may be closer to danger than the obvious target, and a rescue route can become blocked once fire spreads. Communicate locations in co-op: “upstairs left,” “garage,” or “back room” is enough. The goal is to prevent two players from carrying the same person while another client takes damage.
Step 2: Open the safest route, not the fastest-looking route
Windows can be useful shortcuts, but they can also create a bad landing or force you to abandon equipment. Use the Axe for genuine access problems, not convenience. The Fire Hose is your main space-making tool: suppress flames around doors, stairs, and corridors first. The Extinguisher is better for close, focused fire where dragging a hose would slow you down.
Step 3: Chain rescues before optional loot
Carry the nearest client to safety, then immediately return for the next. If a valuable or optional object is beside your extraction route, grab it on the way out. Never cross a burning floor solely for a low-value pickup during an active rescue. A failed client costs more than a skipped trinket and can erase the advantage of the entire run.
Step 4: Leave the moment the reward is secured
Once all priority clients are safe and the main objective is complete, stop improvising. Extra destruction, falling through a damaged floor, or getting trapped behind spreading fire can reduce your final reward. Farming is repetition, not heroics. The clean clear you can repeat six times is worth more than the spectacular clear you survive once.
Equipment Priorities That Make Farming Faster

Your first purchases should remove time sinks. The Fire Hose is the backbone of most efficient runs because it lets you control corridors, cool access points, and support a teammate from a safer distance. The Extinguisher handles small fires quickly and is excellent when you need one hand free for movement. The Axe is valuable when a locked or blocked route is genuinely costing more time than the tool saves.
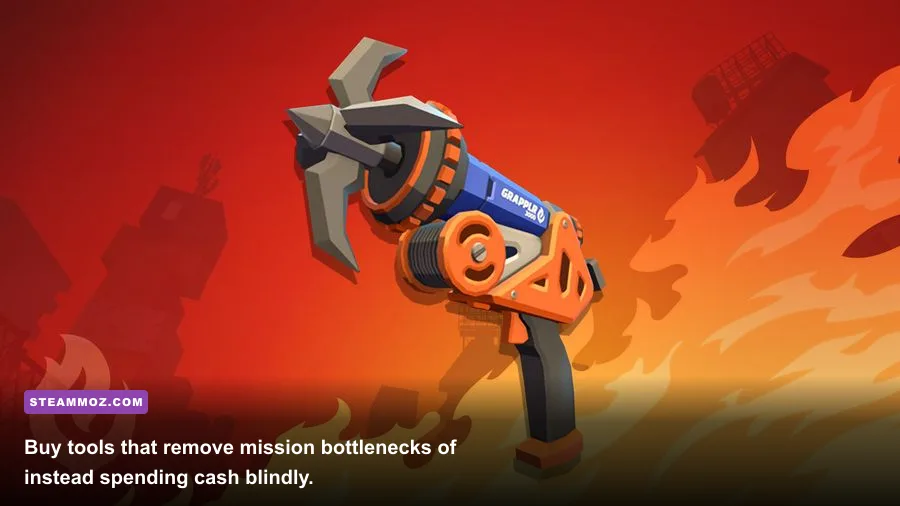
Do not buy every gadget as soon as it appears. A flashy tool is only profitable when a mission repeatedly demands it. If you’re still losing time because clients are difficult to locate or your team keeps doubling back, another specialized device won’t fix the underlying problem. Upgrade the equipment that appears in every successful run first.
| Tool | Priority | Best Farming Function | When to Delay It |
|---|---|---|---|
| Fire Hose | S-Tier | Clears corridors and protects rescue routes | Rarely worth delaying |
| Fire Extinguisher | S-Tier | Fast close-range suppression | Only if your team already has coverage |
| Axe | A-Tier | Opens blocked or locked access points | Skip early if routes are open |
| Window Cutter | A-Tier | Creates controlled shortcuts through glass | Delay on compact interiors |
| Trampoline | B-Tier | Solves vertical movement and recovery routes | Low value on flat missions |
| Rescue Drone | B-Tier | Helps reach awkward targets safely | Delay until advanced layouts |
The strongest practical loadout for a beginner farming team is one Fire Hose, one Extinguisher, and one access tool. In a two-player lobby, split those jobs rather than equipping identical gear. One player suppresses and stabilizes the route while the other handles extraction. In a larger lobby, designate a “runner” who focuses on clients and a “support” player who prevents the escape path from becoming lethal.
That role split is more important than raw movement speed. Embr’s physics can make a rescue look simple until a burning doorway, loose object, or awkward corner turns the carrier around. The support player should clear the return path before the runner commits. This prevents the classic farming disaster: reaching a client quickly, then having no safe way back.
Mid-Game Cash Farming Without Wasting Runs
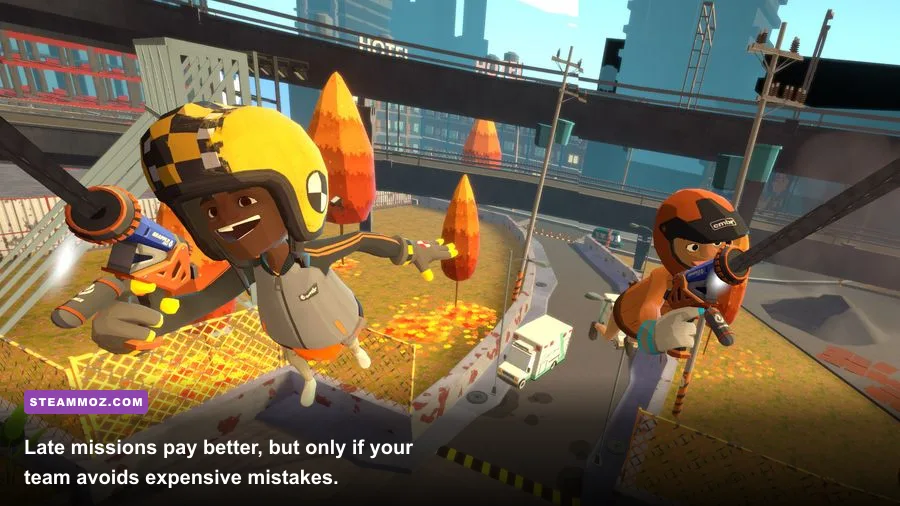
Once residential jobs feel routine, test commercial missions one at a time. Their layouts usually punish teams that rely on a single straight route. Larger spaces, multiple floors, and more hazards mean the payout rises, but so does the cost of indecision. Before starting a serious farm, play one scouting run with no pressure to maximize cash. Learn entrances, stairwells, client positions, and the safest extraction point.
After that scouting run, use a fixed route. The ideal route handles the most vulnerable client first, opens a fallback exit, then collects nearby objectives while returning to safety. Don’t split into four directions unless everyone knows the building. A disconnected player can trigger a rescue problem that the rest of the crew can’t reach in time.
The two-run test
Run the mission twice before calling it a farm. Record the approximate completion time, total cash, failed objectives, and deaths. If the second run is dramatically faster, your first clear was reconnaissance. If both runs are slow, return to an easier job and buy a tool that directly addresses the bottleneck. This small test keeps you from farming a mission that only looks profitable on paper.
Use the official Embr Steam page for current updates and system details, and check Muse Games’ official site for developer information. The game’s feel is built around chaotic physics, so patch changes can affect how reliably certain routes and tools behave.
Common Farming Mistakes That Kill Your Cash Per Minute
The biggest mistake is treating destruction as progress. Breaking doors, windows, furniture, and structural objects can create access, but it can also add damage to the final tally and make navigation worse. Use destruction surgically. If a door opens normally, don’t axe it. If a window provides a shortcut that saves thirty seconds, it may be worthwhile; if it only looks dramatic, leave it intact.
Another mistake is carrying clients through active fire instead of securing the route first. The fastest-looking rescue often becomes a failed rescue because the carrier gets staggered, drops the client, or has to turn around. Spray the doorway and landing area, then move. The Hose is most valuable before the carry begins, not after the runner is already trapped.
- Repeating a mission with failed clients: lower difficulty and learn the route before chasing a higher reward.
- Buying gadgets without a purpose: spend cash on tools that solve a recurring obstacle.
- Ignoring optional rewards completely: collect them when they overlap with the rescue route.
- Overcrowding one hallway: assign clear roles so players don’t block the carrier.
- Staying after the objective is complete: extract and begin the next run.
There’s a useful lesson in Steamoz’s Generation Zero gold-farming route analysis: the best grind is defined by repeatability, not spectacle. The same principle applies here. Track average cash per minute for a handful of attempts, then choose the mission that gives you the most reliable result.
A Simple Embr Leveling Loop for Every Stage
For the opening hours, run compact residential jobs until you can consistently rescue all clients without unnecessary destruction. Upgrade the Fire Hose and Extinguisher first, then add the Axe or Window Cutter when a mission repeatedly makes access the problem. In the mid-game, scout commercial locations, lock in a two-player route, and farm the highest-paying job you can finish cleanly in under ten minutes. In the late game, keep one player on route control and one on extraction rather than chasing every optional objective.
| Stage | Recommended Mission Type | Loadout Focus | Success Target |
|---|---|---|---|
| Early | Compact residential rescue | Fire Hose and Extinguisher | All clients rescued with minimal damage |
| Mid | Familiar commercial mission | Add Axe or Window Cutter | Repeatable clear under ten minutes |
| Late | Highest safe-paying mission | Role-based team loadout | Strong cash per minute across five runs |
Finally, don’t confuse leveling with buying everything. Your real power comes from knowing which route, tool, and team role produce clean clears. Farm the mission you can dominate, reinvest in the equipment that removes its biggest delay, and only then step up to a more dangerous contract. That’s how Embr turns frantic firefighting into a surprisingly efficient progression game.
If you enjoy this kind of build-and-repeat decision-making, Steamoz also has guides for Knightica’s best starting build and Back 4 Blood performance settings.