
The fastest way to level in How to Survive 2 is to repeat the highest mission you can finish without burning through healing items, then spend the profits on weapon damage, stamina, and carry capacity. Run missions from Kovac's camp, loot every container on the route, dismantle or sell spare gear, and move up as soon as a harder mission takes roughly the same time. Gold farming is less about one magical exploit and more about cutting travel, ammunition, and failed-run costs.
Build a Farming Character Before Chasing Gold
Your first mistake is treating every level as a damage level. The game rewards a character who can stay in the field. A dead survivor earns no experience, and a run that consumes all your crafted ammunition can leave you poorer despite a successful clear.
For a dependable solo farmer, put early skill points into the weapon family you actually use, then support it with Fitness and inventory-related survival upgrades. Sharp weapons, especially the machete and other fast one-handed blades, are efficient because they do not consume bullets. Blunt weapons are safer against crowds when you can stagger enemies, while firearms become much stronger once you can afford a steady supply of ammunition and have enough room to carry it.
Do not spread points across sharp weapons, blunt weapons, and firearms at the same time. The early game gives you enough flexibility to experiment, but a focused damage path clears missions sooner and reduces durability pressure. A practical progression is one primary weapon tree, stamina or health support, then backpack capacity and crafting improvements. Damage comes first; comfort skills pay off once your kill speed is stable.
| Priority | What to improve | Why it matters for farming | When to delay it |
|---|---|---|---|
| 1 | Primary weapon skill | Shortens every encounter and reduces healing use | Never delay if the skill supports your chosen weapon |
| 2 | Fitness and stamina support | Lets you sprint, dodge, and retreat without getting trapped | After you can kill normal zombies in a few hits |
| 3 | Backpack or carry upgrades | More materials and sellable equipment per trip | Delay one level if your inventory is not filling |
| 4 | Crafting improvements | Turns common materials into cheaper healing and ammunition | Do not buy before your core damage path |
Keep a cheap melee weapon equipped even if your main build is firearm-focused. Use guns for specials, armored targets, and emergencies rather than every ordinary corpse. That single habit is often the difference between a profitable mission and a gold-neutral one.

🎮 How to Survive 2
Looking to experience this game? Grab your digital key directly on our store for $3.74.
View on Steammoz Store →Use Kovac's Missions as a Repeatable XP Route

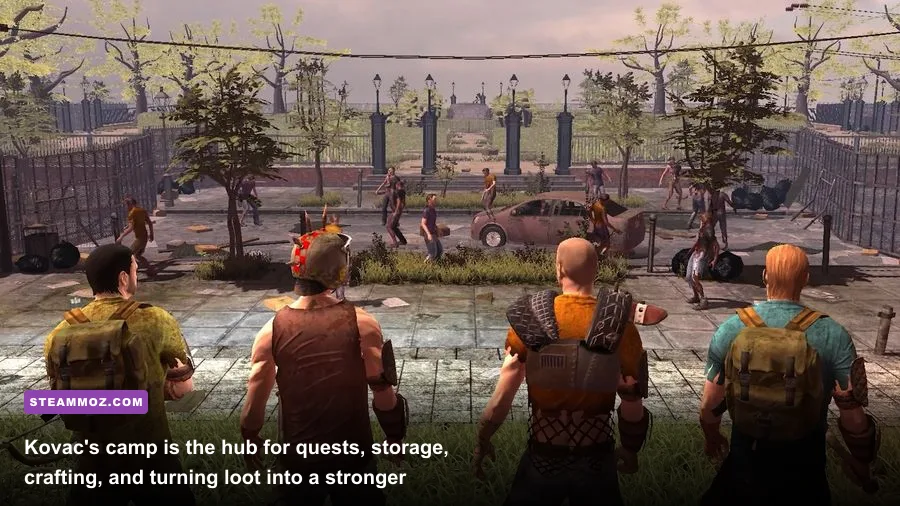
Kovac's camp is your central loop: accept a mission, clear the objective, collect materials on the way, return for experience and coins, then upgrade before launching again. Story missions are useful for unlocking regions and recipes, but they are not always the best farming targets. Once a mission feels comfortable, replay it instead of pushing into a zone where enemies take too long to kill.
Choose missions using three tests. First, can you complete the objective without relying on rare ammunition? Second, does the route contain containers, corpses, or resource nodes that you can loot while moving? Third, can you finish without returning to camp halfway through? A mission that pays slightly less but takes six minutes is better than a dangerous mission that pays more and takes fifteen.
The three-run rule
Run the same mission three times while timing yourself. Record the coins received, healing items consumed, and whether your weapon durability becomes a problem. If the third run is still clean, it is your current farm. If you are using expensive shotgun shells or repeatedly stopping to recover, drop to the previous mission until your build improves.
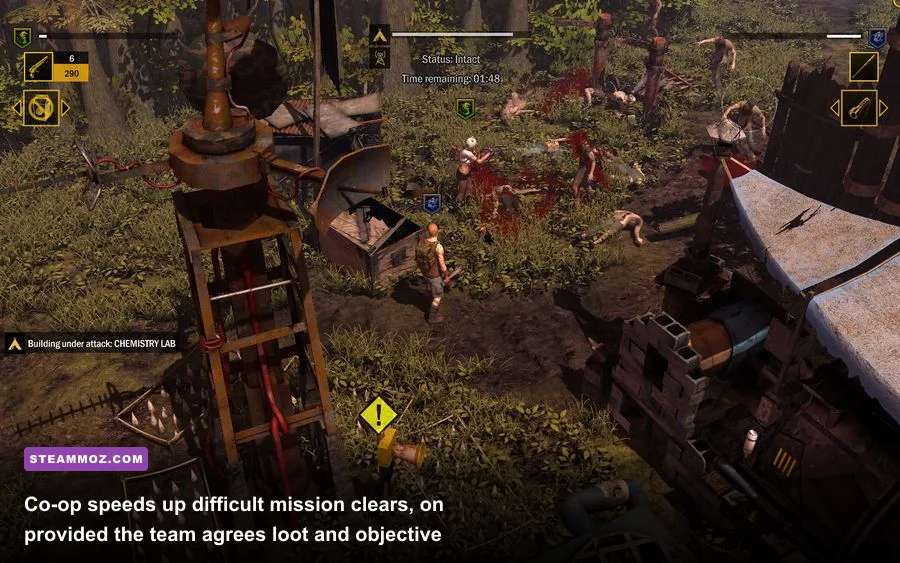
Objectives also affect efficiency. Kill-count missions are excellent when enemies spawn along a compact route. Fetch missions are profitable when the item sits near the objective and you can loot the return path. Escort-style objectives are less attractive for solo gold because a bad NPC position or surprise horde can turn a quick clear into a restart. In co-op, those same missions improve because one player can scout while another controls the crowd.
| Mission type | Best farming condition | Main danger | Recommended response |
|---|---|---|---|
| Kill objective | Dense enemies on one compact route | Horde surrounds you after the final wave | Leave stamina for the escape instead of sprinting early |
| Fetch objective | Target is close to the entrance or a loot loop | Backtracking through respawned enemies | Loot side containers on the first pass, not the return trip |
| Escort objective | Two or more players divide aggro | NPC wanders into a pack | Clear ahead of the NPC and save crowd control |
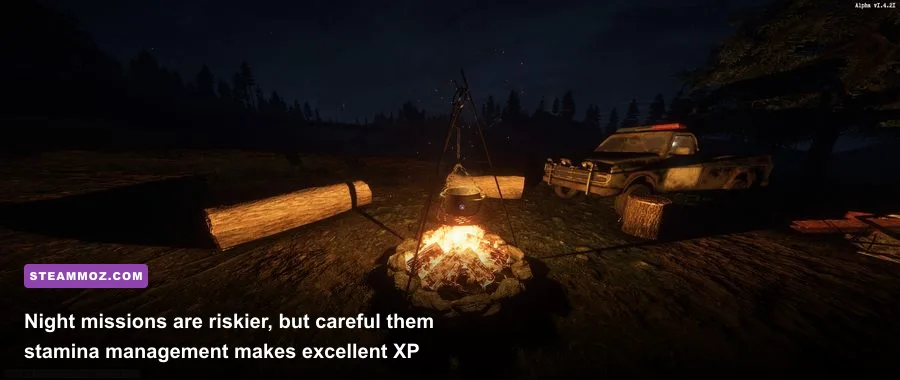
| Night mission | You have reliable healing and a strong melee weapon | Reduced visibility and surprise attacks | Carry a light source and avoid fighting in narrow corners |
When a newly unlocked mission is only marginally harder than your current one, test it once. The moment its clear time rises sharply, return to the proven route. Leveling is driven by repeated completion, not by bravely throwing away half an hour on a mission above your gear curve.
Turn Every Loot Run Into More Coins
Gold disappears in How to Survive 2 through small leaks: buying consumables you could craft, replacing gear too often, and carrying low-value materials while leaving useful drops behind. Treat every expedition as an inventory puzzle.
Before leaving camp, sell or dismantle obsolete equipment. Keep the strongest weapon for your level, one backup melee weapon, and only the materials needed for your next crafting session. If a weapon is clearly below your current damage tier and has no useful component, it is taking up a slot that could hold loot. Dismantling is generally preferable when you need crafting components; selling is better when your recipe stockpile is already healthy and the shop price is worthwhile.
Loot containers systematically. Search houses, sheds, vehicles, and bodies along the route, but do not detour across an entire zone for one low-value pickup. The best route is a loop that begins at camp, crosses the mission objective, and returns through a different cluster of containers. Memorize the high-density buildings and ignore dead-end corners unless the mission already sends you there.
Craft food and healing supplies from common materials whenever the recipe cost beats the shop price. Save rare components for weapon upgrades rather than converting them into emergency items you can obtain elsewhere. Firearm users should also establish a strict ammunition rule: use melee on ordinary shamblers, reserve bullets for dangerous specials, and reload only from safety. Emptying a magazine into a target that could have been finished with a blade is lost gold.
| Loot decision | Keep | Sell or dismantle | Reason |
|---|---|---|---|
| Weapons | Highest-damage primary and a reliable backup | Lower-level duplicates | Duplicates crowd out materials and sellable drops |
| Consumables | Enough healing for one run plus one emergency item | Excess low-tier food when storage is full | Prevents inventory from blocking valuable loot |
| Crafting parts | Components needed for your next weapon or armor upgrade | Overflow common parts after crafting | Converts surplus into coins without slowing progression |
| Ammunition | Special-purpose rounds and a controlled reserve | Nothing blindly; use bullets before buying more | Ammo is a cost, not free damage |
Storage discipline matters even more in co-op. Agree before the mission whether rare materials go to the weapon specialist, the team crafter, or whoever found them. A group that argues over drops while the horde respawns is not farming efficiently.
Combat Tricks That Make Runs Faster and Safer
Fast leveling comes from avoiding damage, not merely dealing it. Zombies become dangerous when they pin you against scenery, interrupt a stamina recovery window, or force you to heal while another enemy is inside striking range. Keep moving through open ground and pull groups away from doorways, fences, and corners.
Use a simple combat rotation. Open with a light melee attack on an isolated normal zombie, reposition instead of chaining attacks into a crowd, and finish enemies only after you have a clear retreat lane. Against a cluster, kite in a wide circle, let the group compress, then attack the edge rather than the center. The edge target gives you an exit; the middle gives the game a chance to stagger-lock you.
Stamina is your emergency currency. Do not sprint continuously between encounters. Walk when the path is safe so stamina is full before an objective wave. Save dodges for telegraphed lunges and keep enough stamina to break contact. If you are using a firearm, fire while backing toward open space, not while trapped beside a wall. Reloading in a narrow corridor is how a profitable run becomes a corpse marker.
Special enemies deserve priority over ordinary zombies. Their attacks are easier to manage before a horde fills the screen, and killing them early reduces the chance of an unexpected stagger. Use your strongest ranged burst on the dangerous target, then return to melee for cleanup. In co-op, one player should pull the crowd while the other focuses the special; four players shooting randomly often waste more ammunition than two coordinated players.
| Threat | Telegraph | Counter | Efficient tool |
|---|---|---|---|
| Normal zombie pack | Several bodies collapse into melee range | Circle the outside and never stop in the center | Fast blade or stagger-capable blunt weapon |
| Charging enemy | Brief wind-up followed by a straight rush | Dodge sideways, then punish during recovery | One-handed melee weapon |
| Ranged or hazardous enemy | Distinct attack animation or projectile cue | Break line of sight and remove it first | Shotgun, rifle, or focused co-op fire |
| Night ambush | Movement appears at the edge of visibility | Keep a retreat route and avoid blind corners | Light source plus melee backup |
If your controller or mouse aim feels inconsistent, lower sensitivity slightly and disable unnecessary background overlays. Stable input matters more than a flashy visual preset; performance advice from our stutter-free settings guide applies to this game too, particularly on older PCs.
Know When to Push the Next Level Bracket
Do not measure readiness by character level alone. A level gained without a weapon upgrade may not improve your clear time, while a crafted weapon can suddenly make the next mission profitable. Push forward when normal enemies die quickly, you finish with most of your healing intact, and your ammunition reserve is not shrinking.
A good benchmark is consistency: complete your chosen mission three times in a row without dying, then test the next available mission. If the new mission takes no more than about 25 percent longer and its rewards include better gear or noticeably more coins and experience, keep it in rotation. If every encounter becomes a resource drain, retreat to the old route and craft first.
| Run result | What it tells you | Next move |
|---|---|---|
| Fast clear, little healing used | Build is above the mission curve | Test the next mission tier |
| Fast clear, heavy ammunition use | Damage is adequate but economy is weak | Use melee for normal enemies and craft supplies |
| Slow clear, full inventory | Loot route is good but combat is underpowered | Sell duplicates and upgrade the primary weapon |
| Death or repeated healing | Mission is ahead of your survivability | Farm the previous mission and improve Fitness or gear |
Co-op changes the calculation. More players can clear crowds quickly, but enemy pressure and loot competition make careless groups inefficient. Split roles: one melee survivor controls the front, one firearm user handles specials, and another player gathers containers only when the route is safe. The host should also make sure everyone understands whether the goal is experience, coins, or materials before starting.
For technical stability, prioritize a consistent frame rate over maximum effects during crowded fights. How to Survive 2 is an older PC release, so reducing shadows, post-processing, and effects can make horde movement easier to read on modest hardware. Our max-FPS settings breakdown explains the same competitive principle, while the PC troubleshooting guide is useful if the game stutters or crashes.
The cleanest farming loop is therefore simple: prepare at Kovac's camp, choose a mission you can clear repeatedly, loot only efficient detours, fight normal enemies with your cheapest dependable weapon, sell or dismantle immediately, and reinvest in the damage-stat path. Check the official How to Survive 2 Steam page for current PC details, and consult the 505 Games official site for publisher information. If you want another brutal survival RPG perspective before returning to the bayou, Steamoz's Kenshi review makes a useful companion read.
Once your mission route is fast, your inventory is controlled, and your stamina is never empty at the wrong moment, levels and gold arrive together. That is the real trick: farm the mission your character can dominate, not the mission with the biggest number on its reward screen.