If you want fast levels and gold-tier weapons in Generation Zero: Alpine Unrest, don’t blindly clear the island. Use Himfjäll’s compact roads and interiors to chain mission XP, high-level machine kills, Rival drops, and container sweeps, then reset your route through fast travel. The best loop is a precision-heavy loadout, a stocked safehouse, and deliberate Rival hunting rather than random wandering.
One important correction before we start: Generation Zero doesn’t have “gold” as a spendable currency. Gold usually means a five-crown weapon, the highest normal weapon quality tier. You’re farming powerful guns, attachments, ammo, and crafting materials. Alpine Unrest is excellent for that because Himfjäll packs dense FNIX activity into a relatively small island, but its enemies punish careless rushing.
What Alpine Unrest Actually Gives You
Alpine Unrest adds Himfjäll, a snowy island built around a resort, military facilities, villages, forests, and long roads that make machine patrols easy to locate. The DLC isn’t a magical loot multiplier, and it won’t guarantee a gold weapon every run. Its advantage is efficiency: there are more worthwhile encounters close together, more buildings to search, and enough high-tier machines to keep experience flowing.
Experience comes from missions, machine kills, collectibles, and certain activities. Machine XP is the repeatable part of the farm, while story missions provide the biggest early boost. If you’re a new character, complete the island’s main objectives first instead of trying to farm a Tank with starter gear. Mission rewards and the levels gained along the way will move you toward the weapon and skill thresholds that make the loop comfortable.
Gold weapons come from loot containers and machine drops, with better odds generally tied to tougher encounters and higher-level play. There is no guaranteed “gold chest” on Himfjäll. If a video promises a permanent five-crown spawn, treat it skeptically; loot tables and drops are not the same thing as a fixed treasure chest.
| Target | Best Source | Why It Matters | Early-Rank Advice |
|---|---|---|---|
| Character XP | Main missions and machine groups | Unlocks skills and raises combat options | Push the story before farming |
| Gold weapons | Rivals, tougher FNIX machines, containers | Improves damage and specialization | Expect RNG; keep every useful attachment |
| Ammo | Military and resort containers | Sustains repeated combat loops | Loot interiors after major fights |
| Crafting materials | Containers and dismantling spare gear | Supports medkits, EMPs, and ammo | Dismantle duplicate low-quality weapons |

🎮 ARMS
Looking to experience this game? Grab your digital key directly on our store for $59.99.
View on Steammoz Store →Build a Loadout That Levels Quickly

The fastest farm is the one that keeps shooting. Carry a Pvg 90 or another accurate rifle for component shots, a KVM 59 or AG4 for sustained damage, an SMG or shotgun for Hunters at close range, and an explosive option such as the Granatgevär m/49. A .50-caliber rifle deletes components from distance, while the KVM 59 is much better when several machines collapse on your position.
For the Pvg 90, aim at optics, weapons, fuel tanks, and exposed joints rather than dumping rounds into armor. A Tank’s weapons are dangerous, but removing its machine gun or rocket pod turns the fight into a controlled damage test. The KVM 59 burns ammunition quickly, so pair it with extended magazines where available and reserve it for exposed components or a rush of Hunters.
Prioritize skills that improve survival, detection, and ammunition economy. Marksmanship and weapon-specific damage skills are valuable when you already know how to land component shots. Scavenger helps stretch supplies, while carry-capacity and medical skills reduce the number of trips back to a safehouse. Adrenaline is especially useful in co-op or solo runs because a downed player can recover without ending a promising encounter.
Don’t waste every skill point chasing a perfect endgame build. Generation Zero lets you respec, and the practical goal is reaching the next useful breakpoint: better weapon damage, more inventory space, stronger healing, or improved stamina. A build that kills a Hunter one magazine sooner is worth more than a theoretical setup that leaves you constantly crafting ammo.
| Slot | Recommended Choice | Combat Job | Best Upgrade Priority |
|---|---|---|---|
| Primary | Pvg 90 | Long-range component removal | Scope, magazine, damage-focused attachments |
| Secondary | KVM 59 or AG4 | Suppressing fire and exposed components | Extended magazine and accuracy |
| Close range | SMG or shotgun | Hunters and sudden ambushes | Reload speed and handling |
| Utility | Granatgevär m/49, EMP cells, flares | Staggering groups and creating openings | Carry capacity and crafting supplies |
For broader weapon comparisons, our weapon tier-list breakdown covers a different game but uses the same useful rule: prioritize what solves your current combat problem, not what looks strongest on paper.
The Best Himfjäll XP and Gold Route
Start at a safehouse with a workbench, storage, and a fast-travel point. Empty your inventory, repair your preferred weapons if needed, and carry enough ammunition for one serious fight plus one emergency retreat. Open the map and identify Rival icons, mission objectives, and nearby safehouses before moving. You want a loop, not a sightseeing tour.
Step 1: Finish available Alpine Unrest objectives
Story missions are the best opening investment because they award large chunks of XP while naturally pulling you through Himfjäll’s major areas. Search every building on the way, but don’t spend ten minutes checking decorative rooms while a mission marker is waiting. Grab weapons, ammo, medkits, and attachments; leave low-quality duplicates unless you need them for dismantling.
Step 2: Clear the nearest high-value machine group
After an objective, scan the roads and open ground for Hunters, Harvesters, Tanks, and military-grade patrols. Use the Pvg 90 to start the fight from concealment. Shoot a Tank’s weapon systems first, then target fuel tanks and exposed components. Against a Harvester, remove rocket pods and focus on its vulnerable machinery after it deploys escorts. Never stand in the open waiting for a perfect shot: fire, relocate, and break line of sight.
Step 3: Search interiors after the battlefield cools down
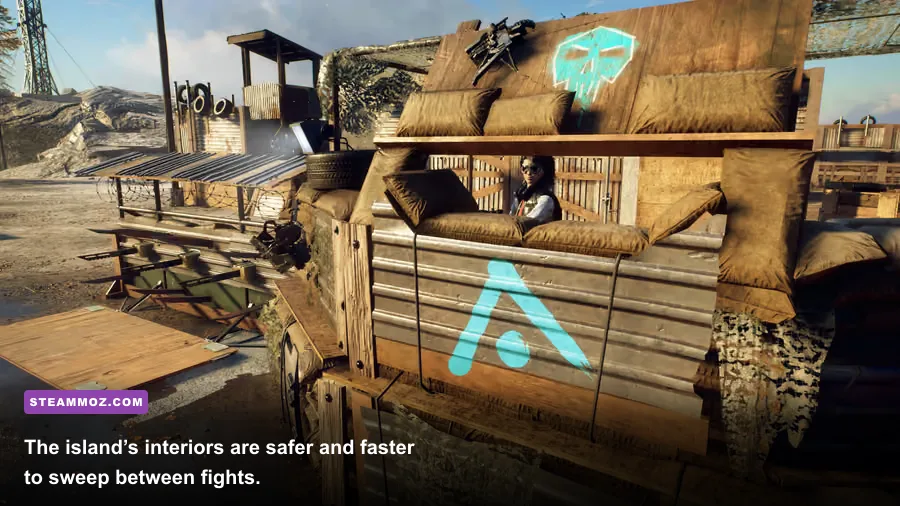
Resort buildings, military structures, garages, and civilian homes are worth checking after combat. Container loot is quick XP-free value: ammo keeps the farm alive, while spare weapons can become crafting material. Search systematically from one side of a building to the other so you don’t repeatedly backtrack. If your inventory is full, mark valuable weapons mentally or return to a safehouse before starting another fight.
Step 4: Prioritize Rivals over ordinary patrols
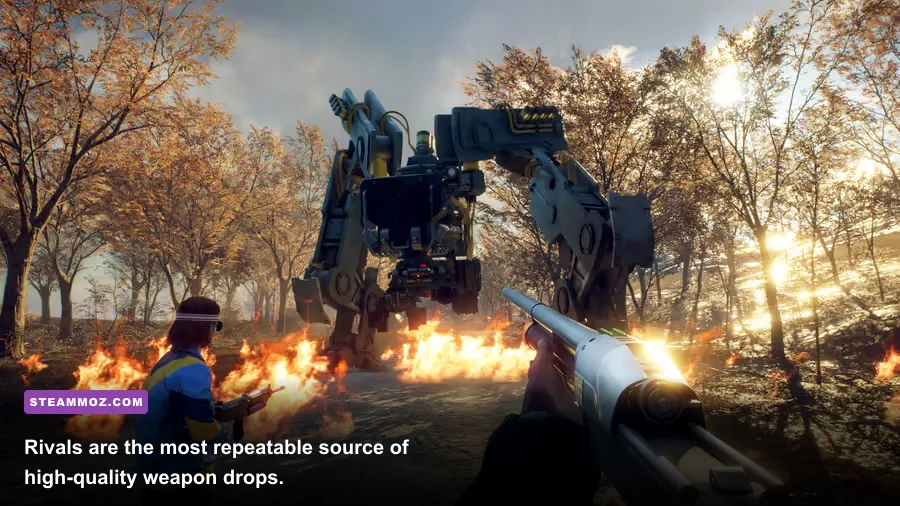
Rivals are named machines with a separate threat level and better reasons to engage. They’re not guaranteed gold drops, but they’re among the most consistent targets for high-quality loot. Use the map to build a route around them, then fight each Rival with terrain in mind. A hill, forest edge, or building corner gives you time to reload and prevents a Tank from turning every attack into a direct hit.
Step 5: Fast-travel, stash, and repeat
Once your inventory is full or your ammunition falls below roughly half, return to a safehouse. Stash five-crown weapons and useful attachments immediately. Dismantle junk instead of carrying it through another battle. Then fast-travel to the next safehouse and repeat the route. This rhythm is faster than attempting one enormous island-wide sweep and losing everything to a surprise Hunter pack.
| Route Segment | Primary Reward | Risk | Efficient Approach |
|---|---|---|---|
| Mission objective | Large XP payout and progression | Scripted machine ambushes | Follow the objective, loot only useful rooms |
| Road patrol | Machine XP and weapon drops | Multiple sightlines and Hunters | Open from range, relocate after each burst |
| Resort or military interior | Ammo, attachments, spare weapons | Close-quarters ambush | Use a shotgun or SMG and check corners |
| Rival encounter | Best repeatable loot potential | High damage and unusual modifiers | Prepare EMPs, cover, and a retreat route |

| Enemy | Danger Signal | First Target | Reliable Counter |
|---|---|---|---|
| Rival Tank | Rocket lock or sustained gunfire | Rocket pod or machine gun | Long-range shots, hard cover, repositioning |
| Rival Hunter | Leap, gas burst, rapid-fire volley | Weapon arm or head component | Lateral movement, doorway control, close-range burst |
| Harvester | Reinforcement call-in | Rocket pods and escorts | Break sightlines, clear Hunters, then finish it |
| Seeker | Alarm pulse and enemy alert | Seeker itself | Kill immediately with a quiet, accurate shot |
Solo, Co-op, and Difficulty Choices
Solo farming is safer when you control the pace. Scout with binoculars, tag enemies, and begin with the machine that can summon or alert others. Co-op farming is faster because players can divide fire and revive one another, but enemy health and pressure can rise with additional players. Don’t assume four players automatically means four times the efficiency; careless revives and duplicated weapons can burn more ammo than they save.
Use difficulty as a pacing tool rather than a pride test. Higher difficulty can make firefights more lethal without guaranteeing a gold drop from every machine. If your goal is leveling speed, choose the highest setting where you can consistently complete a route without repeated deaths. A clean 25-minute loop beats a heroic hour-long battle followed by a lost inventory run.
Network performance matters in co-op. Stutters and delayed hit registration are especially painful when you’re trying to hit a Tank’s fuel cell. If your frame rate is unstable, our guides to maximizing FPS in Hunt: Showdown and reducing stutter in Ironborn cover the same practical PC tuning principles: lower expensive shadows and effects first, then protect clarity and frame-time consistency.
Inventory Rules That Keep the Farm Moving
Inventory management is where many “fast” farms quietly lose time. Keep one reliable weapon per role instead of carrying six guns that all use ammunition you rarely find. Store gold weapons even if they aren’t immediately useful; a five-crown weapon may fit a later build, and dismantling it for a small material return is usually a poor trade. Compare attachments before scrapping anything, especially scopes, extended magazines, and suppressors.
Carry medical items, EMP cells, flares, and enough ammunition to escape a bad encounter. Grenades and fireworks can manipulate machine attention, but they’re not free. Craft them only when the next Rival fight justifies the cost. The same goes for adrenaline shots: save them for dangerous solo fights or a recovery after a Tank downs you, not for every minor patrol.
Track your route with a simple rule: if a location produces no useful loot and no meaningful XP, move on. Alpine Unrest rewards focused repetition. Mission progression gets you started, Rival hunting supplies the high-end drop chase, and interior sweeps refill the ammunition that makes the next loop possible.
Common Alpine Unrest Farming Mistakes
The biggest mistake is searching for a guaranteed gold weapon location. Generation Zero’s loot is too variable for that approach, and chasing a supposed fixed spawn often wastes more time than fighting machines. The second is fighting every patrol. You don’t need to clear the whole island; ignore low-value groups when they pull you away from a Rival or mission objective.
Another trap is using explosives as your opening move. Explosions are excellent for finishing exposed parts and staggering groups, but they attract nearby machines and consume resources. Start quietly with component shots, then escalate only when the fight demands it. Likewise, don’t remain in one firing position after the first burst. FNIX machines punish predictable players with rockets, gas, and concentrated fire.
Finally, don’t farm before your character can support the loop. Complete enough of Alpine Unrest to unlock practical skills, collect a dependable rifle, and establish a safehouse route. Once you can defeat a Hunter group without burning your entire inventory, shift your attention to Rivals. That’s the point where Himfjäll stops feeling like a brutal detour and starts functioning as one of the game’s most efficient endgame circuits.
For official details on the game and DLC availability, check the Generation Zero Steam page, the official Generation Zero website, and Avalanche Studios. For another perspective on performance-focused play, Steamoz’s PC specs guide is also worth bookmarking.
The short version is simple: finish missions, build a compact Himfjäll route, target Rivals, loot interiors, and fast-travel before your inventory becomes a burden. Gold drops are random, but efficient encounters aren’t. Make each fight pay for the next one, and Alpine Unrest becomes a reliable leveling and five-crown weapon farm instead of a snowy ammo sink.