If you want fast progress in ELF, stop chasing the highest-level enemy on the map. The strongest route is a damage-first build that clears dense packs in under 30 seconds, completes every available quest objective while travelling, and sells or dismantles loot on a strict schedule. Use the main quest to unlock better farming zones, then rotate compact monster camps instead of endlessly running between scattered targets.
This approach levels faster, produces more usable gear, and keeps your gold income steady. The important distinction is efficiency: a monster worth more experience is not automatically better if it takes twice as long to kill or forces a long trip back to town.
Before changing anything, check the current notes on the official ELF Steam listing and the game's Steam Community discussions. Balance patches can change enemy rewards, equipment costs, and skill values, so this guide focuses on the repeatable principles that survive those changes.
Build for kill speed before defensive comfort
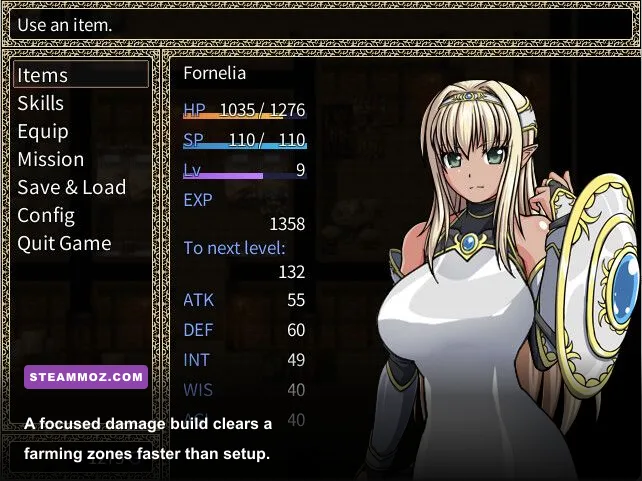
Early ELF players often spread upgrades across every available stat. That feels safe, but it creates a character that survives everything and kills nothing quickly. For leveling and gold farming, your first target is reliable damage against ordinary enemies. You want to remove a pack before it has time to surround you, not build for a theoretical boss fight you may encounter once every 20 minutes.
Prioritize the primary damage stat for your weapon, then attack speed or cooldown reduction, followed by critical-hit chance. Flat damage is normally better than critical damage while your weapon is weak because critical modifiers only matter after your base hit is large enough. Add defensive stats when a farming zone can kill you during a single pull; otherwise, they are delaying your next weapon upgrade.
| Priority | Upgrade Focus | Why It Matters | Warning |
|---|---|---|---|
| 1 | Weapon damage | Shortens every kill and improves skill scaling | Do not overpay for a tiny rarity increase |
| 2 | Primary damage stat | Usually improves both basic attacks and abilities | Check whether your skill scales from weapon power |
| 3 | Attack speed or cooldown reduction | Raises damage over a full farming rotation | Less useful if resources are constantly empty |
| 4 | Critical chance | Improves clear speed once base damage is established | Do not sacrifice major weapon damage for it |
| 5 | Defense and recovery | Prevents deaths in overcrowded camps | Take only enough to farm without potion panic |
Use a simple test before committing gold to an upgrade. Kill the same group of five to eight enemies three times, record the time, and compare the result after the upgrade. If a purchase saves less than a few seconds per pull, it may be worse than buying consumables, unlocking a travel point, or saving for a complete weapon replacement.
The practical early-game rotation
Open with your widest area attack, follow with your strongest single-target skill on the toughest enemy, and use your mobility or control ability to keep the pack grouped. Do not spend every cooldown on the first target you see. The best rotation is the one that leaves one area skill ready for the next pack, because downtime between pulls is where most farming efficiency disappears.
Keep one emergency button available. A defensive skill, dash, stun, or interrupt is worth more than another small damage spell if it prevents a death. Deaths cost travel time, consumables, and sometimes dropped progress. A build that kills eight percent faster but dies once every ten minutes is usually worse than a stable build that never stops.

🎮 ELF
Looking to experience this game? Grab your digital key directly on our store for $1.24.
View on Steammoz Store →Follow the questline until the map opens up
The main quest is your fastest route through the early level curve because it combines experience, equipment, travel unlocks, and access to new vendors. Skipping it to grind the first available camp looks efficient for a few minutes, but the weaker rewards eventually leave you under-geared for the next area.
Complete side quests when they share objectives with your main route. A side quest asking you to defeat enemies in the zone you already need to visit is effectively free experience. Ignore side quests that send you across the map for a single low-value reward unless they unlock a dungeon, vendor, teleport point, or permanent system.
Use the following progression rule: stay in the highest zone where you can kill normal enemies in one or two rotations without drinking after every pull. If a zone requires long recovery, drop back one area and farm there while completing any unfinished objectives. Experience per enemy means very little if your character spends half the session healing or travelling.
| Zone Type | Recommended Use | Clear-Time Target | Move On When |
|---|---|---|---|
| Main quest area | Unlocking systems and early equipment | Under 45 seconds per objective group | New story zone or travel point opens |
| Dense open-world camp | Experience and common gold drops | 20–35 seconds per pull | Enemies die before your second rotation |
| Elite camp | Upgrade materials and stronger equipment | Under 90 seconds per pack | Deaths or potion use become frequent |
| Dungeon | Guaranteed rewards and concentrated experience | Shorter than two open-world rotations | Rewards no longer beat normal farming |
Unlock every fast-travel point you pass. This is not glamorous advice, but it directly improves your gold-per-hour rate. A farming route with three nearby teleport options is better than a theoretically richer location that requires a long return trip after every inventory fill.
How to choose a profitable farming camp
Measure a camp by gold per minute, not by the gold value displayed on a single enemy. Pick a location with tightly packed targets, predictable respawns, and enough room to use area attacks. The ideal loop takes between two and five minutes, letting the first group respawn as you return from the last one.
Start by clearing one complete circuit without looting every minor item. Time the run from the first attack to the moment you arrive back at the starting point. Then calculate the value of the drops, vendor trash, direct gold, and experience gained. Repeat the test twice. A lucky rare drop can distort one run, while two or three cycles reveal the real average.
Prioritize enemies that can be interrupted or safely grouped. Ranged enemies, shielded enemies, and monsters with long invulnerability animations reduce your actual kills per minute. They may offer better rewards, but they are only worthwhile when your damage is high enough to remove their defensive mechanic immediately.
| Camp Profile | Gold Potential | Experience Potential | Verdict |
|---|---|---|---|
| Dense normal enemies | Steady | High | Best default route for leveling |
| Scattered high-level enemies | Unreliable | Moderate | Avoid unless travel time is minimal |
| Elite-heavy camp | High per kill | High per kill | Use only with consistent clears |
| Dungeon trash packs | Moderate | High | Good when completion rewards are valuable |
| Boss-only farming | Very variable | Low per minute if slow | Save for targeted gear or material drops |
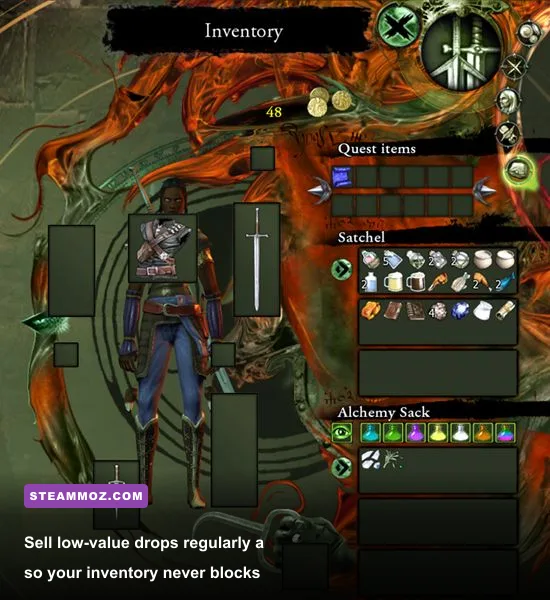
Do not pick up every piece of equipment during a fast experience session. If a low-value item occupies an inventory slot and forces a town trip, its apparent value can become negative. Loot aggressively when farming gold, but use a filter or a simple rule: keep upgrade candidates, rare materials, quest items, and items with valuable enhancement components; sell the rest.
Gold farming that actually survives the grind

Gold comes from three sources: direct enemy drops, vendor sales, and profitable use of materials. The third category is where many players lose money. Selling a material that later becomes necessary for enhancement can force you to buy it back at a premium or abandon a useful upgrade.
Create three inventory categories. Keep equipment that improves your current build, store crafting or enhancement materials, and sell everything else at the first convenient vendor. Compare vendor prices before dismantling gear. Dismantling is better when the resulting materials are used frequently or sell for more than the equipment's direct value; otherwise, take the guaranteed gold and keep moving.
Enhance only gear that will survive several progression steps. Spending gold on every temporary weapon is the fastest way to feel permanently poor. A good breakpoint is a meaningful damage increase that reduces your number of attacks per enemy. Cosmetic rarity, tiny secondary-stat improvements, and speculative upgrades can wait.
When dungeons beat open-world farming
Dungeons are profitable when their completion reward, guaranteed chest, or material table compensates for the entry cost and loading time. Run one dungeon and compare its total return with a timed open-world session of equal length. Include consumables and repair costs. If the dungeon takes 12 minutes and produces only slightly more value than 12 minutes of camp farming, the open world is better because it keeps your experience and movement uninterrupted.
Boss mechanics matter here. Save burst abilities for the boss's vulnerable window rather than spending them on the final trash pack. Watch for telegraphed ground attacks and interruptible casts. A failed run is not merely frustrating; it wipes out the time you invested and may consume limited entries or tickets.
For broader optimization ideas, Steamoz's fastest route to level every legend and weapon ranking guide are useful comparisons for thinking about clear speed rather than item rarity alone.
A clean 30-minute ELF farming loop
Start by emptying your inventory, repairing your equipment, and carrying only the consumables you expect to use. Travel to the densest camp you can clear comfortably. Spend the first five minutes measuring the route rather than chasing random targets. Once you know the loop, repeat it for 20 minutes without changing zones. Use the final five minutes to sell, store materials, and upgrade only if the purchase changes your kill breakpoint.
- Minute 0–2: repair, restock, activate available experience or gold bonuses, and set your route.
- Minute 2–7: test one circuit and note kill time, potion use, and inventory pressure.
- Minute 7–25: repeat the shortest profitable loop; skip distant enemies and unnecessary elites.
- Minute 25–28: return through the nearest travel point and sell unwanted drops.
- Minute 28–30: compare earnings, upgrade only the weapon or skill that improves clear speed, then begin again.
Track gold before and after the session. If your balance rises but your experience barely moves, the camp is a gold route rather than a leveling route. If experience is strong but the inventory fills rapidly, tighten your loot rules. The best farm is not always the one with the largest number on the screen; it is the one you can repeat without friction.
Performance also affects farming. Lock the game to a stable frame rate, reduce shadows and effects before lowering resolution, and avoid settings that create stutter during large pulls. A consistent 60 frames per second makes enemy telegraphs easier to read and keeps movement precise. Steamoz's low-FPS settings guide and performance settings breakdown explain the same trade-off in more detail.
The mistakes that quietly destroy your gold-per-hour rate
Never farm a camp simply because its enemies are higher level. If your clear time doubles, your experience and gold per minute can collapse. Do not keep upgrading temporary gear, and do not carry a full inventory into a long session. Both habits turn a profitable route into repeated downtime.
Also avoid changing builds after every unlucky drop. Test a weapon or skill over a complete circuit before judging it. Some abilities look weak against one target but become excellent when they hit six enemies at once. Conversely, a flashy boss skill may have poor farming value if its animation locks you in place.
Finally, do not treat defensive stats as useless. If your character dies, gets chain-stunned, or spends every pull drinking potions, a modest survivability upgrade can increase effective damage by keeping your rotation active. The winning ELF build is the fastest setup that remains stable, not the one with the highest theoretical damage on a character sheet.
For hardware and crash troubleshooting, Steamoz's crash and low-FPS fixes are worth checking before blaming your farming route. Once your performance is stable, focus on the simple loop: quest forward, unlock travel, farm dense packs, sell intelligently, and invest only in upgrades that reduce kill time. That is how ELF turns a slow grind into dependable progress.