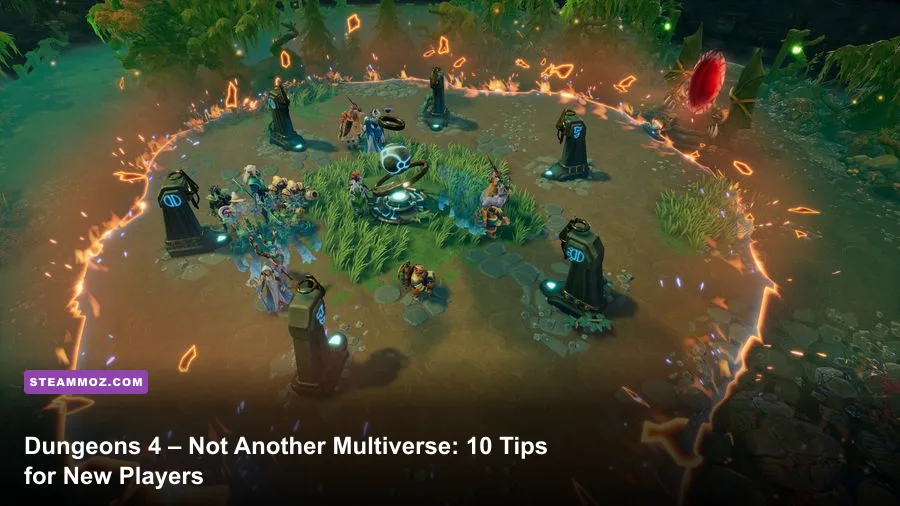
Dungeons 4 – Not Another Multiverse gets much easier once you stop treating it like a simple dungeon builder. Your first priorities are a compact economy, a steady flow of Evilness, and a mixed army that can survive both dungeon raids and overworld missions. These 10 tips explain how to manage the Dungeon Heart, unlock rooms, use Thalya and the Horde properly, and avoid the expensive mistakes that punish new Dungeon Lords.
Not Another Multiverse adds another strange chapter to Dungeons 4's campaign, but its fundamentals remain the same: dig with purpose, exploit the surface, and never let your resources sit idle. The game constantly splits your attention between an underground base and real-time battles above ground. That tension is the fun—and the reason a few bad habits can wreck an otherwise promising run.
1. Build Around the Dungeon Heart, Not the Cave

Your Dungeon Heart is more than a health bar. It is the center of your economy, creature production, and defensive plan. Every tile you excavate increases the distance your creatures must travel, so a sprawling early dungeon creates downtime before it creates power. Start with a tight block of rooms near the Heart, then expand only when a resource node, objective, or required room makes the extra distance worthwhile.
Open with a Treasury, a Workshop, and the first room needed to support your starting creatures. The Treasury keeps Gold close to the workers who collect and spend it, while the Workshop gives you access to traps and defensive infrastructure. Avoid carving a giant empty chamber just because the rock is available. Empty floor space produces no value and gives attacking heroes more room to move.
Keep the Heart behind at least one controlled approach. A narrow corridor is easier to protect than a wide open entrance, especially before you can afford multiple traps. Leave enough room near the center for future utility rooms, but don't block every route with decorations or unnecessary walls.
🎮 Dungeons 4 - Not Another Multiverse
Looking to experience this game? Grab your digital key directly on our store for $11.99.
View on Steammoz Store →2. Treat Evilness as Your Main Expansion Currency

Gold pays for construction, Mana fuels magical tools, and workers move the whole machine. Evilness is different: it controls how aggressively the Dungeon Lord can grow. You gain it by progressing through objectives and influencing the overworld, then spend it to claim territory and unlock stronger options. If you hoard Evilness while your army is ready to move, you're effectively choosing to stay weak.
Push toward overworld areas that contain objectives, Gold, Mana, or useful routes rather than expanding randomly. Territory is valuable because it opens space and targets, but every new section also creates more ground to defend. Think of each expansion as a commitment: can your current Horde clear it, and can your dungeon survive while your best units are away?
Don't confuse killing every neutral creature with making progress. Some fights consume healing time and cost units without advancing the campaign. Finish nearby objectives first, collect accessible resources, and return to the dungeon before a minor skirmish turns into a full army loss.
3. Give Every Room a Job
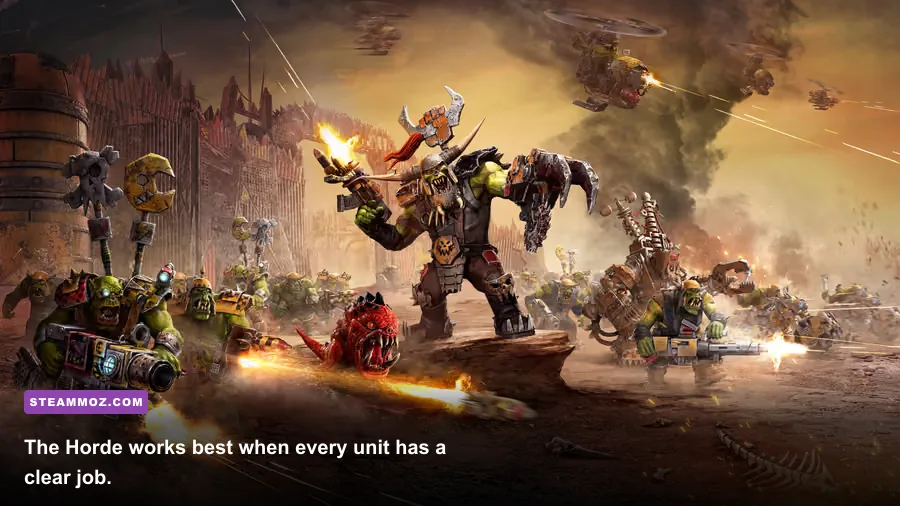
Dungeons 4 rewards functional layouts. The Treasury should sit near Gold collection and major spending points. The Workshop belongs near the defensive corridor it supplies. Production and creature-support rooms should be close enough that workers and units aren't crossing the entire dungeon after every task. This matters more than aesthetic symmetry during the opening minutes.
| Room or System | What It Solves | Best Early Placement | Common Mistake |
|---|---|---|---|
| Dungeon Heart | Base survival and central command | Behind a short, defensible route | Leaving several open entrances |
| Treasury | Gold storage and economy flow | Close to workers and construction | Building it at the far edge |
| Workshop | Traps and defensive preparation | Near the main approach | Producing traps before securing income |
| Guard Room | Defensive creature presence | Behind traps or at a junction | Placing all guards in one dead end |
| Prison | Captive management and conversion value | Near the defensive core | Putting it beside the entrance |
Room upgrades should follow a simple rule: upgrade the room that removes your current bottleneck. If workers can't keep up with construction, improve your economy. If raids reach the Heart untouched, improve the approach and defenses. If your army repeatedly loses overworld fights, invest in creature support and combat upgrades instead of adding another decorative room.
4. Use the Five-Minute Scout to Find Your Real Problem
At the beginning of a mission, pause for a moment and read the map. Identify the closest Gold and Mana sources, the likely hero entrance, mission objectives, and any route that lets surface forces bypass your first defensive line. This quick inspection prevents the classic beginner mistake of digging toward the most visible resource while exposing the Heart.
Send workers to reveal useful rock, but don't mine blindly across the map. Every opened section is another route heroes may exploit. Dig in short bursts, check the newly exposed area, then decide whether the next tile improves income, movement, or defense. If it does none of those things, leave it sealed.
Watch the mission timer and objective text too. Some scenarios expect you to attack the surface quickly, while others reward preparation. The campaign's comic dialogue can make objectives sound casual, but the game still wants disciplined sequencing: secure the dungeon, establish income, assemble a mixed force, then push.
5. Build a Mixed Horde Instead of Spamming One Creature
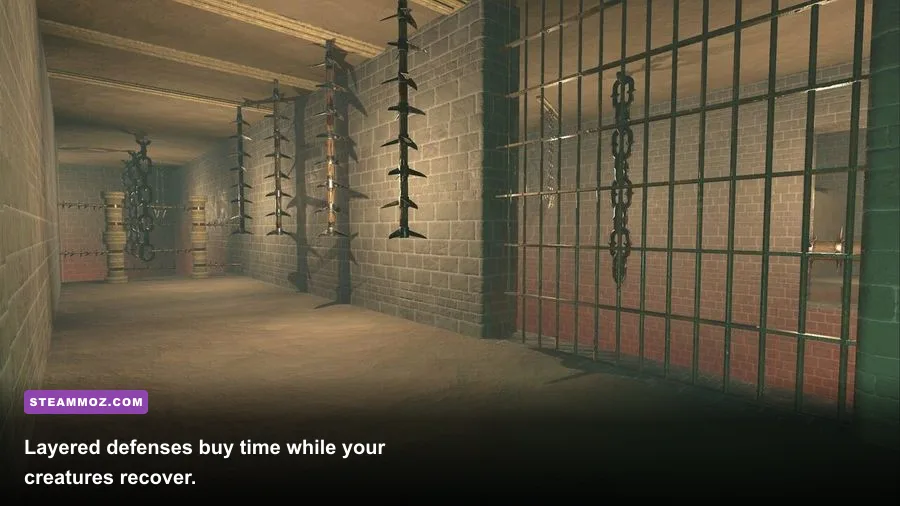
The Horde's strength comes from role coverage. Orcs are your dependable front line, Goblins add useful support and ranged pressure, and tougher specialist creatures become much more valuable when they can operate behind a screen of bodies. A single-unit army may clear weak enemies quickly, but it collapses when the map introduces armor, ranged attackers, or area damage.
Keep melee units in front and avoid sending every creature through the same doorway. Use the terrain and the control tools available to split enemy attention. When a hero group focuses one target, pull that unit back rather than allowing it to die while the rest of the army stands nearby. Dungeons 4 is forgiving about repositioning, but much less forgiving about replacing veteran creatures repeatedly.
| Army Focus | Strength | Weakness | Best Use |
|---|---|---|---|
| Orc-heavy Horde | Reliable frontline pressure | Can struggle against ranged damage | Early objective clearing |
| Goblin-supported Horde | More flexible damage and utility | Fragile if exposed | Fighting mixed hero groups |
| Creature rush | Fast pressure before defenses grow | Low staying power | Short missions with exposed objectives |
| Balanced force | Best overall resilience | Costs more time and resources | Long campaign scenarios |
Use the official Dungeons 4 Steam page to check current patches and DLC details, because balance adjustments can change the best creature mix. The underlying principle doesn't change: don't ask one unit type to tank, chase, and solve every encounter.
6. Learn the Difference Between Dungeon and Overworld Defense
Your dungeon defenses are strongest when they delay enemies rather than attempt to kill everything instantly. Place traps where heroes must pass, then position guards behind the danger zone. A trap that fires before your creatures engage softens the enemy; a trap placed behind your guards often triggers too late to matter.
On the surface, static defense can't rescue a badly positioned army. Keep your Horde together until you understand the enemy composition, then pull back toward a safer route if the fight turns ugly. Heroes often punish overextension: a victorious army can still lose half its health while chasing a fleeing target into a second group.
Pause frequently when several threats appear at once. Use the pause to identify which enemy is dealing ranged damage, which unit is being focused, and whether a new wave is approaching from behind. This isn't cheesing the game; it's the intended way to handle a strategy game that layers dungeon management over real-time combat.
7. Let Thalya Work the Way the Mission Demands
Thalya is not just a story character who happens to fight. She is a flexible tool for controlling dangerous engagements and helping the Horde finish targets. Keep her near the army but not directly in the first collision. If she takes the opening hit from every enemy group, you'll spend the entire mission waiting for recovery instead of using her abilities to swing key fights.
Use her abilities on high-value targets or moments when your frontline is about to be overwhelmed. Don't waste a powerful cooldown on the final weak creature in a patrol. A good rhythm is to let the Horde establish contact, identify the most dangerous enemy, then use Thalya's tools to remove that threat while your creatures maintain pressure.
Her mobility also makes her useful for scouting and finishing isolated enemies, but don't turn every mission into a solo adventure. A separated Thalya can trigger a second encounter and force the whole army into a rescue operation. Keep an escape path open and regroup before pushing deeper.
8. Spend Mana With a Plan, Not on Every Minor Fight
Mana is tempting because magical abilities provide immediate impact, but using it whenever a fight looks slightly inconvenient leaves you helpless during the encounter that actually matters. Save enough for the next objective, an elite patrol, or a raid against your dungeon. The right question isn't “Can I cast this?” but “Will this cast change the outcome?”
Use control and damage tools to create a numbers advantage. A spell that interrupts or disables a dangerous enemy is often worth more than a small burst of damage spread across the entire group. Likewise, healing or defensive support is most efficient after your frontline has taken meaningful damage, not before contact.
Check Mana income whenever you return underground. If your reserves are constantly empty, the problem may be your spending pattern—or simply that you haven't expanded toward enough Mana production. Resource upgrades compound over a long mission, so a small early investment can save several emergency retreats later.
9. Capture Momentum With Prisoners and Recovery
Winning a battle isn't the same as being ready for the next one. After a hard fight, let injured creatures recover before sending them into another objective. New players often chase a retreating hero group, win the pursuit, and then lose to the following encounter because the army entered it damaged and out of position.
The Prison gives your dungeon another way to turn captured enemies into value. Bring prisoners into the dungeon safely and use the room's function rather than leaving captives stranded near an entrance. This creates a useful feedback loop: successful defense can provide more than survival, helping your Dungeon Lord convert enemy pressure into progress.
Keep an eye on worker traffic while your army is away. If construction stops because workers are trapped behind an exposed route, your dungeon can fall apart while you watch the surface. A short retreat to reset creature positions and check the Heart is usually cheaper than replacing a dead army.
10. Tune Performance Before the Late-Game Swarm
Large Dungeons 4 missions can become demanding when the dungeon fills with workers, creatures, traps, effects, and surface armies. Start with a stable frame rate rather than maxing every option. Lower shadow quality and effects first if crowded battles cause stutter; those settings usually cost more performance than reducing texture quality on a modern graphics card.
| Setting | Recommended Starting Value | Performance Impact | Visual Trade-Off |
|---|---|---|---|
| Display Mode | Exclusive fullscreen or borderless | Low | Choose the mode with fewer frametime spikes |
| Resolution | Native resolution | High | Lower only if GPU usage stays near maximum |
| Shadows | Medium | Medium to high | Small loss in dungeon depth, useful FPS gain |
| Effects | Medium | Medium | Less spell and combat detail |
| Anti-aliasing | Medium or high | Medium | Keep higher if edges shimmer badly |
| Frame limit | Monitor refresh rate or slightly below | Stability benefit | Smoother frametimes and lower heat |
Cap the frame rate if your system is constantly swinging between peaks and dips. Stable frame pacing matters more than a high number during a raid. For troubleshooting, our guides on PC crashes and FPS recovery and low-FPS fixes cover the same useful basics: update drivers, disable overlays, verify files, and test settings one change at a time.
Three Habits That Make Not Another Multiverse Easier
First, save before major expansions or scripted attacks. A quick reload is far better than discovering that your entire economy was built around an unsafe corridor. Second, check both maps after every objective. The surface may unlock a new route while the dungeon reveals a fresh threat. Third, spend resources before ending a mission phase. Gold, Mana, and Evilness sitting unused are opportunities you paid to earn.
For broader strategy-game instincts, the Empires of the Undergrowth leveling guide is also useful for understanding worker flow, expansion timing, and resource efficiency. Those ideas transfer surprisingly well to Dungeons 4, even though the tone and mechanics are very different.
The Winning Loop Is Compact, Aggressive, and Patient
The strongest new-player strategy in Dungeons 4 – Not Another Multiverse is a loop: build a compact dungeon, secure Gold and Mana, create a mixed Horde, claim a worthwhile overworld objective, then return to reinforce before the next push. Don't expand just because you can, don't spend Mana because a spell is available, and don't mistake a won battle for a healthy army.
Once that rhythm becomes automatic, the campaign's chaos starts working in your favor. Your dungeon produces the tools, the Horde creates pressure, and Evilness turns each successful attack into more territory. That's when Dungeons 4 stops feeling like a frantic multitasking test and starts feeling like what it really is: a beautifully mean strategy sandbox.
For official information, follow Realmforge Studios, check Kalypso Media, and review the latest Dungeons 4 Steam announcements before starting a fresh campaign.