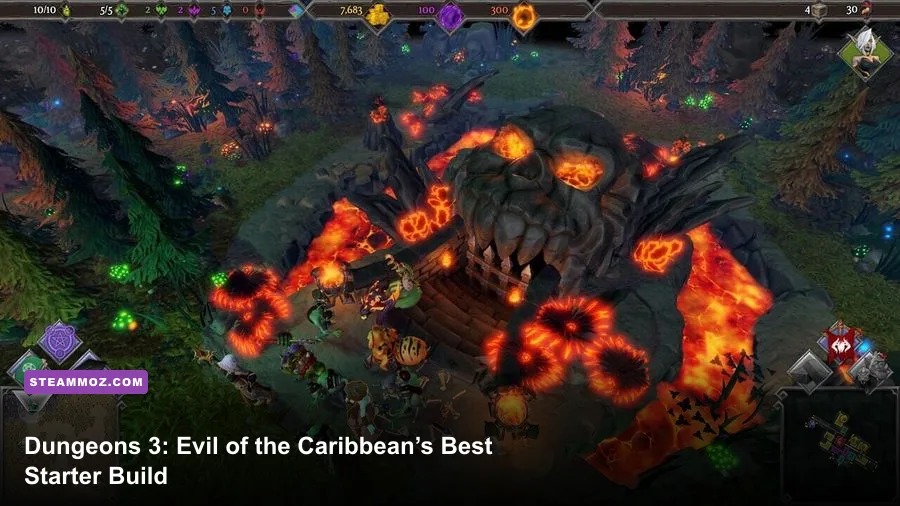
The safest beginner build for Dungeons 3: Evil of the Caribbean is a compact Horde dungeon: unlock a Treasury and Lair early, rush a Training Room, add a Workshop and a short trap corridor, then expand only after your creature cap and gold income are stable. It is simple, cheap, and flexible enough for the DLC’s three pirate-themed campaign missions, where surface objectives can punish players who overbuild underground.
This approach also works if you are learning the base game at the same time. The official Steam page for Dungeons 3 lists the core dungeon-management and real-time strategy loop, while Kalypso Media’s official site provides the publisher’s broader series information. The key beginner lesson is not to chase every room immediately. Your first job is to create a reliable economy and a frontline that can survive the first raid.
The best opening order for Evil of the Caribbean
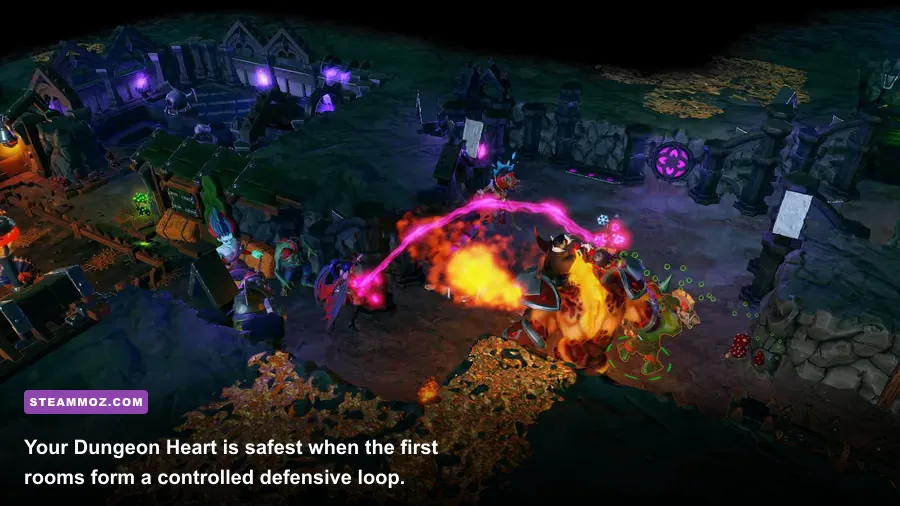
Start by digging a small, readable room network close to the Dungeon Heart. Your first expansion should connect resource tiles without creating a maze you cannot defend. Build the Treasury before your gold starts overflowing, then place a Lair where creatures can gather safely. The Lair matters more than it looks: sleeping creatures recover between attacks, and a compact room keeps them from wandering through exposed tunnels when a surface force appears.
After that, prioritize the Training Room. New creatures are not enough by themselves; untrained units lose fights quickly, especially when an enemy hero group reaches your rooms together. Put your first Horde units through training before spending gold on decorative or specialist rooms. The Training Room also gives your early roster a useful rhythm: recruit, train, heal, then send the group out as one force.
| Build Step | Room or Action | Why It Comes First | Beginner Mistake |
|---|---|---|---|
| 1 | Dig to gold and build Treasury | Prevents wasted income and supports every later unlock | Mining too far from the Heart |
| 2 | Build Lair | Creates a safe recovery point for creatures | Making the Lair the first room enemies reach |
| 3 | Build Training Room | Turns a disposable group into a dependable frontline | Attacking with untrained units |
| 4 | Add Workshop | Unlocks traps and defensive control | Building traps before securing income |
| 5 | Expand creature infrastructure | Raises long-term army quality and capacity | Adding rooms faster than gold can support |
Keep the first dungeon compact rather than symmetrical. A Treasury beside the Heart, a Lair behind the main room, and a Workshop facing the likely invasion route is enough. You can always dig outward later. You cannot easily recover from an early attack that strands your creatures in separate corridors.

🎮 Dungeons 3: Evil of the Caribbean
Looking to experience this game? Grab your digital key directly on our store for $2.24.
View on Steammoz Store →Why Horde is the right beginner faction

The Horde is the most forgiving starting choice because its game plan is easy to read: put durable bodies in front, support them with damage dealers, and use the dungeon’s walls to control approach routes. Orcs are your dependable melee core, while Goblins add ranged pressure from behind the line. When the game gives you access to additional Horde creatures, add them according to the mission’s needs instead of replacing the whole army every time a new unit appears.
Do not treat Goblins as miniature Orcs. They are valuable because they attack while the enemy is busy hitting your frontline. Keep them behind corners, doors, or the rear edge of a room. If they are standing in front of your Orcs, your formation has already failed. The basic Horde formation is two layers deep: Orcs absorb contact, Goblins fire from safety, and Thalya uses her abilities when several targets are already committed to the fight.
There is a real trade-off here. Demons can offer stronger magical pressure and Undead can create unusual attrition setups, but both factions demand more attention to positioning and room efficiency. For a first Evil of the Caribbean run, Horde gives you time to learn the campaign’s surface transitions without making every mistake fatal. Players coming from other management games may also enjoy our beginner strategy build for The Settlers: Northland, which uses a similarly conservative opening economy.
| Build Element | Priority | Role | Best Use |
|---|---|---|---|
| Orcs | S-Tier | Frontline melee | Holding doorways and protecting ranged units |
| Goblins | A-Tier | Backline damage | Firing through a defended room or corridor |
| Traps | A-Tier | Time and crowd control | Breaking up a wave before it reaches the Heart |
| Extra specialist rooms | B-Tier early | Long-term scaling | Build after income and training are established |
Room placement, traps, and the defensive loop

Your dungeon should have one obvious invasion route and one safe internal route. The invasion route is where you place the Workshop’s traps and the main combat room. The internal route connects the Heart, Treasury, Lair, and training infrastructure without forcing creatures to cross the kill zone every time they need to rest.
A short corridor is better than a spectacular one. Beginners often dig a huge serpentine passage and fill it with traps, then discover that enemies have enough health to walk through it while their own creatures arrive late. Use a few traps to split or soften the wave, then let your Horde army finish the fight in a room with enough space for melee units to surround the target.
Trap timing matters more than trap quantity. Triggering every defensive tool on the first weak enemy wastes the corridor’s value. Let the lead unit pass if necessary, then activate the trap when the bulk of the wave is grouped. If a hero has a visible special attack or unusually large health pool, save a Dungeon Lord ability for that target instead of spending it on the opening fodder.
Dungeon Lord abilities that actually help
Slap is best used to interrupt a dangerous enemy or finish a low-health target, not as random damage between fights. Possession is strongest when you need direct control of a creature during a key engagement; use it to protect Goblins, focus a priority target, or pull a melee unit away from an isolated fight. The exact ability availability can vary with campaign progression, so spend skill points on tools that improve control and survivability before flashy damage options.
Thalya should not be treated as a solo hero. Send her with the trained group, let Orcs establish contact, and then use her abilities into the packed fight. If she runs ahead, enemies can surround her before your creatures enter attack range. That is one of the fastest ways to lose momentum in the Caribbean missions.
Skill points, upgrades, and the first 15 minutes

Your first skill points should make the core army more reliable rather than unlock a wide menu of situational tricks. Prioritize upgrades that improve Horde creature durability, training value, and sustained combat. A good beginner rule is to finish one useful branch before scattering points across three different branches. An incomplete offensive branch and an incomplete defensive branch usually feel weaker than one branch with a clear purpose.
During the opening phase, keep checking three numbers: current gold, creature capacity, and trained army size. If your creature count is high but your gold income is low, stop recruiting. If your gold is healthy but most units are untrained, stop expanding. If both are stable and the map has opened, add the next room that supports the mission objective rather than automatically building every available option.
| Time Window | Target State | What to Spend On | What to Delay |
|---|---|---|---|
| Opening minutes | Treasury, Lair, compact mining route | Gold storage and basic room access | Large decorative expansion |
| Early pressure | Training Room and first Horde group | Training and safe creature recovery | Recruiting beyond your economy |
| First attack cycle | Workshop and short trap corridor | Defensive control on one route | Multiple distant entrances |
| Mid-mission | Stable income and larger trained force | Creature capacity and mission-specific rooms | Unneeded faction switching |
Save before opening a new surface section if the campaign allows it. Surface objectives can change the pressure pattern, and a dungeon that was safe against one attack route may be exposed after the map expands. This is also where performance can dip during large battles; our guides to smoother PC frame rates and practical graphics settings cover the same general performance habits.
How to handle surface missions without breaking the build
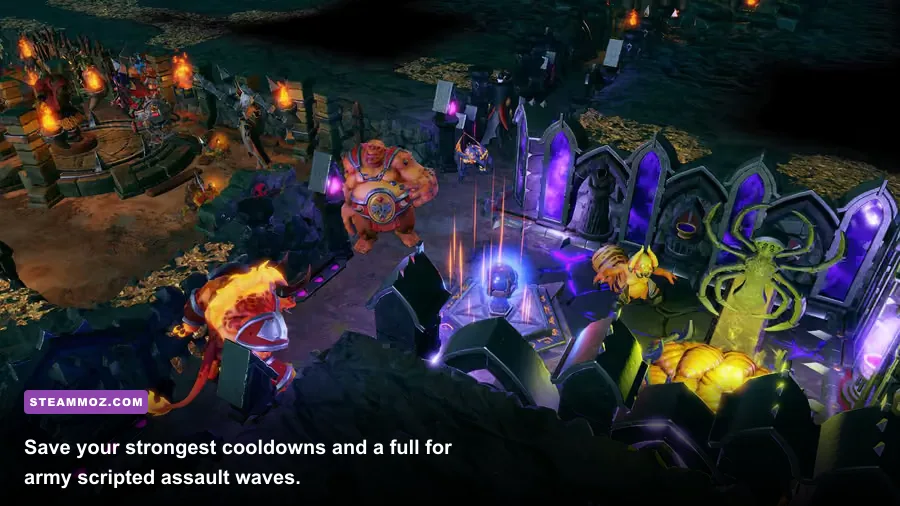
The expansion’s pirate presentation can tempt you into treating every objective like a direct assault. Resist that instinct. Before moving Thalya and the army onto the surface, finish training the units you plan to take, confirm that the Dungeon Heart is not exposed, and leave enough defenders underground to handle a surprise wave. A victorious surface push does not matter if the Heart falls while your main force is away.
Use the surface as a controlled expedition. Move the army in a tight group, keep Thalya near the middle rather than at the front, and focus targets one at a time. Ranged enemies are usually the first priority because they can punish your formation while Orcs are occupied. If the objective is a structure or marked location, clear the surrounding enemies before committing to the interaction. The few seconds saved by clicking the objective early are rarely worth losing half the army.
When you return underground, do not immediately launch the next sortie. Let wounded units recover, retrain replacements, and inspect the invasion route. Evil of the Caribbean rewards this pause because mission scripting can produce pressure after an objective is completed. Your dungeon should be stronger after every expedition, not merely farther across the map.
Common beginner traps that ruin this opening
The biggest mistake is overdigging. Every extra tile increases the distance your creatures travel and creates another direction to defend. The second is building a Treasury too late, which turns successful mining into lost income. The third is recruiting a huge mixed army before the Training Room is doing useful work. Numbers look reassuring, but an untrained blob can collapse against a smaller organized enemy force.
Another frequent error is placing the Lair beside the entrance. Sleeping creatures are not a defensive strategy. Keep recovery rooms behind the main combat space, and make enemies cross the same controlled route whenever possible. Finally, do not spend every Dungeon Lord cooldown the moment it becomes available. Save one interrupt or control tool for the enemy unit that threatens to break your frontline.
This build is intentionally conservative. Once you understand the campaign’s attack timing, you can experiment with Demons, Undead, wider trap networks, or faster surface aggression. For a first clear, though, the compact Horde opening gives you the best margin for error: Orcs hold, Goblins punish, Thalya supports, and the dungeon itself buys time. That is exactly the foundation a beginner needs in Dungeons 3: Evil of the Caribbean.
For more starter-focused PC strategy advice, see Steamoz’s beginner build for Aliens: Colonial Marines and our new-player tips for Goat Simulator 3. They are very different games, but the same principle applies: establish a reliable early loop before chasing the fun, risky options.