
The absolute best overall party composition synergy in Dragon's Dogma 2 is the Balanced Vanguard Comp, consisting of a Thief Arisen, a Kindhearted Mage Pawn, a Calm Fighter Pawn, and a Straightforward Sorcerer Pawn. This specific setup guarantees total crowd control, instant status cleansing via High Halidom, unlimited stamina sprint windows through Celestial Paean, and catastrophic single-target damage by stacking the Sorcerer's Augural Flare skill with the Thief's Skull Splitter. By pairing a dedicated tank with continuous magic buffs and high-frequency melee hits, your team can tackle any monster in Vermund or Battahl without relying on healing consumables.
1. The Balanced Vanguard: Best All-Rounder Party Build

For general exploration, exploration quests, and boss encounters, the Balanced Vanguard composition provides maximum versatility, defensive safety, and steady damage output. Dragon's Dogma 2 punishes party compositions that lack specialized role distribution, making a traditional tank-support-dps triangular baseline extremely effective across all character levels.
Core Party Breakdown
- Arisen: Thief — Acts as the primary physical damage dealer. Armed with Skull Splitter and Formless Feint, the Arisen mounts giant foes, attacks weak points, and dodges incoming lethality with zero stamina penalty under optimal buff windows.
- Main Pawn: Mage (Kindhearted) — Serves as the team's lifeline. Equipped with High Halidom, Anodyne, High Celerity, and Celestial Paean (Maister Skill).
- Pawn 2: Fighter (Calm) — Handles frontline aggro management using Shield Drum, Impeccable Guard, and Cloudward Slash to pull enemy focus away from spellcasters.
- Pawn 3: Sorcerer (Straightforward) — Delivers heavy elemental staggers using High Levin, Augural Flare, and Meteoron.
The core engine of this composition relies on the Fighter locking enemy targets in place while the Mage casts High Celerity to accelerate casting times and movement speed across the battleground. When tackling boss encounters like Drakes or Griffins, the Mage activates Celestial Paean, granting the Thief infinite stamina for continuous Skull Splitter loops. If you want to optimize your foundational strategies before tackling end-game content, check out our best starting build guide for beginners for fundamental team mechanics applicable across major RPGs.
2. The Boss-Melt Burst Comp: Max Damage Augural Synergy
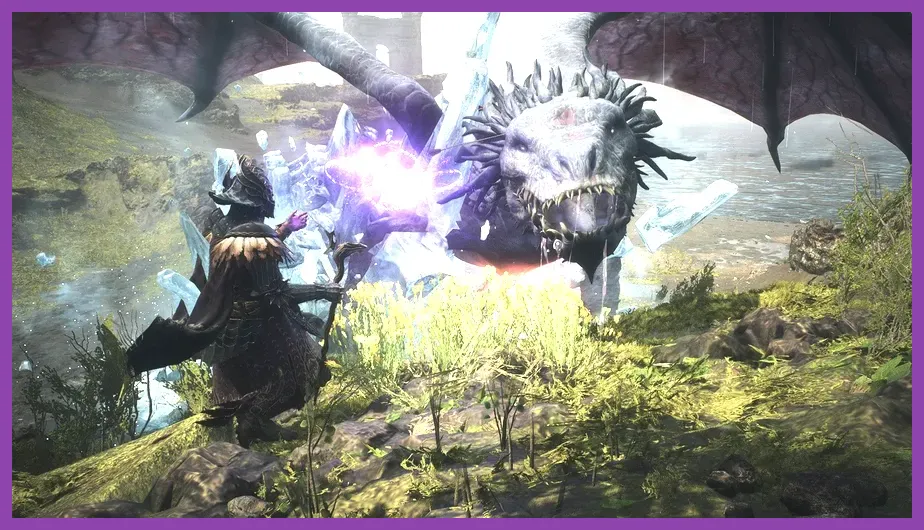
When farming high-tier monsters like Drakes, Lesser Dragons, and Gorechimeras, raw burst damage saves valuable time and prevents party wipeouts caused by high-impact ultimate attacks. The Boss-Melt team synergy exploits a specific interaction between the Sorcerer's ultimate skill, Augural Flare, and rapid physical multihit attacks.
Required Vocations and Skill Setups
To pull off this devastating elemental combo, set your team up with the following loadouts:
- Arisen: Thief or Magick Archer — Equipped with Skull Splitter (Thief) or Torrent Shot / Sagittariate Avalanche (Magick Archer).
- Pawn 1: Sorcerer (Calm) — Must slot Augural Flare and High Hagol.
- Pawn 2: Sorcerer (Straightforward) — Slotting Augural Flare and High Levin. Double Sorcerers unlock the Auxiliary Spellcasting mechanic, cutting cast times for Meteoron and Augural Flare by half when standing near each other.
- Pawn 3: Mage (Kindhearted) — Equipped with Celestial Paean, High Celerity, and Ice Affinity.
When combat begins, the two Sorcerer Pawns attach Augural Flare to a boss's weak spot (such as a Drake's exposed glowing heart). Once the orb is affixed, the Arisen immediately attacks the orb using high-frequency skills like Skull Splitter or rapid-fire bows. Every hit increases the orb's internal explosion counter. Hitting the target 30+ times before the timer expires triggers a series of colossal explosive detonations that can strip three to four full health bars off an end-game boss in under five seconds. Official game details on vocation mechanics can be reviewed on the official Dragon's Dogma 2 website.
3. The Immortal Shield & Shatter Party Build

If you prefer a combat style where your party takes zero damage and never suffers knockdowns, combining the **Mystic Spearhand** with heavy physical impact vocations creates an unstoppable defensive wall. This composition renders curative items obsolete and trivialize encounters against mobs that deal heavy stagger damage, such as Golems and Minotaurs.
Composition Breakdown
- Arisen: Mystic Spearhand — Acts as the immortal support-tank core. The key to this build is maintaining 100% uptime on Mirour Sheelde (or its upgraded form, Mirour Vestige), which grants absolute immunity to all physical and magical damage to all nearby party members for several seconds.
- Pawn 1: Warrior (Straightforward) — Slots Arc of Might, Mountain Breaker, and Savage Lash for unmatched knockdown power.
- Pawn 2: Warrior or Fighter (Calm) — Focuses on heavy weapon sweeps using Knoll Breaker to destabilize giant foes.
- Pawn 3: Sorcerer or Archer (Calm) — Provides long-range disruption with Maelstrom or Spiral Arrow.
Because Mirour Sheelde protects your Pawns from all damage and interrupt frames while they charge up heavy attacks, your Warrior Pawns can freely charge full-power Arc of Might swings without fear of being interrupted or knocked down. Similar to managing party compositions in other deep tactical games, achieving perfect synergy requires balancing crowd control with defensive safety; read our guide on maximizing team comp synergy to understand complementary role design.
4. Optimizing Pawn Inclinations, Specializations, and Augments
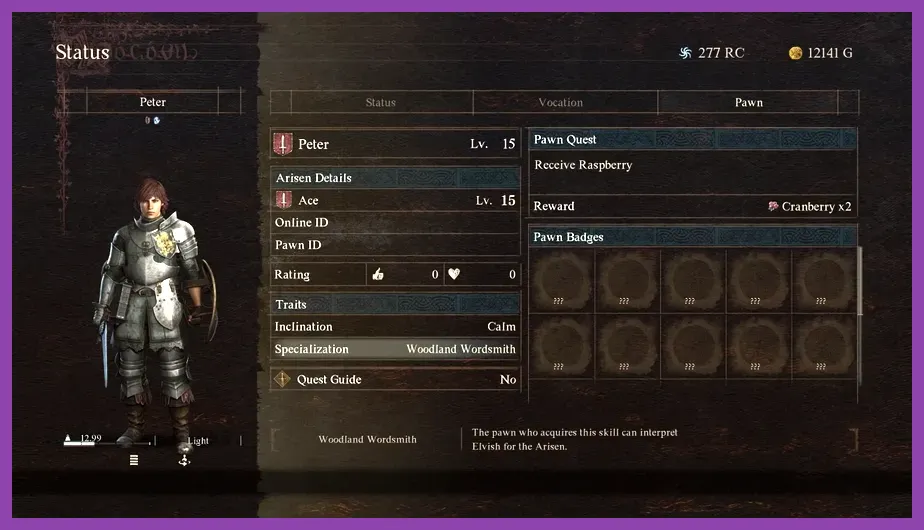
A party composition in Dragon's Dogma 2 is only as strong as its Pawn AI logic. Simply selecting the right vocation is not enough; matching **Pawn Inclinations** and **Specializations** ensures that your companion AI executes their designated combat role efficiently without idling or making suicidal pathfinding choices.
Recommended Inclination Mapping
| Vocation | Optimal Inclination | AI Combat Behavior |
|---|---|---|
| Mage | Kindhearted | Prioritizes casting healing, status cleansing, and stamina buffs on the Arisen first. |
| Fighter / Warrior | Calm / Straightforward | Calm focuses on blocking and counter-attacks; Straightforward charges elite foes directly. |
| Sorcerer / Archer | Calm | Maintains safe distance, dodges incoming melee rushers, and targets flying units. |
| Thief | Straightforward | Immediately mounts giant monsters to strike head, heart, and back weak points. |
Essential Pawn Specializations
Assign your Pawns complementary Specialization scrolls obtained throughout your journey across Vermund and Battahl:
- Chirurgeon: Enables the Pawn to automatically use healing items from their inventory on injured party members. Essential for support Mages.
- Logistician: Automatically redistributes weight across the party's inventories and crafts consumables from raw materials.
- Woodland Finder: Translates Elvish dialogue in the Sacred Arbor, essential when shopping for end-game magical weapons.
Furthermore, ensure your Pawns equip cross-vocation Augments. Slotting the Thief's Subtlety augment on your Sorcerer lowers their threat generation, while equipping the Fighter's Provocation augment on your frontline tank guarantees that enemies target your tank instead of your backline spellcasters. For players seeking maximum game stability while running intense, spell-heavy party encounters, consult our guide on best graphics settings for maximum performance.
5. Advanced Hybrid Synergies with the Warfarer Vocation
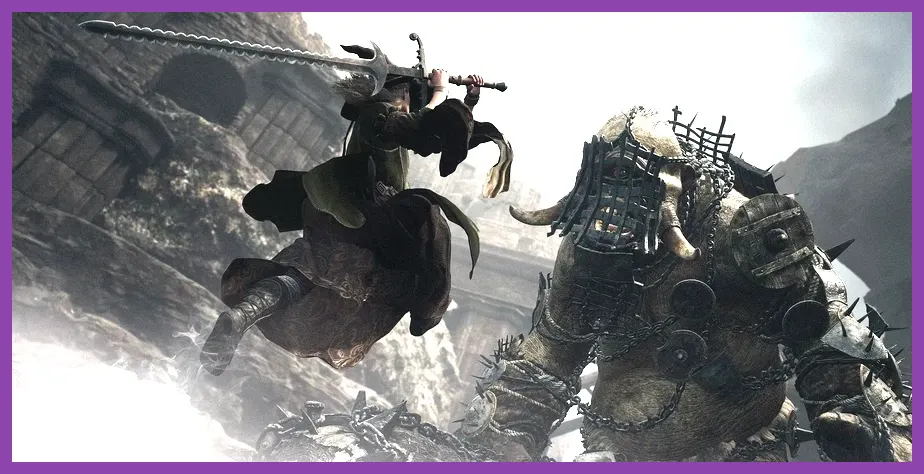
Unlocked at the Hot Springs camp in Agamen Volcanic Island, the **Warfarer** vocation is the ultimate Arisen-exclusive flexibility engine. Warfarer allows you to equip any weapon type and access weapon-specific skills simultaneously, enabling you to fill whatever utility gaps your hired Pawns leave behind.
The Swiss-Army Support Warfarer Build
By equipping a combination of Daggers, a Magick Bow, and a Greatsword, the Arisen can execute seamless self-synergies:
- Weapon Slot 1: Daggers (Thief) — Skill: Skull Splitter for raw physical melee burst.
- Weapon Slot 2: Magick Bow — Skill: Frosthunter Bolt to instantly freeze fast-moving flying targets like Harpies and Griffins.
- Weapon Slot 3: Duospear (Mystic Spearhand) — Skill: Mirour Sheelde to apply instant damage immunity to all three Pawns before switching back to physical weapons.
This hybrid setup allows your three Pawns to focus purely on high-damage vocations (such as two Sorcerers and a Warrior) while you supply defensive barriers, ranged elemental freezes, and close-quarters execution attacks single-handedly. Check out the Dragon's Dogma 2 Steam Store Page for game updates detailing vocation balancing patches. If you enjoy building versatile, self-sufficient hero archetypes across top-tier action RPGs, take a look at our breakdown of the best solo player class and build guide.
6. Elemental and Environmental Synergy Combos
Dragon's Dogma 2 features a dynamic physics and environmental reaction system. Smart party compositions take full advantage of elemental combinations to double their damage output and CC duration.
1. Wet Status + Lightning Shock Combo
Have a Mage or Archer apply the **Drenched** status using water vessels, High Frigor melting ice, or rain environments. Follow up immediately with a Sorcerer's High Levin or a Magick Archer's electrical attacks. Drenched targets suffer double stagger build-up and enter an extended electrify-stun state, preventing bosses from attacking for up to ten seconds.
2. Tarred Status + Flame Ignition Combo
Equip an Archer Pawn with Tarring Arrow or have a Thief use Ignited Blades on oil canisters thrown at elite enemies. When a tarred foe is struck by fire magic like High Flagration or a Mage's Fire Affinity buff, they erupt into a long-duration blaze that inflicts continuous armor-ignoring damage and forces humanoid bosses to panic.
3. Ice Freeze + Heavy Impact Shatter
Use a Mage casting High Frigor or a Magick Archer firing Frosthunter Bolt to completely freeze a target into solid ice. Once frozen, order a Warrior Pawn equipped with a hammer or Greatsword to execute a fully charged Savage Lash. Physical strike damage against frozen targets deals massive critical multiplier damage, frequently shattering lesser monster groups instantly. For more deep-dive guides and action-RPG strategies, explore our full library on unlocking high-priority combat skills to refine your tactical playstyle.