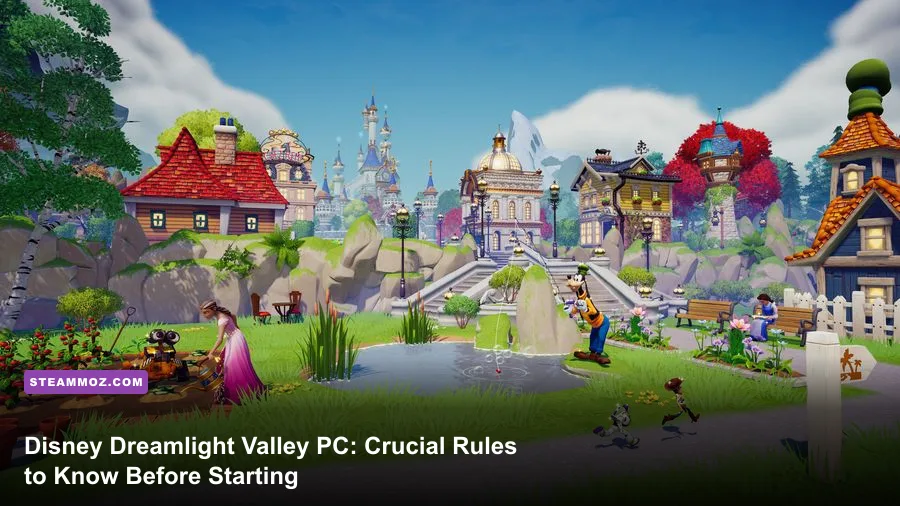
Disney Dreamlight Valley masquerades as an ultra-casual, cozy mashup between Animal Crossing and a classic Disney theme park, but jumping into the PC version blind will punish you in ways modern life sims rarely do. Gameloft built this valley around real-time server synchronizations, strict resource economies, and permanent companion specializations. If you make classic beginner mistakes—like tampering with your Windows system clock, assigning companion roles haphazardly, or carelessly hawking crafting materials to Goofy for quick cash—you will soft-lock quest progression and cripple your resource farming for dozens of hours. Navigating the valley requires a sharp strategic approach from your very first swing of the Royal Pickaxe.
Never Touch Your PC System Clock: The Time-Travel Trap
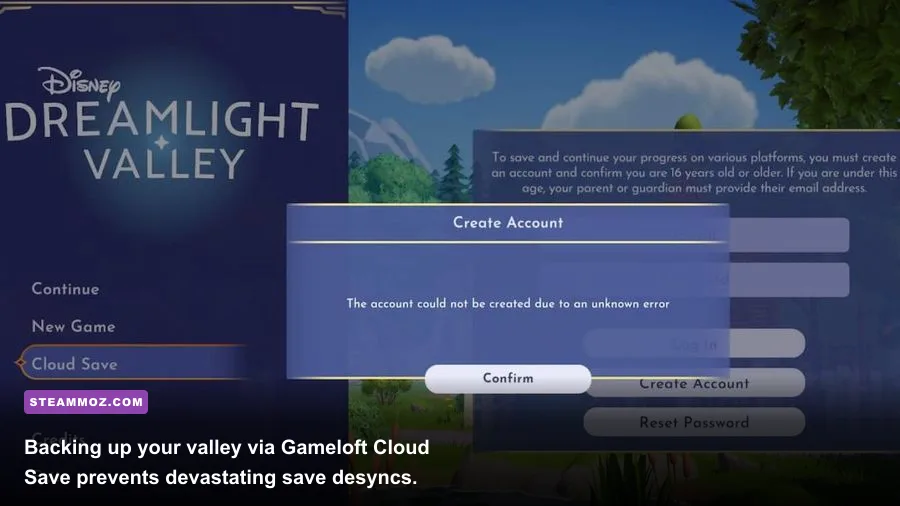
If you have spent any time playing Animal Crossing: New Horizons, your first instinct when staring at real-time crop timers or waiting for Scrooge McDuck's store stock to refresh might be to skip your PC clock forward. Do not do this under any circumstances. Gameloft built the game on an engine architecture that strictly checks local timestamps against cloud servers hosted on the official Disney Dreamlight Valley service. Changing your PC date or time breaks the internal game state irrevocably.
When you fast-forward or roll back your Windows clock, spawned valley resources desynchronize completely. Moana's fishing boat stops catching fish, wild herbs and spices refuse to respawn in any biome, Scrooge's general store inventory freezes indefinitely, and crops will not grow until real-world time naturally catches up to whatever future date your PC recorded. Worse yet, correcting your clock afterward rarely fixes the issue. Players frequently find themselves forced to submit support tickets or completely delete their save data to salvage their game. Much like dealing with stubborn engine anomalies in ELEX PC fixes that stop crashes, preventing file desynchronization at the root is vastly superior to troubleshooting broken save scripts later.
To keep your valley healthy on PC, always ensure Windows Time Synchronization is toggled to "Set time automatically." If you play across devices using the cloud cross-save feature between your desktop, Steam Deck, or laptops, verify that all machines operate on identical time zones before booting the title on Steam. A momentary five-minute time zone discrepancy can trigger game-breaking resource lockouts.

🎮 Dream
Looking to experience this game? Grab your digital key directly on our store for $14.99.
View on Steammoz Store →Companion Roles Are Permanent Commitments (Choose Wisely)
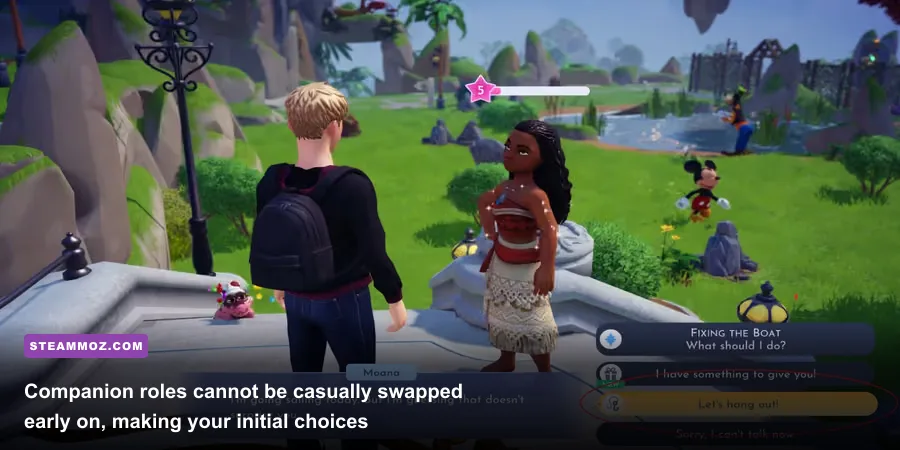
Every time you welcome a Disney villager to Friendship Level 2, the game prompts you to assign them a Companion Role: Gardening, Mining, Foraging, Fishing, or Digging. While Gameloft eventually introduced high-tier crafting manuals that let you reassign roles later in the endgame, crafting these manuals requires an astronomical amount of Dreamlight (5,000 Dreamlight per manual) alongside rare crafted items. For your first 40 to 60 hours, the companion roles you choose are essentially set in stone.
The companion mechanic works on an internal stack bonus. Whenever you perform an activity alongside a villager assigned to that role, they have a base percentage chance to find bonus duplicate items. However, that bonus chance scales exponentially based on how many total villagers in your valley share that specific role, even if they aren't currently hanging out with you. If you spread roles evenly across your first ten characters, you dilute your passive harvesting potential to near-useless levels.
| Companion Role | Economic Value | Villager Allocation Strategy | Priority Level |
|---|---|---|---|
| Gardening | S-Tier (Massive Star Coins) | Assign to 40% of all villagers for 100%+ duplicate harvest yields. | Crucial (First pick) |
| Mining | S-Tier (Crafting materials & Gems) | Assign to 30% of villagers to double Vitalys Crystals, Iron, and Gold. | Crucial (Second pick) |
| Fishing | B-Tier (Early energy & mid-tier coins) | Assign to 1-2 villagers max (e.g., Moana or Goofy) for rare fish drops. | Situational |
| Foraging | C-Tier (Berry harvesting & wild wood) | Assign to 1 villager. Fruit trees already yield generous volumes naturally. | Low |
| Digging | D-Tier (Clay, Sand, Pebbles) | Assign to 1 villager strictly for massive terraforming grinds. | Very Low |
As outlined above, your absolute top priorities are Gardening and Mining. Star Coins rule everything in Dreamlight Valley—from expanding Scrooge's shop and upgrading character homes to purchasing seed inventories from Goofy's stalls. Stacking the majority of your roster onto Gardening guarantees that every single plot of Carrots, Canola, or end-game Pumpkins you harvest yields double or triple profits. Just as you prioritize high-yield economic loops when tackling an Empires of the Undergrowth fast leveling and gold farming guide, hyper-focusing your companion roles early creates an avalanche of effortless currency.
Mastering the "Well-Fed" Golden Energy Bar Mechanics
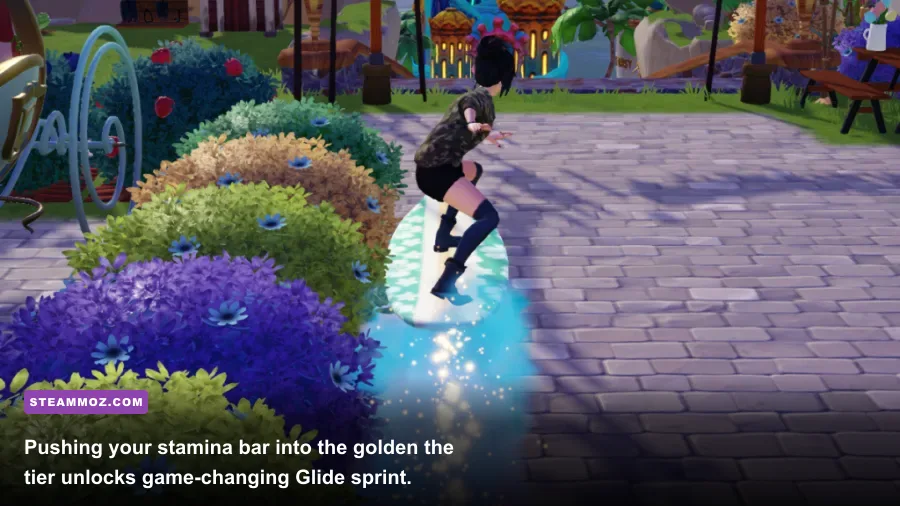
Your stamina bar starts as a standard blue meter in the top-left corner of the screen. When it empties, your character moves at an agonizing crawl and cannot use royal tools. Beginners constantly waste time fast-traveling back to their house to step inside and regenerate the blue bar for free. While that strategy works for the first twenty minutes, it is a catastrophic waste of time once you unlock the cooking system inside Remy's Realm or Chez Remy.
Eating raw gathered ingredients (like Apples or Raspberries) only refills the basic blue energy bar. However, eating prepared cooked meals pushes your stamina past maximum, converting the meter into a glowing golden bar called the Well-Fed buff. This secondary golden bar provides two massive mechanical upgrades that fundamentally transform PC gameplay:
- The Sprint/Glide Mechanic: By holding down the sprint key (defaulted to Shift on PC), your character surfs across the ground on magical golden sparks. This triples your traversal speed, cutting movement time between biomes down to mere seconds.
- Critical Luck Scaling: While in the Well-Fed state, your chance to trigger "Golden Explosions" (where an harvested node suddenly bursts into half a dozen bonus items timed to a frantic countdown) increases dramatically.
Early on, the most cost-effective recipe to sustain permanent golden stamina is Berry Salad (1 Raspberry, 1 Blueberry, 1 Gooseberry). It costs zero Star Coins to make, refills massive quantities of energy, and requires ingredients freely picked throughout the Plaza, Peaceful Meadow, and Forest of Valor. Once you unlock Remy's restaurant, you can also churn out Soufflés using ingredients bought straight from his pantry (Cheese, Egg, Milk, Butter). Keep at least two stacks of cooked meals in your backpack at all times; playing without the golden sprint mechanic is the fastest way to burn out on large valley maps.
Hoarding Rules: Never Sell Raw Quest Materials
Dreamlight Valley's item economy tempts you into selling everything you harvest to Goofy for quick upgrades. Resist that urge. Raw resources—specifically Hardwood, Iron Ore, Clay, Dream Shards, and Dark Wood—are notorious progression bottlenecks designed to test your patience during character friendship quests.
A prime example is Minnie Mouse's infamous questline, "Remembering," which demands a staggering 200 units of Clay and dozens of Iron Ingots just to craft a single rustic clock tower. If you sell off your daily drops of Iron Ore or Clay to buy clothes from Scrooge, you will find yourself stuck spending four agonizing hours digging muddy trenches across the Glade of Trust with an un-upgraded shovel. Much like managing resource hoards to avoid progression traps in our level fast and farm zeni in Kakarot guide, patience in inventory management pays compounding dividends.
Follow these universal hoarding principles from day one:
- Never craft Night Shards into Purified Shards unless a specific quest explicitly tells you to do so. Purified Shards cannot be decomposed, and raw Dream Shards are required for opening biomes and cleansing Dark Crystals.
- Craft Small and Medium Wooden Chests immediately: Drop these chests right next to Goofy's stall in every individual biome. Dump that specific biome's native flora, gems, and wood directly into those localized containers to keep your personal backpack pristine.
- Crafting stations pull directly from your storage: You do not need items in your physical inventory to build furniture or quest landmarks. You can leave 500 stones in a chest inside your house, walk over to any crafting bench out in the wild, and craft freely without hauling hundreds of pounds of stone across the map.
PC Performance, Keybinds, and Graphics Settings for Maximum Stability
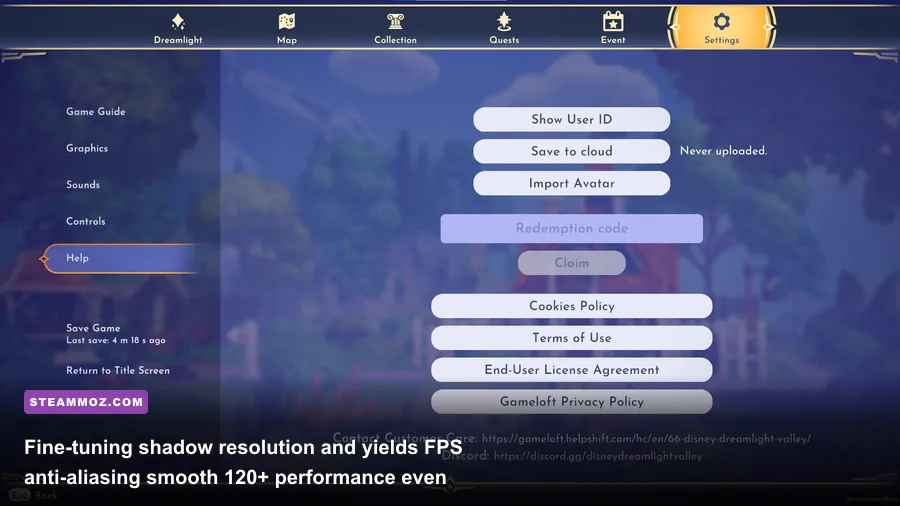
The PC port of Disney Dreamlight Valley is built on the Unity engine, and while it generally runs well on modern hardware, it suffers from aggressive memory leaks during prolonged sessions and frame-pacing stutter during inclement weather effects. Entering rainstorms in the Glade of Trust or heavy blizzards in Frosted Heights will tank your framerate if your graphics settings are unoptimized.
Unlike consoles that lock you to a rigid 30 or 60 FPS cap, the PC build gives you full control over render resolution, post-processing pipelines, and refresh rates. Tweaking these parameters keeps your valley crisp at high frame rates while eliminating the micro-stutters associated with loading newly spawned biome clutter. For players running mid-range rigs or high-refresh handhelds, optimizing these settings mirrors the performance troubleshooting outlined in our Filament Marmalade Edition settings for higher FPS and EscapeVR The Basement crashing and low FPS fixes.
| Graphics Setting | Recommended Value | Performance / FPS Impact | Visual Impact & Optimization Rationale |
|---|---|---|---|
| Display Mode | Exclusive Fullscreen | Low (+3-5% FPS) | Eliminates desktop window manager overhead; reduces micro-stuttering. |
| Shadow Quality | Medium | High (+15-20% FPS) | Softens harsh edges without rendering expensive real-time foliage self-shadowing. |
| Volumetric Fog | Low / Off | High (+12-18% FPS) | Drastically rescues frame pacing in the Glade of Trust and Forgotten Lands. |
| Anti-Aliasing | TAA | Moderate (~5% FPS) | Removes shimmering on intricate vegetation, crops, and character hair meshes. |
| Motion Blur | Off | Negligible | Clean visual clarity during fast golden gliding traversal. |
| V-Sync | Off (Use Driver G-Sync/FreeSync) | Moderate | Prevents input lag when rapid-clicking through crafting and dialog menus. |
On the controls side, the default mouse sensitivity is extraordinarily high out of the box. Drop your camera horizontal and vertical sensitivity down to 35-40% inside the gameplay settings to prevent jarring camera swings while navigating tight domestic interiors. Furthermore, take advantage of PC-exclusive hotkeys: pressing 'F' opens Furniture Mode instantly, while 'I' opens your Inventory. When organizing layouts or placing massive crop plots, using the mouse pointer to drag-and-drop structures in Furniture Mode is vastly faster than pushing thumbsticks on a controller.
Unlocking Biomes: The Optimal Progression Order
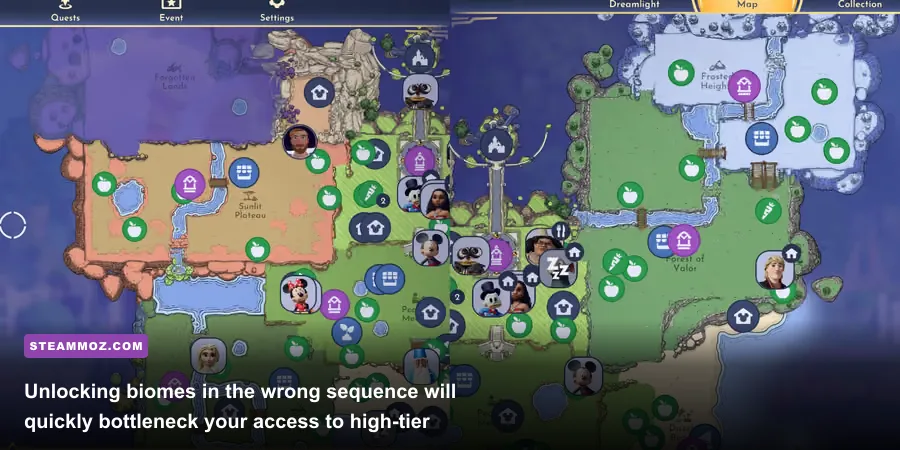
Dreamlight is the magical currency required to clear Giant Night Thorns blocking the gates to adjacent biomes. You earn it by clearing rotating Dreamlight Duties (such as catching three fish, selling two meals, or picking five flowers) and accomplishing milestone achievements. Because Dreamlight reserves are scarce during your first twenty hours, opening biomes randomly will trap your quest progression behind missing royal tool upgrades.
Follow this exact route to maximize tool upgrades and unlock essential crafting nodes in the most efficient sequence:
- Dazzle Beach (1,000 Dreamlight): Your non-negotiable first unlock. It provides access to Goofy's fishing stall, ocean fishing pools, and most importantly, unlocks Ursula and Maui. Maui's questline rewards you with the first Royal Pickaxe upgrade, allowing you to smash small sea debris and small blue rocks on the beach for extra sand and stone.
- Forest of Valor (3,000 Dreamlight): The absolute heart of your mid-game crafting economy. The Forest of Valor is your primary source of Hardwood, which drops organically around the base of trees. It also unlocks Kristoff (who eventually builds a customizable raw-materials stall) and Elsa, whose questline provides the Pickaxe upgrade needed to break the large Ice Shards blocking bridges.
- Glade of Trust (5,000 Dreamlight): Essential for Clay, Hardwood, and Iron Ore farming. Unlocking Mother Gothel advances the main story Pillar mechanics and yields the Shovel upgrade required to clear tree stumps across the valley.
- Sunlit Plateau (7,000 Dreamlight): Unlocks Scar, who upgrades your Royal Watering Can to destroy Evil Flowers and clear dried bone blockages, unlocking Vitalys Mines—the game's best mining hub for Vitalys Crystals and Iron Ore.
- Frosted Heights (10,000 Dreamlight) & Forgotten Lands (15,000 Dreamlight): Save these for the late game. Frosted Heights unlocks Olaf and high-tier winter crafting, while Forgotten Lands unlocks the iconic Pumpkin seeds, the game's undeniable multi-millionaire coin generator.
Keep your focus tight on this sequence. If you detour early to the Sunlit Plateau simply because you love The Lion King, you will find yourself paralyzed: you won't have the upgraded watering can to extinguish bone clusters, you will lack the Dreamlight to open Chez Remy, and your characters will be stalled on basic quest objectives. Treat Dreamlight investments like structural milestones rather than aesthetic explorations.
Setting Up Your Daily Valley Routine for Success
Once your fundamentals are dialed in, establishing a tight, ten-minute operational loop every time you launch the game on PC will keep your valley thriving without turning your play sessions into a stressful chore. The game is designed to reward deliberate, focused routines over erratic wandering.
Every login should start at Scrooge McDuck's Store in the Plaza. His clothing inventory does not duplicate—once you buy a clothing item, it is permanently removed from the spawning pool, meaning buying out his clothes every day steadily narrows the algorithm until you own every rare cosmetic in the game. His furniture stock, however, does duplicate, so only purchase the pieces you actively plan to use in your valley designs. You can cross-reference unowned sets through the official Dreamlight Valley Community Wiki to make sure you never miss time-sensitive seasonal decor.
From Scrooge's shop, sprint over to Kristoff's Stall in the Forest of Valor once you have unlocked it. Kristoff sells limited daily quantities of refined goods—including Coal Ore, Iron Ingots, Fabric, and Glass. Always buy out his entire stock of Coal and Iron every single day. Coal is the mandatory fuel consumed for every single cooking recipe; running out of coal means halting your golden energy generation or spending hours mining rocks just to cook basic meals.
Finally, clear out the daily blue and green chests that spawn across your biomes. Blue chests contain premium Moonstones (the currency used for the Star Path battle pass and premium shop skins), granting you free currency simply for exploring your valley. Green chests drop bags containing rare furniture drops and coin bundles. By treating your valley with tactical discipline—protecting your system clock, stacking Gardening roles, fueling yourself with golden meals, and respecting the hoarding rules—you will turn Dreamlight Valley into a silky-smooth, perfectly automated playground rather than an agonizing crafting chore.