Short answer: Dinosaur Fossil Hunter doesn’t have weapons in the combat-game sense, so the best “weapon tier list” is really an equipment ranking. The brush is the S-tier precision tool, the shovel is the best all-round excavation workhorse, and the pickaxe is a powerful but risky specialist tool. Use the shovel to expose a dig area, switch to the pickaxe only when hard ground slows you down, and finish every fossil with the brush. That rotation is faster, safer, and more profitable than treating one tool as a universal answer.
That distinction matters because Dinosaur Fossil Hunter is a paleontology simulation, not a dinosaur-hunting shooter. There are no firearms, melee damage values, armor ratings, enemy hitboxes, or weapon perks to compare. The game’s meaningful equipment decisions revolve around excavation speed, fossil protection, control, and how efficiently you move a discovery from an outdoor dig site into the laboratory and museum. If you arrived searching for a Dinosaur Fossil Hunter weapon tier list, this is the ranking that actually matches the game’s mechanics.
The rankings below are based on practical performance rather than invented damage numbers. The game does not present the shovel, pickaxe, or brush with a conventional RPG stat sheet, so assigning fake values such as “42 damage” would be misleading. Instead, each tool is judged by its job, its risk profile, and how well it fits the excavation loop shown on the official Steam page.
The Dinosaur Fossil Hunter equipment tier list
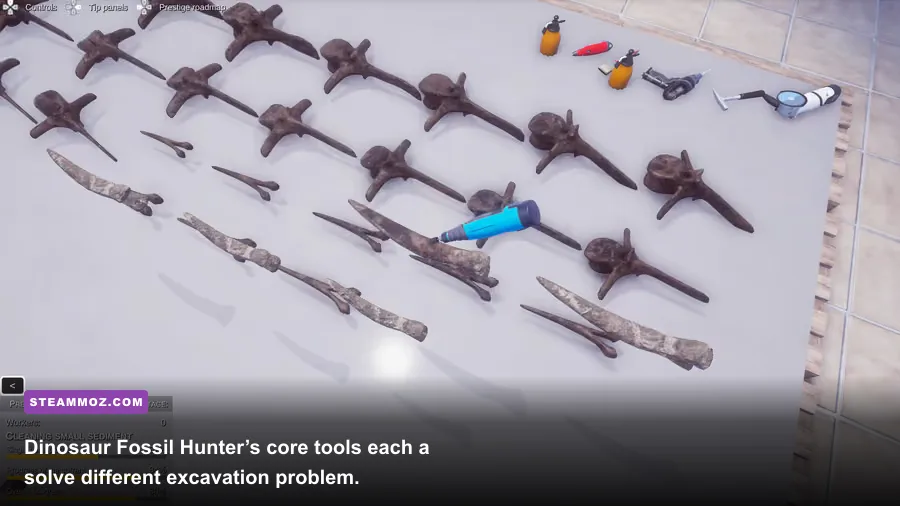
Here’s the clean ranking before we dig into the details. The brush takes first place because precision is the resource that keeps valuable specimens intact. The shovel follows because it handles the widest range of early and mid-excavation jobs. The pickaxe sits in B-tier, not because it is weak, but because its brute-force approach is easy to misuse around exposed fossil material.
| Tier | Equipment | Primary role | Best situation | Main drawback |
|---|---|---|---|---|
| S-Tier | Brush | Precision excavation and cleaning | Exposed fossil edges and final clearing | Slow when used on a large untouched area |
| A-Tier | Shovel | General soil removal | Opening a dig zone and clearing loose earth | Less precise near fragile fossil sections |
| B-Tier | Pickaxe | Breaking hard ground and dense material | Stubborn layers that resist ordinary digging | High risk of damaging nearby finds |
| C-Tier | Any exploration-only equipment | Finding and reaching dig areas | Travel between excavation locations | Does not directly recover fossils |
There is no meaningful D-tier tool that deserves a dramatic “never use it” warning. The real mistake is using the right tool at the wrong stage. A shovel is excellent at opening space and clumsy at delicate finishing. A brush is outstanding around a fossil and inefficient when you are trying to clear an entire patch. The pickaxe is the same story turned up to eleven: useful against resistance, dangerous when you swing without reading the ground.
S-tier: Brush
The brush is the best equipment in Dinosaur Fossil Hunter because it gives you the control that every valuable specimen demands. Once fossil material is visible, broad digging becomes a liability. The brush lets you work around edges, remove the last layer of dirt, and reveal more of the find without needlessly disturbing neighboring sections.
Its weakness is tempo. If you use the brush across a large untouched dig area, progress feels painfully slow. That is not a flaw in the tool; it is a signal that you skipped the excavation stages. Use a shovel first, expose the general shape, and then bring out the brush when the fossil’s outline begins to emerge. In a clean run, the brush handles the final third of the work rather than the first two-thirds.
A-tier: Shovel
The shovel is the safest recommendation for new players and the most frequently used tool for experienced players. It clears loose soil efficiently, gives you room to inspect the ground, and does not force the same level of precision as the brush. If you only remember one rule, make it this: shovel until the dig area tells you to slow down.
The shovel drops below the brush because it is still a broad tool. Swinging it directly against an exposed fossil can turn a controlled excavation into a messy one, especially when the specimen sits close to the remaining soil. It belongs in A-tier because it starts almost every successful excavation, not because it finishes one.
B-tier: Pickaxe
The pickaxe is the specialist. It earns its place when the ground is hard, compacted, or clearly slowing your normal digging rhythm. Used early and carefully, it can open a stubborn section faster than the shovel. Used carelessly, it creates exactly the kind of collateral damage that makes a fossil recovery feel expensive.
Think of the pickaxe as a controlled breach tool, not a default weapon. Keep it away from visible fossil boundaries. Make a small opening, reassess the material, and return to the shovel or brush as soon as the resistance drops. This is also why the pickaxe ranks below the other two tools for beginners: its value depends on judgment rather than raw convenience.

🎮 Dinosaur Fossil Hunter
Looking to experience this game? Grab your digital key directly on our store for $5.99.
View on Steammoz Store →What each tool actually does in the excavation loop
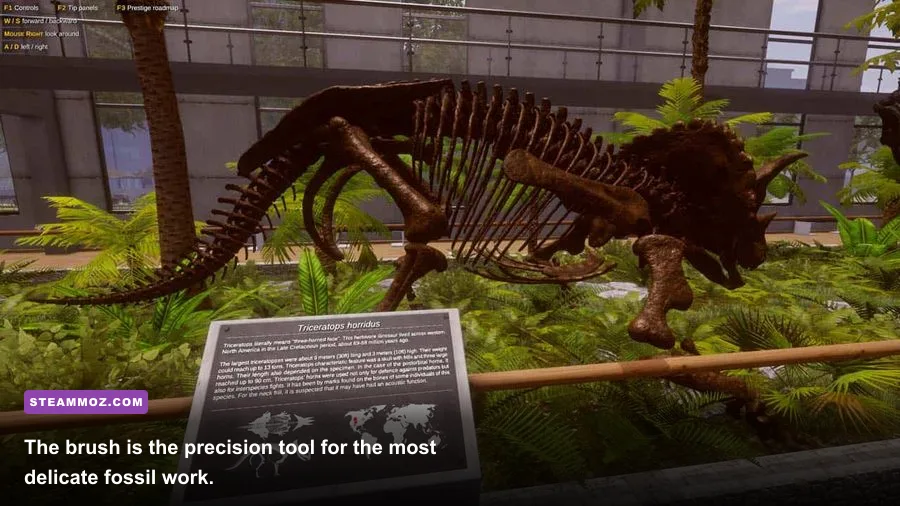
Dinosaur Fossil Hunter’s equipment works best as a sequence, not as a collection of competing choices. A productive excavation moves through four practical stages: locate the area, remove bulk material, expose the specimen, and prepare the find. The tools are strongest when they are assigned to those stages instead of being compared as if they were interchangeable weapons.
| Excavation stage | Recommended tool | What to do | What to avoid |
|---|---|---|---|
| Site approach | Exploration equipment and vehicle access | Reach the dig location and inspect the work area | Starting a dig without checking space around the find |
| Bulk clearing | Shovel | Remove loose soil in broad, controlled passes | Working directly over a clearly exposed fossil |
| Hard layer removal | Pickaxe | Break resistant ground away from fossil edges | Repeated swings beside visible material |
| Precision clearing | Brush | Follow the fossil outline and clear remaining dirt | Trying to clear an entire site with only the brush |
| Preparation and display | Laboratory equipment | Clean, organise, and turn finds into museum content | Rushing away before the excavation is properly completed |
The important hidden lesson is that speed is not measured by animation speed alone. A fast shovel pass that forces you to recover from a damaged or poorly exposed find is slower than a cautious pass followed by brush work. The best players are not simply swinging faster; they are reducing tool swaps, mistakes, and unnecessary movement.
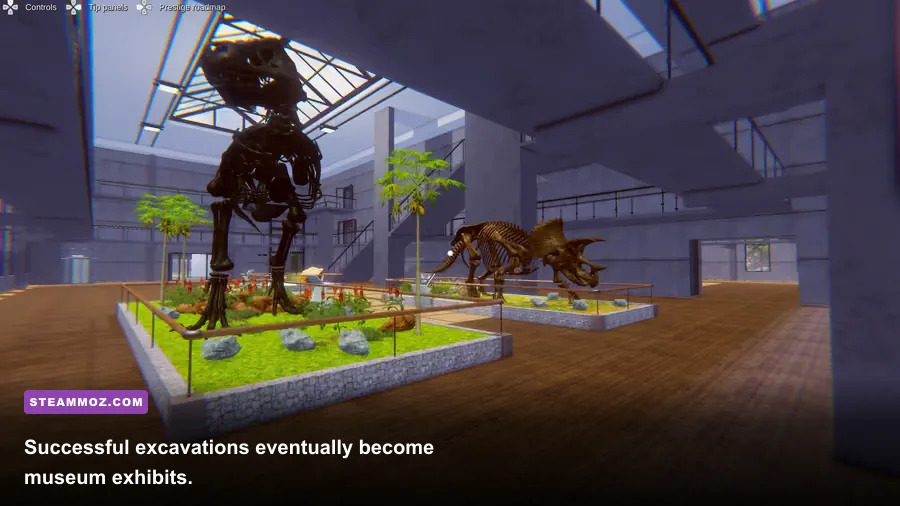
That approach also makes the game feel closer to real fieldwork. The outdoor dig is only one part of the loop. Discoveries feed the paleontology laboratory, and completed work contributes to the museum side of the game. If you enjoy management games with a similar “find, process, improve” rhythm, our Empires of the Undergrowth leveling guide has a useful look at turning careful preparation into faster progression.
Best equipment combos for every situation
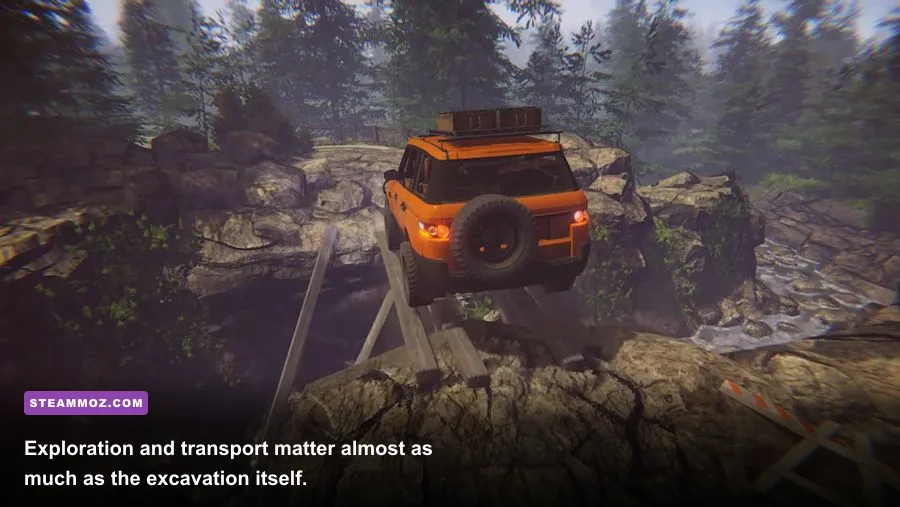
The strongest setup is not a single top-tier item. It is a three-tool rotation that matches the ground in front of you. Start with the shovel whenever the surface is loose. If the game clearly presents dense material, use the pickaxe briefly and deliberately. The moment fossil edges become readable, put both aside and switch to the brush.
The safe beginner rotation
New players should use shovel, inspect, shovel, inspect, then brush. The repeated inspection matters. Don’t tunnel into the ground while watching only the tool animation; look for changes in color, shape, and the first hint of fossil structure. Once you can trace an edge, stop using broad swings in that immediate area.
The fast-excavator rotation
Experienced players can use the pickaxe to open hard sections before the shovel clears the loosened material. The trick is restraint: two or three deliberate actions, then a visual check. If the layer is still resistant but the fossil is nearby, create space from the opposite side rather than forcing a direct strike. This makes the pickaxe a time-saver instead of a source of avoidable damage.
The precision-recovery rotation
If you have already exposed a complicated fossil shape, forget speed. Use the brush along the outer contour, work in short passes, and clear the surrounding dirt before trying to expose the centre. The centre usually looks like the exciting part, but the edges tell you where the specimen can be safely separated. This is where the brush’s S-tier ranking becomes obvious.
| Player goal | Opening tool | Transition point | Finishing tool |
|---|---|---|---|
| Learn the mechanics | Shovel | First visible fossil outline | Brush |
| Clear loose ground quickly | Shovel | Hard resistance or dense layer | Brush after exposure |
| Break compact material | Pickaxe | Material begins loosening | Shovel, then brush |
| Protect a nearly exposed specimen | Brush | Any visible fossil edge | Brush throughout |
There’s a useful parallel with vehicle-heavy exploration games: movement efficiency can quietly decide how much time you spend doing the interesting work. Our Everspace 2 hidden locations guide covers a different genre, but the same principle applies here—plan your route and objective before you start spending resources.
How to avoid damaging valuable fossil finds
The biggest equipment mistake is treating excavation like mining. Fossil hunting rewards information, not maximum force. Every pass should answer a question: Is this loose soil? Is the layer compact? Where is the specimen’s edge? If you can’t answer that, stop swinging and reposition the camera or character until the ground makes more sense.
Start on the outside of a suspected find. Clearing a perimeter gives you visual information and room to work. It also prevents the classic beginner error of trapping the tool against a fossil because the surrounding soil was never removed. Once an edge is exposed, use the brush in a slow circle around it. Don’t chase the most visible fragment while ignoring the dirt holding the rest of the specimen in place.
Hard ground deserves special caution. The pickaxe belongs several steps away from an exposed fossil whenever possible. Break the resistant material from the open side, then use the shovel to remove the pieces that become loose. If you keep hitting because “one more swing” should finish the job, you’re already past the point where the pickaxe is helping.
Camera positioning is an underrated piece of equipment strategy. A low angle can hide the shape of a fossil beneath a thin layer, while a higher angle reveals the boundary you need to follow. Rotate often, especially in uneven terrain. A few seconds of observation can prevent a long cleanup sequence and make the excavation feel far more deliberate.
For players who run into performance trouble while moving around large outdoor areas, Steamoz’s PC crash and FPS troubleshooting guide offers broadly useful steps for drivers, overlays, and graphics settings. Stable frame pacing matters here: even though this is not a competitive shooter, inconsistent performance makes precision tool placement harder to judge.
Best progression priorities for new paleontologists

Early progression should prioritise consistency over flashy expansion. A fully usable excavation routine is worth more than rushing toward a larger collection while leaving finds poorly prepared. Learn the shovel-to-brush transition first, then bring the pickaxe into your routine once you can recognise when hard material is genuinely blocking progress.
When choosing what to work on next, favour an accessible site that lets you practise the complete loop. A successful find is not just an object appearing in the ground. You want the excavation, laboratory preparation, collection management, and museum presentation to function as one cycle. That gives you a better return on time than repeatedly starting ambitious digs without a clear plan for finishing them.
| Progression priority | Recommended focus | Why it matters | Common trap |
|---|---|---|---|
| 1 | Master shovel control | Builds reliable bulk-clearing habits | Using the pickaxe for every hard-looking patch |
| 2 | Practise brush finishing | Improves precision around exposed fossils | Leaving the brush until the very end of every dig |
| 3 | Use the pickaxe selectively | Saves time against genuinely compact ground | Striking close to visible fossil edges |
| 4 | Complete laboratory preparation | Turns field finds into useful collection progress | Leaving unfinished specimens while chasing new sites |
| 5 | Expand museum presentation | Connects excavation success to the management layer | Ignoring display and organisation systems |
The museum is also where a careful player sees the payoff from better equipment habits. Cleaner, more complete work gives your collection a stronger foundation, while sloppy excavation creates a stop-start progression loop. The game is at its best when each dig feels like a small project with a beginning, a technical middle, and a visible result.
If you’re building a broader PC simulation backlog, Steamoz’s Dungeons 4 secrets guide and Eternal Destiny hidden-rewards guide are good companions for the same reason: both reward players who explore beyond the obvious objective rather than rushing through the main loop.
Final ranking and the best equipment loadout
The final verdict is straightforward. Brush: S-tier. It is the most important tool for protecting and completing a fossil once the ground starts revealing its secrets. Shovel: A-tier. It is the best general-purpose opener and the tool you’ll use most often across ordinary soil. Pickaxe: B-tier. It can save time in hard ground, but its value collapses when used without visual checks.
For the best all-round equipment ranking, carry all three and treat them as a rotation: shovel for bulk removal, pickaxe for isolated resistance, and brush for every exposed fossil edge. That is the closest thing Dinosaur Fossil Hunter has to a meta loadout. There’s no dominant weapon, no damage build, and no secret firearm waiting in the laboratory—just better tool discipline.
Before starting a dig, decide where you’ll open the area, keep the hard-ground tool away from likely fossil boundaries, and leave enough room to work around the specimen. During the dig, reassess after every change in soil or visibility. Afterward, complete the laboratory and museum steps instead of treating the field discovery as the finish line.
For official game information, check the Dinosaur Fossil Hunter Steam listing, the Pyramid Games website, and the developer’s official Steam community hub. Those sources are the safest places to verify updates, interface changes, and platform details as the game evolves.
So, if you searched for the best Dinosaur Fossil Hunter weapons, use this answer instead: the brush wins the tier list, the shovel carries the workload, and the pickaxe earns its place only when you respect its risk. Once that rhythm clicks, excavating a complete dinosaur skeleton becomes less about frantic digging and more about making the ground give up its story.