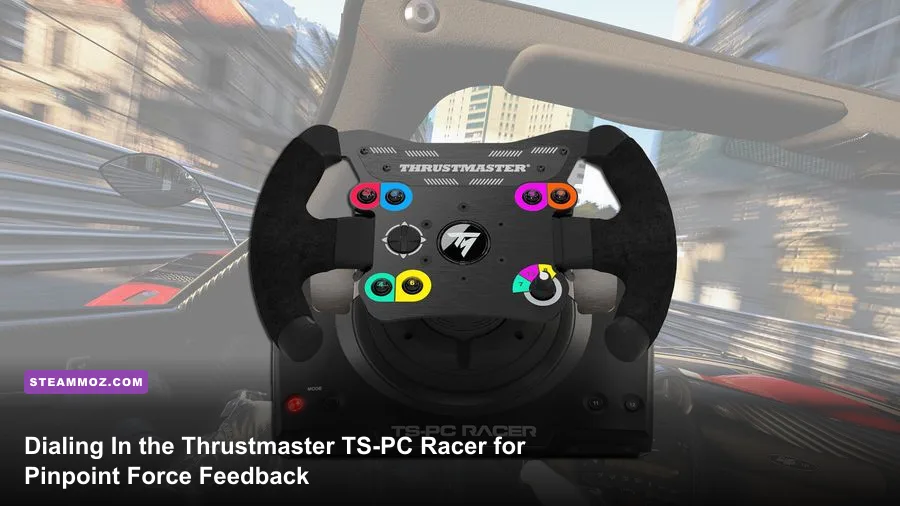
The Thrustmaster TS-PC Racer stands as one of the most capable dual-belt sim racing bases ever engineered, delivering roughly 6.0 to 6.2 Nm of peak torque through its 40-watt brushless motor. Out of the box, default Windows profiles and uncalibrated simulation sliders leave this hardware feeling either dangerously mushy or violently over-damped. To unlock genuine tire slip angles, curb strikes, and chassis pitch without roasting the internal motor coils, you must tune three distinct layers: the Windows driver stack, the internal cooling firmware, and each simulation engine's specific telemetry outputs.
Unboxing and Driver Setup: Getting Clean Windows Detection
Before plugging the USB cable into your rig, download the latest unified driver package directly from the official Thrustmaster technical support portal. Do not let Windows Update assign a generic HID driver; generic profiles lack the low-latency direct-input hooks required to interpret high-frequency road telemetry. Run the driver installer, restart your rig, and then connect the proprietary 400W peak "Turbo" toroidal power brick to a dedicated wall socket rather than an overloaded extension strip.
Plug the TS-PC USB 2.0 cable straight into a rear motherboard I/O port. Avoid front-panel pass-throughs, USB switchers, and unpowered hubs. Front panel headers introduce bus latency and micro-drops that manifest mid-corner as an unsettling momentary loss of resistance. If you frequently battle Windows background stutter or frame timing irregularities that impact controller input response, reviewing controller polling rates and USB bandwidth bottlenecks will help you identify rogue motherboard interrupt requests.
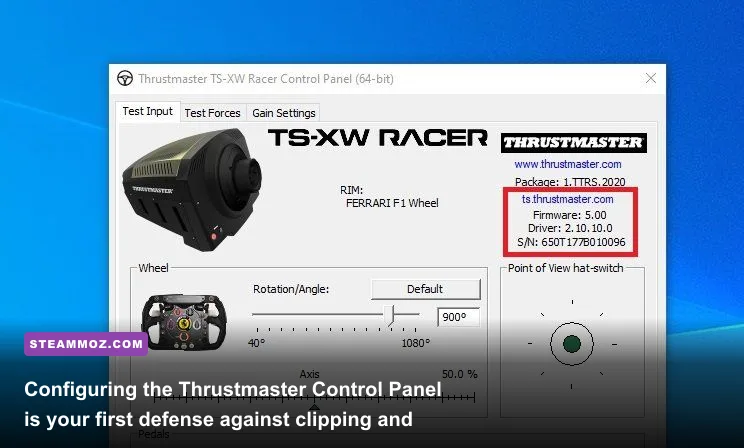
Once connected, open the Thrustmaster Control Panel by typing joy.cpl into the Windows Run prompt (Windows Key + R). Click your TS-PC Racer and select Properties. Verify that the firmware reads version 13.00 (or newer). If your firmware is out of date, disconnect the wheel, launch the Thrustmaster Firmware Update utility found in your Windows Start Menu, and follow the on-screen bootloader instructions to flash the base. Never disconnect the USB or power lead during this flash sequence, or you risk bricking the internal controller board.
Dialing In the Thrustmaster Control Panel: The Golden Baseline
The Thrustmaster Control Panel is where most drivers inadvertently ruin their force feedback. The single biggest mistake is setting the Master Overall Gain to 100%. While pushing it to the ceiling sounds like the fastest way to extract maximum strength, it drives the internal amplifier straight into saturation. When the base saturates, subtle tire scrubbing cues vanish into a brick wall of muddy, clipped torque. Set the Overall Gain to 75% or 80%. This provides headroom for sudden dynamic spikes—like slamming across the apex sausage curbs at Monza—without compressing the subtle vibrations of understeer.
| Driver Setting | Default Value | Pro-Tuned Value | Operational Impact |
|---|---|---|---|
| Rotation Angle | 1080° | 1080° (Auto by Game) | Allows simulators to lock rotation dynamically per car (e.g., 540° for GT3, 360° for F1). |
| Overall Gain | 100% | 75% - 80% | Eliminates electrical saturation, preserves dynamic peaks, and curbs severe thermal throttling. |
| Constant Forces | 100% | 100% | Delivers 1:1 reproduction of steady cornering G-load physics generated by the sim engine. |
| Periodic Forces | 100% | 100% | Handles rapid frequency oscillations like curb buzz, engine harmonics, and ripple strips. |
| Spring Forces | 100% | 0% | Artificial centering spring. Keep at 0% so physical suspension geometry guides the wheel. |
| Damper Forces | 100% | 0% to 10% | Adds viscous friction. Keep low to prevent sluggish self-aligning torque when catching slides. |
| Auto-Center Settings | By the Wheel | By the Game | Mandatory. Hands off steering geometry calculations directly to the sim's physics engine. |
Take special note of the Spring and Damper sliders. In modern physics engines like rFactor 2, Assetto Corsa Competizione, and iRacing, artificial springs are relics of arcade titles. Setting Spring to 0% ensures you aren't fighting a synthetic rubber band trying to yank the rim back to center. Damper can be kept at 0% for pure open-wheel responsiveness, or set to 5%–10% if you drive heavier GT3 or vintage sports cars and want to suppress violent straight-line oscillations (wheel wobble) when letting go of the rim.
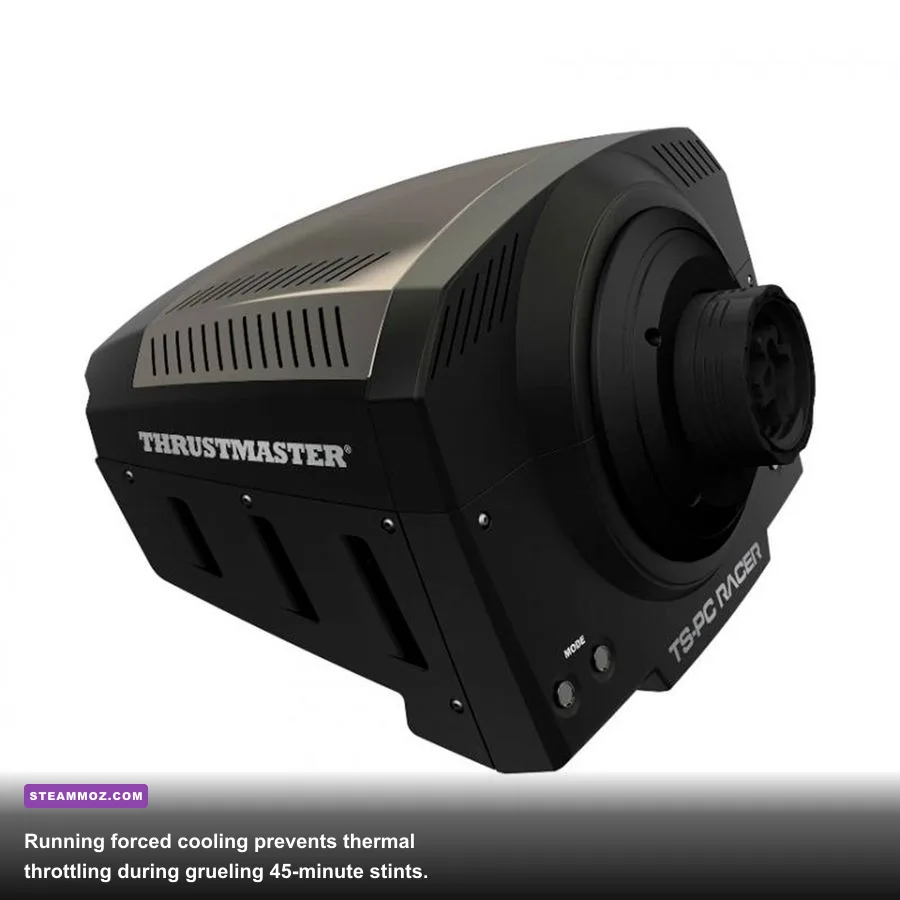
There is also an undocumented, essential hardware tweak: Forced Fan Cooling Mode. By default, the TS-PC operates on an automatic thermal curve, only spinning up its high-output fan when the internal heatsink hits dangerous operating temperatures. By the time that fan kicks in, the motor driver has already begun aggressive thermal throttling, shedding up to 30% of its torque to protect the coils. To force the cooling fan to run continuously at 100% speed, hold the Mode button on the lower left of the base and press the Option/Menu button on your rim. The small red LED will flash twice, confirming forced cooling is engaged. Your base will run audible, but your force feedback won't fade during a grueling 60-minute stint.
In-Game Force Feedback Calibration Across Major Sims
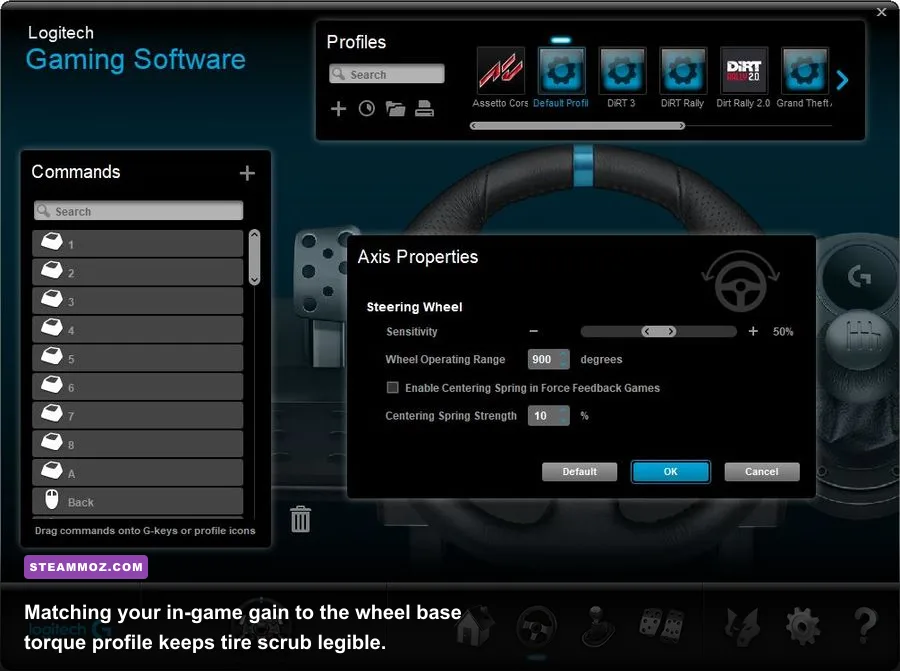
Once your Windows driver is locked down, you must configure each sim's dedicated engine sliders. Every physics engine treats wheel torque differently. Loading an identical 80% gain setting across both Assetto Corsa and iRacing will yield completely mismatched dynamic profiles due to differences in force translation architectures.
In Assetto Corsa Competizione (ACC), set Gain between 70% and 75%. This preserves your base's dynamic range when driving heavy aerodynamic cars with stiff front roll bars. Keep Minimum Force at 0% or 1%. Direct drive wheels use 0%, and while older entry-level gear-driven wheels need 10% to eliminate deadzones, the TS-PC's low-friction dual belts overcome internal drag almost instantaneously. Set Dynamic Damping to 100%—ACC calculates dynamic damping using internal caster angle and gyroscopic wheel precession, making it an authentic physics-based force rather than an artificial muddy filter. Set Road Effects to 0% or a maximum of 10% if you like subtle chassis vibrations; anything higher turns your wheel into a noisy subwoofer that masks the front tire traction threshold.
For iRacing, you must check the Linear Mode checkbox. Non-linear mode compresses the signal curve to make weak toy wheels feel punchy, which destroys the natural torque delivery of the TS-PC's 6.0 Nm motor. Set your Wheel Force slider to exactly 6.0 Nm so the sim understands your hardware's real-world boundary. Next, use the in-game auto-tuning method: jump into a private test session, drive two clean, aggressive laps, and then pull up the on-screen graphics/sound black box (F9). Click the "Auto" button that appears next to the Max Force slider at the bottom. iRacing reads the peak telemetry generated during those laps and automatically calibrates the force curve just below the threshold of digital clipping.
| Simulation Title | In-Game Gain / Master | Min Force | Dynamic / Wheel Damping | Recommended Tuning Tweaks |
|---|---|---|---|---|
| Assetto Corsa Competizione | 70% - 75% | 0% - 1% | 100% Dynamic Damping | Keep Road Effects under 10%; enable steering lock hardware sync in ACC menus. |
| iRacing | Auto (via F9 Menu) | 0.0% - 0.5% | 0% Damping | Always tick "Linear Mode"; configure Wheel Force setting to 6.0 Nm. |
| Automobilista 2 | 65% - 70% | 0% | 15% Damper / 0% Friction | Use the "Default+" FFB profile; adjust FX slider to 30% for curb rumble. |
| rFactor 2 | 80% - 85% | 0% | 0% Smoothing | Set Car Specific FFB Multiplier per vehicle to completely prevent red-line clipping. |
| EA Sports WRC | 65% | N/A | 40% Friction / 25% Inertia | Lower Suspension travel forces to 60% to avoid violent kickbacks on heavy ruts. |
If you experience frame rate hiccups while testing these settings, especially when transitioning between high-poly cockpits and triple-screen resolutions, stabilizing your system pipeline is critical. Stuttering frames disrupt direct-input polling loops. Reviewing methods to tackle system freezes in low FPS troubleshooting and game engine stability or dialing back background load using tactical refresh rate and performance tuning keeps your CPU cycle latency low enough to track high-speed tire telemetry effortlessly.
Eliminating FFB Clipping, Oscillation, and Deadband Sluggishness
Force feedback clipping happens when the game sends a command demanding 8 Nm of torque from a motor that can only output 6.2 Nm. The game driver caps the signal at maximum output, drawing a flat line on the telemetry graph. To the driver holding the wheel, this feels terrible: mid-corner resistance freezes into a solid, lifeless resistance where hitting a ripple strip or experiencing front-end wash out produces zero tactile change. You are effectively driving blind at the limit.
To detect clipping in Assetto Corsa, monitor the default pedals HUD app in the right-hand fly-out menu. The rightmost bar on this app tracks real-time FFB output. If that bar flashes bright red during high-speed cornering loaded with aerodynamic downforce (such as Copse at Silverstone or Eau Rouge at Spa), your in-game gain is too high. Dial the vehicle-specific gain down using the NumPad Minus key until the bar only touches red during violent, momentary impacts with curb faces.
Another major issue users run into is severe violent oscillation. When letting go of the steering wheel on a straightaway, the wheel rapidly whips left and right, escalating until it snaps your wrists or throws the car into a barrier. This is a common byproduct of the high-speed brushless servo overcorrecting its natural inertia. To fix this without dulling fine curb details:
- Increase Low-Speed Damping: Add 5% to 8% Damper in the Thrustmaster Control Panel, or use the dedicated low-speed wheel damping parameter in your sim (like in Automobilista 2 or rFactor 2).
- Adjust Minimum Force to Zero: If you accidentally injected a 3%–5% Minimum Force boost using legacy tuning guides, the base will bounce aggressively over its center axis. Set it back to zero.
- Keep Both Hands on the Rim: Racing wheels are closed-loop mechanical systems designed with the driver's hands acting as physical dampers. Never let the wheel oscillate freely down a straight.
If you run older titles like classic Assetto Corsa, you can map the motor's responsiveness using a dedicated Look-Up Table (LUT). By running the third-party community utility WheelCheck, you generate a precise CSV curve of your specific base's motor windup latency. Running that data through the LUT Generator for AC creates an output file that straightens out internal deadbands, turning the TS-PC into an ultra-linear precision tool. If you encounter GPU driver hitches or odd rendering freezes while running these external overlay tools, tweaking your display profile according to display latency and graphics optimizations will free up processing headroom.
Hardware Maintenance, Rim Swapping, and Long-Term Stability
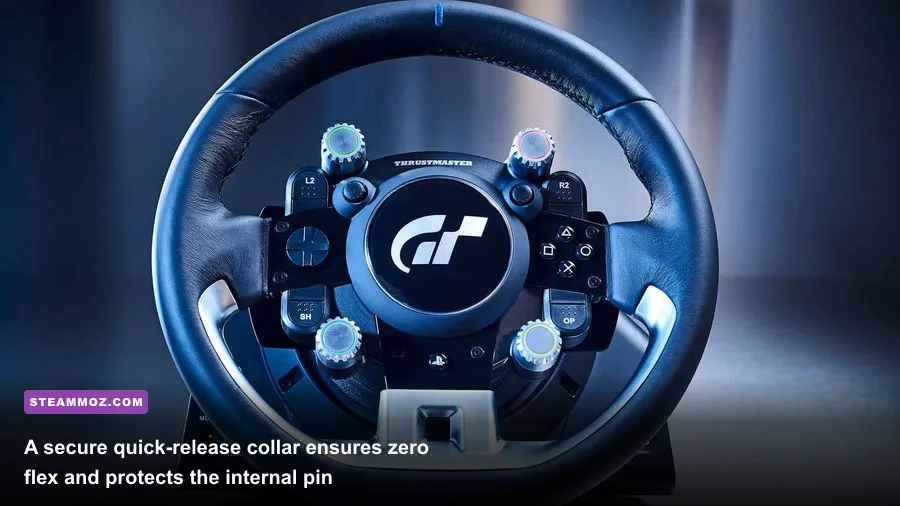
The TS-PC Racer base utilizes Thrustmaster's standard quick-release collar system, consisting of a large threaded plastic collar and a single self-tapping Phillips locking screw. This design holds wheels securely, but improper maintenance leads to mechanical play, flex, and stripped plastic housing.
When swapping rims—such as moving from the stock open-wheel TS-PC formula rim to an aftermarket 320mm round rally rim—thread the plastic collar down by hand until it is firmly snug against the base. Do not overtighten with tools, or you will deform the internal brass threads. Once hand-tight, drive the locking screw into the pre-molded channel on the collar until it makes light contact with the inner wheel shaft. Do not drive this screw all the way down with power tools. Its only job is to stop the plastic collar from unthreading under heavy counter-steering forces. Overtightening strips the plastic hole, requiring an unsightly nut-and-bolt pass-through fix later.
A widespread third-party upgrade that solves this problem permanently is a 3D-printed Quick Release clamp ring. These split-collar clamps slide directly over the stock plastic collar and tighten via an M4 hex bolt, applying 360-degree even radial clamping force onto the shaft without digging a hole into the wheel neck. It completely eliminates creaking and ensures zero signal loss across the internal DIN pins.
| Symptom / Glitch | Probable Cause | Definitive Troubleshooting Fix |
|---|---|---|
| Sudden torque drop after 20 minutes of driving. | Thermal throttling triggered by internal sensor. | Engage Forced Fan Cooling mode (Mode + Option buttons). Drop overall gain to 75%. |
| Wheel base loses center calibration mid-race. | Optical encoder slip or unseated clamp collar. | Recenter wheel, press D-Pad Center + Mode + ST simultaneously, then re-tighten shaft clamp. |
| Control Panel inputs are erratic or unmapped. | Bent DIN pins inside the wheel quick-release socket. | Unscrew rim, inspect the internal multi-pin header, carefully realign pins with tweezers. |
| High-frequency rattle over curb strikes. | Loose quick-release collar or internal belt slap. | Install an aftermarket 3D-printed clamping ring; check internal belt tension screw. |
| Wheel disconnects and resets during heavy force spikes. | USB power dropout or faulty motherboard bus. | Move to a rear USB 2.0 direct I/O port; disable Windows USB selective suspend settings. |
If you experience random USB disconnects where the wheel suddenly spins and re-calibrates in the middle of a race, your motherboard's USB root hub is likely going to sleep or failing to deliver continuous 5V rail logic power. Navigate to the Windows Device Manager, expand the Universal Serial Bus controllers section, right-click every USB Root Hub, select Properties, and under the Power Management tab, uncheck "Allow the computer to turn off this device to save power." If unexpected operating system stutter persists across your rig, running through these system stability fixes to eliminate background driver crashes will keep your USB input bus from hitching under full system loads.
Keep the exterior cooling vents free of dust by blowing compressed air through the side intake grills every few months. Never run the external Turbo power supply on carpet or sealed behind tight entertainment centers; that external power transformer dissipates intense thermal energy when delivering sustained 40W current loads to the motor brushes. Treat the TS-PC Racer to proper airflow, sensible baseline gain values, and tailored in-game telemetry profiles, and it will reward you with razor-sharp steering inputs and realistic car control for years to come.