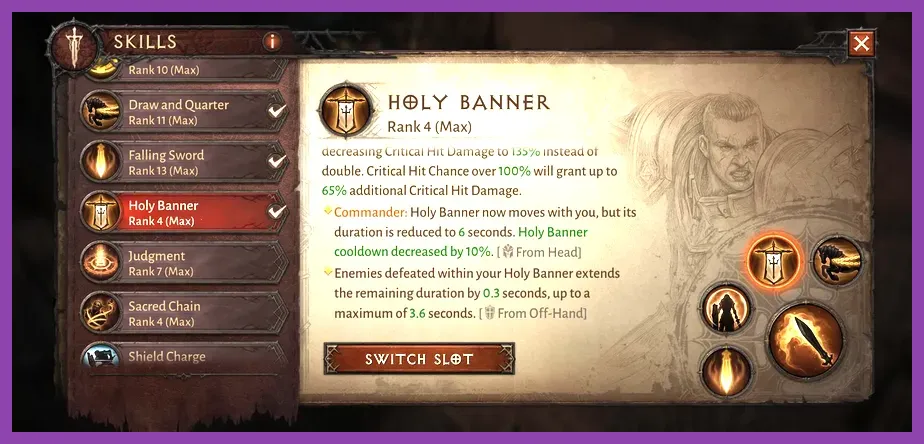
The best support classes in Diablo Immortal are the Crusader, Necromancer, Monk, Barbarian, and Tempest. The Crusader dominates as the top support overall due to its unmatched 100% critical hit chance buff from Holy Banner and party-wide invulnerability through Conjuration of Light. Supporting your party efficiently in high-level Hell or Inferno Difficulty Dungeons, Challenge Rifts, and Shadow War raids requires specific legendary essence combinations, skill rotations, and set bonuses like Vithu's Urges to keep your damage dealers alive while multiplying their damage output.
1. Crusader – The Supreme Group Buffer
The Crusader sits firmly at the top of the support hierarchy in Diablo Immortal. While every class can clear solo content, no team comp completes high-tier Hell/Inferno Gauntlet bosses or Shadow Wars faster than one featuring a dedicated Support Crusader. The centerpiece of this build is Holy Banner, which grants all nearby allies a 100% Critical Hit Chance bonus for 11.2 seconds, converting excess Crit Chance directly into additional Critical Hit Damage.
To maximize this support archetype, Crusaders rely on specific Legendary Essences to turn static abilities into mobile aura effects:
- Head: Arrowkeeper – Forces Holy Banner to follow you directly instead of staying planted on the ground, ensuring mobile teammates keep their damage buffs.
- Chest: Inviolable Flourish / Hermit's Offertory – Modifies Conjuration of Light to grant immunity to damage and crowd control, keeping fragile DPS classes safe during phase-wipe boss mechanics.
- Shoulders: Sivket's Advantage – Increases the duration of Draw and Quarter, allowing you to reposition your party instantly and group up mobs for AOE bursts.
- Main Hand: Tumult – Enhances your Falling Sword or primary attacks to proc beneficial effect triggers constantly.
When playing a support Crusader, your rotation centers around stacking attack speed and buff duration. Paired with set items like Vithu's Urges, activating Holy Banner triggers a massive party-wide attack speed surge. Much like optimizing builds in other team-oriented RPGs—similar to ranking optimal companions in our Mount & Blade 2 Bannerlord companion guide—understanding your utility role transforms your party's combat efficiency.
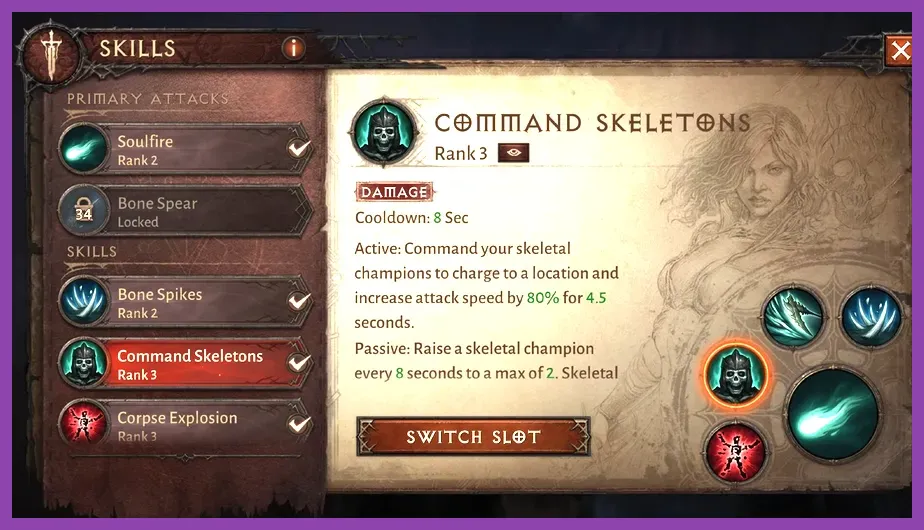
2. Necromancer – Crowd Control & Party Protection
While often recognized for minion-summoning DPS builds, the Necromancer offers an incredible array of utility skills that turn dangerous challenge rifts into smooth runs. A Support Necromancer focuses on absorbing incoming damage for allies while debuffing boss resistance and locking down dangerous elite packs.
The key to a top-tier Support Necromancer lies in legendary chest and shoulder essences that modify Bone Armor into a defensive powerhouse:
- Chest: Parting Gift – Transforms Bone Armor into an orbiting shield for you and all nearby party members that absorbs multiple hits and grants immunity to knockbacks.
- Pants: Guided by Whispers / Proximal Fear – Adds terror and slow effects to Dark Curse or Wraith Form, locking down mob packs before they hit your frontline.
- Head: Hideous Dawning – Modifies Corpse Lance or Grim Scythe to apply armor reduction debuffs, increasing the total physical and magical damage enemies take from your team.
- Off-Hand: Pyre of All – Generates residual burn damage zones while applying persistent slow status effects.
In high-end content like Raids and Rite of Exile, the combination of Curse of Frailty (which instantly executes low-health non-boss targets) and immune-granting Bone Armor makes the Necromancer invaluable. If you enjoy tactical class setups with heavy crowd control, reviewing detailed class mechanics—much like analyzing tier lists in our Project Zomboid occupation tier list—helps highlight how utility skill sets consistently outperform raw individual DPS in team scenarios.
3. Monk – Shielding and Area Denial
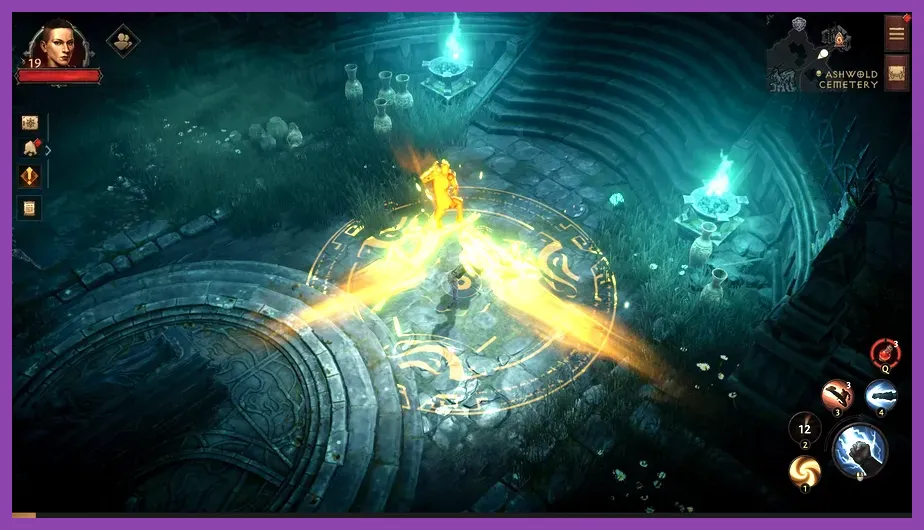
The Monk provides unparalleled defensive utility through damage mitigation domes, group movement shields, and precise enemy grouping. Where Crusaders excel at offensive damage multiplication, Monks excel at keeping glass-cannon allies like Wizards and Demon Hunters alive through massive damage spikes.
A Support Monk centers around Sanctuary and Shield of Zen. By customizing these two skills, you create localized safe zones where allies take drastically reduced damage or gain total immunity to disabling crowd control effects.
Essential Support Monk Legendary Gear:
- Chest: Grace of the High Heavens – Modifies Shield of Zen so that casting it on an ally applies an identical protective shield to all nearby teammates instantly.
- Head: Simian Height / Rebounder – Alters Inner Sanctuary to increase team damage dealt while inside the sanctuary dome or decrease damage taken by up to 50%.
- Shoulders: Freedom's Gale – Gives Cyclone Strike an expanded pull radius, dragging entire monster rooms directly into your party's area-of-effect spells.
- Main Hand: Dragon's Indignation – Converts skill channels into persistent armor-shredding zones.
Because Monks must dive into melee range to group enemies, maintaining high Willpower and Armor attributes is essential. Balancing mobility and group defense requires precise timing, similar to managing tactical abilities in team-based action titles like our Marvel Rivals beginner tips and tricks strategy guide.
4. Barbarian – Frontline Crowd Control & Damage Reduction
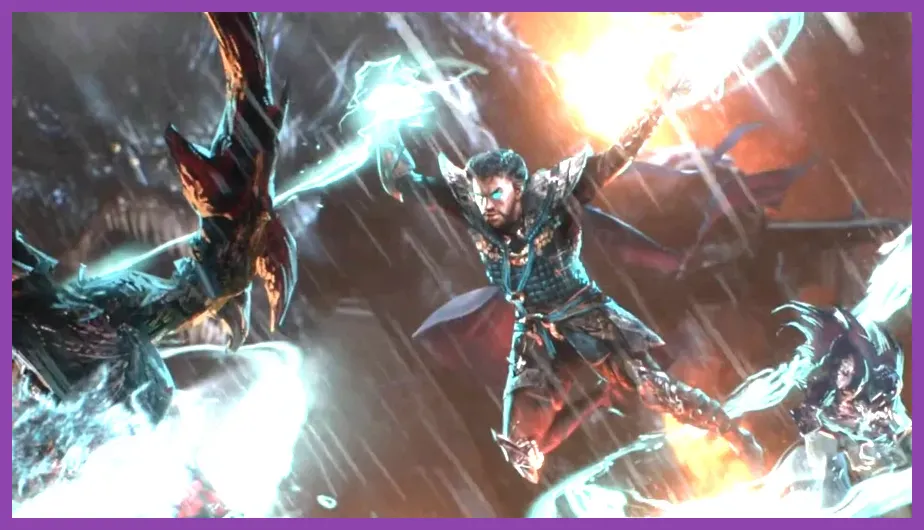
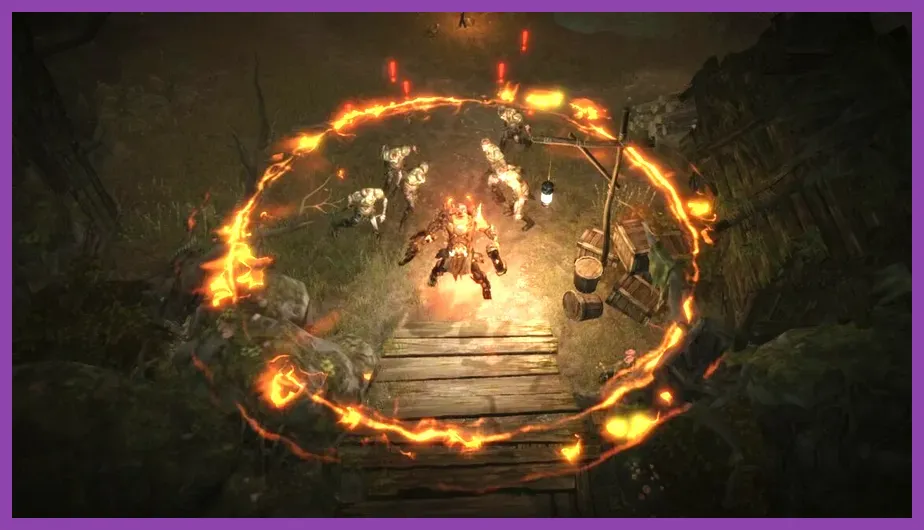
The Barbarian might seem like a pure melee brawler, but its shout-based support builds are among the most impactful in competitive PvP (Battleground) and top-tier Hell Difficulty Raids. Through skills like Demoralize, Wrath of the Berserker, and Sprint, a Support Barbarian taunts entire waves of enemies away from soft targets while showering allies with attack speed and movement buffs.
Key legendary essences turn the Barbarian into a party enrager:
- Head: Tracker's Last Trace – Modifies Demoralize to force all affected enemies to deal significantly less damage to your allies while channeling focus toward you.
- Chest: Svengali / Armor of the Gatherer – Changes Chained Spear or Ground Stomp to yank ranged enemies directly into melee range, grouping them for rapid party clear.
- Shoulders: Last Wail – Causes Sprint to apply a movement speed boost to all nearby party members, dramatically accelerating dungeon clear times.
- Pants: Screaming Fury – Extends the duration of crowd control immunity when initiating engage mechanics.
When combined with the passive survival skill Undying Rage, a Barbarian can absorb fatal mechanics that would normally wipe a party, standing as an unyielding wall while providing full Vithu's Urges buff uptime to allies. Understanding optimal skill priority early on is vital for any class build, as detailed in our guide on unlocking the best early skills.
5. Tempest – Zone Disruption and Kinetic Support
Introduced as a high-speed fluid class, the Tempest can be tailored into a potent secondary support through continuous knockups, wind walls, and movement debuffs. While lacking the straightforward invulnerability shields of the Crusader or Monk, the Tempest excels at controlling the flow of the battlefield so your main damage dealers never get surrounded.
By pairing skills like Cascade, Vortex, and Wind Walk, a Support Tempest interrupts casting animations of elite monsters and pulls spaced-out target groups together:
- Vortex & Cascade Synergy: Pulls targets into localized water currents, freezing or slowing their attack speed while applying armor reduction.
- Wind Walk (Party Buff): Grants quick dash escapes and brief movement speed increases to allies within the path trail.
- Cross-Class Dynamic: Excellent for filling secondary support slots alongside a Crusader or Necromancer during high-level Challenge Rifts.
Mastering control abilities and action-oriented class dynamics requires sharp mechanical execution. If you enjoy dynamic combat systems, checking out skill management principles in games like Roblox skill progression guides can give you valuable insights into optimizing action rotations efficiently.
Support Gear, Legendary Gems, and Set Item Synergy
No support build in Diablo Immortal is complete without the proper equipment foundation. Regardless of whether you choose Crusader, Necromancer, or Monk, your secondary gear set and Legendary Gem loadout determine your ultimate support efficiency.
1. Mandatory Set Bonus: Vithu's Urges
The single most important set for any support character is Vithu's Urges (obtained from dungeons like Cavern of Echoes and Pit of Namari):
- 2-Piece Bonus: Increases the duration of all beneficial effects applied to you or party members by 30%.
- 4-Piece Bonus: Whenever you apply a beneficial effect to yourself or a party member, their Attack Speed is increased by 30% for 3 seconds.
- 6-Piece Bonus: Creates an area of awakening that grants life drain and haste to all nearby teammates when casting support abilities.
2. Best Legendary Gems for Support Characters
Investing in the right Legendary Gems dramatically increases your utility output:
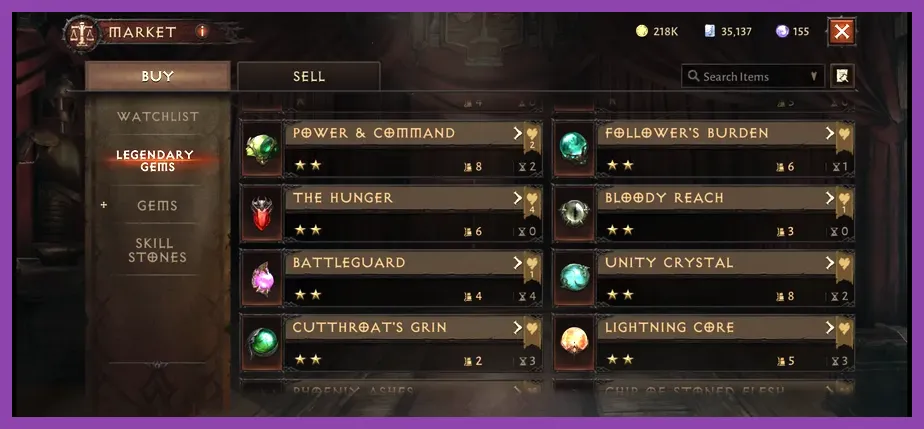
- Bottled Hope (5-Star): The premier support gem in the game. Granting a buff to an ally increases their damage dealt and movement speed by up to 15% for 6 seconds (with a 20-second cooldown per target). For detailed updates on gem drop rates, consult the official Diablo Immortal news portal.
- Blessed Pebble (1-Star): Increases the duration of all beneficial effects you grant by up to 12% and boosts movement speed after applying a buff. Excellent budget choice for free-to-play support players.
- Spiteful Blood (5-Star): Grants primary survival shielding when your health drops below 50%, ensuring you stay standing long enough to cast party shields.
- Abiding Curse (2-Star): Attacks reduce target movement speed and attack speed, stacking seamlessly with Necromancer and Monk debuffs. Check complete stat breakdowns on the Diablo Immortal Wiki.
3. Core Stat Priority for Support Characters
When selecting attributes on your gear, prioritize survival and utility stats over raw Offense Rating once minimum Combat Rating requirements are met for your Hell/Inferno tier:
- Cooldown Reduction (CDR): Aim for 20%+ Cooldown Reduction via Awakened gear slots and Reforge Attributes so your Holy Banner, Bone Armor, or Sanctuary spells have minimal downtime.
- Willpower: Increases your Potency and Resistance, ensuring your crowd control effects last longer while reducing enemy status effects on you.
- Fortitude: Boosts Armor and Armor Penetration, helping you survive burst damage while enabling allies to land critical strikes more reliably.
- Beneficial Effect Duration: Stacked through Reforge Magic and Vithu's set bonuses to maximize buff uptime.
By pairing a dedicated Crusader or Necromancer support build with 4-piece Vithu's Urges and a Bottled Hope Legendary Gem, you will transform any party's dungeon clear speed, conquer high-level Helliquary bosses, and dominate opponent teams in competitive Battlegrounds.