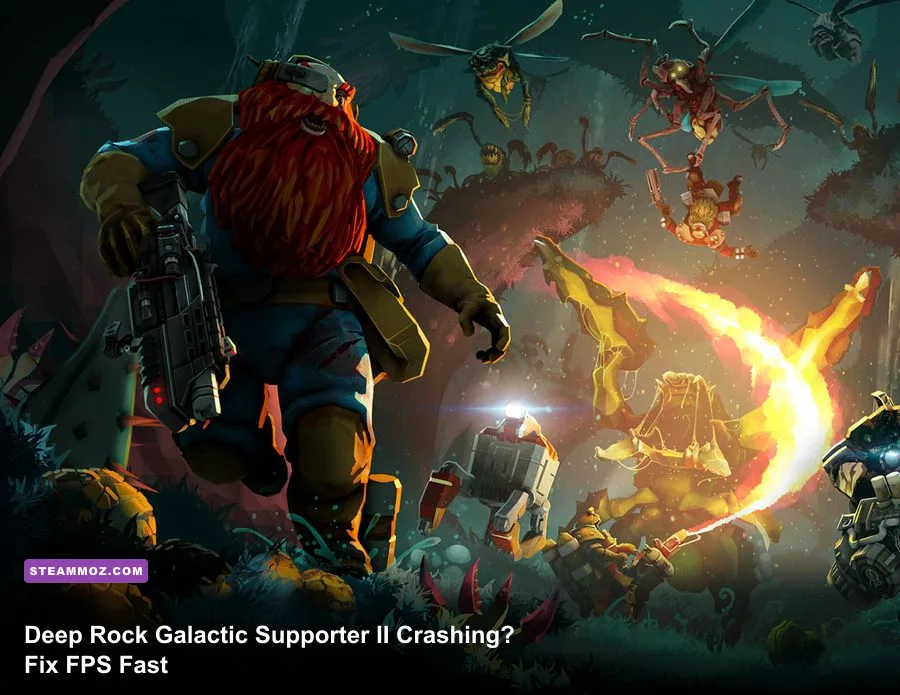
If Deep Rock Galactic starts crashing or running at low FPS after installing the Supporter II Upgrade, treat the DLC as a trigger first—not a graphics pack that needs its own special setting. Supporter II mainly adds cosmetic content, so the reliable fix is to repair the game install, remove conflicting mods and overlays, test DirectX 11 or Vulkan, then lower the settings that hammer CPU frame times during Glyphid swarms.
That distinction matters. The Supporter II Upgrade Steam page does not add a new rendering pipeline or a higher-resolution texture mode. If the problem appeared immediately after purchase, Steam may be validating new cosmetic files, a mod may be outdated, or an overlay may be colliding with the updated game build. You can fix all three without deleting your save.

Start by separating a DLC crash from a performance problem
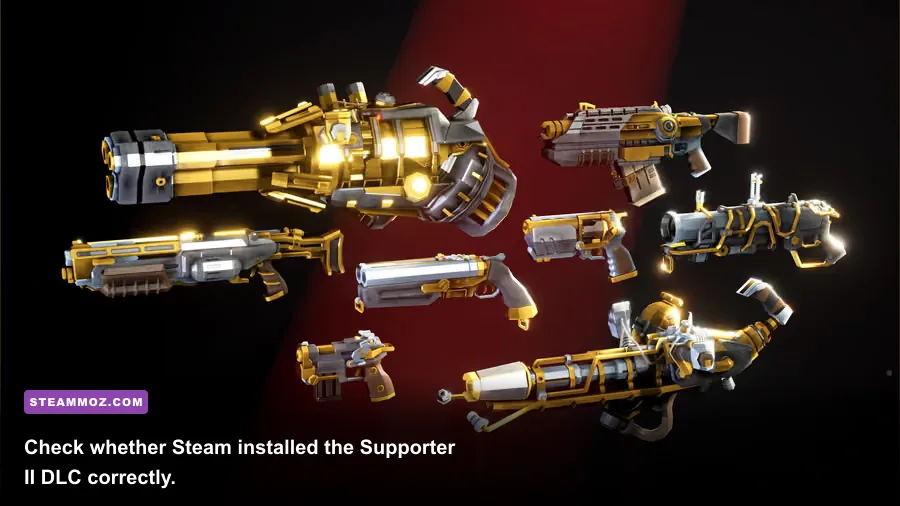
First, identify what actually fails. A crash before the main menu points toward damaged files, an incompatible mod, an API problem, or a driver conflict. A crash when opening the Wardrobe or switching to a Supporter II cosmetic suggests the DLC asset path or a modded cosmetic database. A stable menu followed by 35 FPS in a four-player swarm is a performance problem, not a Supporter II activation failure.
Deep Rock Galactic runs on Unreal Engine 4 and can be sensitive to renderer changes. Steam normally launches the game without arguments, but the startup prompt can offer DirectX 11, DirectX 12, and Vulkan depending on your installation and hardware. Don't assume the newest API is automatically fastest. DX12 can deliver excellent averages on a modern GPU while producing shader-compilation stutter on another system; Vulkan often smooths frame pacing on some AMD configurations, while DX11 remains the safest troubleshooting baseline.
| Symptom | Most likely cause | First test | What success looks like |
|---|---|---|---|
| Crash before menu | Broken files, driver, API, or mod | Verify files and launch DX11 | Game reaches the Space Rig consistently |
| Crash opening Wardrobe | Cosmetic or mod conflict | Disable mods and equip default cosmetics | Wardrobe opens without a desktop crash |
| Low FPS only in swarms | CPU simulation, shadows, effects | Lower shadows and effects | Better 1% lows underground |
| Stutter after updating drivers | New shader cache | Play one short mission and retest | Frame pacing improves after compilation |
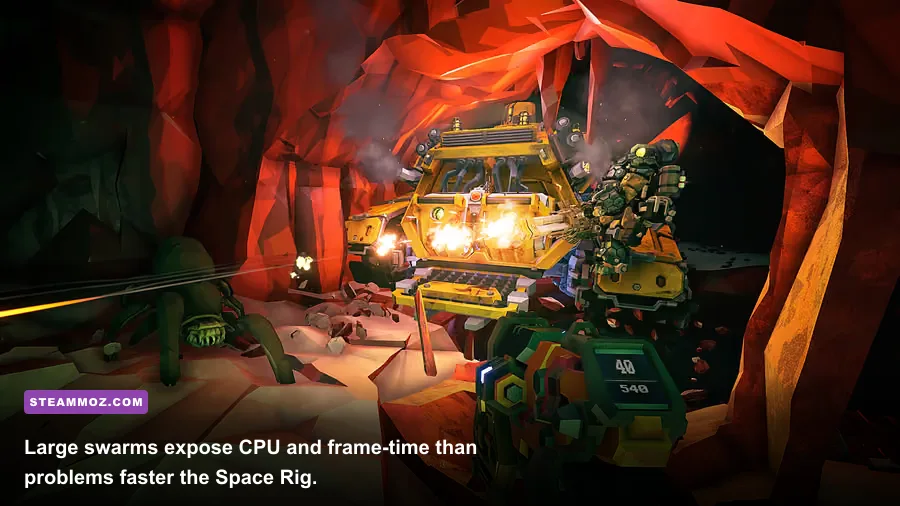
Before changing ten settings at once, record your baseline. Use the same Hazard Level 3 mission, resolution, renderer, and class. The Space Rig is a poor benchmark because it has fewer enemies and a different lighting workload. A short Point Extraction mission in Crystalline Caverns or Sandblasted Corridors gives you repeatable movement, lighting, and swarm pressure.
🎮 Deep Rock Galactic - Supporter II Upgrade
Looking to experience this game? Grab your digital key directly on our store for $4.49.
View on Steammoz Store →Repair Supporter II files and remove the usual crash triggers

Close Deep Rock Galactic completely, including the process in Task Manager, then let Steam repair the installation. In your Library, right-click Deep Rock Galactic, select Properties, open Installed Files, and choose Verify integrity of game files. Steam will re-download missing or altered files. This is the safest first move because it doesn't touch your save or Overclock collection.
Next, check the DLC state under the game's Properties menu. Expand the DLC list and confirm that Deep Rock Galactic - Supporter II Upgrade is ticked. If Steam shows it installed but the cosmetics never appear, untick it, restart Steam, tick it again, and allow the client to download the content. Don't repeatedly uninstall the entire game for this issue; the DLC is small, and a full reinstall creates extra opportunities for cloud-save confusion.
Mods are the biggest variable after a game update. Even cosmetic mods can hook the same item, loadout, or UI data that Supporter II touches. Open the in-game Modding menu and disable every mod, then restart the game. If your copy crashes before you can reach that menu, temporarily move the game's mod files out of the local mod directory rather than deleting them. Test completely vanilla first, then re-enable mods one at a time.
Also disable overlays for the first test. Turn off Steam Overlay, Discord Overlay, GeForce Experience or NVIDIA App overlay, AMD Adrenalin overlay, MSI Afterburner/RivaTuner statistics, and RGB utilities that inject into games. You don't have to live without them forever; you're simply removing extra hooks from the launch chain. Deep Rock Galactic's own official site and Steam community discussions are useful places to check for a current update-specific issue.
Use a clean launch sequence
- Restart Windows and close launchers or monitoring tools you don't need.
- Verify Deep Rock Galactic's files through Steam.
- Disable mods and overlays.
- Launch with DirectX 11 first.
- Reach the Space Rig, open the Wardrobe, and equip a default item.
- Run a solo mission before testing multiplayer.
If the clean run works, restore one variable at a time. Enable the Supporter II cosmetics, then your overlay, then each mod. That sequence tells you whether the purchase itself is broken or whether the new cosmetic simply exposed an old conflict. If the game still crashes vanilla, move on to driver and configuration cleanup.
Choose the renderer and driver setup that fits your PC
For troubleshooting, DirectX 11 is the control profile. It may not produce the absolute highest average FPS, but it tends to be predictable and makes a useful comparison against Vulkan and DX12. Launch options can be selected from Steam's startup prompt; if your system doesn't show the prompt, use the game's launch properties or reset the launch choice rather than stacking random commands from old forum posts.
Test one API for at least one complete mission. A five-second look at the Space Rig tells you almost nothing about frame pacing. Watch the difference between average FPS and 1% lows during a swarm. If DX11 gives 90 FPS in the Rig and 52 FPS during combat, while Vulkan gives 92 and 48, DX11 is the better profile even though its headline number is lower. Consistent motion beats a flashy menu benchmark.
| Renderer | Best first use | Possible advantage | Warning sign |
|---|---|---|---|
| DirectX 11 | Crash diagnosis and older GPUs | Stable compatibility and predictable frame pacing | Lower performance on some newer systems |
| Vulkan | AMD systems or stutter testing | Sometimes smoother frame delivery | Shader stutter or launch failure on certain drivers |
| DirectX 12 | Modern Windows 10/11 hardware | Strong GPU utilization in some setups | Driver-sensitive stutter or crashes |
Install the latest stable graphics driver from NVIDIA or AMD, but don't blindly update in the middle of troubleshooting if the issue started directly after a driver change. A clean installation is worthwhile when crashes survive file verification. On NVIDIA's installer, choose the custom installation and clean-install option. With AMD, use the factory reset option only if normal installation doesn't resolve the conflict.
Windows updates can also reset the default GPU for laptops. Go to Settings > System > Display > Graphics, add the Deep Rock Galactic executable, and choose High performance. Plug the laptop into AC power, set its power mode to Best performance, and make sure the game isn't running on integrated graphics. Desktop players should check that the monitor cable is connected to the dedicated GPU, not the motherboard.
Use these graphics settings to recover low FPS
Deep Rock Galactic's worst frame drops usually happen when the game is simulating bugs, particles, dynamic lights, shadows, and destructible terrain at the same time. A powerful GPU won't eliminate a CPU bottleneck caused by a huge swarm. That's why dropping resolution from 1440p to 1080p may barely change the FPS in combat, while lowering shadows or effects produces an immediate improvement.
| Setting | Recommended value | FPS impact | Visual trade-off |
|---|---|---|---|
| Resolution scale | 100%; 90% for GPU limits | High | Lower values soften the image |
| Anti-aliasing | Use the game's default or lowest stable option | Low to medium | More jagged edges at low values |
| Shadow quality | Medium | Medium to high | Less detailed cave shadows |
| Effects quality | Medium | High during swarms | Less smoke, sparks, and explosion detail |
| Post-processing | Low or medium | Low to medium | Reduced bloom and screen effects |
| View distance | High on GPU-limited PCs; medium on CPU-limited PCs | Medium | Less distant detail underground |
| Texture quality | High if VRAM allows | Low on FPS, high on VRAM | Lower texture clarity |
| Motion blur | Off | Small | Cleaner aiming and camera movement |
| Frame cap | Refresh rate minus 2 or 3 FPS | Improves consistency | Caps peak FPS |
Start with 100% resolution scale, medium shadows, medium effects, medium post-processing, high textures, and motion blur off. Then cap the frame rate to a number your PC can hold during combat. A locked 60 FPS feels better than a menu-speed 120 that collapses to 38 when a Praetorian wave arrives. If you're using a 144 Hz display, try 120 or 100 FPS before chasing an unstable 144.
Use the game's performance readout if available, or monitor GPU usage and CPU core behavior with a tool that doesn't inject an overlay. GPU usage near 95–99% means resolution scale, anti-aliasing, and textures are your main levers. GPU usage below roughly 80% during a bad drop points toward CPU simulation, shadows, effects, background tasks, or a frame-time issue. In that case, lowering resolution won't solve the problem.
Fix stutter in Hoxxes without sacrificing the image

Hoxxes is more demanding than the Space Rig because every mission combines procedural cave geometry, destructible terrain, enemy AI, particle effects, and network activity. A Hazard Level 5 swarm with several Glyphid Praetorians, Menaces, Oppressors, and Mactera can expose a processor bottleneck that never appears in solo mining.
Lower effects before textures. Explosions, fire, cryo effects, plasma projectiles, and team equipment create more frame-time pressure than a slightly sharper wall texture. If you're playing Engineer with the LOK-1 Smart Rifle and Breach Cutter, or Driller with the CRSPR Flamethrower, the screen can fill with damage effects quickly. Gunner's Lead Storm Powered Minigun and Hurricane Guided Rocket System also create heavy visual activity during a swarm. Testing with a Scout's Deepcore GK2 can make a weak system look healthier than it really is, so benchmark with your normal class and loadout.
Use a 60 FPS cap on a 60 Hz display and enable the GPU driver's low-latency option only after the game is stable. Aggressive driver-level features, forced sharpening, frame generation, or third-party scaling can complicate diagnosis. Deep Rock Galactic doesn't need frame generation to be playable, and synthetic frames won't fix CPU-limited swarm dips; they can make input feel worse while leaving the underlying simulation bottleneck untouched.
A practical test route
- Launch solo with no mods and the same renderer each time.
- Start a Hazard 3 Point Extraction mission.
- Fight the first announced swarm in an open room.
- Record average FPS and the lowest sustained frame rate, not a one-frame spike.
- Repeat with Effects and Shadows reduced one step at a time.
- Compare the result with multiplayer only after the solo run is stable.
Multiplayer can add apparent stutter that isn't local rendering. A host with unstable upload, a busy server route, or a player joining mid-event can make bugs appear to teleport even when your FPS counter is fine. If the game crashes only in co-op, test a private solo lobby, then join a friend's lobby, and finally host your own. That pattern helps separate network instability from local rendering.
For more PC troubleshooting habits, Steamoz's guides on Fear Collection crashes and low FPS, Xenoverse 2 performance problems, and Formido PC fixes cover the same clean-testing approach for different engines.
When Supporter II still causes crashes after every fix
If vanilla Deep Rock Galactic runs normally until you equip a Supporter II item, stop testing graphics settings. Set every cosmetic slot to default, restart the game, and test the Wardrobe again. Then equip Supporter II pieces one at a time. This narrows the failure to a specific item or to the cosmetic database rather than falsely blaming FPS settings.
Clear only temporary configuration data after backing up your settings. A corrupted local configuration can survive a normal file verification because it sits outside the core installation. Rename the relevant Deep Rock Galactic configuration folder instead of deleting it; the game will create fresh files on the next launch. You may need to redo keybinds, graphics settings, and audio preferences, but your Steam progression is normally stored separately. Don't delete save files unless Ghost Ship Games support specifically instructs you to do so.
If the Supporter II DLC is missing, crashes the Wardrobe in a clean install, or fails on multiple PCs, capture the crash time, renderer, GPU driver version, enabled mods, and the exact cosmetic action that triggered it. Post that information through the official Ghost Ship Games support channels rather than reporting only “DLC broken.” Repro steps are what let a developer reproduce an asset or entitlement bug.
| Final profile | Renderer | Core settings | Best for |
|---|---|---|---|
| Safe troubleshooting | DirectX 11 | Medium shadows, medium effects, 60 FPS cap, no mods | Crashes and unstable older PCs |
| Balanced 1080p | DX11 or Vulkan | High textures, medium shadows, effects, 90–120 FPS cap | Mainstream gaming PCs |
| High-refresh 1440p | Best stable API | 100% scale, high textures, medium effects, capped FPS | Modern six-core CPUs and dedicated GPUs |
The winning order is simple: verify files, disable mods and overlays, test DX11, update or clean-install the graphics driver, then tune shadows and effects for swarm frame times. Supporter II adds flashy dwarf cosmetics, but it shouldn't require a special FPS sacrifice. Once the game survives a clean Wardrobe test and a full Hoxxes swarm, re-enable your overlays and mods one at a time. Rock and Stone—and keep the troubleshooting methodical.