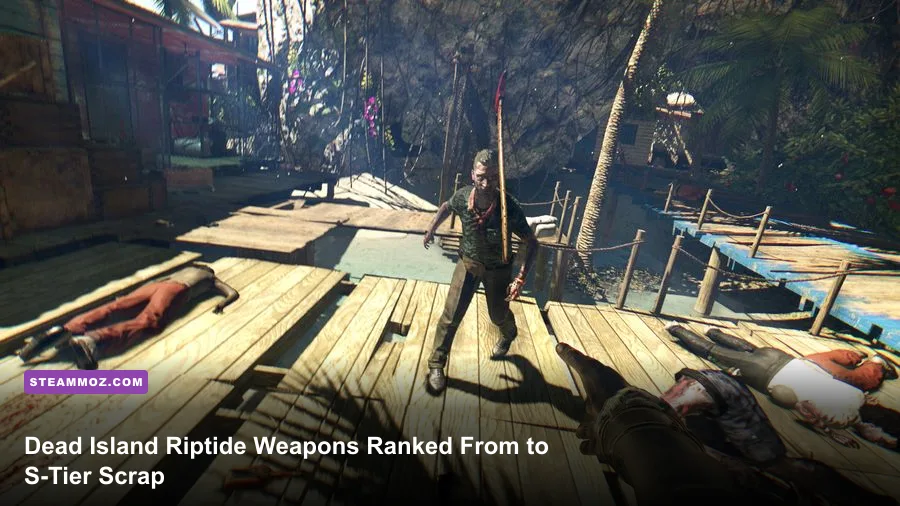
The best Dead Island: Riptide Definitive Edition weapons are fast bladed weapons, upgraded firearms, and a small group of high-stagger blunt tools. S-Tier picks include machetes, wakizashis, katana-style blades, the Ripper, and reliable pistols or rifles for special infected. Damage numbers are level-scaled, so the winning strategy isn't simply chasing a named legendary drop: it's matching weapon type, rarity, mod, character skills, and durability to the fight in front of you.
Riptide's loot system rolls weapon damage around your survivor's level, rarity, quality, and the item's inherent category. That means a level-50 rare machete can outperform a level-42 legendary weapon. Check the weapon card, sell obsolete gear regularly, and spend upgrade money only on items with the moveset and perks you actually use. This ranking focuses on practical performance across Palanai, Henderson, the flooded jungle, and the final missions—not just flashy damage on a stationary Walker.
The Dead Island Riptide weapon tier list

This is the quick ranking before we get into builds. “Best” means a weapon is effective against regular infected, special infected, durability pressure, and groups. Firearms score slightly lower for general use because ammunition is limited early, while blunt weapons lose points because their slower recovery leaves you vulnerable to Rams, Butchers, and Wrestlers.
| Weapon or category | Tier | Why it ranks here | Best users and situation |
|---|---|---|---|
| Machete and fast one-handed blades | S | Excellent reach, speed, stamina economy, and limb damage | Xian Mei; general exploration and infected groups |
| Katana and wakizashi-style blades | S | High cutting damage with strong decapitation potential | Xian Mei or any sharp-weapon build |
| Ripper | S | Powerful bleed-focused modified blade for sustained damage | Any character; bosses and tough infected |
| Heavy pistol and assault rifle | A | Safe damage at range and excellent special-infected control | Purna; Butchers, Rams, and distant targets |
| Shotgun | A | Huge close-range burst and reliable knockback | Purna or Sam B; bosses and panic situations |
| Baseball bat and heavy blunt weapons | B | Strong impact and stun potential but slow recovery | Sam B; crowds and knockdown chains |
| Fists and brass knuckles | B | Fast attacks and good stamina interaction, but short reach | John Morgan; close-range specialists |
| Improvised low-quality weapons | C | Useful during the opening hours, quickly outclassed later | Everyone; temporary replacements only |
Why fast blades dominate
Fast sharp weapons are the safest damage source because they let you interrupt a Walker before its grab animation finishes, then back away before the counterattack. Aim for knees and arms when surrounded; a crippled leg creates breathing room, while a severed arm removes much of a Walker's threat. Blades also pair naturally with Xian Mei's Sharp Expert and Blade Fighter skills, which improve the damage profile of exactly the weapons this list places at the top.

🎮 Dead Island: Riptide Definitive Edition
Looking to experience this game? Grab your digital key directly on our store for $1.99.
View on Steammoz Store →S-Tier weapons worth hunting and upgrading
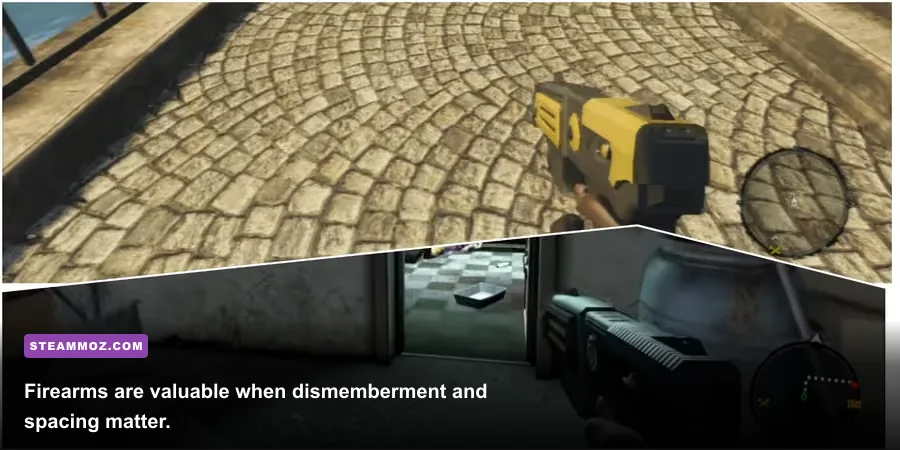
The S-Tier category isn't only about maximum sheet damage. It is about damage delivered per second without draining your stamina bar or trapping you in a long animation. A machete, katana, or wakizashi with a level-appropriate damage roll is usually a better daily driver than a slow hammer with a slightly larger number.
Machetes, katanas, and wakizashis
These blades combine a useful forward arc with quick recovery. They are particularly strong against Walkers and Infected because repeated limb hits can stagger, cripple, or decapitate before the enemy reaches you. Keep one with a high durability roll for routine exploration and another with the best damage roll for named infected and mission arenas. Don't burn your expensive repair costs on a weapon you only use for trash mobs.
The exact legendary name matters less than the card's level and modifiers, but named weapons can be worth keeping when their roll is competitive. Check military containers, locked chests, quest rewards, and vendors after story progression. Vendor inventory refreshes are useful: leave the area, complete another objective, and return before spending your cash on a mediocre green drop.
The Ripper and bleed-focused damage
The Ripper is one of the most recognizable high-end choices in Riptide because its modified blade applies severe sustained damage. It shines against enemies that survive the first few hits, especially when you can slash once or twice and retreat while the bleed effect works. It is not a license to stand still. Against a Butcher, hit from the side, create distance, and avoid trading blows while the enemy's arms are raised.
Crafting stations matter more than rarity. The Bleeding Ripper blueprint turns the weapon into a specialist tool for high-health targets, while elemental mods can be more useful when your party lacks crowd control. Always carry a non-elemental backup: fire and electricity are powerful, but environmental hazards and wet surfaces can make careless elemental attacks dangerous to you and your teammates.
A-Tier guns and B-Tier bruisers explained
Guns are excellent in Riptide, but they are not automatically the best equipment. Ammunition scarcity, reload downtime, weapon durability, and the character using them all matter. Purna is the obvious firearm specialist because her Gunslinger branch improves gun handling and damage, while Inspiring support skills make her valuable in co-op. Sam B can use a shotgun effectively, but his strongest identity remains blunt melee.
| Weapon type | Primary advantage | Main weakness | Recommended target |
|---|---|---|---|
| Pistol | Accurate, economical, quick to reload | Lower burst than a shotgun | Walkers, infected, and exposed heads |
| Heavy pistol | High single-shot damage | Misses are expensive | Thugs and special infected |
| Shotgun | Extreme close-range stagger and burst | Slow reload and limited shells | Rams, Butchers, and emergency crowds |
| Assault rifle | Sustained ranged damage | Ammo consumption and recoil | Boss arenas and distant targets |
| Baseball bat | Knockdown and broad impact | Long swing recovery | Groups when you have space |
| Brass knuckles | Fast punches and close pressure | Very short reach | John Morgan's aggressive melee style |
Shotguns deserve A-Tier rather than S-Tier because they are situational. At point-blank range, a clean blast can stop a charging Ram or buy time against a Wrestler. At medium distance, pellet spread wastes damage and ammo. Use the shotgun when the enemy is committed to an attack, not while it is wandering across an open road.
Heavy blunt weapons are more forgiving for players who like knockdowns. Sam B's Heavy Hitter and Maintenance skills support this approach, but the animation commitment is real. A missed swing against a Thug can cost half your health. Use terrain, doorways, and ledges to prevent flanks, then finish grounded enemies with stomp attacks rather than repeating slow overhead swings.
Best weapon choices for every survivor
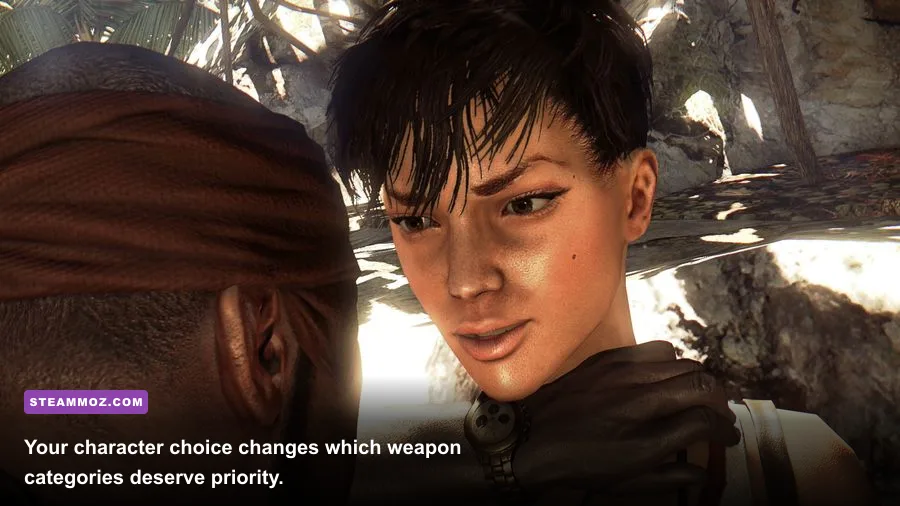
Weapon tier lists become much more useful when tied to a character. The five playable survivors—Logan Carter, Purna Jackson, Xian Mei, Sam B, and John Morgan—do not merely have different dialogue. Their skill trees change stamina, critical damage, firearm output, throwing weapons, and the value of specific equipment.
| Character | Best weapon priority | Key skills to build toward | Combat plan |
|---|---|---|---|
| Xian Mei | Machete, katana, wakizashi | Blade Fighter, Sharp Expert, Bloodrage | Target limbs, chain fast critical attacks, retreat before grabs |
| Purna Jackson | Pistols, heavy pistols, assault rifles | Gunslinger, Intimidation, Inspire | Maintain range and support the party with firearm pressure |
| Sam B | Baseball bat, hammer, shotgun | Heavy Hitter, Maintenance, Tackle | Knock down groups, then stomp or reposition |
| Logan Carter | Throwing weapons and balanced melee | boomerang-focused skills, critical and throwing upgrades | Throw, recover weapons, and exploit precision hits |
| John Morgan | Brass knuckles, claws, fast blunt weapons | Fury, unarmed damage, stamina skills | Stay mobile and punish staggered enemies at close range |
Logan's throwing build can be spectacular when you have clear lanes and time to retrieve weapons, but it becomes awkward in cramped interiors. John Morgan's unarmed kit is more consistent than it looks, especially once his stamina and Fury options come online. In co-op, Purna's group support can make a merely good gun feel better than a theoretically stronger melee drop.
For a general solo run, Xian Mei with a sharp weapon is the easiest recommendation. For co-op, Purna's ranged pressure and Inspire support are excellent. Sam B is the most comfortable pick for players who prefer controlling space with knockdowns. Choose the survivor whose animation rhythm you enjoy; execution matters more than a small weapon-card advantage.
Mods, repairs, and progression rules that save money

Upgrade decisions determine whether your inventory feels powerful or permanently underfunded. Weapon upgrades raise the item's level and damage for a cost, but the return is strongest when the weapon is already close to your survivor's current level. Upgrading a low-level white weapon several times is usually poor value. Sell it, replace it, and reserve cash for a high-quality blue, purple, or legendary item with good durability.
Use the right mod for the enemy
Bleed is a dependable general-purpose effect because it continues damaging high-health targets while you reposition. Fire is excellent against groups in open terrain but can create dangerous burning patches. Shock is useful for disruption and can help control clustered infected, particularly around conductive surfaces. Poison-style effects are less universally reliable than raw sharp damage, so treat them as a fun specialist option rather than your only answer.
Repair before major story pushes, not after every single fight. A damaged weapon still works, but its durability bar tells you how much longer it can survive before breaking. Carry at least one backup melee weapon and a firearm with ammunition reserved for special infected. The worst inventory mistake is arriving at an arena with one nearly broken blade and no shells.
Riptide's environments also reward preparation. Search the flooded jungle and Henderson thoroughly for workbenches, medkits, ammunition, and crafting components. Vendors are worth checking after leveling because their stock can provide a properly scaled replacement. Guides covering other loot-heavy games, such as weapon spending in Everspace and hidden reward hunting, follow the same basic rule: don't waste currency before you know what your build actually needs.
How to use the top weapons against special infected
Weapon choice matters most when a special infected appears. Walkers are your practice targets; Butchers, Rams, Thugs, Wrestlers, and Floaters test whether your equipment and spacing are working together.
| Enemy | Dangerous telegraph | Best counter | Preferred equipment |
|---|---|---|---|
| Ram | Roar followed by a straight-line charge | Dodge sideways, attack the exposed back | Shotgun, machete, heavy pistol |
| Butcher | Raised arms and rapid forward rush | Keep distance, shoot legs, never trade face-to-face | Pistol, rifle, Ripper |
| Thug | Wide arm sweep and ground-pound recovery | Circle behind, punish after the swing | Sharp blade, shotgun |
| Wrestler | Close-range grab and heavy body blows | Backpedal, interrupt with burst damage | Shotgun, assault rifle |
| Floater | Acid spit at medium range | Break line of sight and close quickly | Fast blade, pistol |
Against a Ram, never stand directly in front of it hoping a heavy weapon will stagger the charge. Sidestep, let the animation finish, and attack its back while it recovers. Butchers are the opposite problem: their speed and erratic movement make close melee trades dangerous, so Purna's firearms or a quick side slash followed by immediate retreat works better. A shotgun is your emergency button, not something to waste on ordinary Walkers.
For the definitive edition itself, the visual upgrade doesn't change weapon math or enemy behavior. If you want broader technical context, Steamoz's PC performance troubleshooting and graphics-settings advice can help with general frame-rate problems. For official details, check the Dead Island Riptide Definitive Edition Steam page, the Deep Silver game page, and Techland's official site.
The short version is simple: carry a fast sharp weapon for everyday killing, a firearm for special infected, and a heavy option for knockdowns. Xian Mei makes blades sing, Purna turns guns into a reliable combat system, Sam B owns controlled blunt-force chaos, and John Morgan rewards aggressive mobility. Keep gear level-appropriate, mod weapons with a purpose, and replace low-level loot instead of pouring money into it. Follow those rules and Palanai's weapon economy stops feeling random—and starts working for you.