Start with the Assault ship, play Original mode on Normal, and treat your Burst gauge as a defensive resource before using it for damage. That combination is the best beginner build in DARIUSBURST Chronicle Saviours: Assault gives you a powerful forward Burst beam, Normal leaves room to learn enemy patterns, and the classic red-weapon route lets you build a reliable laser or wave without chasing risky upgrades. Once you can clear a route without panic-bombing, move into Chronicle Mode and use the same fundamentals rather than immediately switching to a harder ship.
This isn't an RPG with permanent stat points, armor sets, or a skill tree. Your “build” is the ship you select, the weapon level you carry, the route you choose, and the way you spend Burst energy. That distinction matters. A fully powered ship can still explode in seconds if you sit in the wrong lane, while a modest missile setup can clear a stage when your positioning is disciplined. The guide below gives you a concrete first setup, a progression plan, and the combat habits that make the series click.
The Best First Build Is Assault on Normal
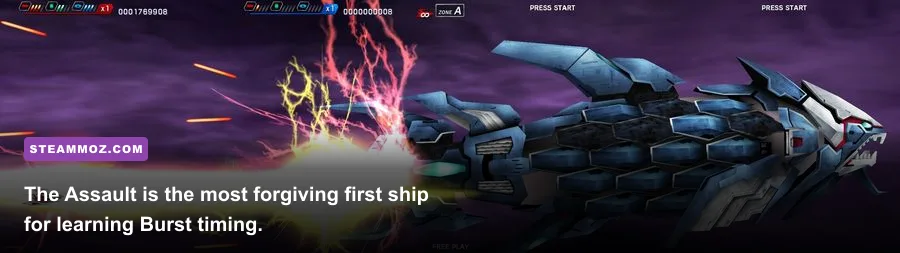
Choose Assault from the ship-select screen and begin with Original Mode, Normal difficulty. Assault is the strongest teaching tool because its Burst weapon projects a controllable beam directly in front of the ship. Hold the Burst button and you can sweep that beam across enemies, cancel incoming fire, or hold it on a boss to burn down a dangerous phase. You aren't forced to understand every advanced counter immediately.
Assault's red weapon progression is straightforward. Red icons improve the ship's forward attack through the missile, laser, and wave family; collect enough of the same power-up color to advance the level. Your first practical target is a dependable laser or wave level, not maximum weapon rank. Laser gives you focused damage and a cleaner line through small enemies. Wave shots are excellent when formations hide behind terrain or arrive in stacked lanes, but they can make bullet visibility busier on a first run.
Keep the Bomb button for emergencies. In Dariusburst, a bomb is not just a damage button. It is your instant answer to a dense pattern, a surprise collision, or a boss attack you haven't learned yet. The beginner loop is simple: fire normally, collect safe power-ups, watch the Burst gauge, and bomb only when staying alive is otherwise unlikely. Once a route feels familiar, replace some bombs with short Burst activations.
| Build Part | Beginner Choice | Why It Works | When to Change It |
|---|---|---|---|
| Ship | Assault | Forward Burst beam is easy to aim and strong against bosses | After you can consistently manage Burst timing |
| Mode | Original Mode | Short, readable arcade-style routes teach the core loop | Move to Chronicle after reliable clears |
| Difficulty | Normal | Enough pressure to teach patterns without overwhelming density | Use Easy for controls, Hard for score practice |
| Weapon goal | Laser or Wave | Both provide useful screen control and clear damage roles | Choose based on the route's formations |
| Resource plan | Save Burst and Bomb | Emergency tools cover mistakes while you learn | Spend Burst aggressively once patterns are known |
For a useful outside reference, check the official Steam page for the included modes and ship roster. If you enjoy methodical survival games too, our Aliens vs. Predator survival tips cover the same valuable habit: identify danger before reacting to it.

🎮 DARIUSBURST Chronicle Saviours
Looking to experience this game? Grab your digital key directly on our store for $12.49.
View on Steammoz Store →How to Build Your Weapon Without Throwing a Run
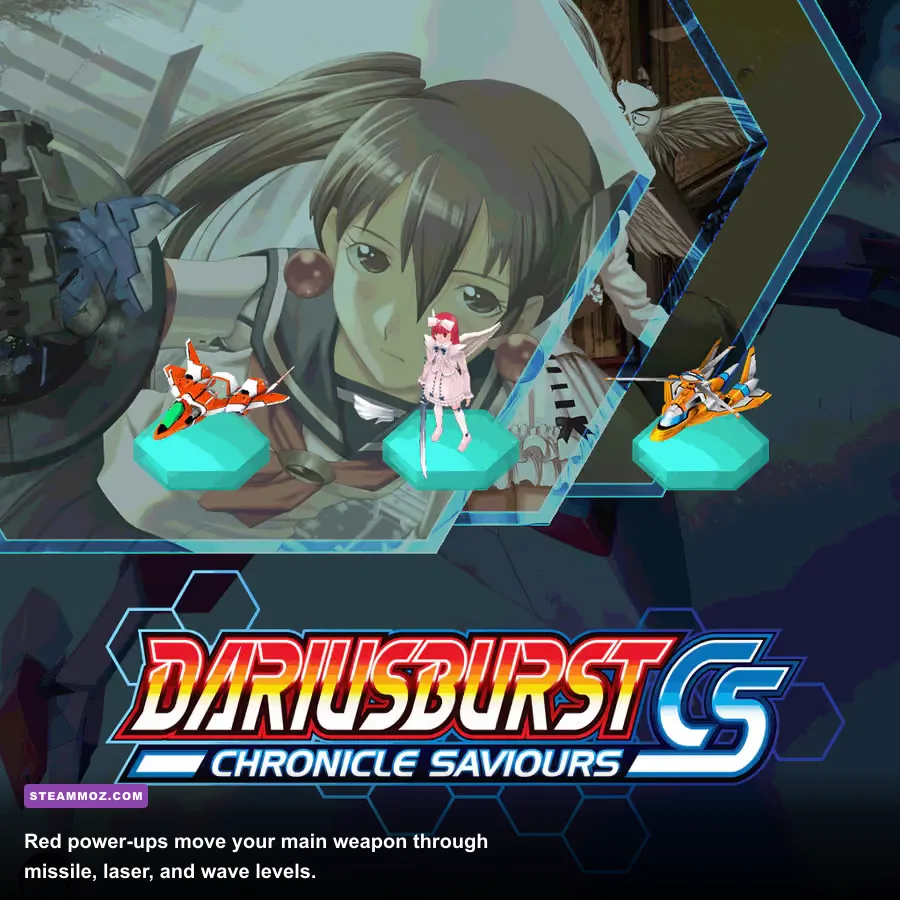
Power-ups are the part that quietly decides most early runs. Red power-ups develop the main weapon. Green power-ups improve the auxiliary missile or bomb-related attack, while orange power-ups strengthen the ship's defense layer. The exact pickup order can vary by route, but your priority should remain consistent: secure the red weapon first, take green upgrades when the screen is safe, and never cross a bullet lane merely to grab orange armor.
Missile, laser, or wave?
Missile is your starting weapon and is useful because it is visually simple. It shoots forward and gives you a clean way to learn enemy spacing. Laser trades some of that simplicity for concentrated firepower and can deal with armored targets quickly. Wave is the best route-control tool because it passes through or interacts favorably with certain terrain and enemy formations. It is also the easiest weapon to misuse: a broad shot doesn't fix bad positioning.
Don't greedily chase the next red icon while a formation is entering from the opposite side. Let the power-up drift into a safe collection lane, or leave it behind. A lost upgrade costs less than a lost life, and a death resets your positioning, weapon momentum, and confidence all at once. This is the same principle behind our Byte Driver run-management tips: consistency beats one spectacular pickup.
| Weapon Route | Strength | Beginner Risk | Best Use |
|---|---|---|---|
| Missile | Clear forward attacks and low visual clutter | Less flexible against layered formations | Learning stage layouts and boss approach patterns |
| Laser | Focused damage against tough targets | Requires more precise alignment | Boss cores, armored enemies, and narrow lanes |
| Wave | Broad coverage and strong formation control | Can hide bullets and encourage careless movement | Terrain-heavy routes and stacked enemy groups |
| Green weapon | Extra damage and screen coverage | Tempts you into unsafe pickup paths | Take after red weapon is stable |
| Orange defense | More forgiveness after a mistake | Limited benefit if collected through bullets | Safe pickups before a known boss checkpoint |
Your weapon level also affects how you approach bosses. With laser, line up with the boss's vulnerable center and use the Burst beam to maintain pressure. With wave, sit slightly farther away and let the projectile spread cover moving parts. Never assume a higher weapon level makes you invincible: enemies still punish contact, and many boss patterns are designed to force you off the ideal firing line.
Use Burst as a Counter, Not a Panic Button
The Burst gauge is Assault's defining resource. Hold the Burst control to deploy the beam, then move the ship to drag its direction across the screen. The beam deals damage while active, but its real value comes from controlling space. It can erase smaller enemies, interrupt pressure, and give you a temporary safe-looking corridor during a boss pattern.
Early players usually make one of two mistakes. They either hoard Burst until death, or activate it the moment the gauge fills and waste it on harmless enemies. Use a three-part rule instead. First, save enough gauge for the next dangerous encounter. Second, activate Burst when it removes multiple threats or creates a safe lane. Third, stop holding it once the screen is under control. A short, intentional burst is usually worth more than draining the entire meter for ordinary targets.
The first Burst habit to practice
Watch the enemy projectile, not your own beam. When a boss launches a slow, obvious attack, activate Burst and sweep across the threat while maintaining damage on the boss. This teaches you to convert defense into offense. Later, you can learn Burst counters against enemy Burst attacks, but don't make countering your first goal. Surviving with half a gauge is better than missing a high-risk timing window and losing a life.
Assault's beam points forward, so the ship's horizontal position matters more than frantic movement. Stay near the center until a pattern tells you to leave. If you hug the edge, enemies entering from that side give you almost no reaction time. If you sit directly beneath a boss without checking its collision shape, its body movement can trap you. Keep a small escape lane open and avoid parking against scenery.
The Crimzon Clover beginner advice is useful here too: learn when a screen is actually dangerous instead of spending your strongest resource on visual noise. Dariusburst rewards the same calm reading, even though its huge battleships make every attack look dramatic.
Chronicle Mode Progression Without Wasting Lives
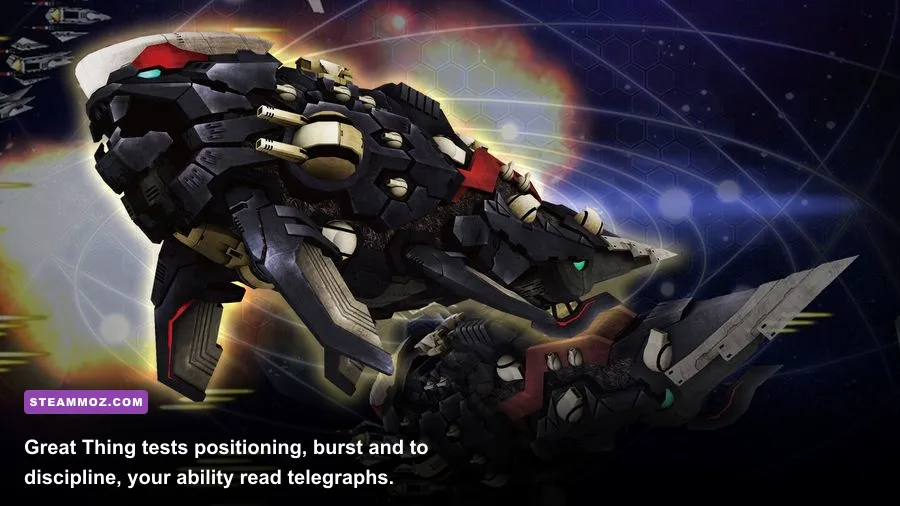
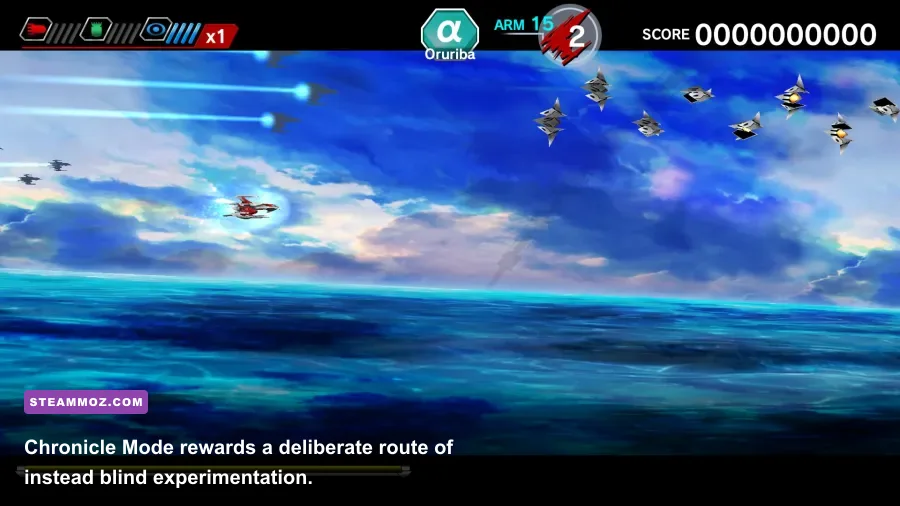
After you can clear an Original route on Normal, move into Chronicle Mode. Chronicle is not simply a longer campaign. It is a large network of areas with different missions, route conditions, and boss combinations. Treat every new area as a scouting run. Your goal on the first attempt is to identify the stage's enemy entrances, power-up placement, terrain, and boss behavior—not to force a perfect score.
Start with sectors that have familiar stage labels and manageable difficulty rather than jumping toward a locked or high-level territory. If a route repeatedly kills you before the boss, the problem is probably not your ship choice. It may be a bad pickup decision, a missed safe lane, or a failure to save Burst for a specific formation. Replay that area and change one decision at a time. Randomly switching ships makes it harder to identify the real problem.
| Progression Stage | Recommended Setup | Practice Goal | Clear Condition |
|---|---|---|---|
| First sessions | Assault, Original Normal | Move, fire, collect red power-ups safely | Reach the first boss with a life intact |
| Route learning | Assault, Original Normal | Save one Burst activation for the boss | Clear a route without panic bombing |
| Chronicle entry | Assault, low-risk sector | Map enemy entrances and pickup timing | Finish while identifying one repeatable safe lane |
| Pattern practice | Assault, harder sector | Use Burst to cancel dense formations | Reach the boss consistently |
| Ship expansion | Try Legend or Formula | Compare weapon behavior, not raw difficulty | Choose a second ship with a clear purpose |
Chronicle also gives you a reason to experiment with other ships. Legend is the classic Darius-style baseline and is excellent for learning traditional weapon spacing. Formula changes the feel of forward fire and rewards tighter alignment. Gaiden is attractive to advanced players because of its distinctive utility, but it shouldn't be your first recommendation if you are still learning where bullets enter the screen. Murakumo is powerful and unusual, yet its more technical weapon behavior makes it a poor substitute for learning fundamentals.
For official background on the series, the Taito official site is a better source than random build posts, while the Pyramid developer site provides useful context on the studio behind the modern Dariusburst releases.
Boss Survival: Read the Telegraph Before You Fire
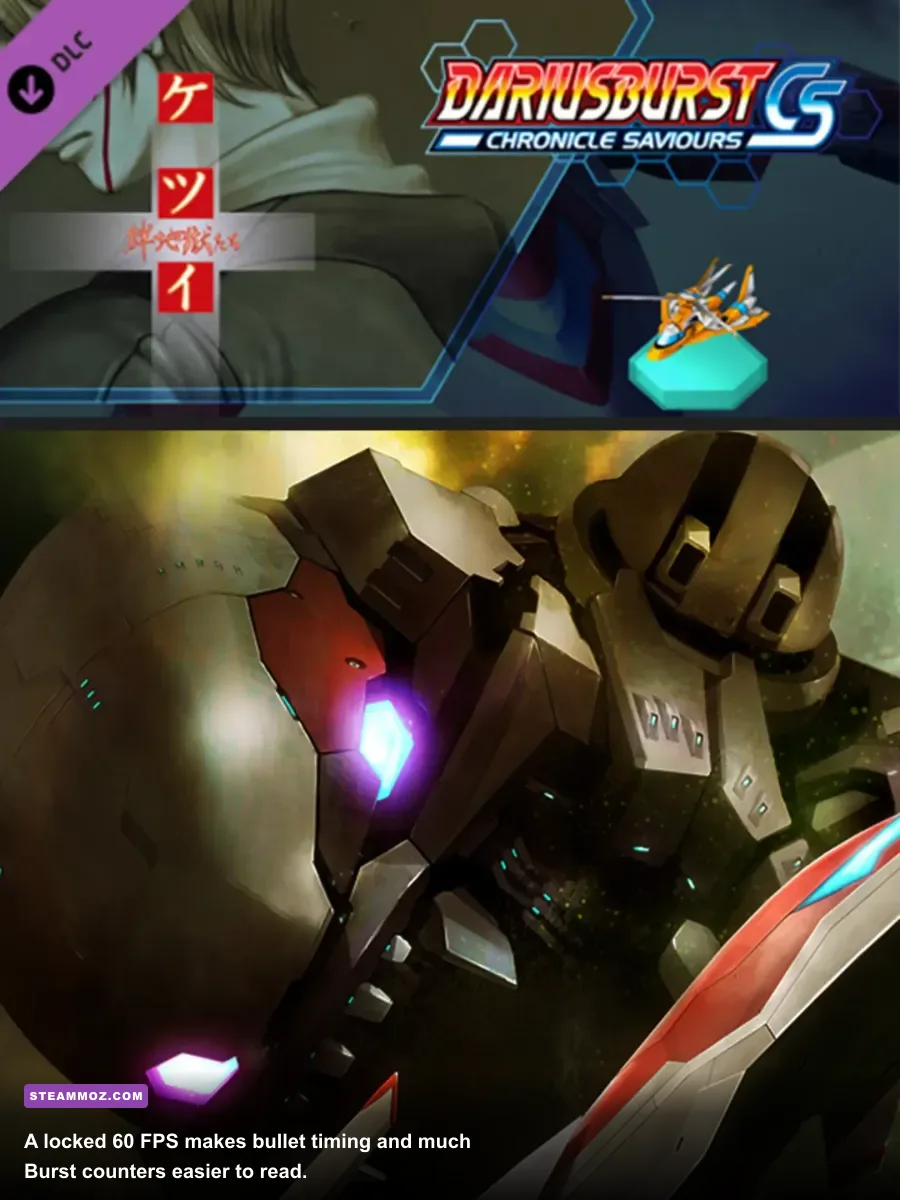
Darius bosses are enormous, but their size makes them readable. Their guns, mouths, fins, and engines telegraph where danger will come from. Don't stare only at the health bar. Watch the component that is moving. A rotating gun usually tells you the next firing lane; a mouth opening often precedes a direct projectile or close-range threat; a body shift can remove the lane you thought was safe.
Great Thing and the first-boss lesson
Great Thing is a perfect early lesson because its large battleship silhouette encourages you to fly too close. Stay far enough away to see its missiles and retain room to move around the nose and underside. Use normal fire on exposed targets, then deploy Assault's Burst when its attack pattern fills your lane or when you need to burn a dangerous weapon component quickly. Don't chase maximum damage if doing so pins you against the edge.
| Boss Situation | Danger Signal | Counter | Best Resource |
|---|---|---|---|
| Missile spread | Projectiles enter in staggered lanes | Move through the widest gap early, not at the last second | Normal fire; Burst if lanes close |
| Rotating gun | Turret tracks your horizontal position | Make a controlled move, then stop drifting | Assault Burst for sustained pressure |
| Body advance | Boss silhouette removes your escape space | Leave the corner before the collision lane closes | Bomb if movement is blocked |
| Dense add wave | Small enemies enter from multiple edges | Prioritize the nearest threat and preserve a retreat lane | Short Burst sweep |
| Unknown attack | New animation with no learned response | Stop attacking, watch one cycle, then reposition | Bomb only when the safe lane is unclear |
When learning a new boss, intentionally spend one attempt watching instead of forcing damage. Note the order of attacks, where projectiles originate, and whether the boss changes behavior after a weapon is destroyed. That single observation run can save ten failed attempts. Our Alien: Isolation score-farming guide makes a similar point from a different genre: repeatable information is more valuable than reckless speed.
PC Settings That Keep the Practice Consistent
DARIUSBURST Chronicle Saviours is not graphically demanding by modern standards, but consistency matters in a precision shooter. Set the game to the display's native resolution, use a stable 60 FPS target, and turn off unnecessary desktop overlays while practicing difficult routes. A fluctuating presentation can make a familiar projectile feel late or early, especially when you are learning a Burst response.
| Setting | Recommended Value | Performance Impact | Gameplay Benefit |
|---|---|---|---|
| Resolution | Native monitor resolution | Moderate GPU impact | Keeps bullets and ship edges crisp |
| Frame rate | Stable 60 FPS target | Low on modern PCs | Makes timing and movement repeatable |
| V-Sync | On if tearing appears | May add slight latency | Cleaner scrolling during pattern practice |
| Fullscreen | Exclusive fullscreen if stable | System-dependent | Reduces distractions and overlay conflicts |
| Overlays | Disable unnecessary overlays | Minimal FPS gain | Prevents accidental input interruptions |
If you are troubleshooting a broader PC problem, Steamoz's PC crash and low-FPS fixes cover the usual driver, overlay, and fullscreen checks. Dariusburst's best setting is the one that stays consistent across every retry, not the one that looks most impressive in a screenshot.
Your First Ten Runs Should Follow This Routine
Runs one and two are control checks. Confirm movement, firing, Burst, and Bomb inputs without worrying about a clear. Runs three through five are weapon practice: take red power-ups only when safe and decide whether laser or wave gives you better visibility. Runs six through eight are boss studies. Save Burst for the first serious attack and observe what changes after a weapon component breaks. Runs nine and ten should be clean attempts with one objective: reach the boss with at least one life, one bomb, and a usable Burst gauge.
Once that routine feels stable, raise the challenge one step at a time. Try Hard difficulty, a different Original route, or a low-risk Chronicle sector—but don't change all three at once. Keep Assault as your reference ship so you always have a known baseline. When you finally pick up Legend, Formula, Gaiden, or Murakumo, you'll be learning a new weapon system rather than wondering whether the route itself is impossible.
The best beginner build is therefore more than “pick Assault.” It is Assault, Normal, a safe red-weapon route, deliberate Burst use, and a willingness to abandon a power-up that sits inside a bullet pattern. Learn the screen before chasing damage, learn the boss before chasing score, and let Chronicle Mode become a laboratory instead of a wall. That approach turns Dariusburst's intimidating battleships into readable machines—and gives you the foundation to explore the entire fleet.