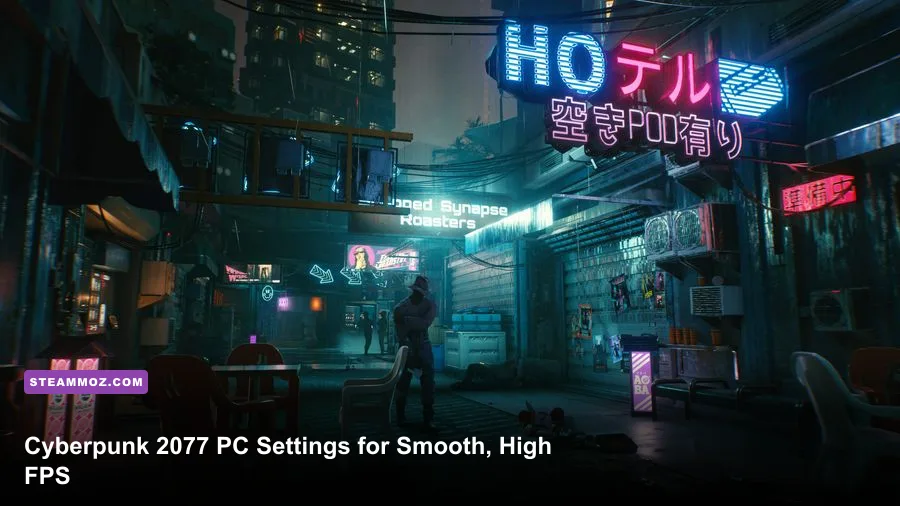
If you want Cyberpunk 2077 PC to feel consistently smooth, start with a 60 FPS target, enable DLSS or FSR, lower Screen Space Reflections and Volumetric Fog, and leave ray tracing off unless your GPU has plenty of headroom. The best balanced profile is High textures, Medium crowd density, High volumetric settings, DLSS Quality at 1440p, and NVIDIA Reflex enabled on GeForce cards.
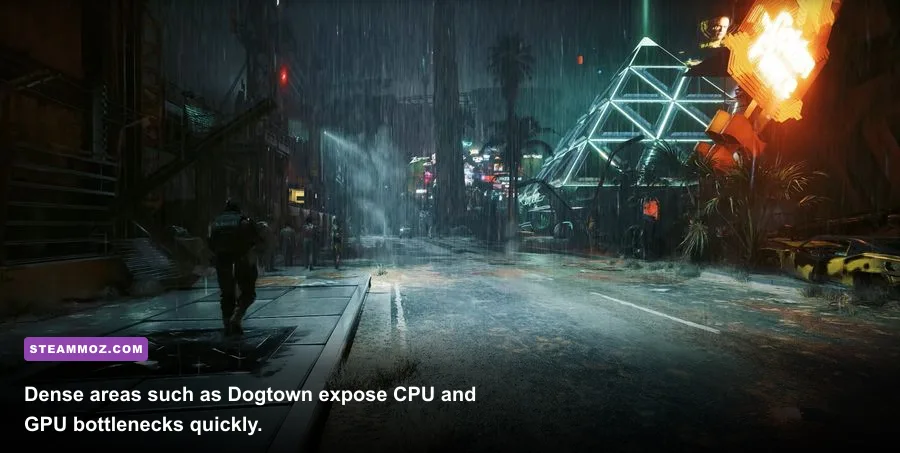
That setup looks dramatically better than a random Low preset while avoiding the ugly stutters that appear when Night City becomes crowded. The advice below targets the current 2.x version, including Phantom Liberty, where Dogtown and the vehicle-heavy streets can punish both your graphics card and processor. Before changing anything, check the official Steam page for current system requirements and make sure the game is updated.
Start With the Right FPS Target
Cyberpunk 2077 is unusually sensitive to frame-time spikes. A counter showing 75 FPS is not automatically smooth if the game repeatedly drops to 45 while driving through Japantown. Pick a target your hardware can hold in the demanding sections, not one it reaches while staring at an empty wall.
For most players, 60 FPS is the sweet spot. A 120Hz or 144Hz monitor can benefit from a 90 FPS cap, but pushing 120 FPS at 1440p with ray tracing usually requires an RTX 4070 Ti Super, RTX 4080, RX 7900 XTX, or faster hardware. The Phantom Liberty benchmark is useful, but it still doesn't fully represent heavy combat in Dogtown, so test your own save near the Kabuki Market, Corpo Plaza, and a busy freeway.
| Target | Recommended Hardware | Best Resolution | Practical Profile |
|---|---|---|---|
| 30 FPS | Steam Deck, GTX 1660, RX 580 | 800p to 1080p | Low/Medium, FSR 2 Balanced, RT off |
| 60 FPS | RTX 3060 Ti, RTX 4060, RX 6700 XT | 1080p to 1440p | High, DLSS or FSR Quality, RT off |
| 90 FPS | RTX 4070 Super, RX 7800 XT | 1440p | High, upscaling Quality, selective RT |
| 120 FPS | RTX 4080 Super, RX 7900 XTX | 1440p | High, upscaling Balanced, RT carefully tuned |
| 60 FPS with RT | RTX 4070 Ti Super or faster | 1440p | RT Medium, DLSS Quality, Frame Generation optional |
Use an in-game cap or your driver-level limiter rather than chasing every last frame. A locked 60 FPS feels far better than a 68-to-48 FPS swing. If you use a VRR display, cap two or three frames below its maximum refresh rate; 117 FPS is a sensible limit for a 120Hz monitor.

🎮 Cyberpunk 2077
Looking to experience this game? Grab your digital key directly on our store for $59.99.
View on Steammoz Store →The Best Balanced Graphics Settings
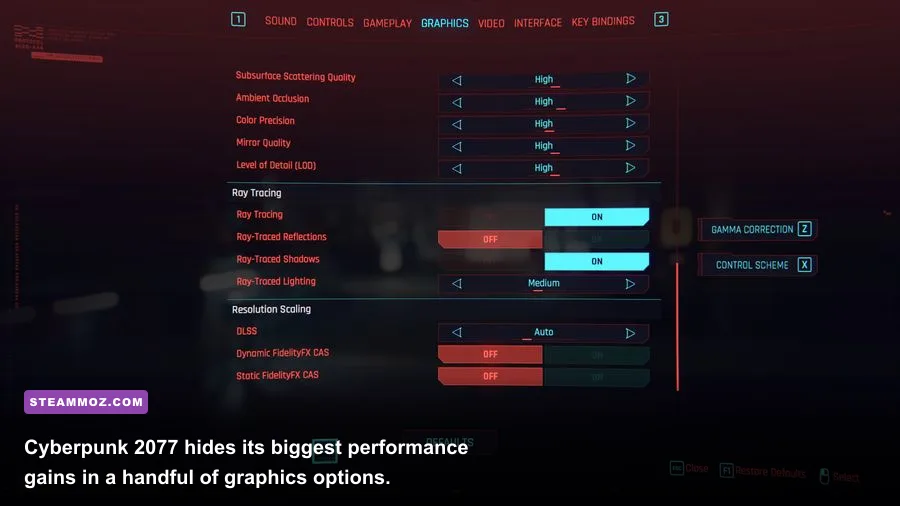
The Ultra preset is a poor default for most PCs because it spends performance on settings that are difficult to notice during normal play. Textures are the exception. They mostly consume VRAM rather than shader performance, so keep them High if your card has 8GB or more. On a 6GB card, Medium textures can prevent hitching in crowded districts.
| Setting | Recommended Value | FPS Impact | Visual Trade-Off |
|---|---|---|---|
| Texture Quality | High | Low on GPU FPS, high VRAM use | Keep High unless VRAM is exhausted |
| Screen Space Reflections | High or Medium | Medium to high | Lowering reduces wet-surface detail and reflections |
| Volumetric Fog Resolution | High | Medium | Medium is a strong FPS win with modest image loss |
| Volumetric Cloud Quality | Medium | Low to medium | Mostly affects the sky and distant atmosphere |
| Ambient Occlusion | High | Low | Medium can flatten contact shadows |
| Mirror Quality | Medium | Medium in apartments and shops | Reflections remain acceptable while exploring |
| Level of Detail | High | Medium on CPU-heavy scenes | Lower values make distant objects pop in |
| Crowd Density | Medium | High CPU impact | High adds life but worsens city-driving dips |
| Motion Blur | Off | None | Cleaner aiming and driving image |
| Film Grain | Off | None | Sharper image, especially with upscaling |
| Chromatic Aberration | Off | None | Removes colored fringing at screen edges |
Screen Space Reflections is one of the first settings to reduce at 1440p. It can cost more than expected during rain, puddles, and crowded streets. Medium looks slightly less glossy but rarely distracts during gunfights. Volumetric Fog is another smart cut: High preserves Night City's mood, while Medium often recovers several frames without turning the skyline into a flat mess.
Set Crowd Density to Medium before lowering texture quality. This option is primarily CPU-limited, so it helps players with older Ryzen 5 or Core i5 processors more than a GPU tweak will. Low can help a four-core CPU, but it makes the city feel strangely empty. If you suffer stutter rather than low average FPS, this is the setting to test first.
DLSS, FSR, XeSS, and Frame Generation
Upscaling is the biggest performance lever in Cyberpunk 2077. On an NVIDIA RTX card, use DLSS Quality at 1440p and DLSS Balanced at 4K. At 1080p, native resolution or DLSS Quality usually preserves better fine detail because aggressive reconstruction has fewer pixels to work with. AMD users should choose FSR 2 Quality, while Intel Arc owners can test XeSS Quality.
| Feature | Best Use | Performance Benefit | Important Warning |
|---|---|---|---|
| DLSS Quality | 1440p on RTX GPUs | Strong uplift with clean detail | Watch for ghosting around wires and cars |
| DLSS Balanced | 4K or weak RTX hardware | Higher FPS than Quality | Fine signage becomes softer |
| FSR 2 Quality | Radeon and non-RTX GPUs | Good general-purpose uplift | Can show shimmering on distant geometry |
| XeSS Quality | Intel Arc GPUs | Competitive reconstruction quality | Performance varies by GPU architecture |
| Frame Generation | RTX 40-series with a high base FPS | Can make 60 FPS feel closer to 90 or 100 | Does not fix CPU bottlenecks or input latency |
Frame Generation deserves a reality check. It creates additional frames, but it cannot turn a genuinely unstable 35 FPS into responsive 70 FPS gameplay. Aim for at least 55 to 60 real FPS first, then enable DLSS Frame Generation on RTX 40-series cards. Pair it with NVIDIA Reflex, which reduces the extra queue latency. If camera movement feels mushy, disable Frame Generation before sacrificing image quality elsewhere.
Don't stack sharpening aggressively. Cyberpunk's fine wires, fences, and neon signs already challenge reconstruction algorithms. A small amount of in-game sharpening is enough. Also disable Dynamic Resolution Scaling if you want a predictable image; it can be useful on a handheld, but on a desktop it may quietly lower resolution during firefights.
Ray Tracing Without Destroying Performance
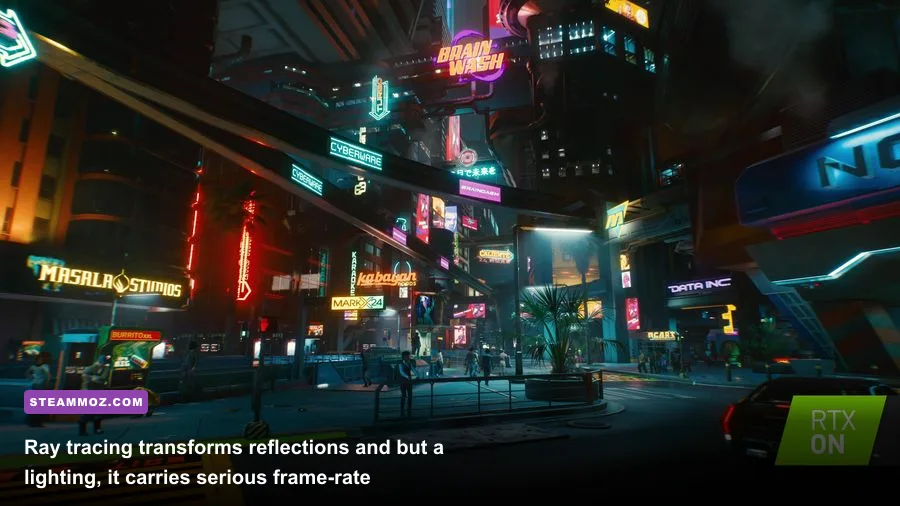
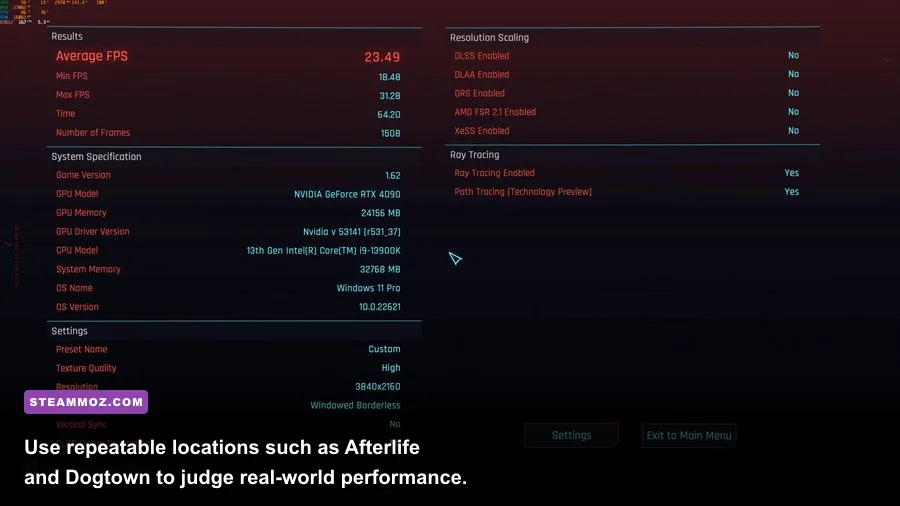
Standard ray tracing includes Ray-Traced Local Shadows, Sun Shadows, Lighting, and Reflections. Path Tracing, listed as Ray Tracing: Overdrive, is a separate beast. It changes lighting quality across the entire scene and is intended for powerful RTX hardware with upscaling and Frame Generation. It looks extraordinary in screenshots, but it is not the sensible choice for maximizing FPS.
For a practical RT profile, enable Ray-Traced Local Shadows first. They improve character and building shadows at a lower cost than full ray-traced lighting. Ray-Traced Reflections are beautiful in rain and glass-heavy areas but can be expensive. Use RT Medium at 1440p with DLSS Quality on an RTX 4070-class GPU, and avoid Overdrive unless you're using an RTX 4080, RTX 4090, or newer equivalent and accept a 60 FPS target.
| Ray-Tracing Option | Visual Gain | Performance Cost | Recommendation |
|---|---|---|---|
| Local Shadows | Better nearby shadow accuracy | Low to medium | Enable first |
| Sun Shadows | More realistic outdoor lighting | Medium | Use on RTX 4070 or faster |
| Lighting | Richer bounced light and interiors | High | Medium at 1440p, off for max FPS |
| Reflections | Superior glass, puddle, and vehicle reflections | High | Selective luxury setting |
| Path Tracing Overdrive | Full cinematic lighting overhaul | Extreme | Screenshot mode or high-end enthusiast PCs |
Path tracing is a showcase mode, not a universal benchmark of PC quality. If you love the look, start with DLSS Balanced, enable Frame Generation, and set a 60 FPS cap. Otherwise, turn it off and spend the saved performance on a higher native-resolution target. You can read more about troubleshooting frame drops in our guide to PC crashes and FPS recovery; the same fundamentals around drivers, thermals, and background software apply here.
Fix Stutter Beyond the Graphics Menu
Cyberpunk 2077 streams a huge amount of data while you drive, so a fast SSD is effectively part of the performance profile. Install the game on an NVMe SSD if possible, leave at least 15 percent free space, and avoid running a browser with dozens of video-heavy tabs during testing. A hard drive can produce texture pop-in and traversal hitching even when your average FPS looks healthy.
Update your GPU driver, but don't assume the newest driver automatically fixes every problem. If stutter begins after a driver change, use a clean installation and allow shader compilation to complete. After major patches, the first minutes can feel rough while shaders and assets settle. Do not judge the final result from the opening few seconds of a save.
On Windows, use the High Performance or AMD Ryzen power plan only if normal Balanced mode causes clock-speed drops. Keep CPU and GPU temperatures under control; a CPU throttling near its thermal limit can look exactly like a bad graphics preset. Close overlays from Discord, recording software, and motherboard utilities when benchmarking. For more general low-FPS troubleshooting, our low-FPS fixes guide covers the same overlay and driver checks.
Use this final profile as a reliable starting point:
- 1080p, mainstream GPU: High preset, textures High, DLSS or FSR Quality, RT off, Crowd Density Medium, 60 FPS cap.
- 1440p, RTX 3060 Ti to RTX 4070: High preset, DLSS Quality, SSR Medium, Fog High, RT off or Local Shadows only.
- 1440p, RTX 4070 Super and above: High preset, DLSS Quality, RT Medium, Reflex On, Frame Generation only if the base rate stays above 55 FPS.
- 4K, high-end GPU: High preset, DLSS Balanced, SSR Medium, RT selective, Crowd Density Medium, 60 FPS cap.
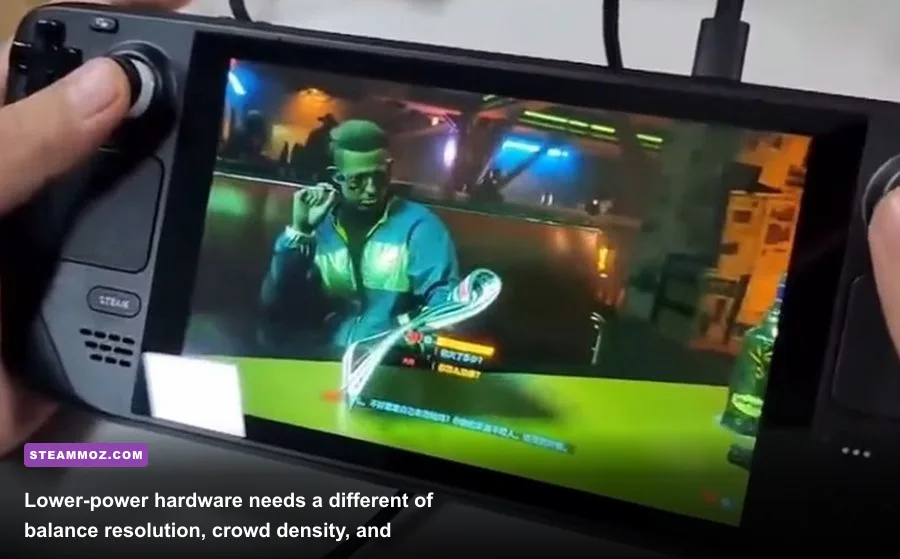
- Steam Deck: 800p, Low preset with Medium textures, FSR 2 Balanced, RT off, Crowd Density Low, 30 or 40 FPS cap.
Finally, change one setting at a time and test the same route for at least two minutes. Night City is too variable for random street corners to produce useful conclusions. If you want more PC optimization references, Steamoz's Far Cry 6 settings guide and Filament FPS guide use the same practical approach: protect frame times first, then spend leftover performance on visual upgrades you can actually see.
Cyberpunk 2077 doesn't need every slider at Ultra to look stunning. High textures, sensible volumetrics, restrained reflections, a stable upscaling mode, and a realistic FPS cap produce the smoothest version of Night City for most PCs. Once your frame time is consistent, add ray-traced shadows or reflections one at a time—and leave Overdrive for when you specifically want a tech demo rather than a flawless firefight.