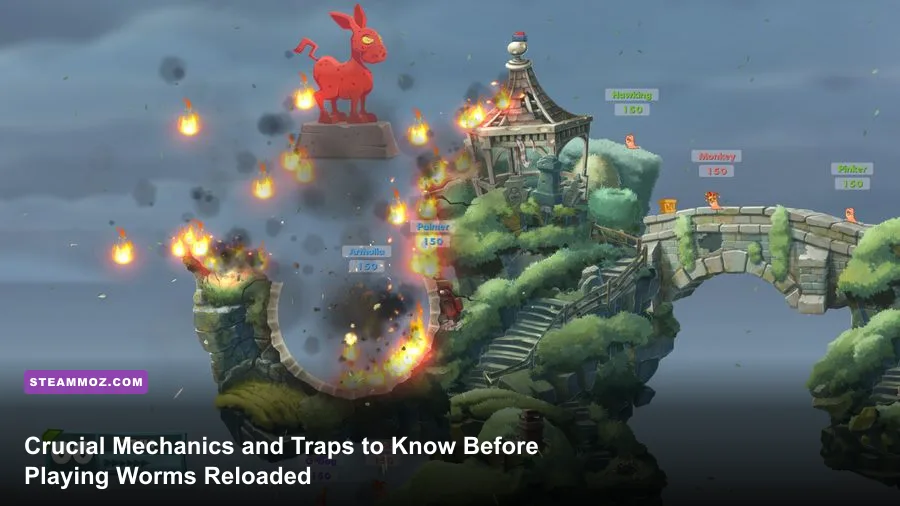
Worms Reloaded looks like a breezy, nostalgic cartoon slugfest on the surface, but running in blindly without understanding its physics engine and turn economy will get your entire squad liquidated in three rounds. The game trades the chaotic floatiness of older entries for a tighter, more punishing projectile arc, completely rebalanced utility tools, and unforgiving environmental hazards where 100 hit points mean nothing against a two-foot drop into dark water. To consistently win matches—whether running through the single-player campaign or humiliating your friends in local hotseat—you must learn to manage wind variance, master the altered momentum of traversal tools, and treat terrain destruction as your primary weapon rather than an afterthought.
The Physics Engine Punishes Greed: Ninja Rope & Traversal Quirks

If you grew up playing Worms Armageddon, the first thing that will throw you off is how the physics engine handles momentum. The iconic Ninja Rope in Worms Reloaded does not operate under the limitless, hyper-elastic swing physics of the late 90s. In Reloaded, the rope has a firm ceiling on speed and a restricted release velocity. Trying to slingshot your worm completely across a massive map in a single turn will usually cause you to stall out mid-air, smack face-first into an overhang, take 15 points of fall damage, and immediately forfeit your turn. You can still use the rope to scale vertical cliffs and peek over precipices, but you must respect its fixed swing radius.
Fall damage in Reloaded is strictly velocity-based. A drop that looks safe can easily chip away 10 to 25 HP if your worm rolls down a steep incline after the initial landing. The moment you lose footing on a high cliff, deploy your Parachute immediately using the weapon inventory or assigned hotkey. Don't hoard your Parachutes—preserving your worm's positioning and preventing chip damage is far more valuable than saving an abundant utility item. Much like calibrating inputs in technical indie platformers or fixing frame-timing stutters seen in our Filament optimization profile, precision movement in Reloaded relies entirely on clean, deliberate keystrokes rather than wild panic button-mashing.
The Jetpack is similarly constrained. It operates on a strict fuel timer (typically 30 seconds by default), but releasing the thrust button does not save you from fall damage if you cut power too high off the deck. Always feather the directional keys while landing to bleed horizontal velocity, and ensure your final landing zone is flat ground rather than a sloped, grease-slick hill that slides your worm directly into the ocean abyss.

🎮 Worms Reloaded
Looking to experience this game? Grab your digital key directly on our store for $19.99.
View on Steammoz Store →Weapon Economics: Damage Thresholds, Wind Scaling, and Fuse Timers
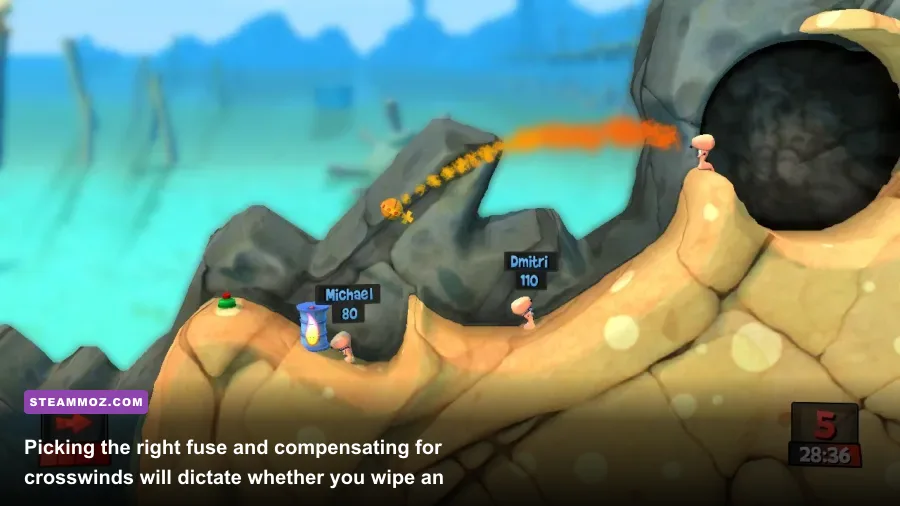
Firing weapons in Reloaded is an exercise in applied ballistic math. The Bazooka remains the workhorse of your armory, dealing up to 45 to 50 direct damage on a dead-center hit. However, its flight path is aggressively dictated by the wind indicator at the bottom right of the HUD. A strong crosswind will actively loop a Bazooka rocket backwards into your own face if you fire at a high angle with low power. If the wind gauge is maxed out against you, switch off the Bazooka entirely and pull a Grenade or Mortar instead.
Grenades are completely immune to wind influence, making them reliable tactical tools regardless of atmospheric conditions. The tradeoff is their bouncy trajectory and manual fuse timer. You can set Grenade fuses from 1 to 5 seconds using the numerical keys (1 through 5). Setting a 1-second fuse turns your Grenade into a short-range airburst projectile that detonates at the apex of a lob, giving enemy worms zero time to react. If you need inspiration for ranking explosive armaments across different genres, check out how loadout tiers operate in our Far Cry 3 Blood Dragon weapon guide.
For massive group punishment, the Holy Hand Grenade and the Concrete Donkey represent the nuclear tier of destructive capability. The Holy Hand Grenade deals an absurd 100 damage at point-blank range, sports almost zero bounce friction (it stops almost dead where it lands), and explodes on a fixed 3-second fuse after sounding its angelic chorus. Check the definitive weapon data below to understand how each primary tool functions under standard tournament scheme rules:
| Weapon / Utility | Max Damage | Wind Sensitivity | Primary Tactical Role | Retreat Time Granted |
|---|---|---|---|---|
| Bazooka | 50 HP | Extreme | Long-range direct artillery / terrain chipping | 3 Seconds |
| Standard Grenade | 50 HP | None | Bank shots, airbursts with 1-5s fuse adjustments | 3 Seconds |
| Shotgun (2 Shots) | 25 HP per shot (50 max) | None | Micro-sniping, ledge nudging, double-target clearing | 3 Seconds |
| Fire Punch / Dragon Ball | 30 HP | None | Instant knockback into water or landmines | 3 Seconds |
| Holy Hand Grenade | 100 HP | None | Total squad annihilation, deep crater excavation | 5 Seconds |
| Bunker Buster | 30-40 HP | None | Vertical subterranean strikes against dug-in turtlers | 0 Seconds |
| Dynamite | 75 HP | None | Guaranteed point-blank heavy excavation | 5 Seconds |
Always respect the retreat time shown in that final column. When you drop high-yield explosives like Dynamite or Holy Hand Grenades, the game grants you a generous 5-second retreat clock. Use every millisecond of that window to jump back, slide behind cover, or crawl into a trench to shield yourself from your own shockwave.
Terrain Control Trumps Raw Damage Every Single Round

Amateur players focus purely on chipping away enemy health bars from 100 down to 0. Master players ignore the health bar entirely and focus on water lines. In Worms Reloaded, plunging an enemy worm into the ocean is an instant kill—whether that worm has 1 HP or 200 HP. If an opponent parks their worm within five yards of an open coastline or perched atop a thin rock bridge over water, do not waste a precious airstrike. Walk up and tap them with a Fire Punch, blast them with a low-angle Shotgun slug, or give them a gentle nudge with the Baseball Bat.
The Baseball Bat allows you to set an aiming angle before unleashing a home run swing that launches enemy worms halfway across the screen. If you align the angle correctly with the open sea, you achieve an unrecoverable elimination for the cost of a single utility round. Terrain deformation is also your best shield. Digging into the earth using the Blowtorch or Pneumatic Drill turns your worm into an untouchable target against standard Airstrikes and Cluster Bombs.
Creating subterranean killboxes requires patience and forward planning, mirroring the resource and colony positioning doctrines found in our Empires of the Undergrowth tactical walkthrough. Carving out deep, curved tunnels shields your squad from horizontal Bazooka fire while forcing opposing worms to cluster together if they attempt to breach your bunker.
Strategic Utility: Girders, Bridges, and Turn Economy
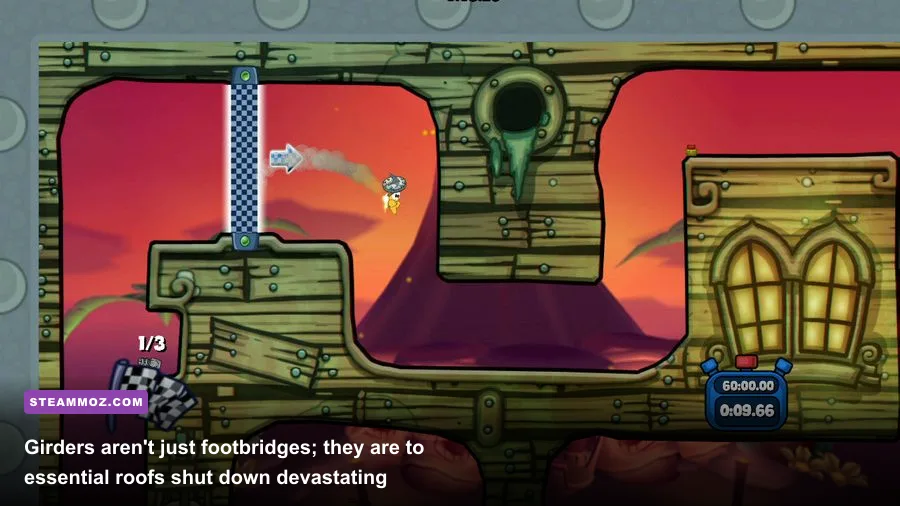
Never underestimate the defensive supremacy of the Girder. A well-placed steel plate is the strongest denial tool in Worms Reloaded. You can place Girders at various angles and elevations to block line-of-sight, construct elevated platforms to keep your worms away from rising tides, or build an angled "roof" directly over your worms to redirect enemy mortar shells safely into the dirt.
Understanding your turn economy is vital. A standard competitive match typically grants you between 45 and 60 seconds per turn. If you waste 40 seconds attempting complex gymnastics with the Ninja Rope, you will rush your shot, miss your angle, or trigger a disastrous misfire. Always evaluate your plan during your opponent's turn. By the time the camera snaps to your active worm, you should already know your target, the weapon you intend to arm, and your designated retreat route.
| Utility Item | Stock Quantity | Strategic Value | Optimal Scenario |
|---|---|---|---|
| Girder | 2 - 4 per match | S-Tier Defensive Utility | Placing angled roofs above squad to nullify incoming Airstrikes |
| Blowtorch | 2 - 3 per match | A-Tier Fortification | Trenching deep underground into bedrock to wait out Sudden Death |
| Ninja Rope | 2 - Unlimited | S-Tier Traversal | Reaching supply crates and scouting elevated firing perches |
| Parachute | Unlimited / High | A-Tier Safety Tool | Preventing catastrophic fall damage after botched jumps |
| Teleport | 1 - 2 per match | Emergency Reposition | Extracting isolated worms stranded near open water or poison hazards |
When custom game schemes leave weapon stocks limited, picking up randomly dropped weapon crates becomes a win condition. If you notice a Super Weapon crate drop across the map, weigh the cost carefully: spending a turn grabbing an unknown crate leaves your position exposed, but giving your opponent access to an Armageddon strike or Super Sheep can end the match instantly. Deciding when to invest in offensive upgrades versus holding your defensive line is a tactical discipline shared by deep equipment managers, much like balancing firepower options highlighted in our Everspace weapon breakdown.
Troubleshooting Hardware Quirks, Resolutions, and Modern PC Setups

Because Worms Reloaded originally launched on modern digital storefronts years ago via Team17, running it on modern multi-monitor rigs or ultrawide displays can sometimes trigger subtle quirks. The internal rendering engine expects standard 16:9 widescreen formats, and running ultra-high refresh rates (such as 240Hz or 360Hz) can occasionally cause micro-stuttering in weapon reticle tracking or menu animation loops.
If you experience weird frame-pacing or mouse cursor drift while aiming precision tools like the Shotgun or Sniper Rifle, open the in-game options menu, enforce a fixed resolution matching your native display, and enable vertical synchronization (V-Sync). Running into legacy engine hitches is surprisingly common when revisiting foundational PC strategy titles; if you ever battle stubborn frame drops or display bugs, our technical walkthroughs on fixing stuttering and display crashes offer great baseline strategies for stabilizing older graphical pipelines.
Another common hardware hiccup involves mouse aiming sensitivity. Worms Reloaded allows both keyboard aiming (using the Up and Down arrow keys) and mouse-driven crosshair placement. Professional tournament players almost universally rely on keyboard controls for crosshair micro-adjustments. Tapping the arrow key provides consistent pixel-by-pixel elevation control, whereas an errant nudge of a high-DPI gaming mouse right as you press the Spacebar can throw your Bazooka off target by several crucial degrees.
Clustering, Sudden Death, and the Survival Mindset
The number one mistake beginners make in Worms Reloaded is grouping their squad together. If two or three of your worms are sitting within five feet of each other, you have handed your opponent an automatic victory. A single Cluster Bomb, Air Strike, or well-aimed Banana Bomb will wipe out 150+ aggregate team health in one explosion. Even worse, poison clouds deployed by Skunk strikes or Poison Infiltration weapons will infect every clustered worm simultaneously, ticking down their health to 1 HP over subsequent turns.
Maintain spacing across the entire map. By scattering your worms across distinct elevations and islands, you force your enemy to waste movement utilities and turns hunting down single targets rather than executing devastating multi-kills. For exhaustive technical weapon parameters and patch histories across the series, the comprehensive archives at the Worms Reloaded community wiki provide exact blast-radius blueprints and damage falloff math worth bookmarking.
Keep a close eye on the match turn counter. When the clock hits zero, the match triggers Sudden Death. In Worms Reloaded, Sudden Death generally lowers every worm's health pool straight to 1 HP, causes the ocean water level to rise by several meters each turn, or both. The moment Sudden Death begins, raw firepower is completely irrelevant. A single grain of dirt kicked up by an Uzi bullet or a tiny flick of a Shotgun blast will kill your worm. When the water begins to rise, abandon the lowlands and scramble for the highest peaks of the map using your remaining Girders and Ninja Ropes. He who holds the high ground when the tide rolls in wins the war every single time.